Vented front brakes for the Touring, Alpina style (part 1)
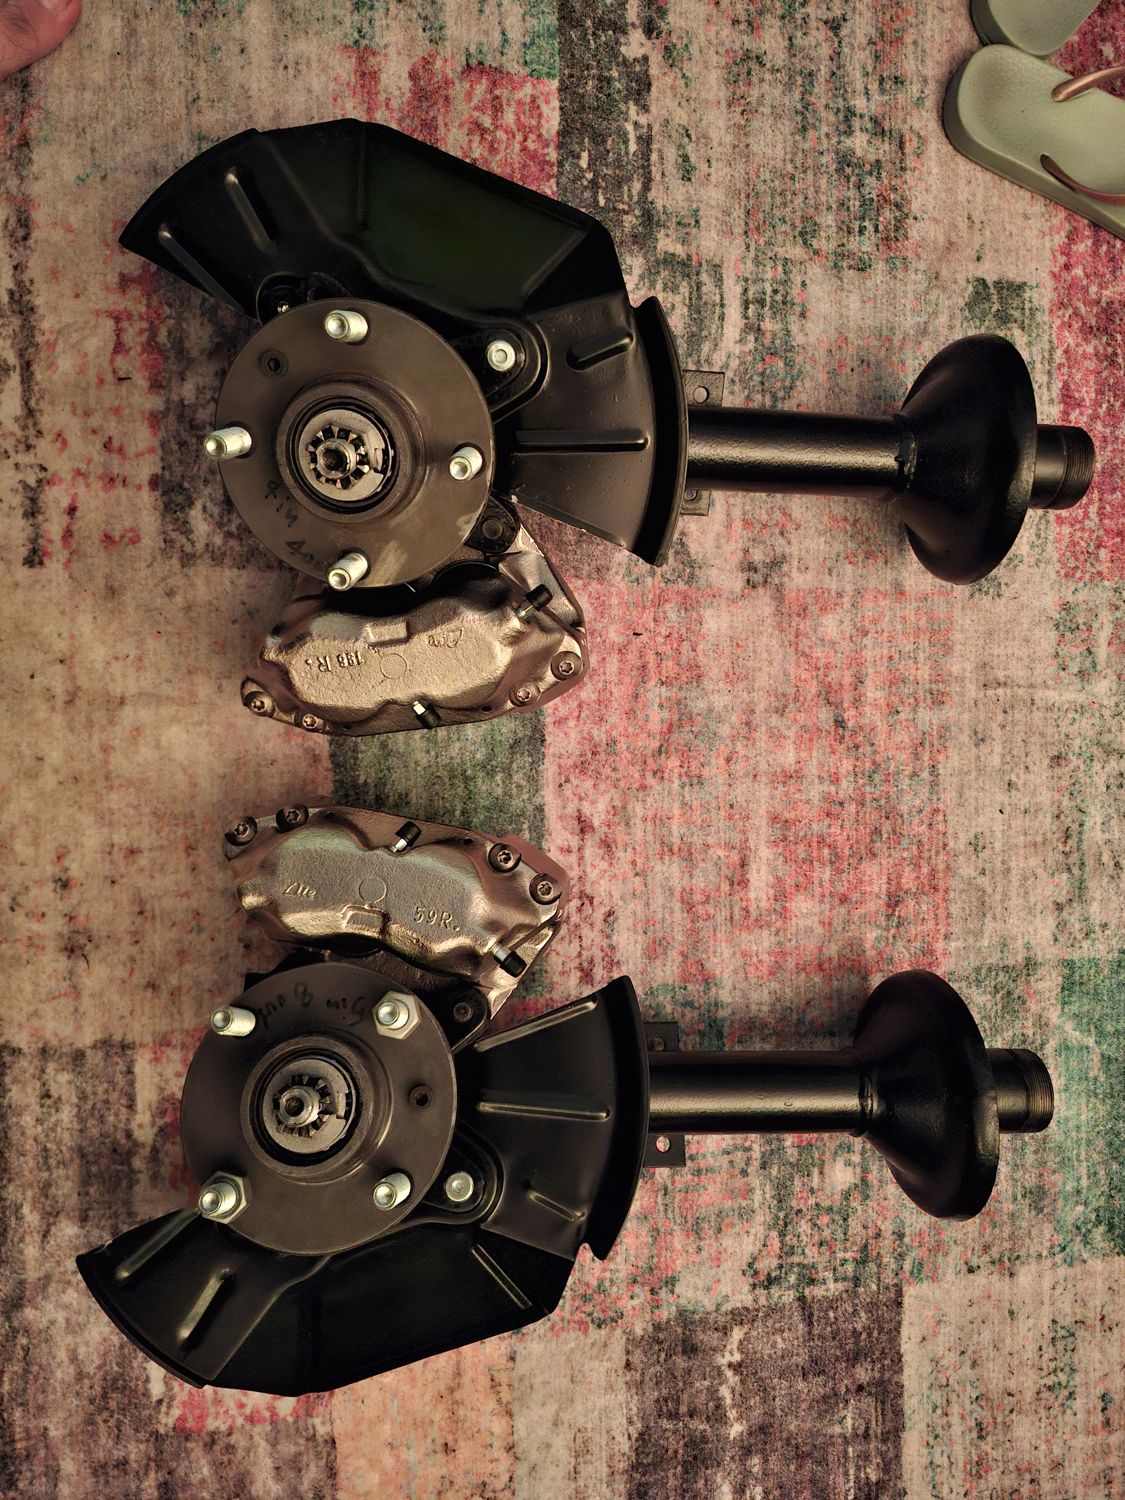
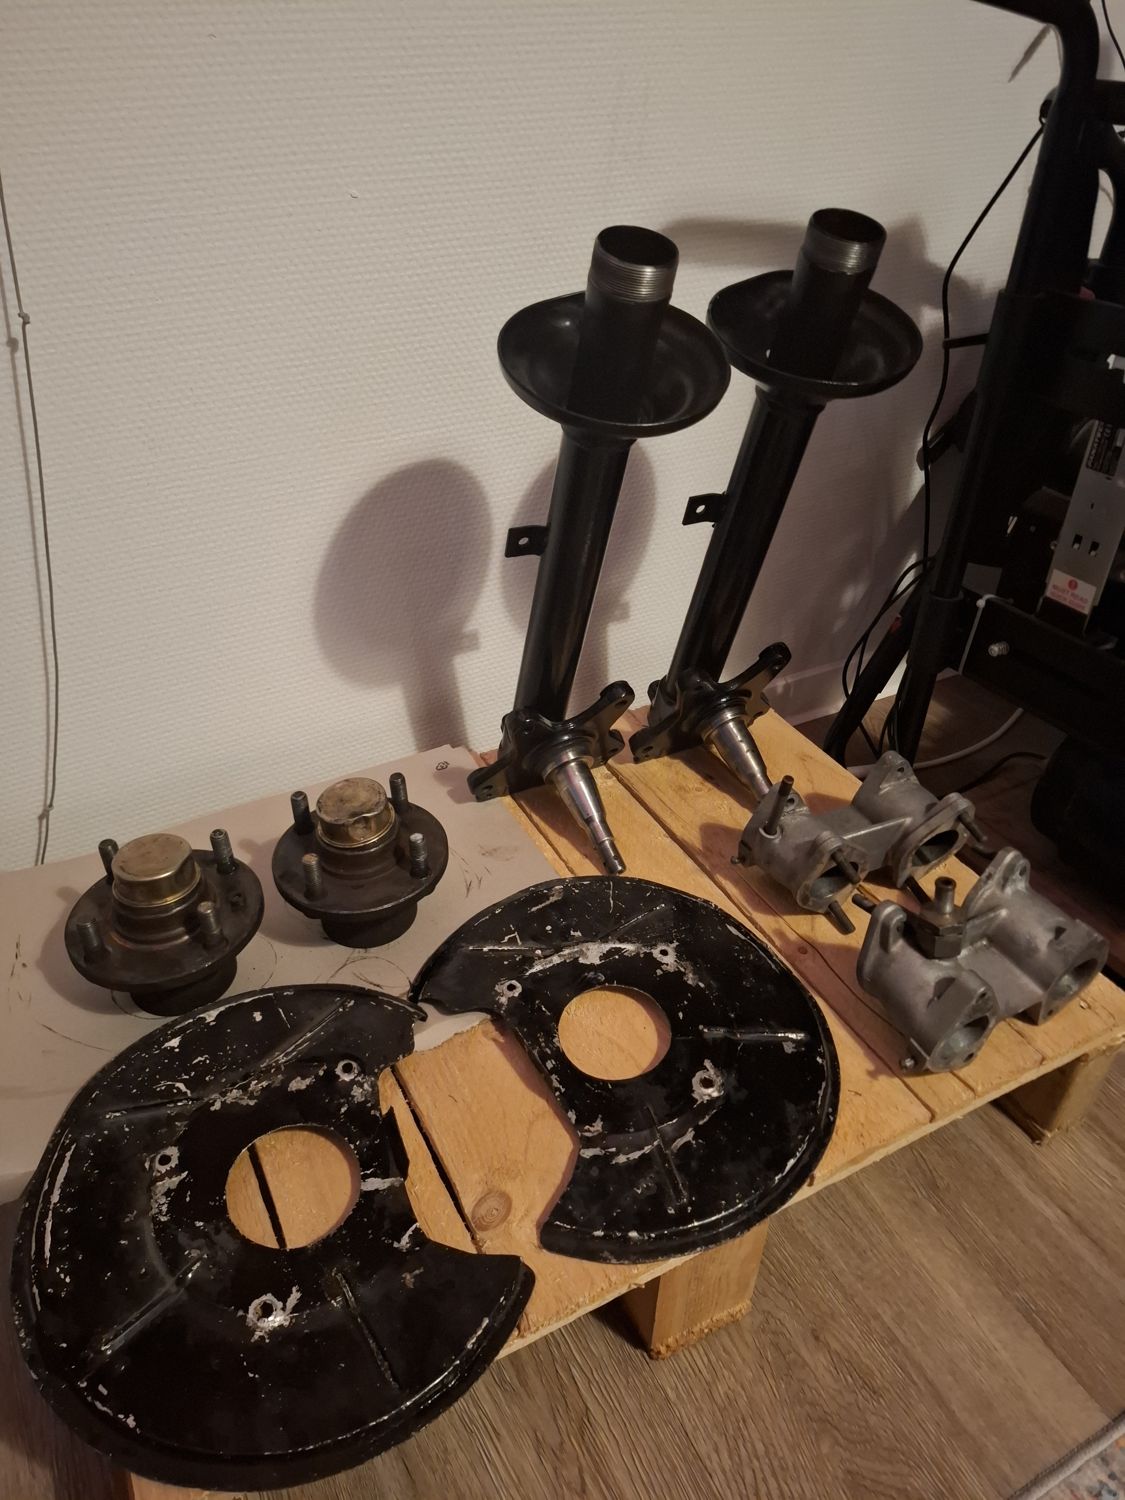
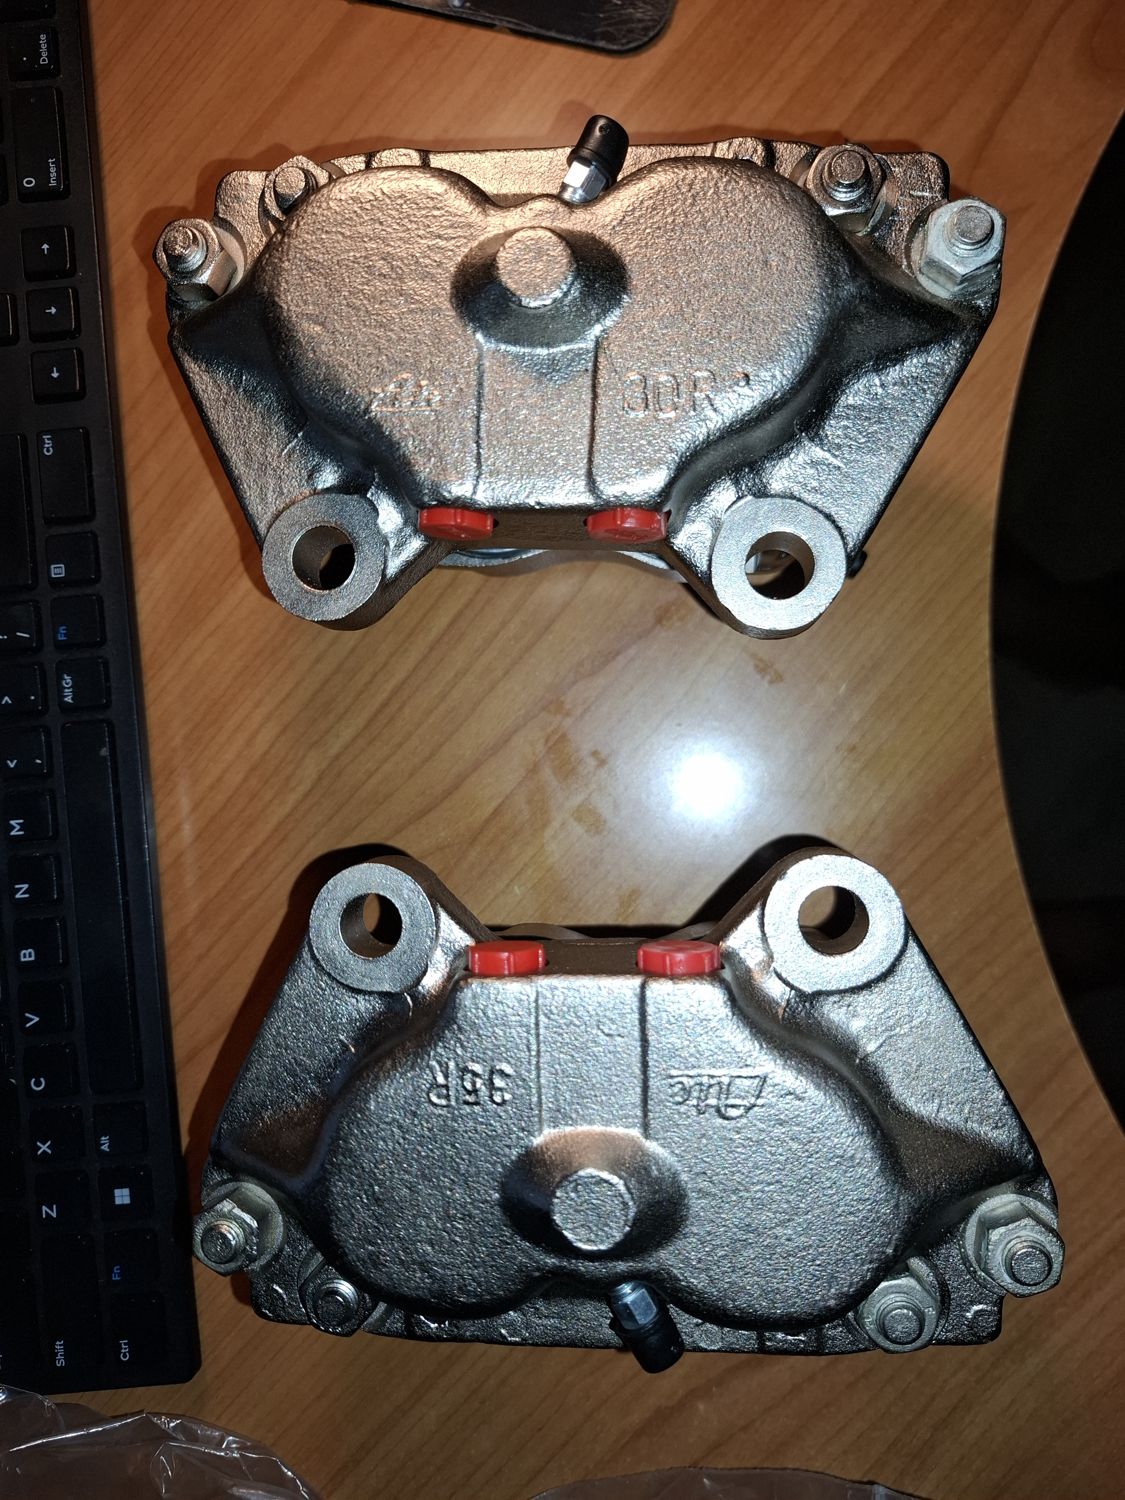
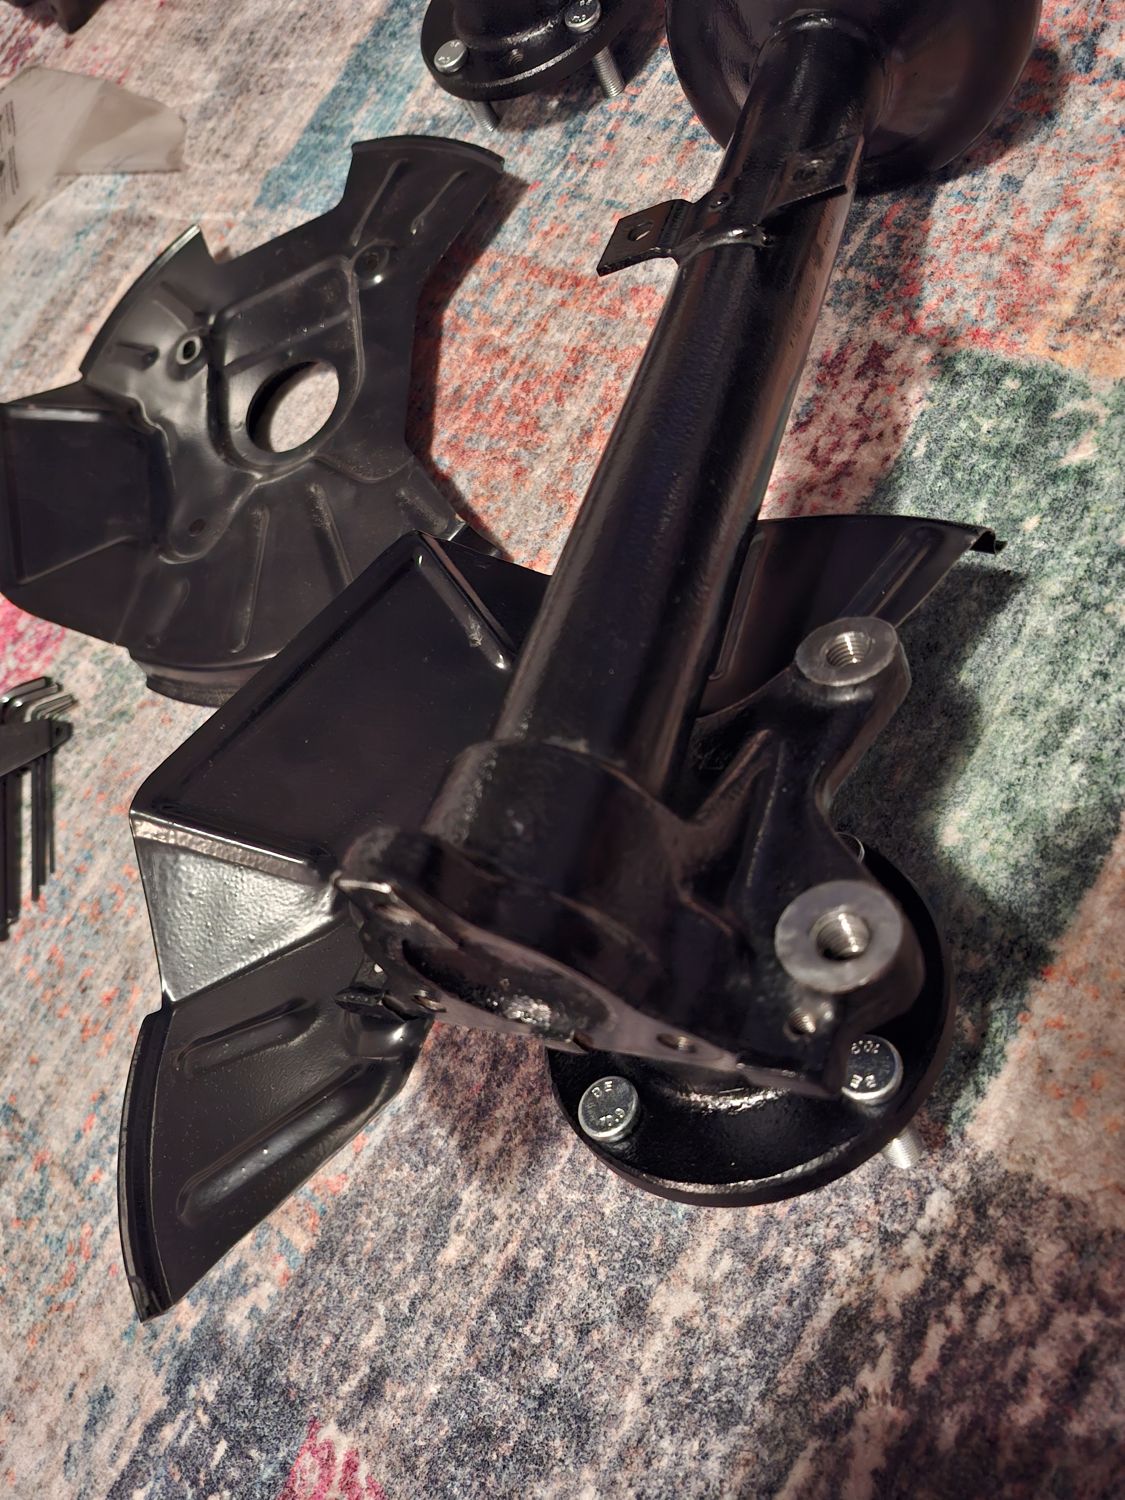
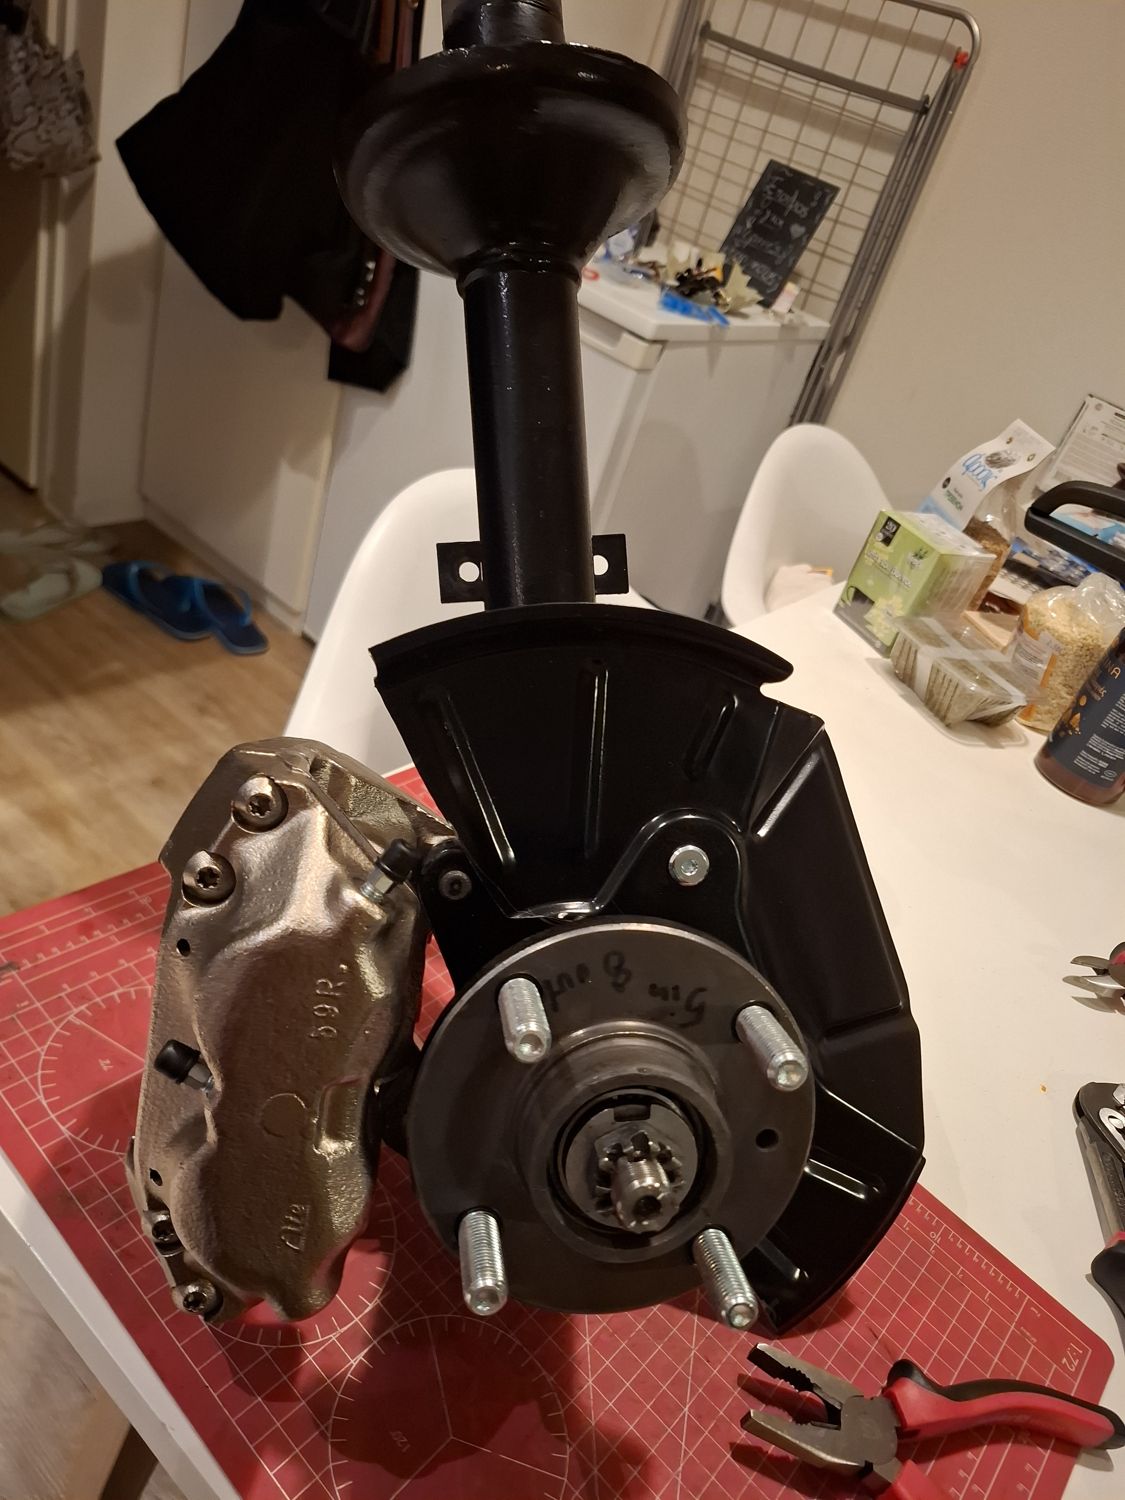
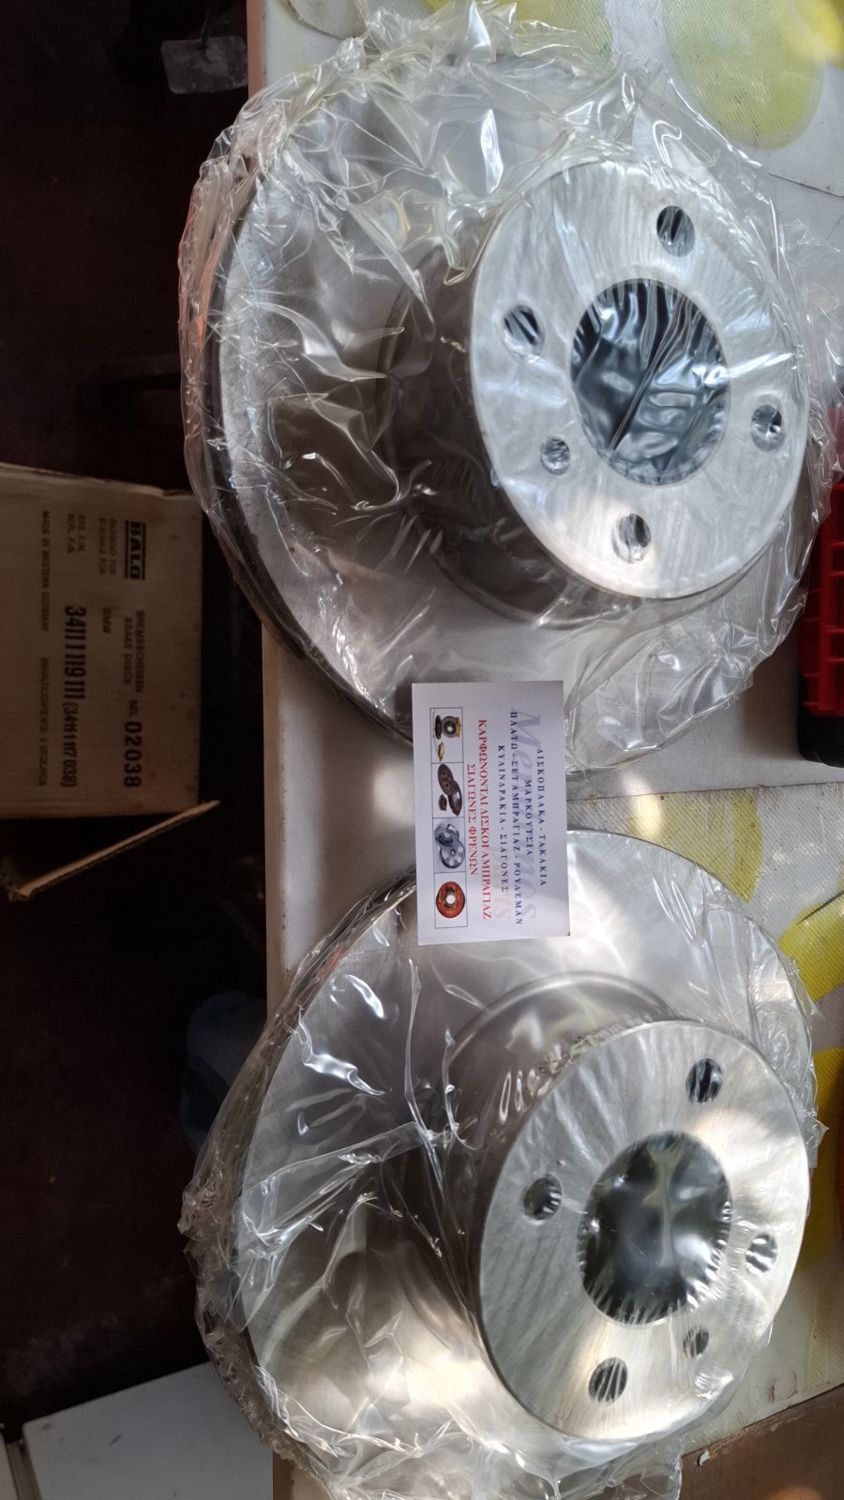
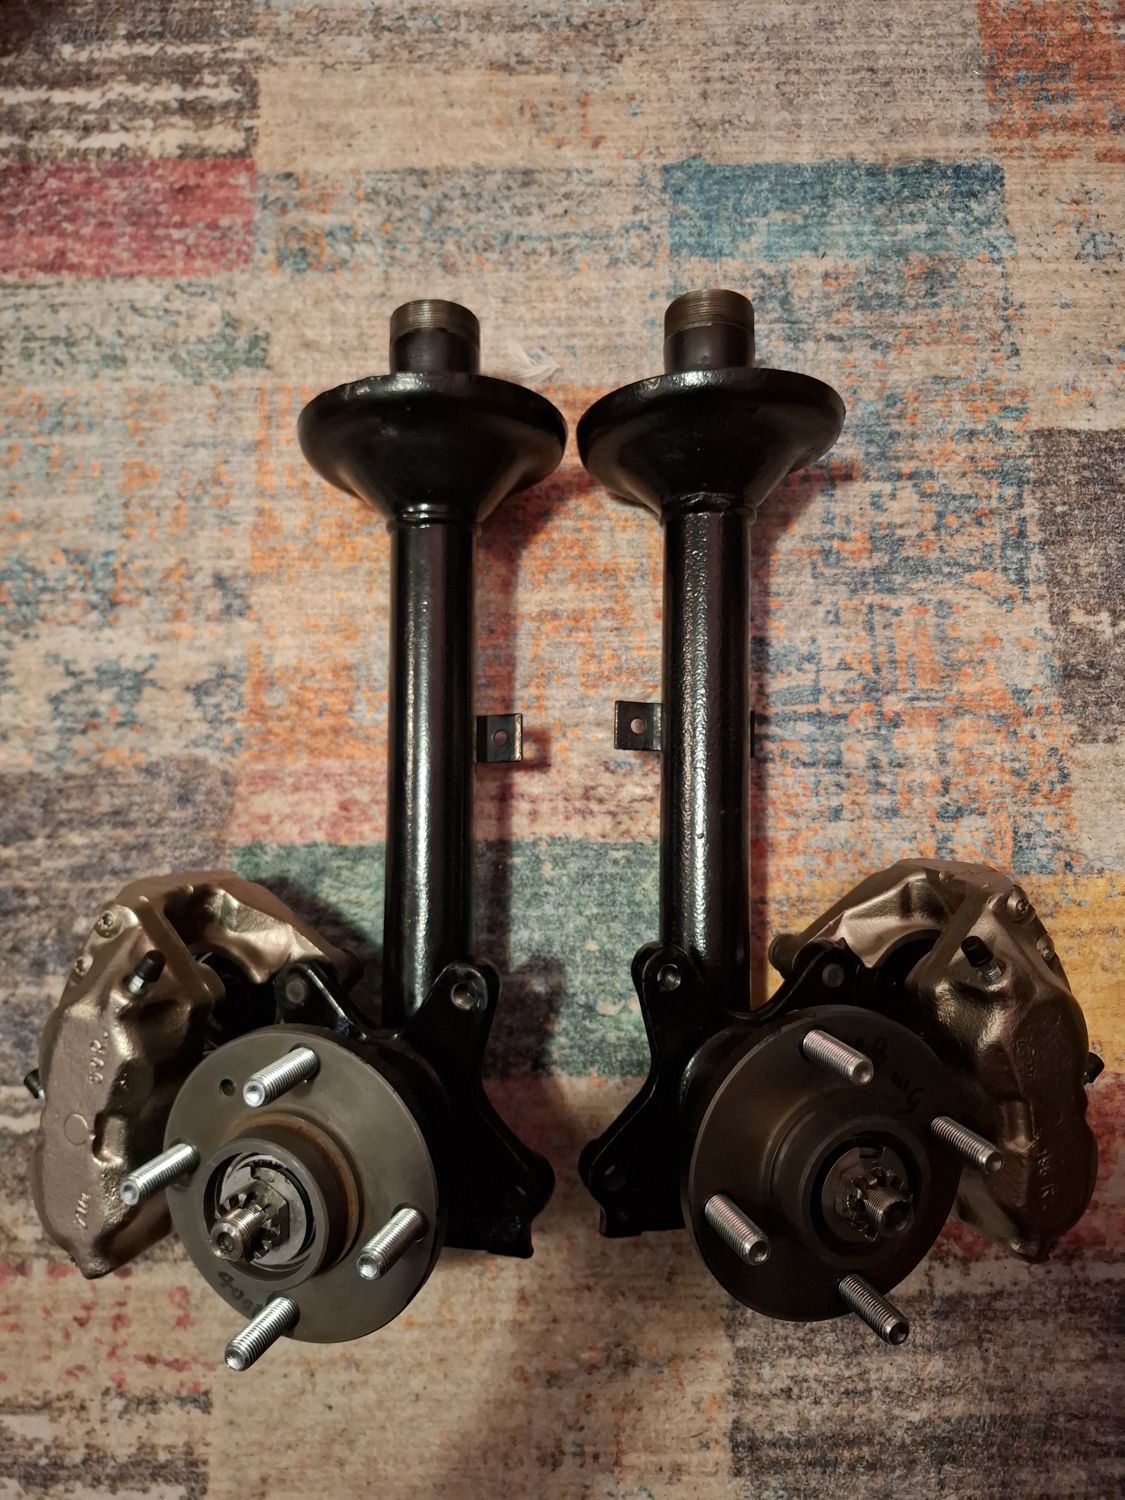
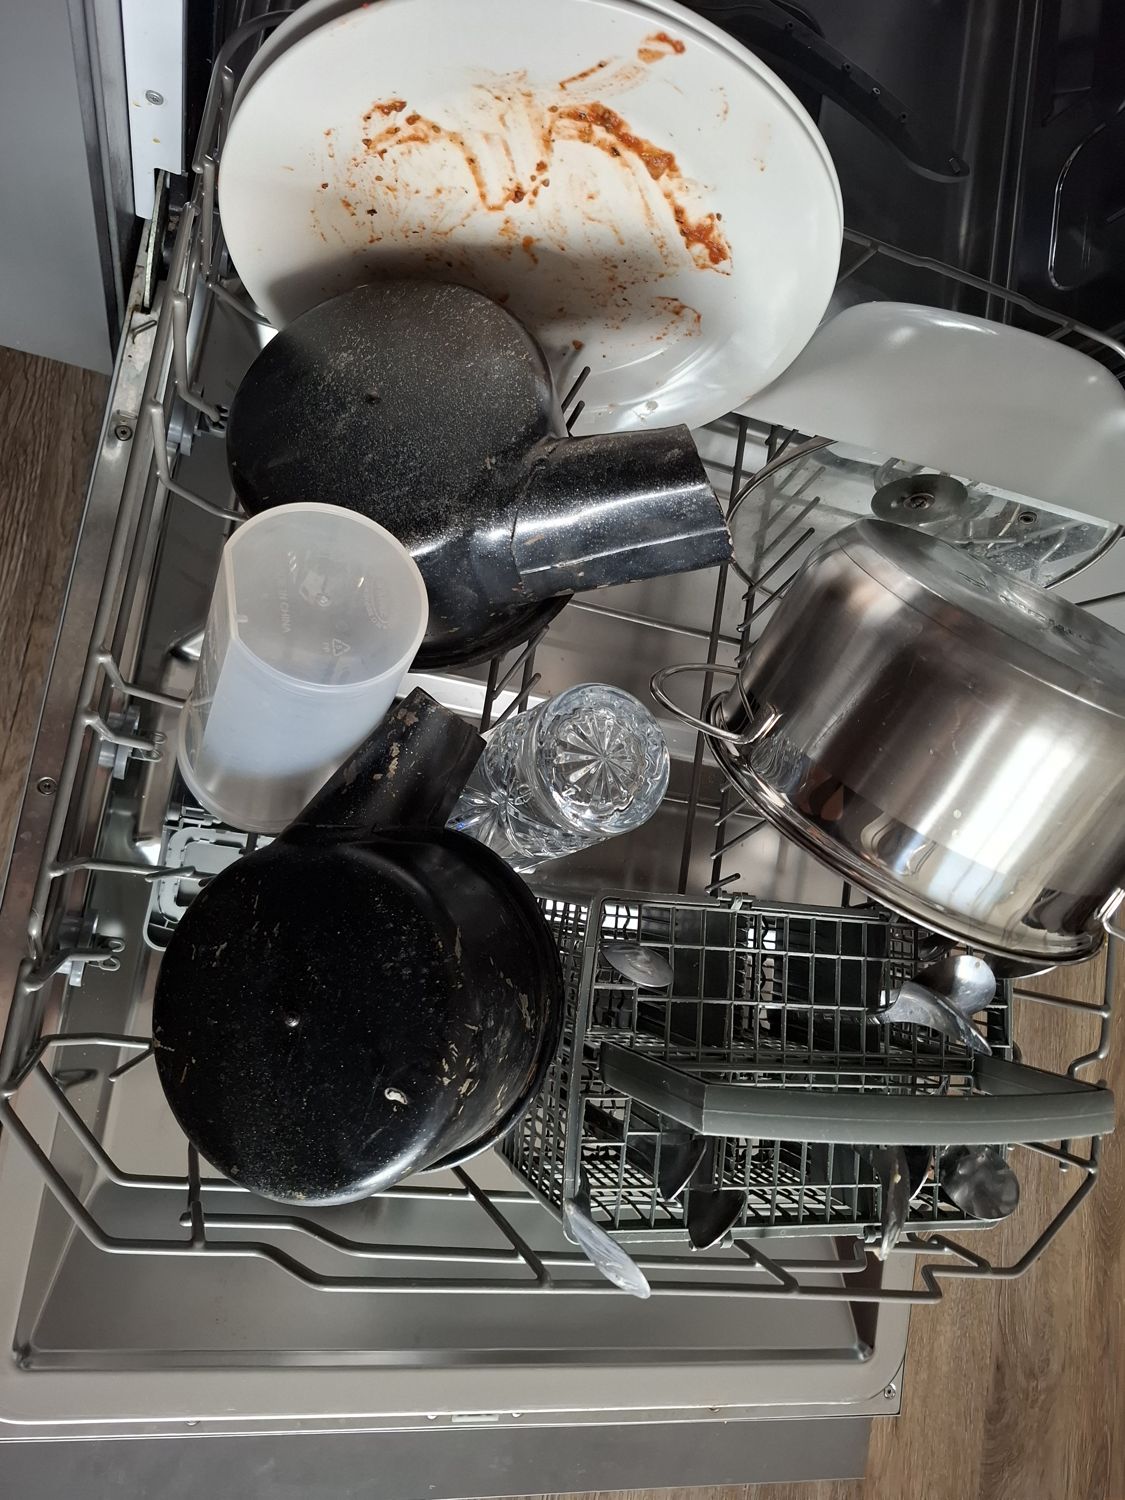
A used vented-brake package rebuilt on the kitchen table: ti struts, E21 323i hubs with oversize studs, nickel-plated 2002 Turbo calipers, Neue Klasse shields cut to scoop air like Alpina did, and NOS BALO discs.
The 02 came with solid front discs; only the 2002 Turbo had vented ones. My Touring has the stock ti/tii front end (solid discs) and 250 mm rear drums with 19 mm wheel cylinders, without a brake pressure regulator. My father once tried 22 mm wheel cylinders with a regulator and did not like the brake balance, so he went back to 19 mm without one.
I weighed three ways to get vented front discs: E21 323i hubs with vented discs; Alpina-style discs (reproductions exist, but the ti/tii calipers then need spacers); or Turbo hubs and discs. The E21 323i route made the most sense financially: new Turbo hubs alone are expensive, the Alpina parts are expensive because so few are made, while E21 hubs, discs (ATE, Zimmermann) and parts are still easy to find. I also decided against aluminium hubs: they are dimensioned like the steel ones, so I did not trust them to be engineered for aluminium. When I discussed it on the bmw2002faq forum in August 2025, several members said they run the same combination.
I could not find a pair of E21 hubs in my father's warehouse, and a more urgent brake problem came first (see Maintenance, September 2025), so the project waited. In September 2026 I bought a used package with most of what it needs, and in October I rebuilt it so it can go straight onto the Touring.
What came in the box
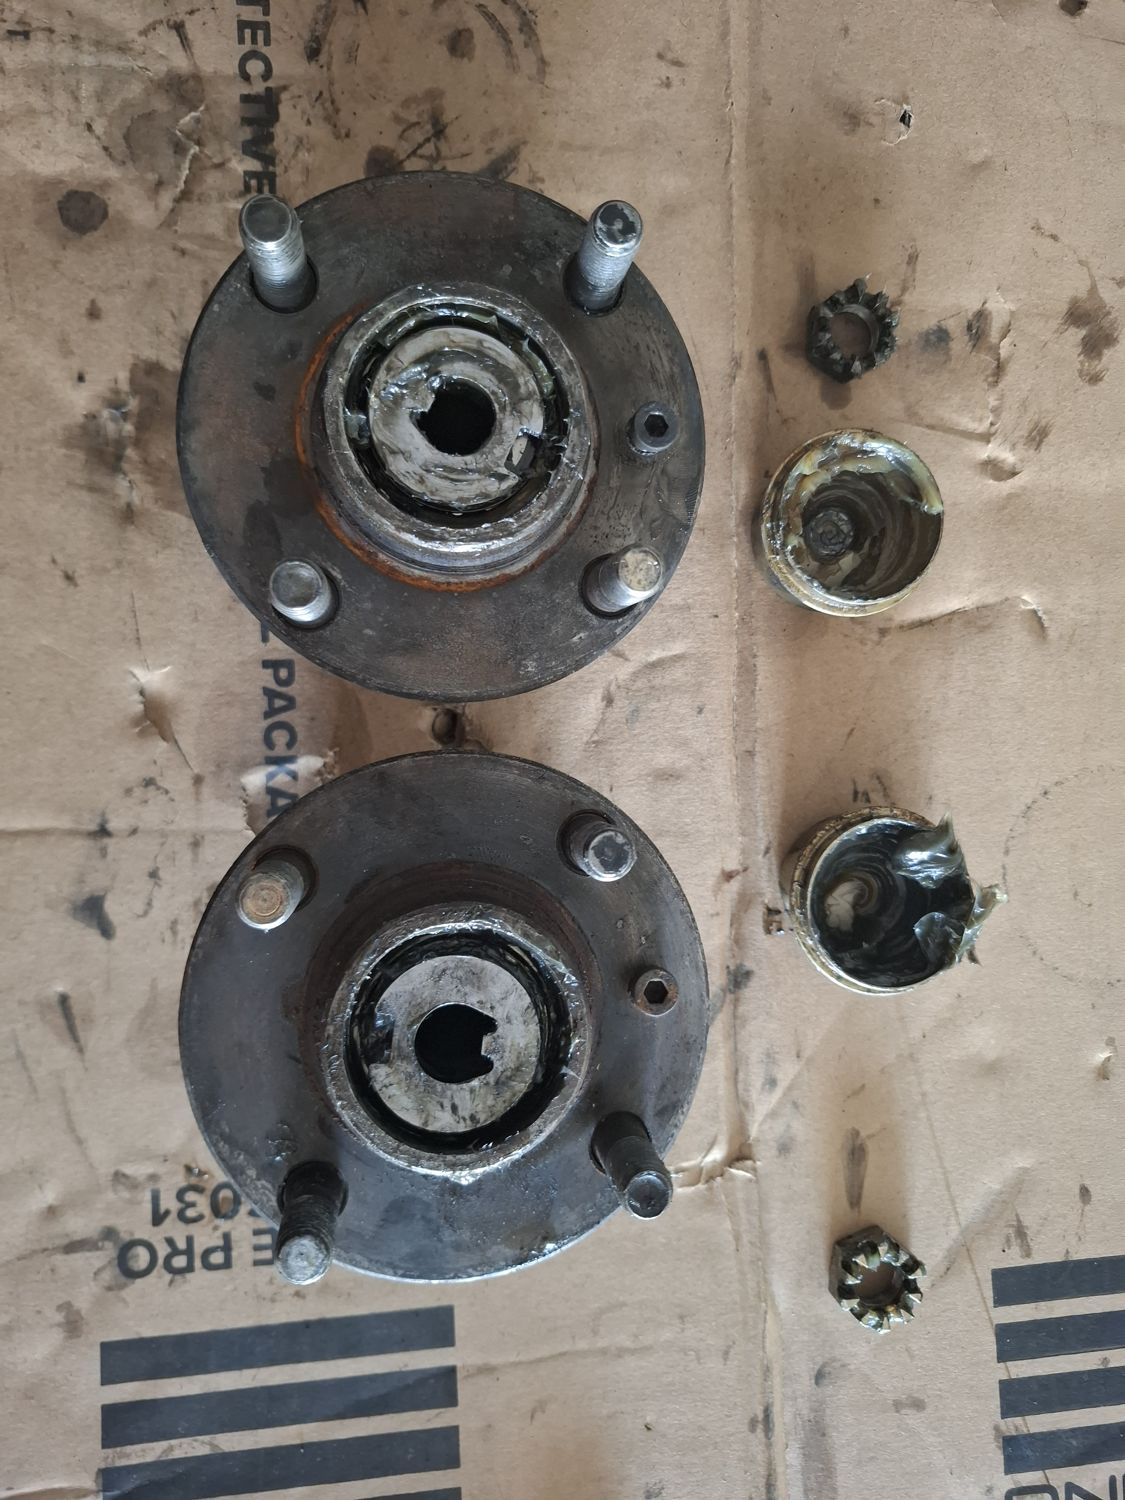
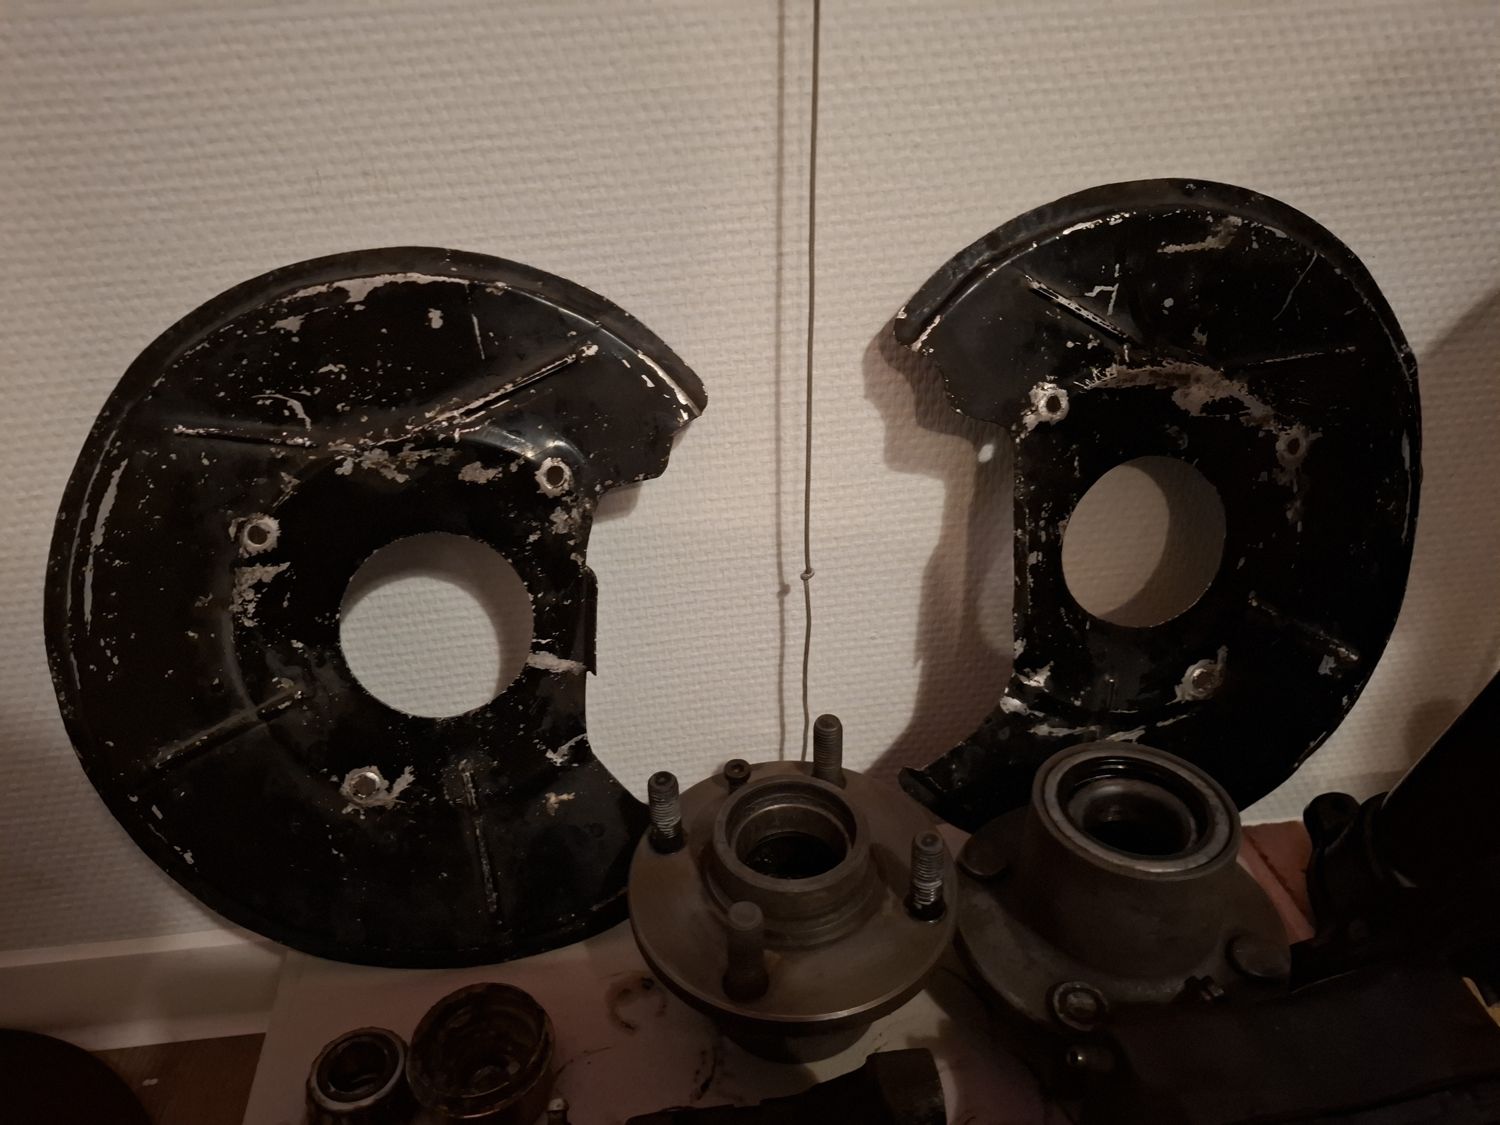
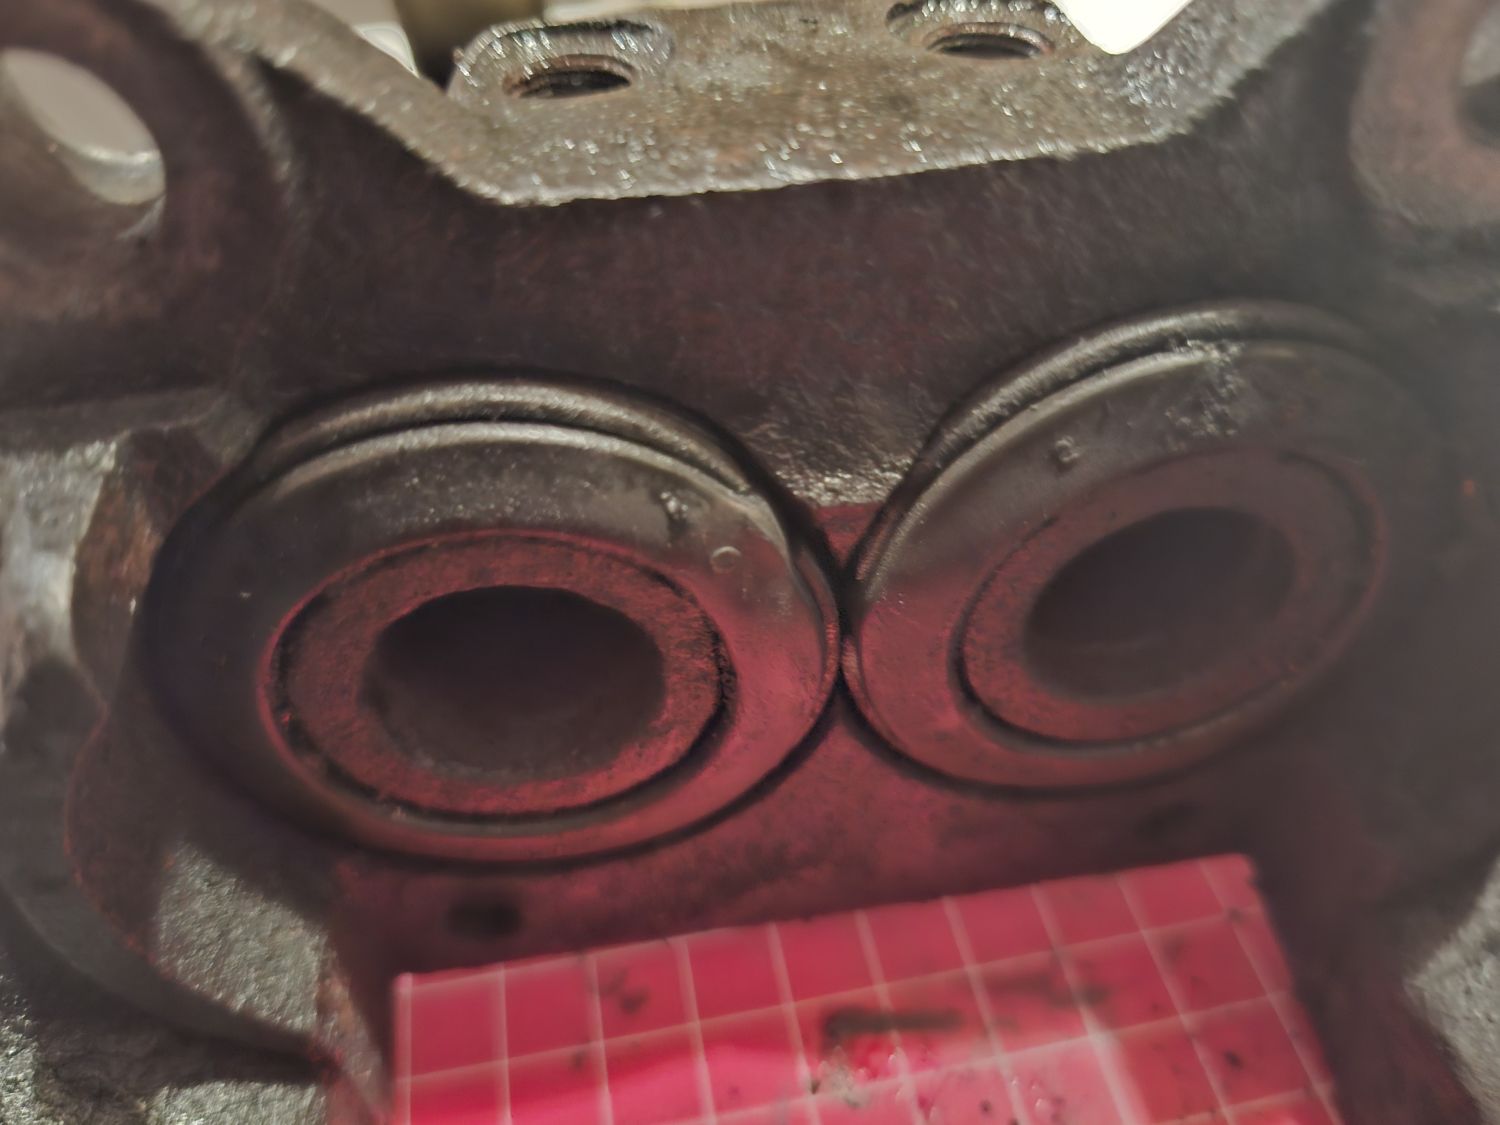
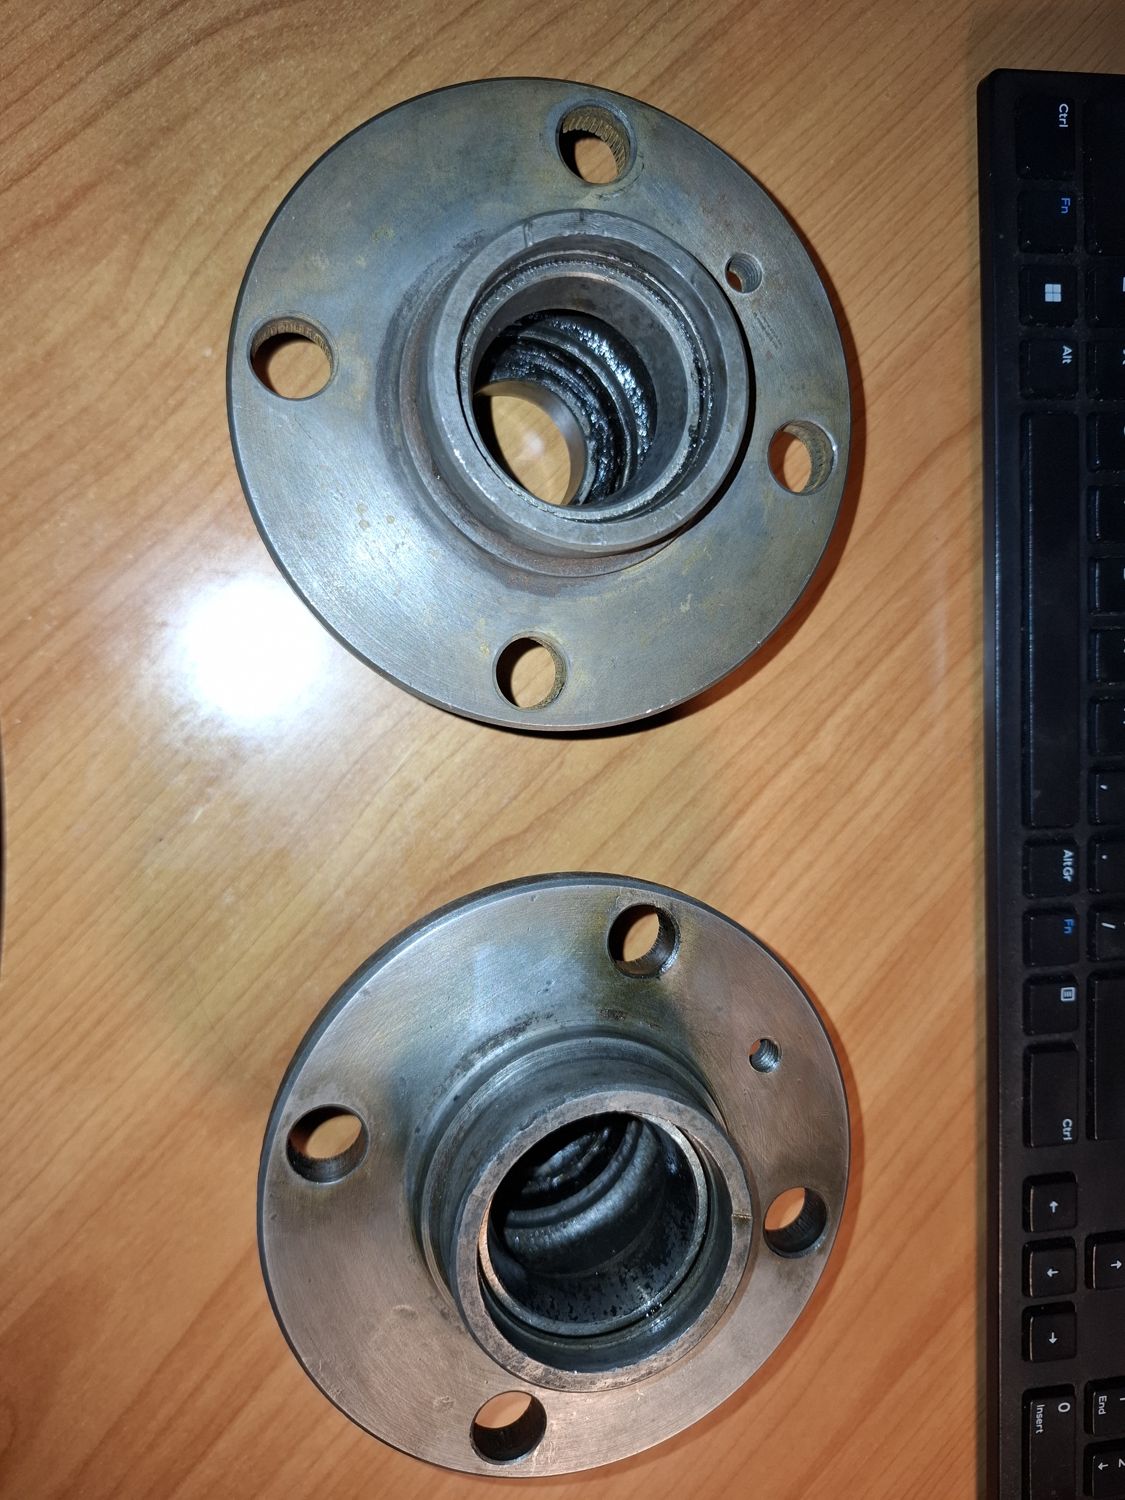
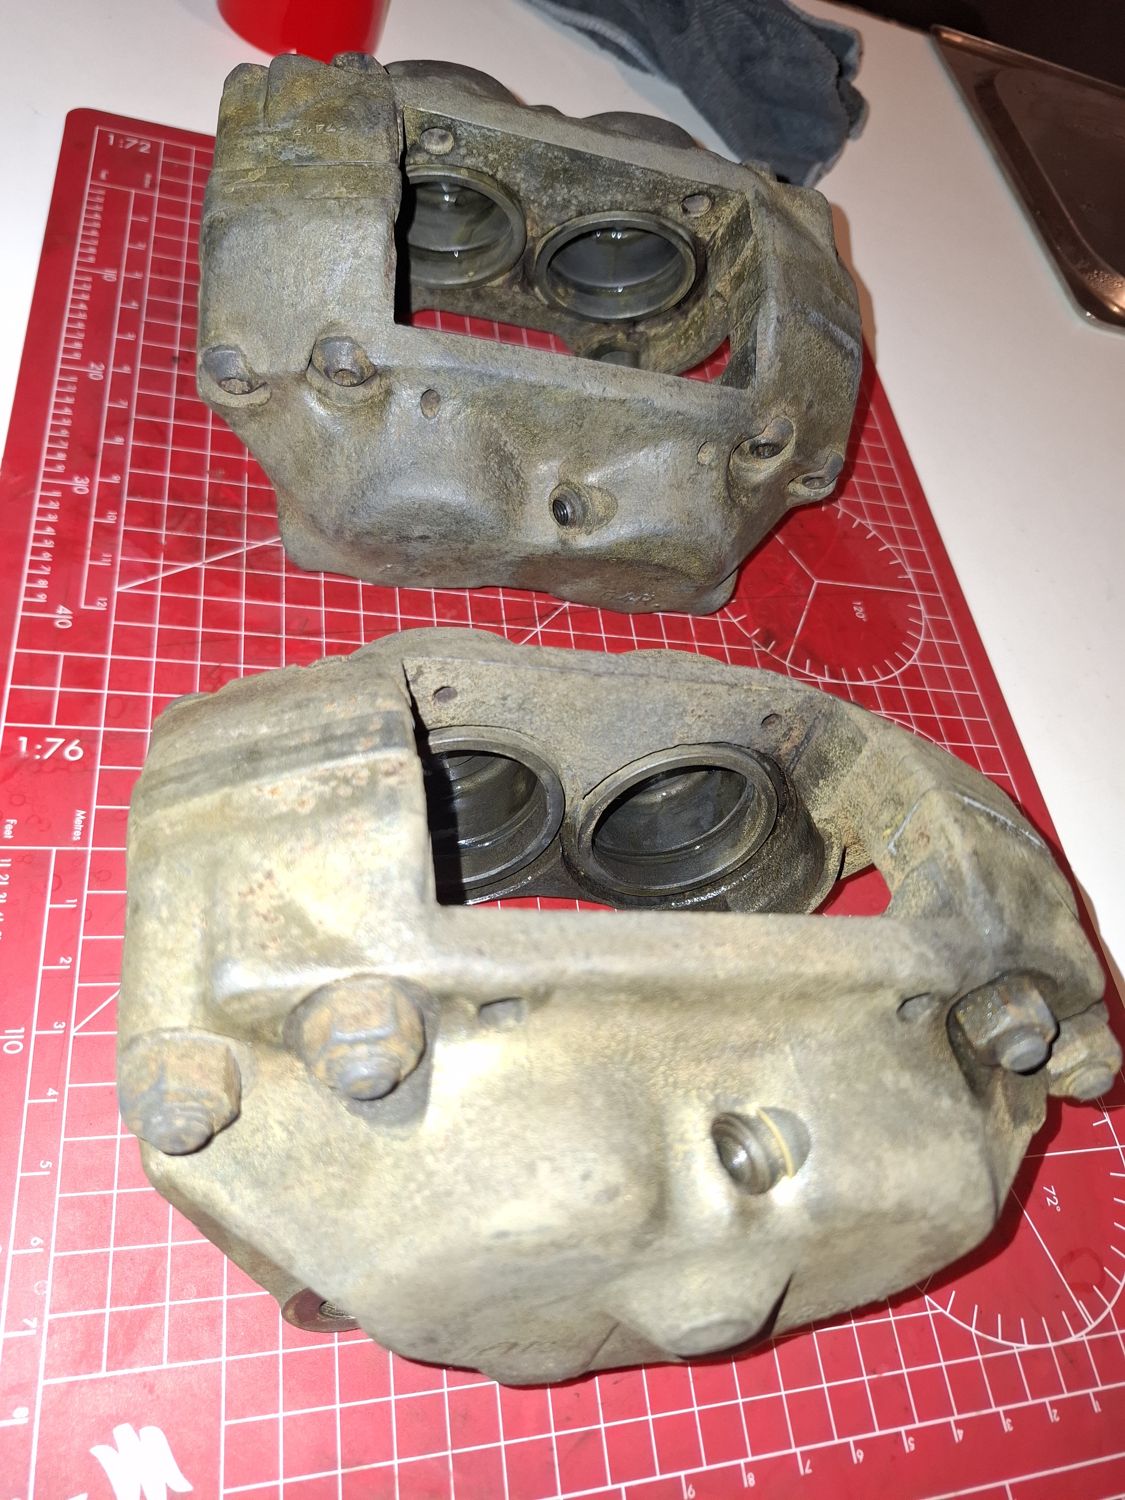
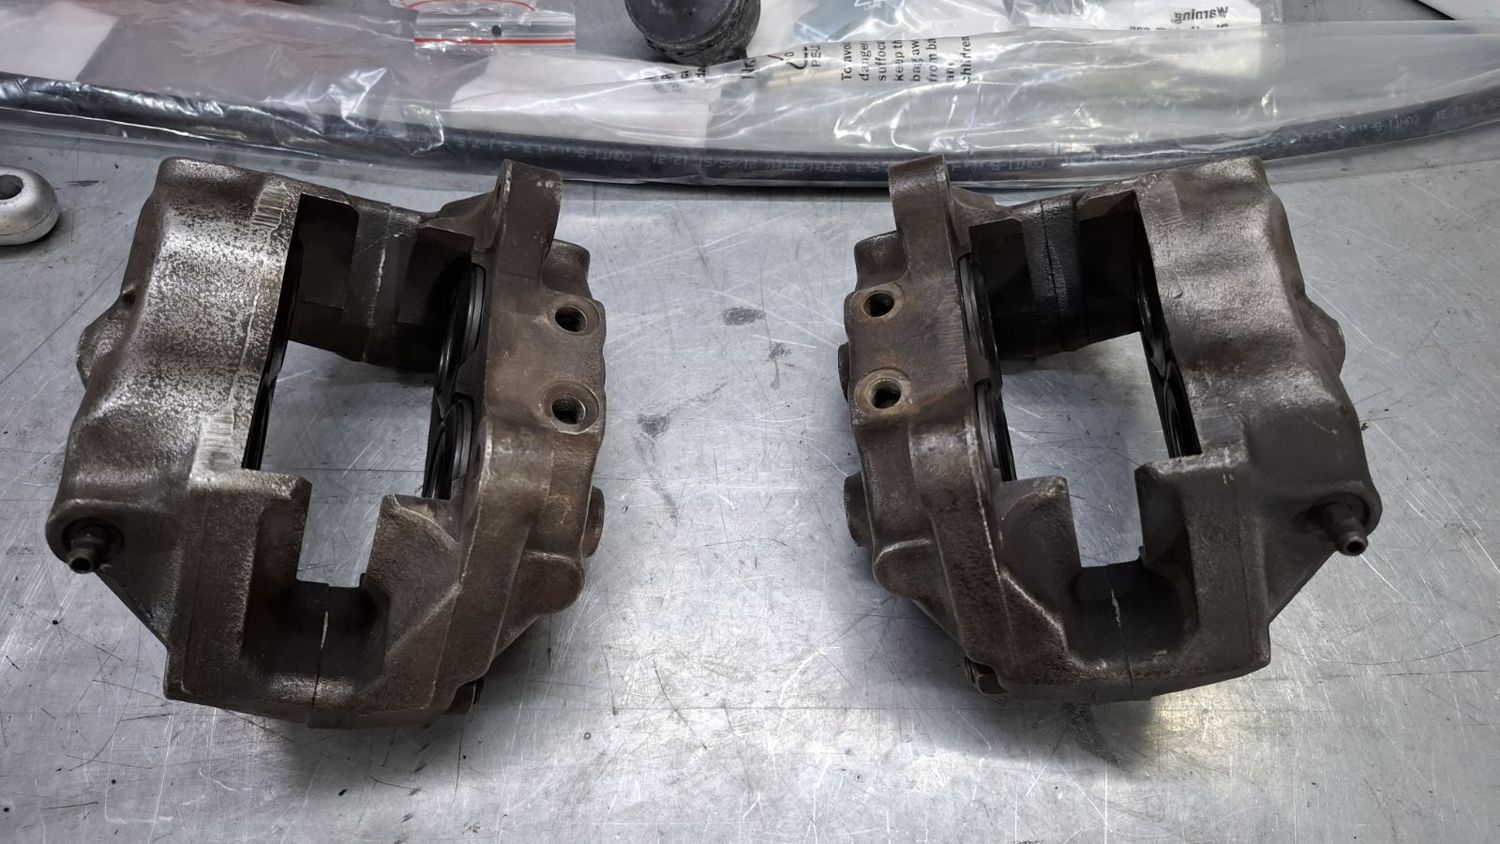
The package, bought in September 2026: two ti/tii struts, two E21 big-bearing hubs already drilled for the 02's four-stud pattern and fitted with 2002 rear-hub knurled studs, two used vented discs, two four-piston calipers with the right spacing, and a pair of handmade aluminium shields from the previous owner.
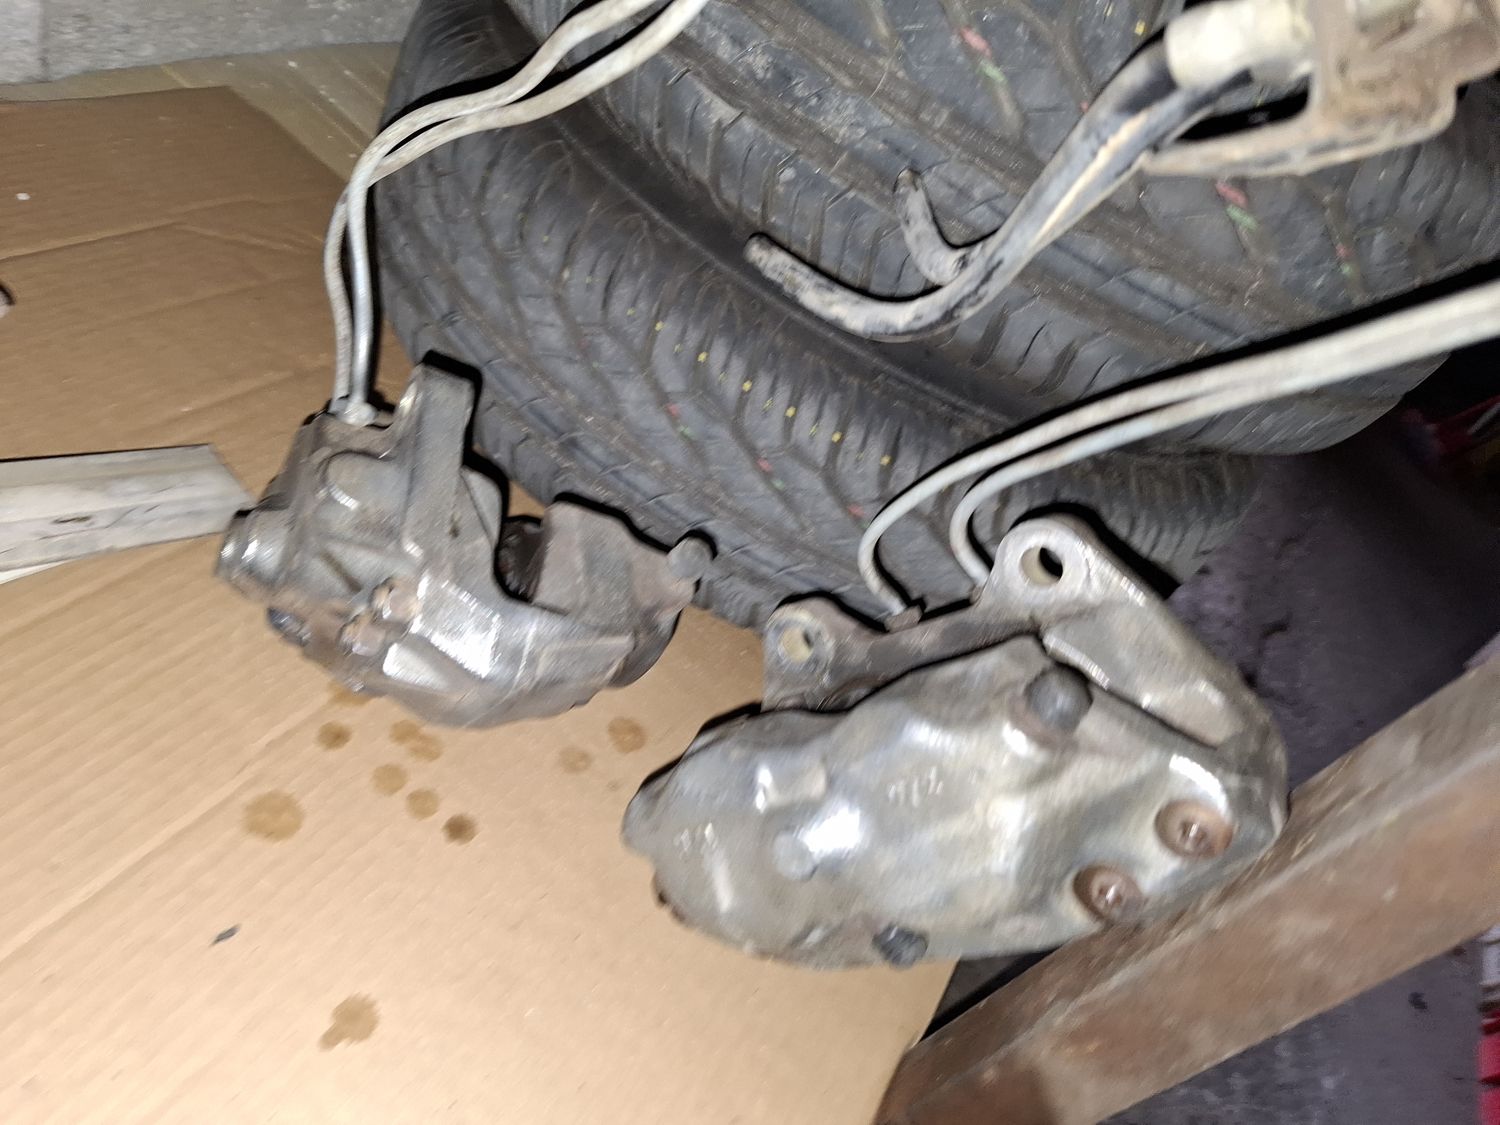
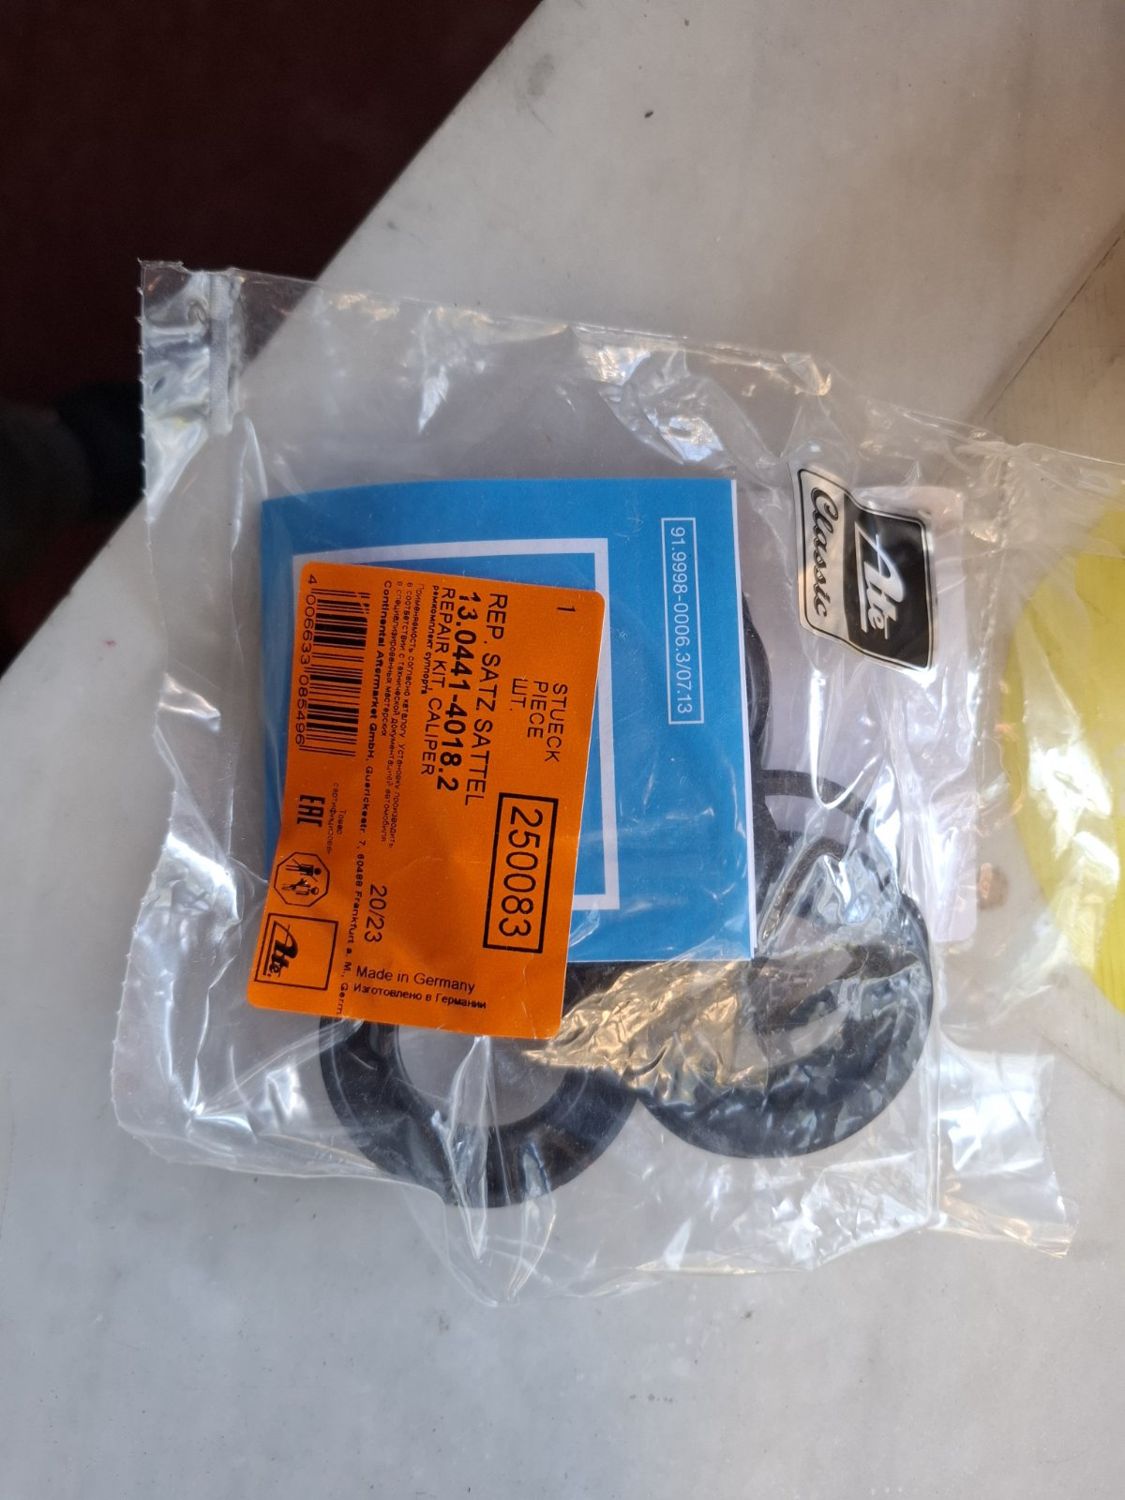
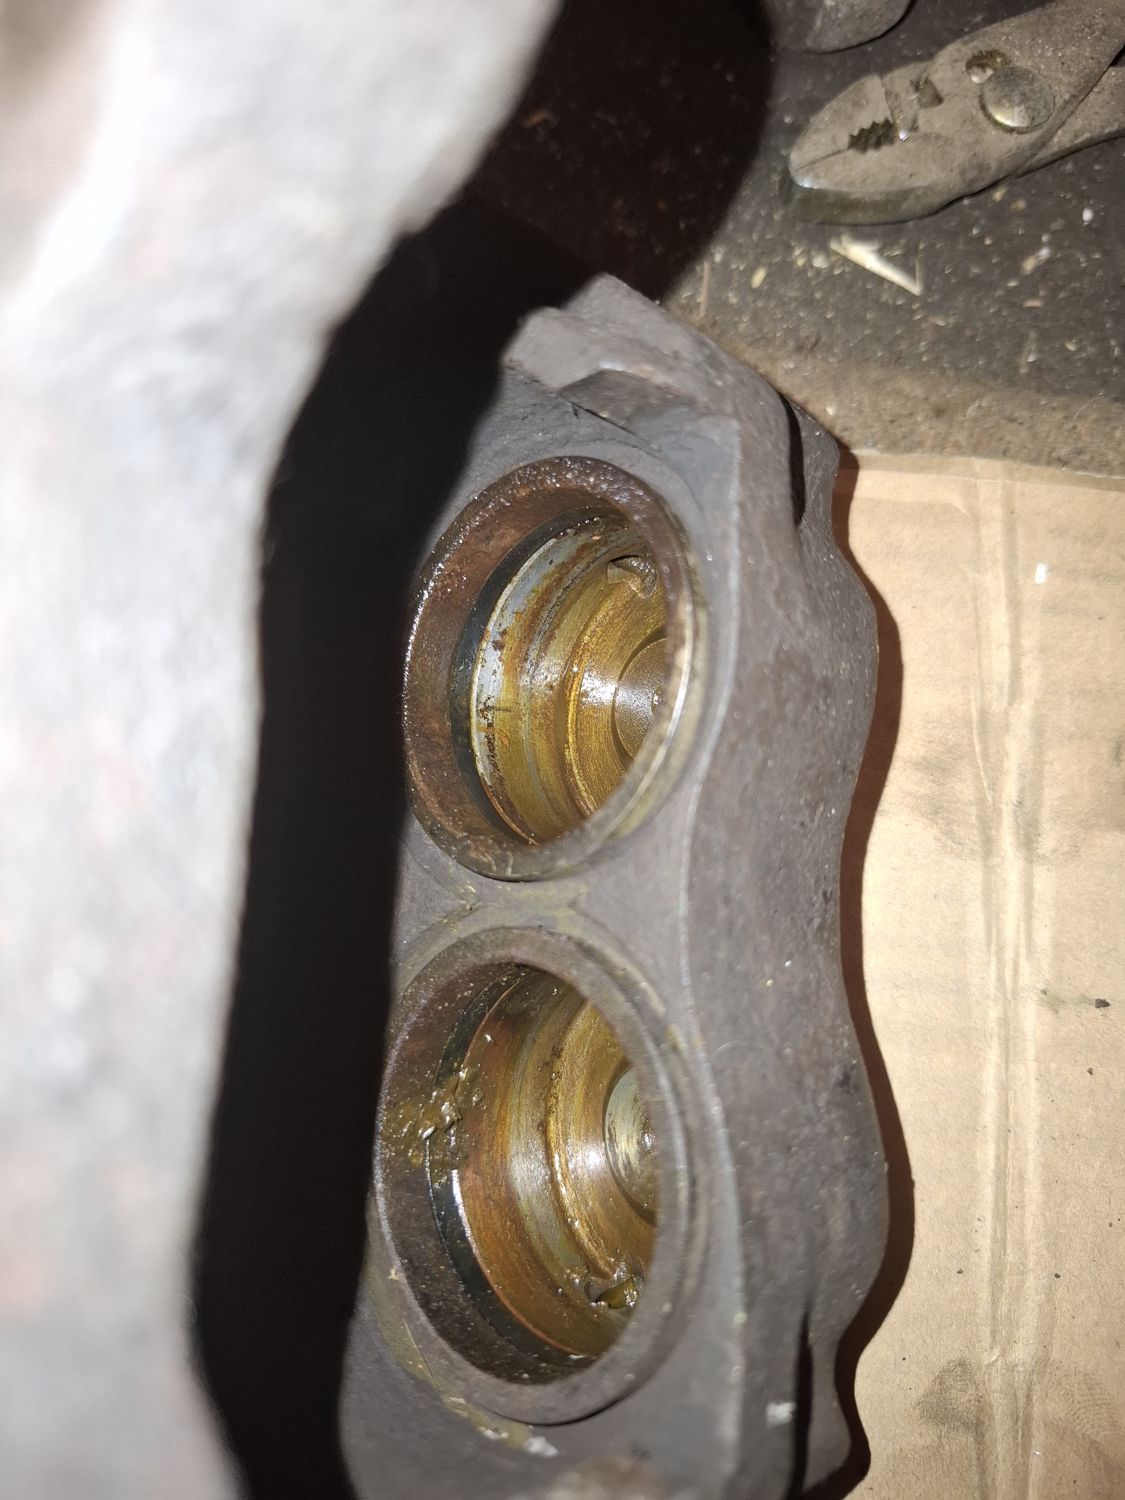
The package on arrival, 27 SeptemberThe E21 hubs as they cameThe previous owner's handmade aluminium shieldsThe old calipers: corroded bores
Struts
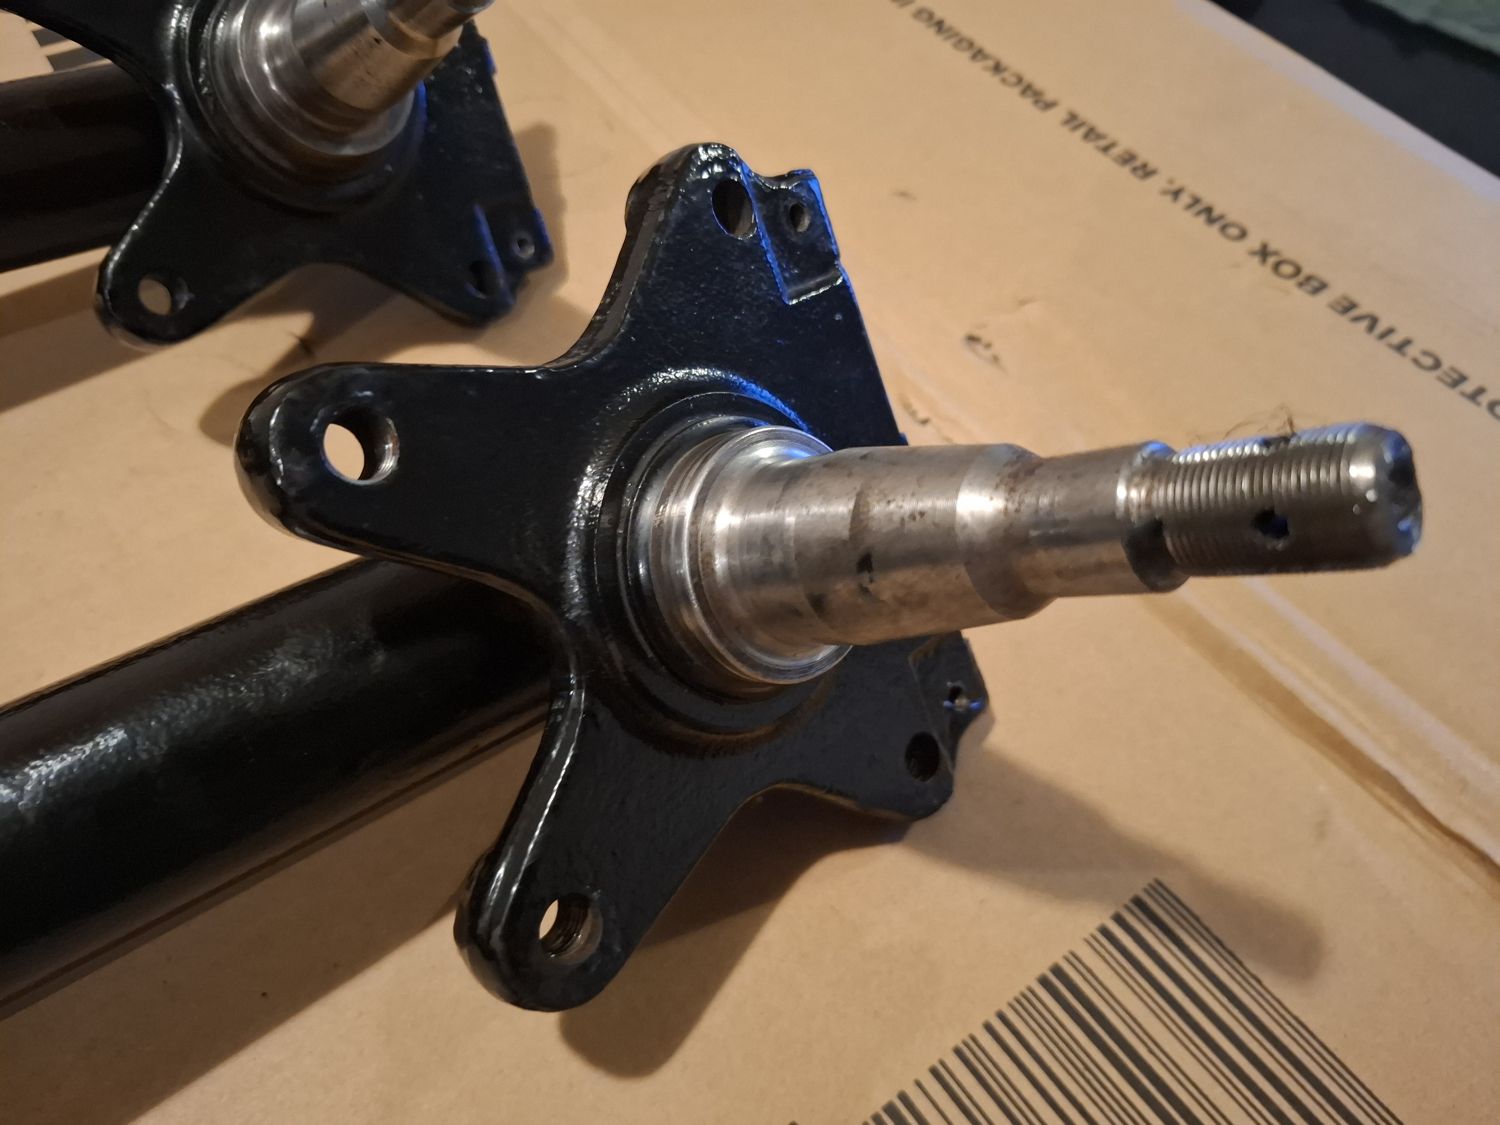
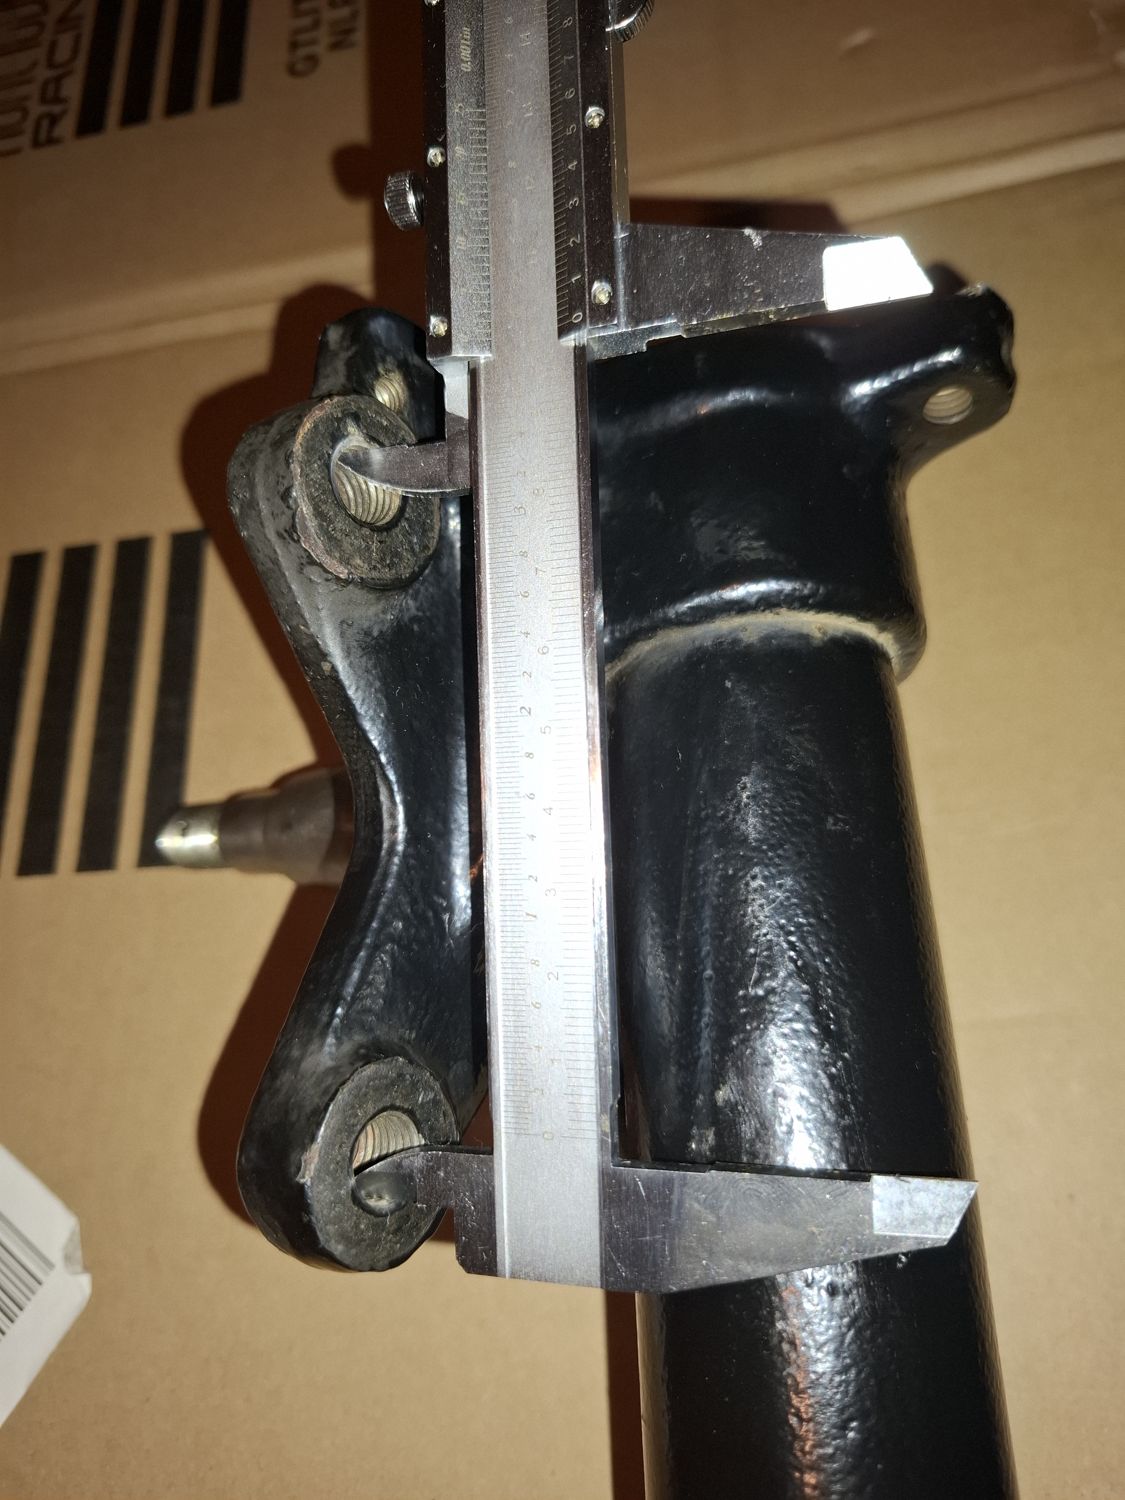
The struts had been powder-coated years ago by the previous owner and were still in good shape, so they only needed a very thorough clean. I measured the distance between the caliper mounting points to confirm that they really are ti struts: ti/tii/Turbo struts have the wider 88.9 mm caliper mounts, the "small" 02s 76.2 mm.
Powder-coated ti strut and stub axleMeasuring the caliper mounts
Hubs: new studs
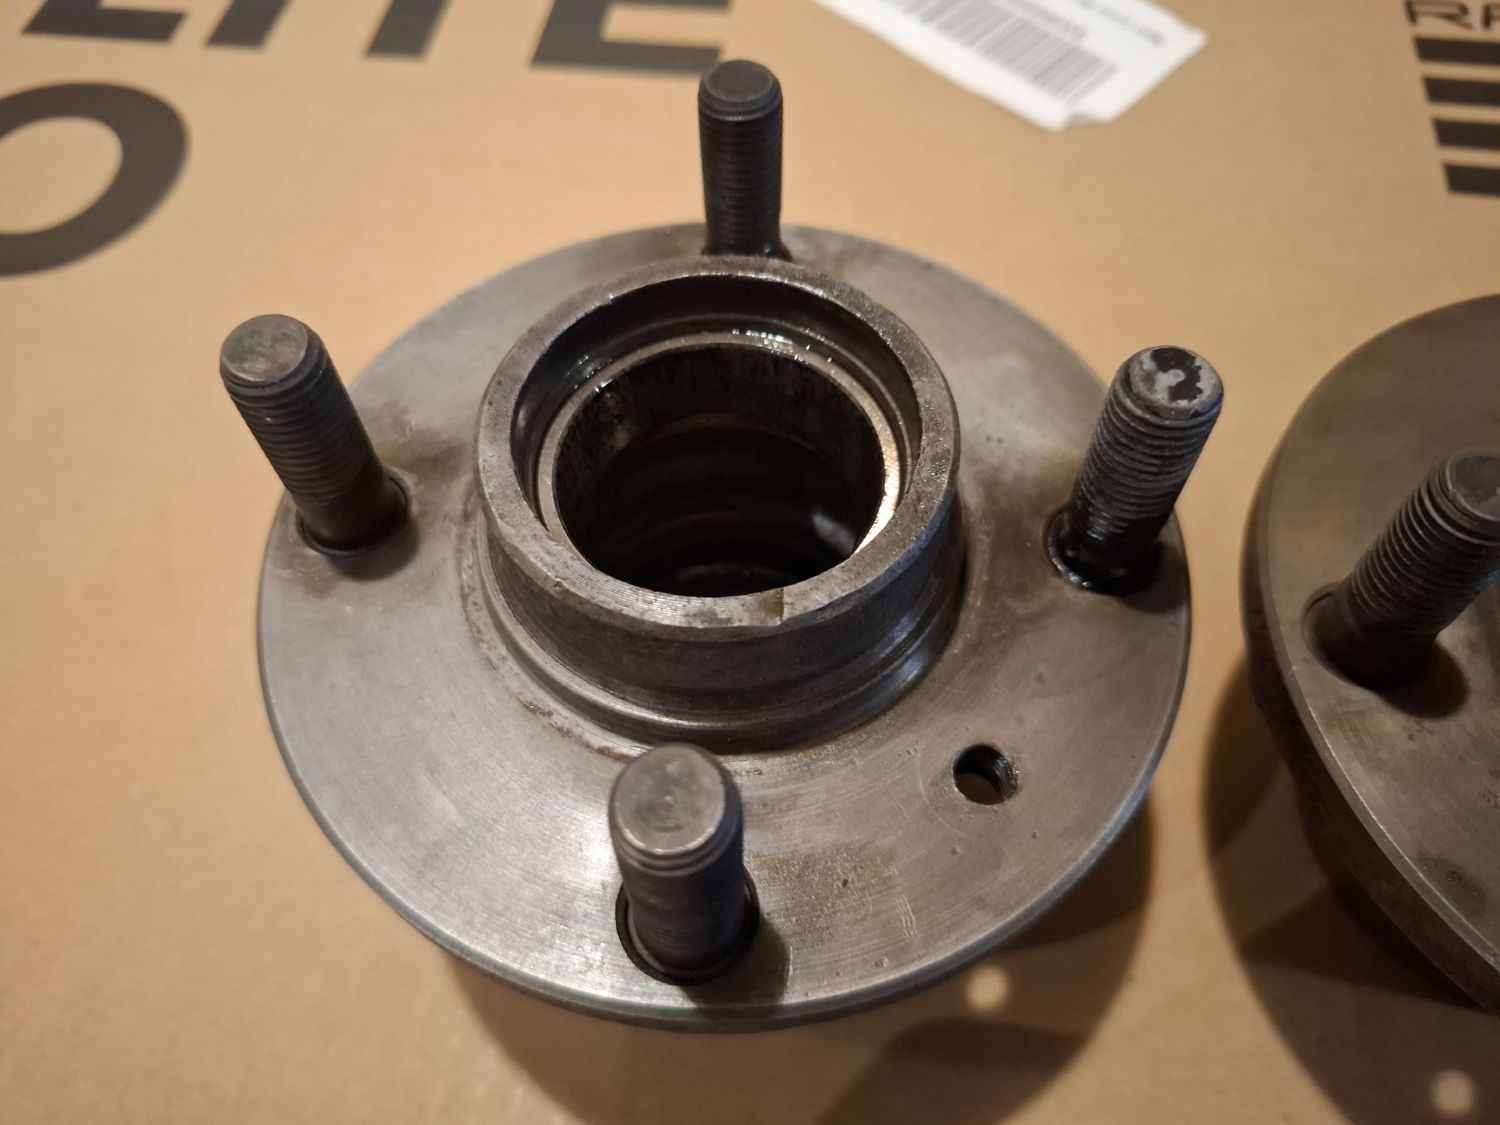
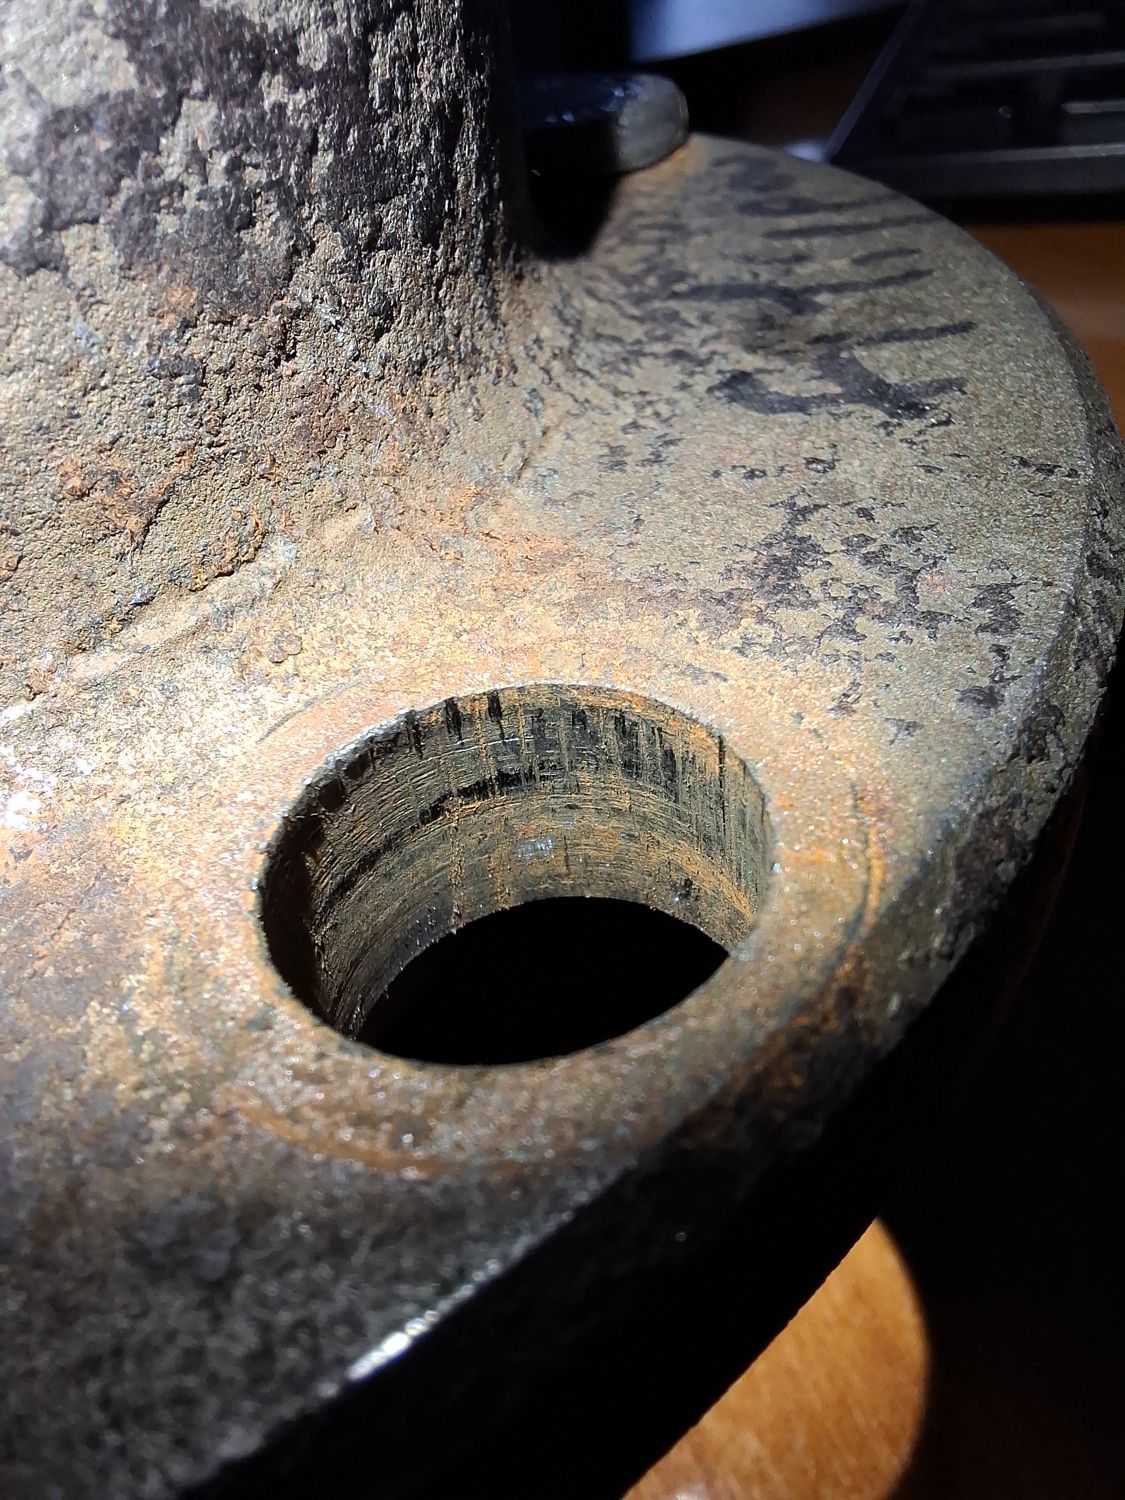
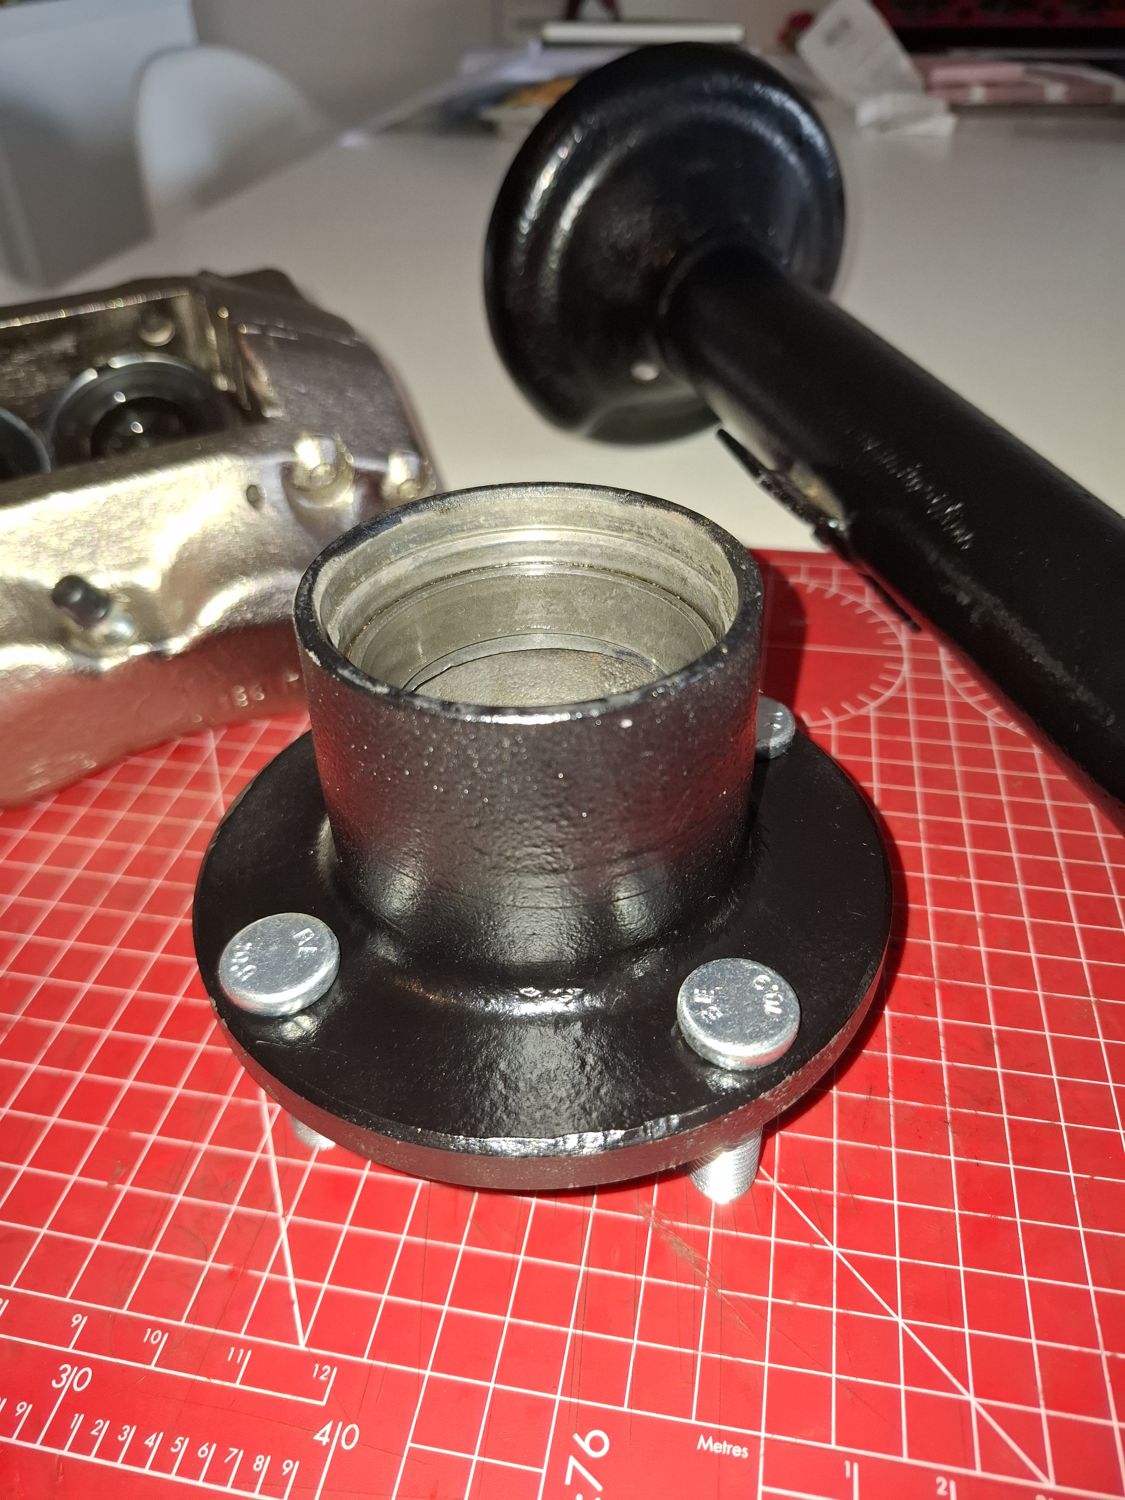
The hubs had radial play at the studs: the knurled studs no longer sat tight in their holes. I cleaned the hubs ultrasonically and derusted them completely, then pressed in oversize knurled studs, Febi 33499 (M12×1.5, grade 10.9), which grip properly in the worn holes. No press needed: I pulled each stud in with a conical wheel nut. First with the conical side against the hub, so the stud centres itself in the hole, then turned round to the flat side with a couple of greased washers underneath. After that: 1K etch primer and 1K black.
The hub with its original studsA worn stud holeDerusted hubsPainted, with the new studs
Checking run-out
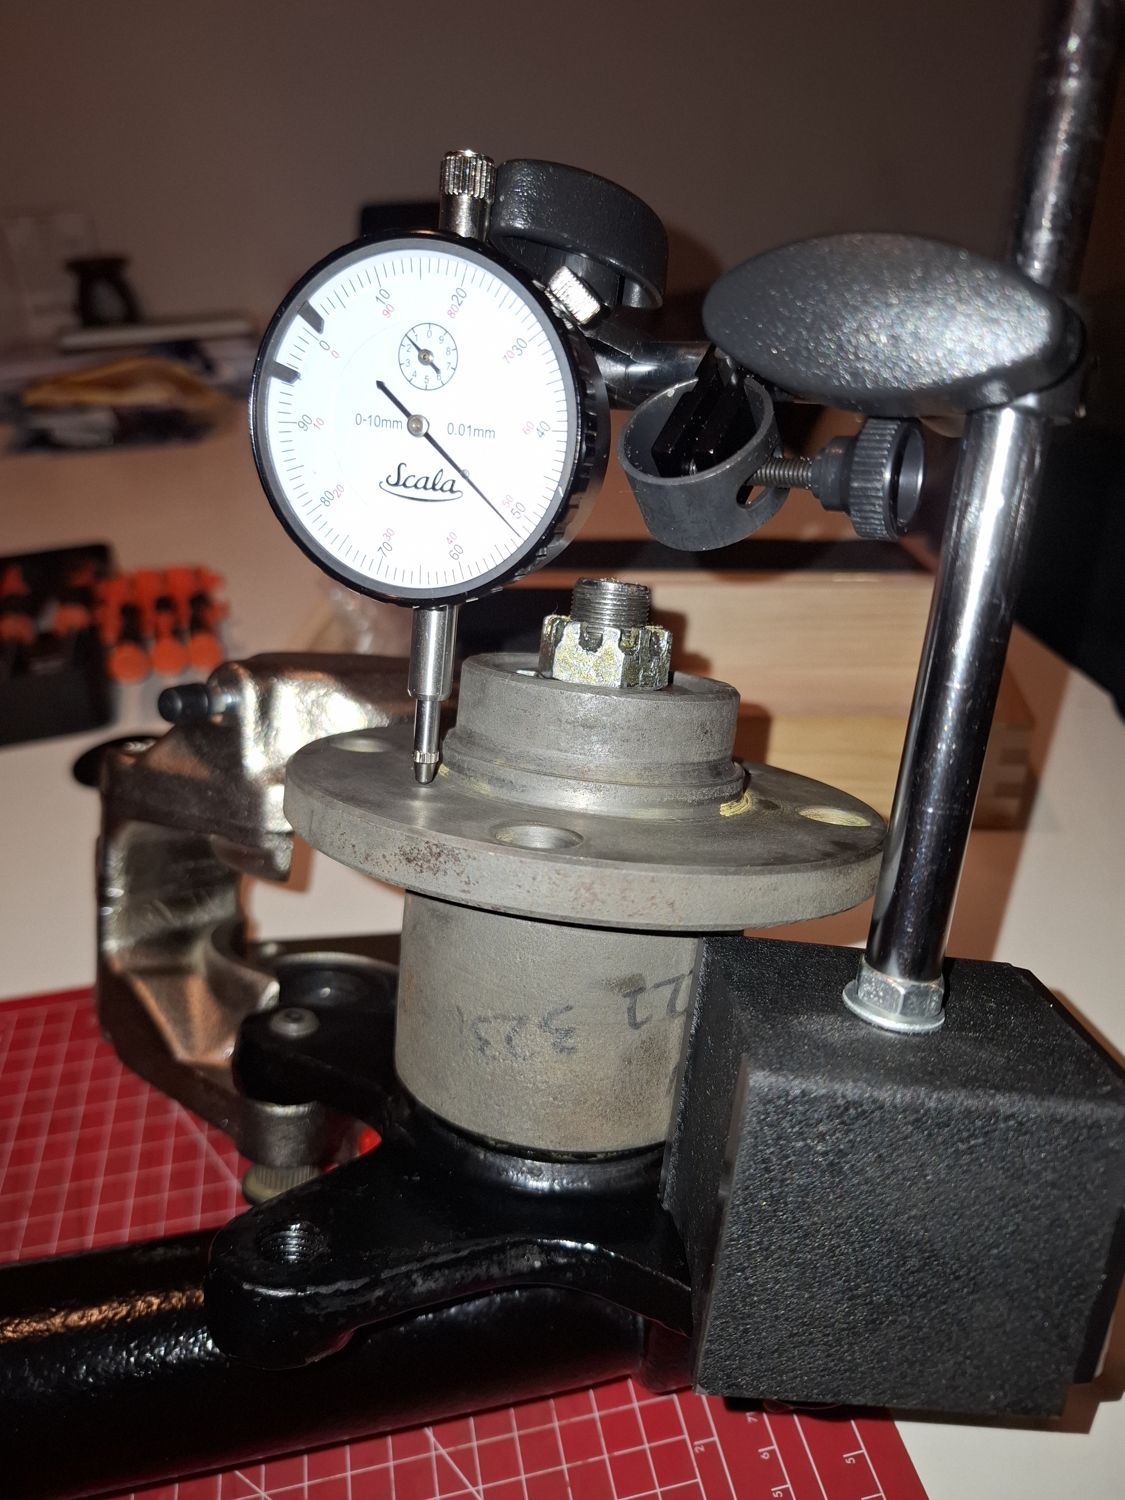
With the hubs on the struts I checked the run-out of the hub face with a dial indicator: about 0.05 mm on one hub and around 0.04 mm on the other.
Dial indicator on the hub, 14 October
Calipers: new for the car, old ones restored for sale
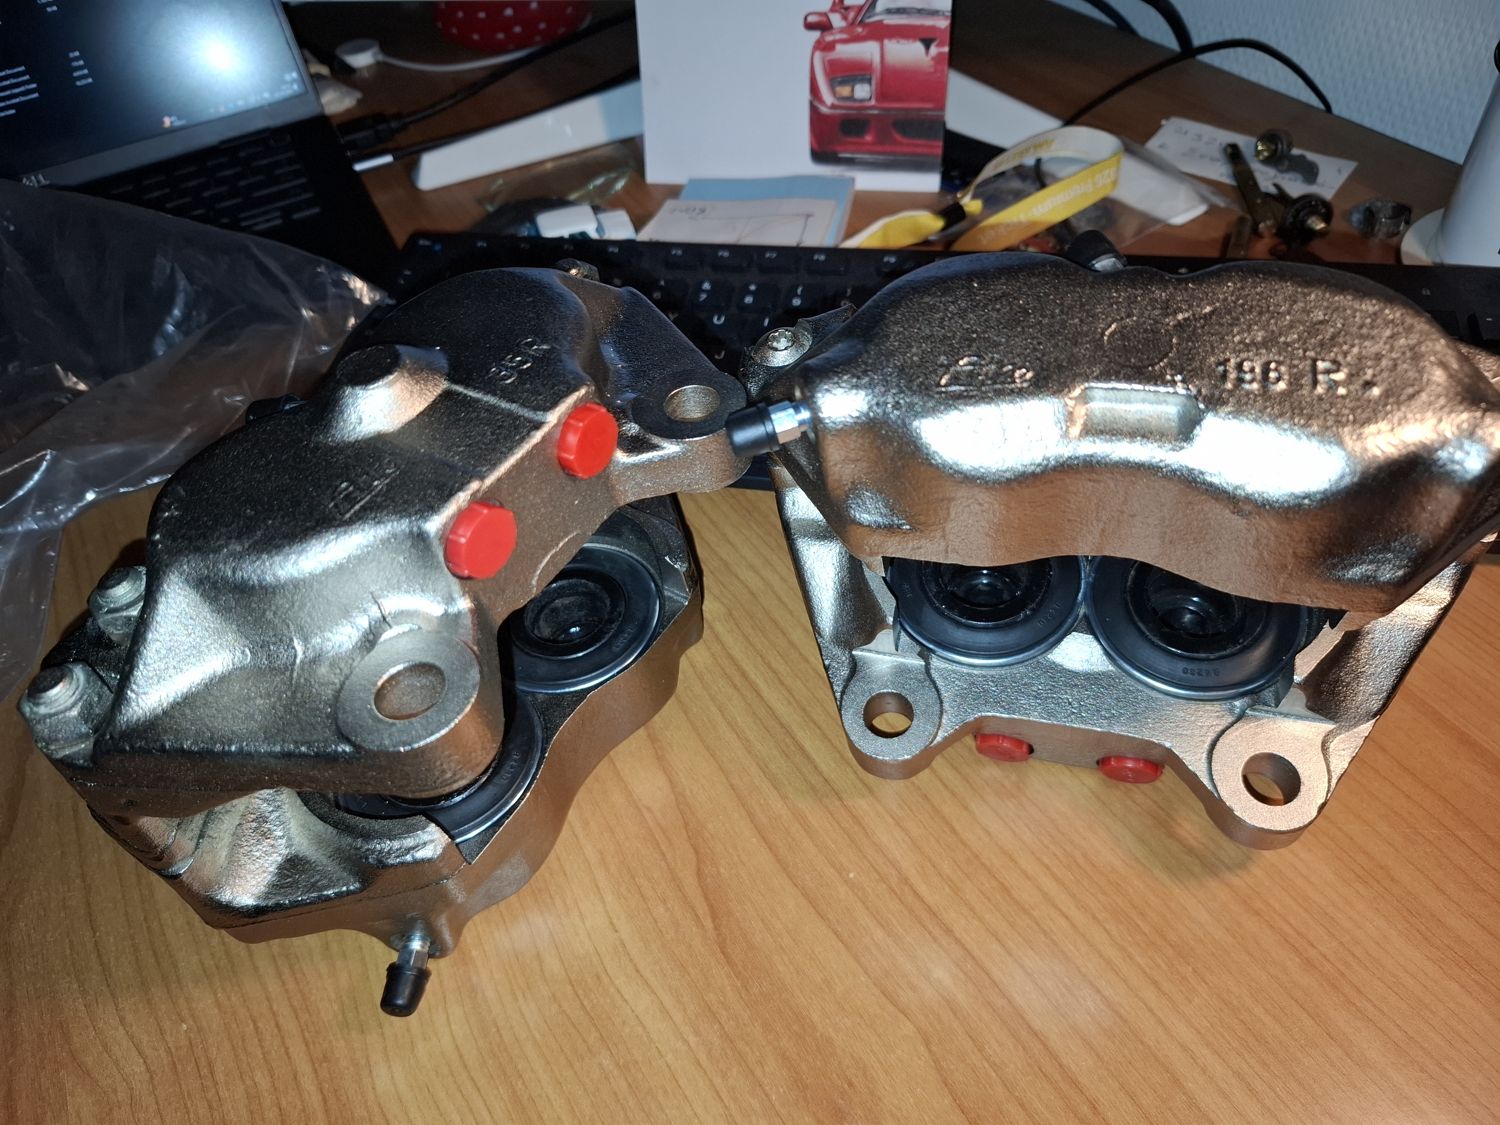
At Veterama in October I found a restored, nickel-plated pair of ATE 2002 Turbo calipers in excellent condition. These go on the car.
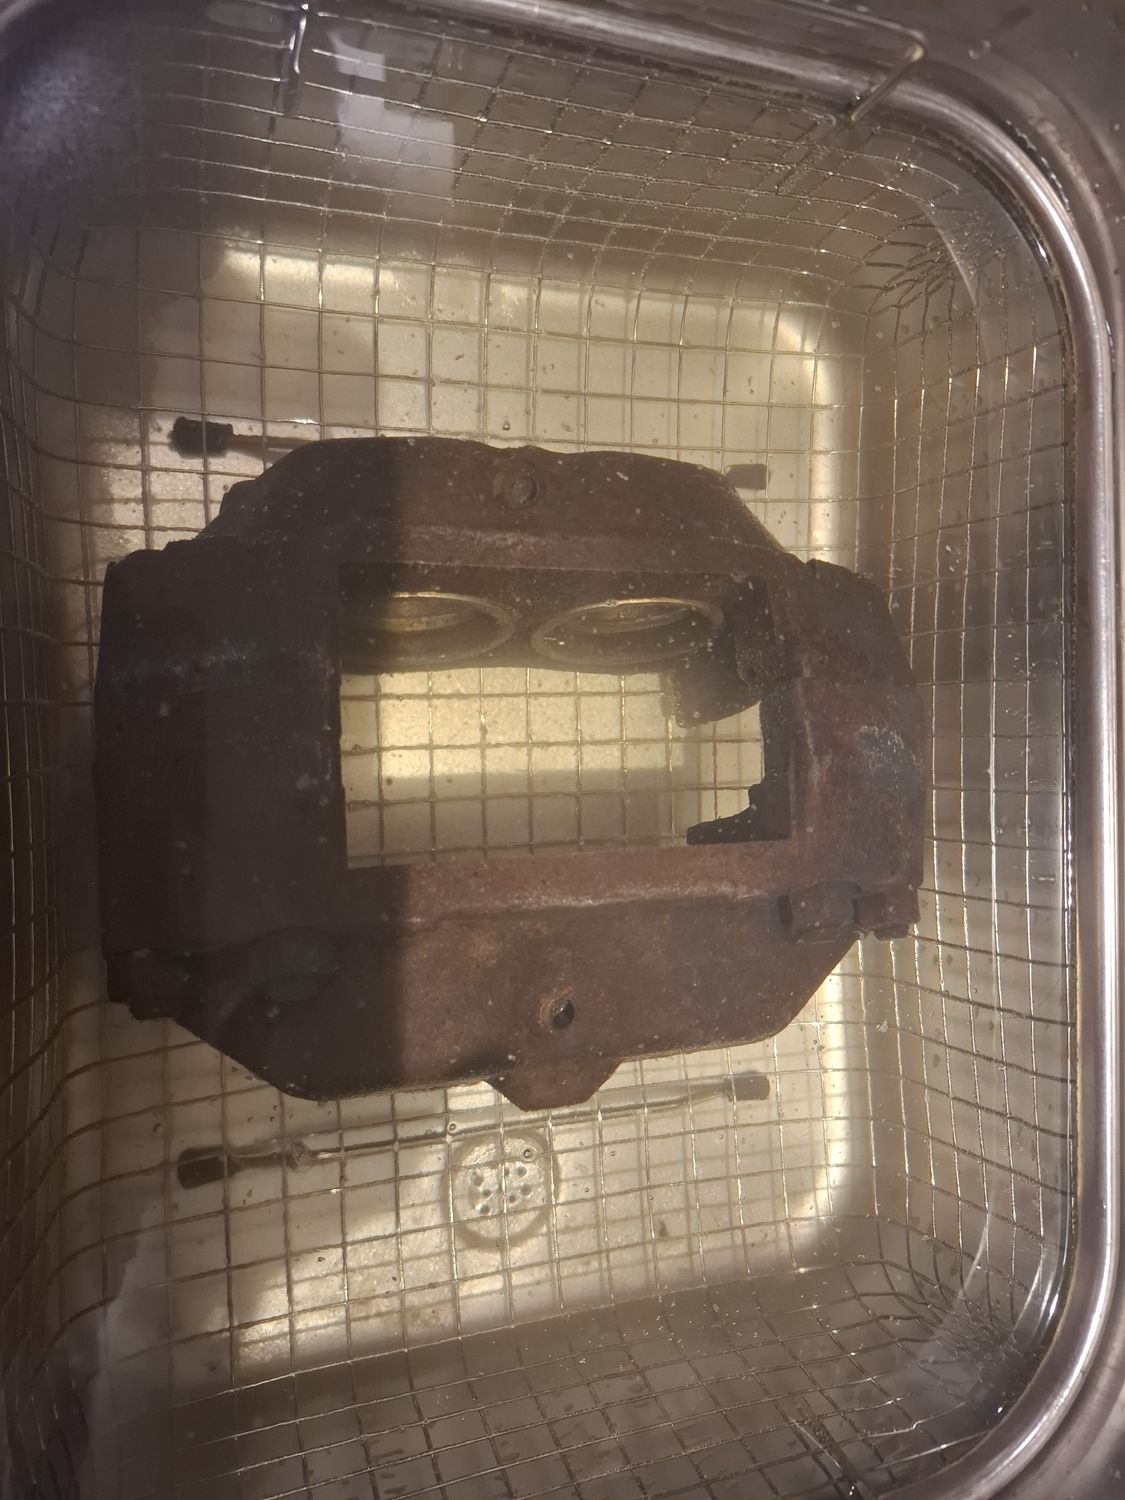
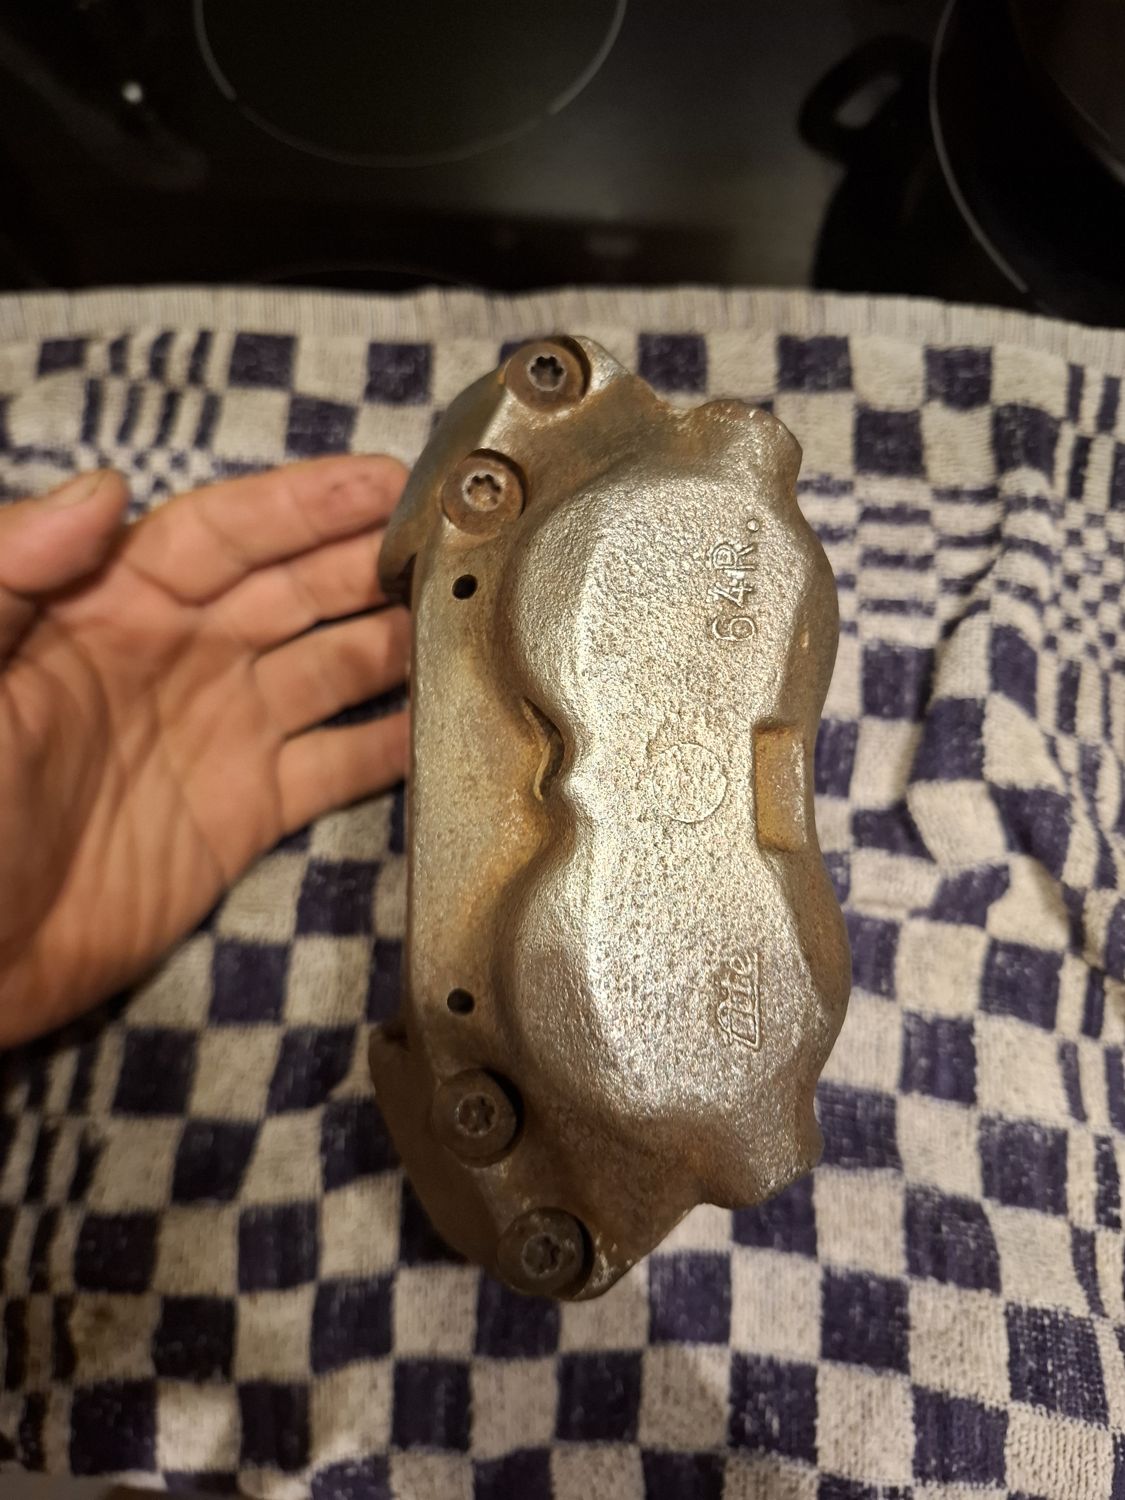
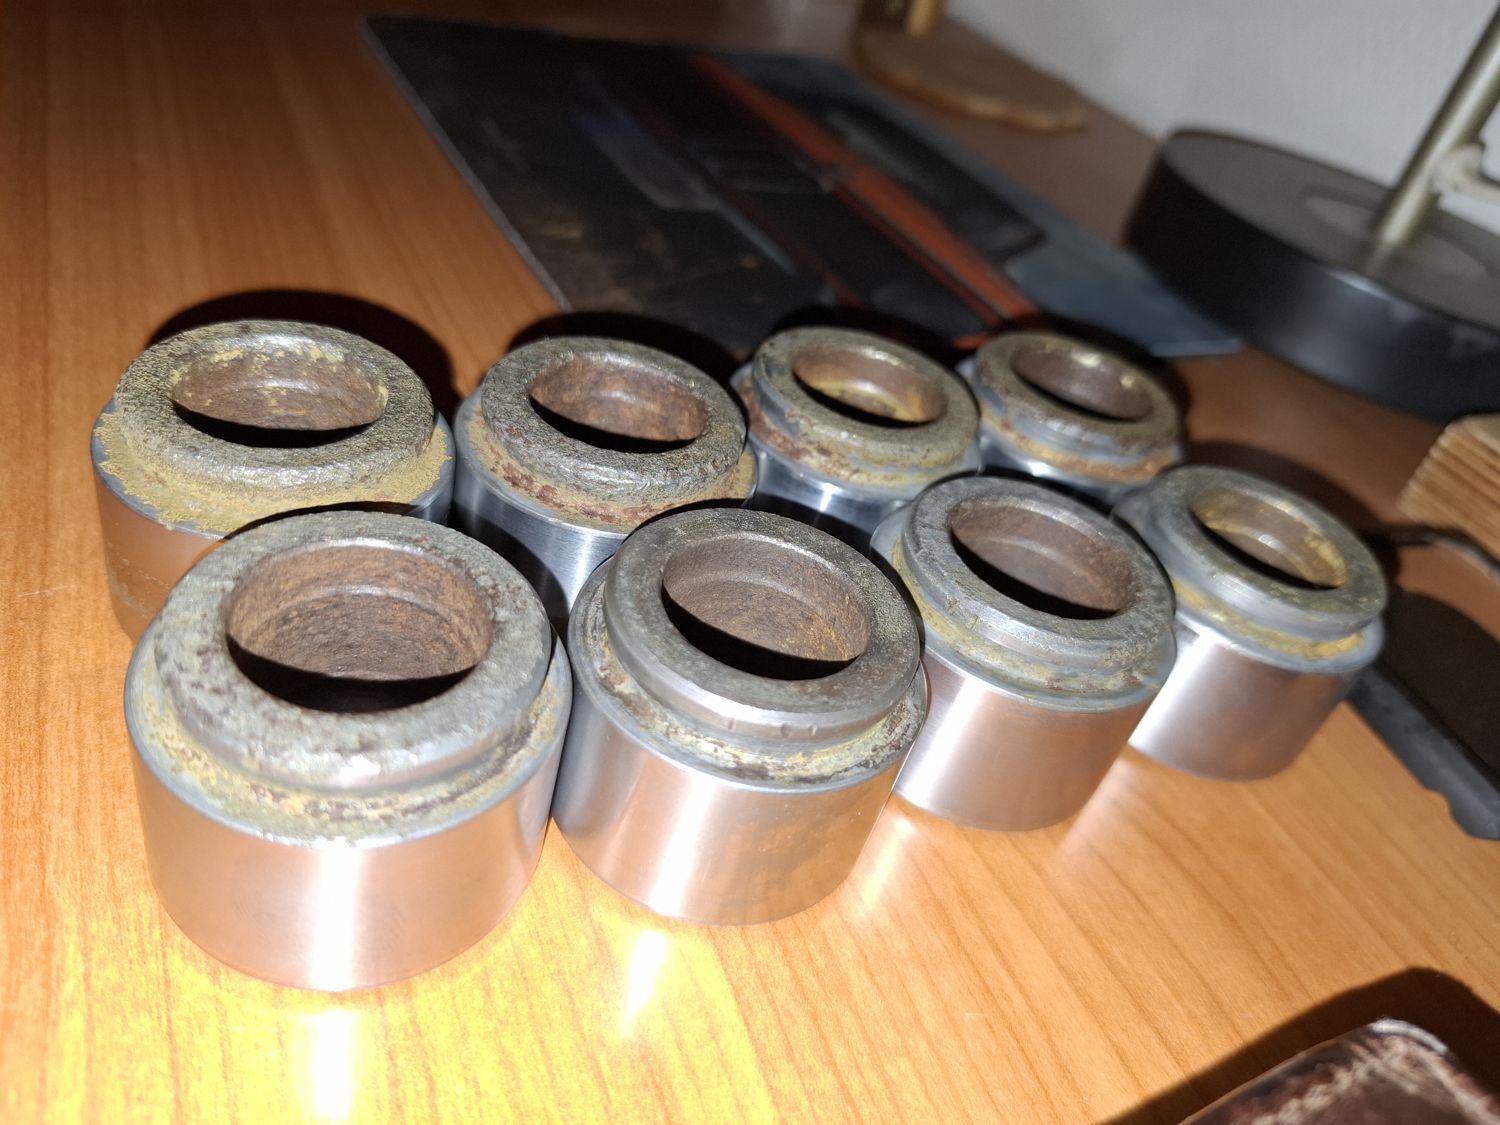
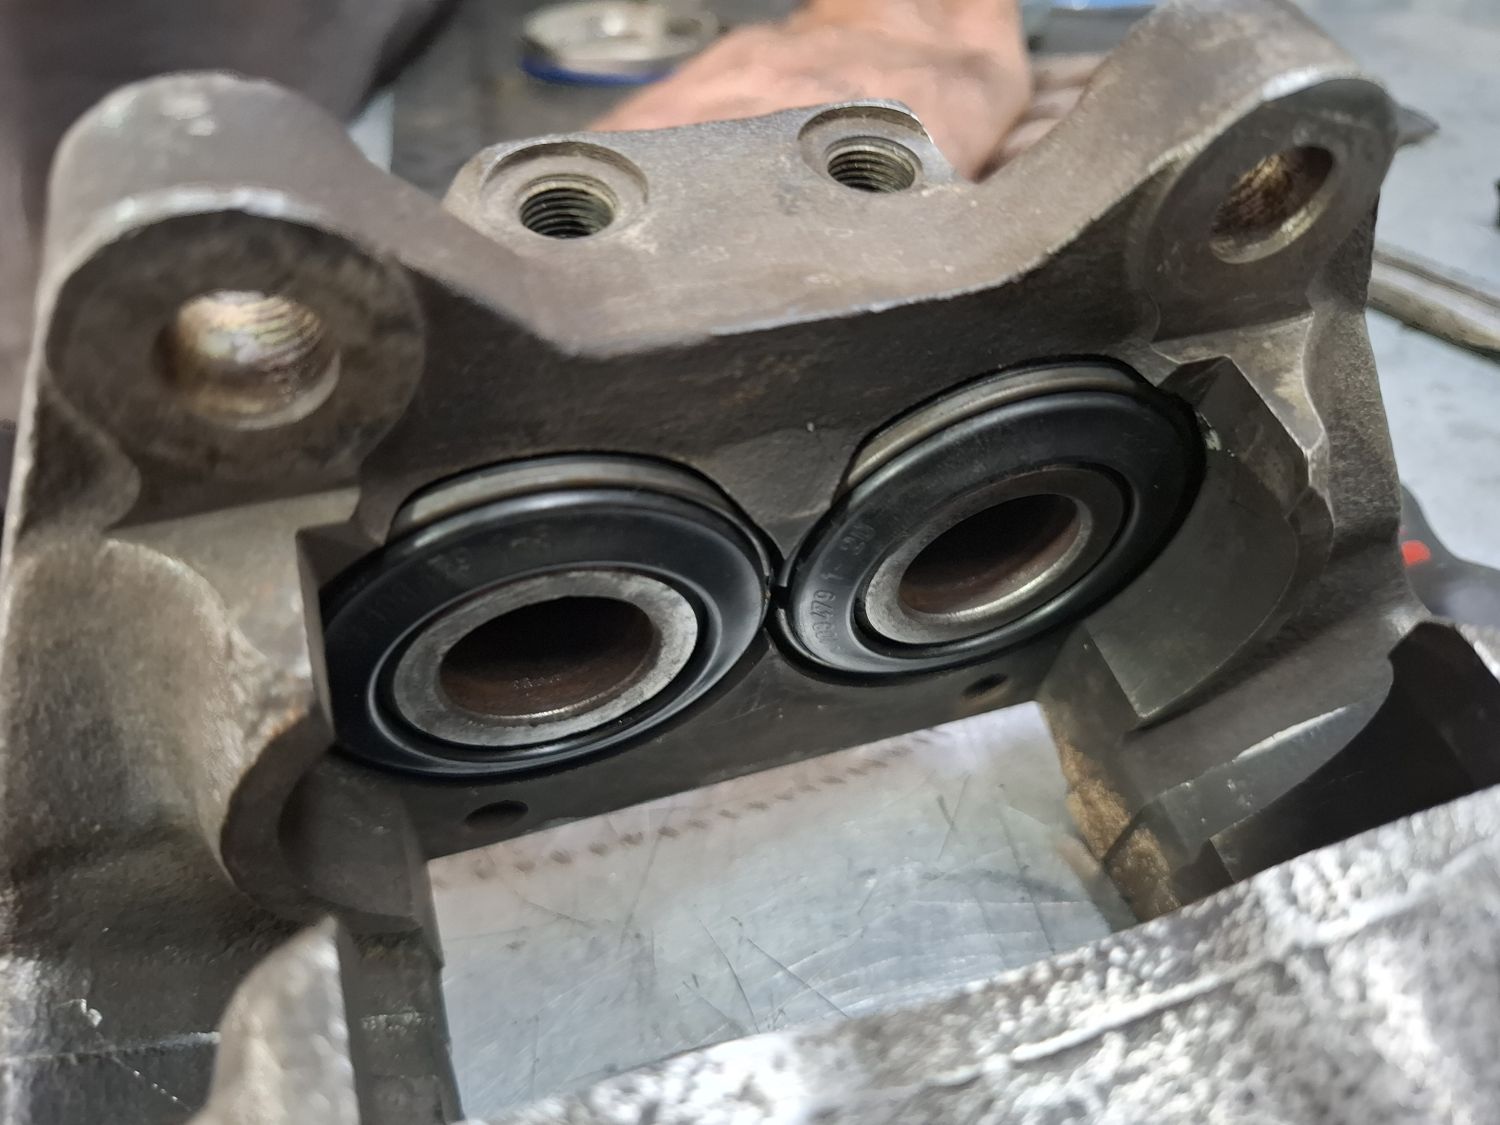
The old calipers from the package were stripped completely, derusted in citric acid in the ultrasonic cleaner, and wire-brushed. The pistons cleaned up well. They still need paint, and then they will be sold, together with the previous owner's aluminium shields.
The restored, nickel-plated Turbo calipers from VeteramaBoth new calipersOld caliper in the ultrasonic bathAfter citric acidThe pistons cleanedWire-brushed, ready for paint
Shields: Neue Klasse, Alpina style
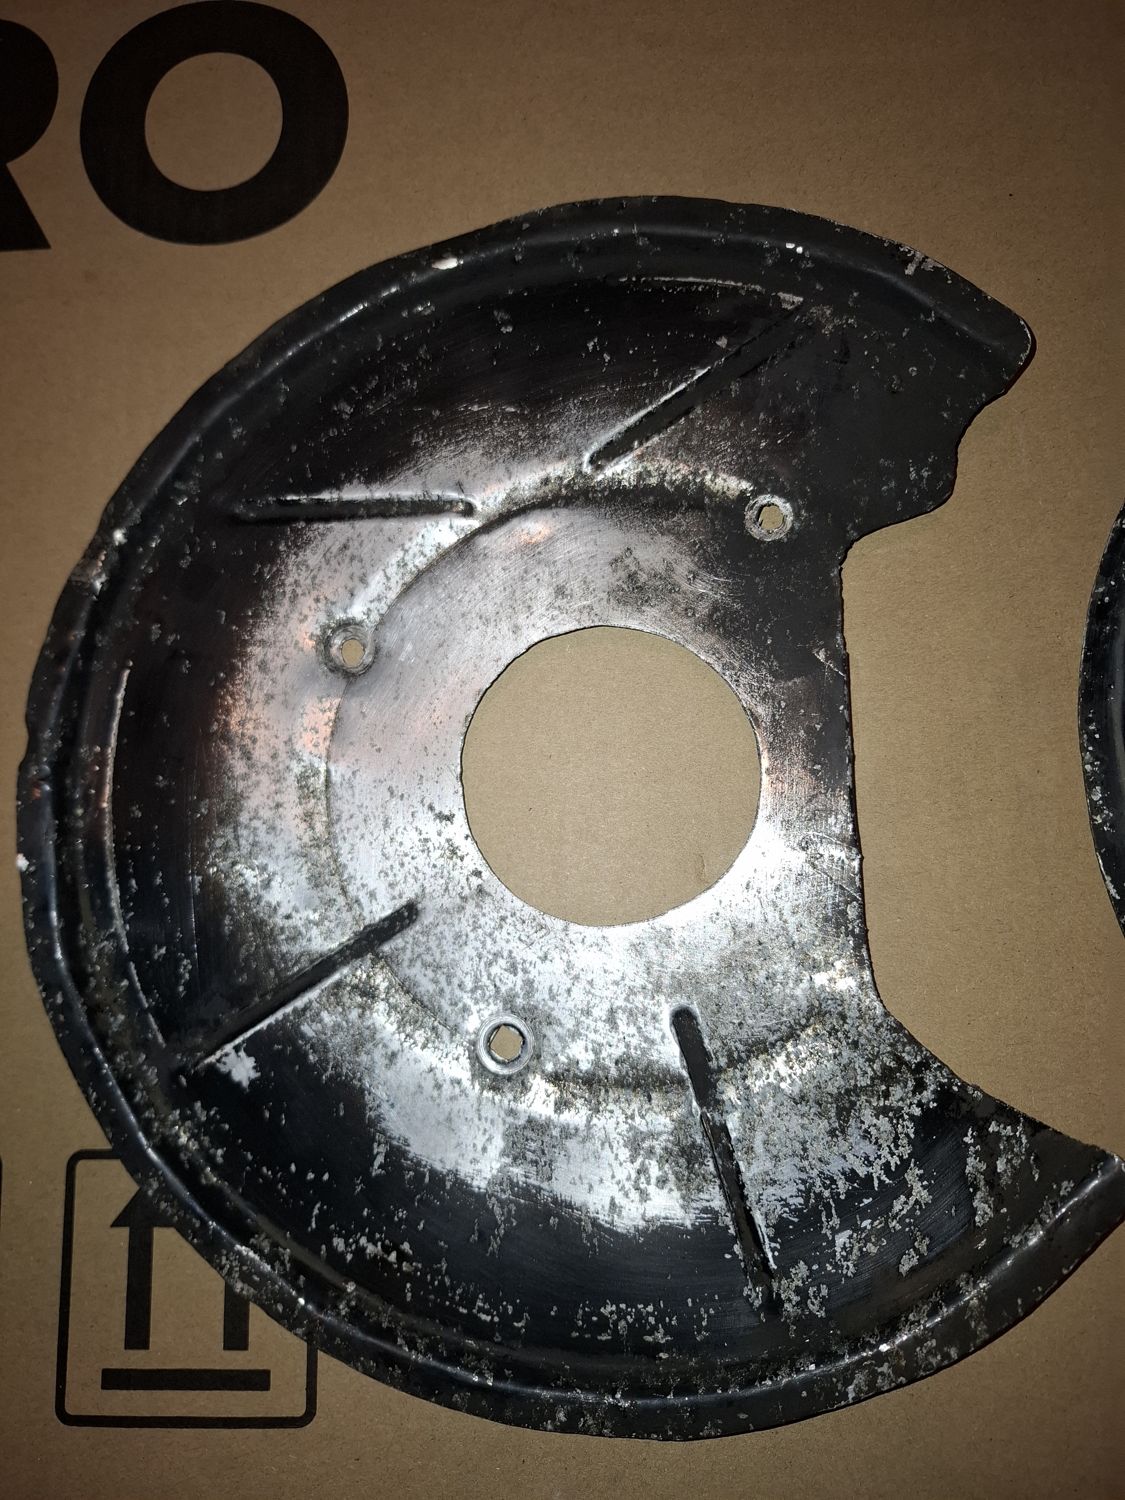
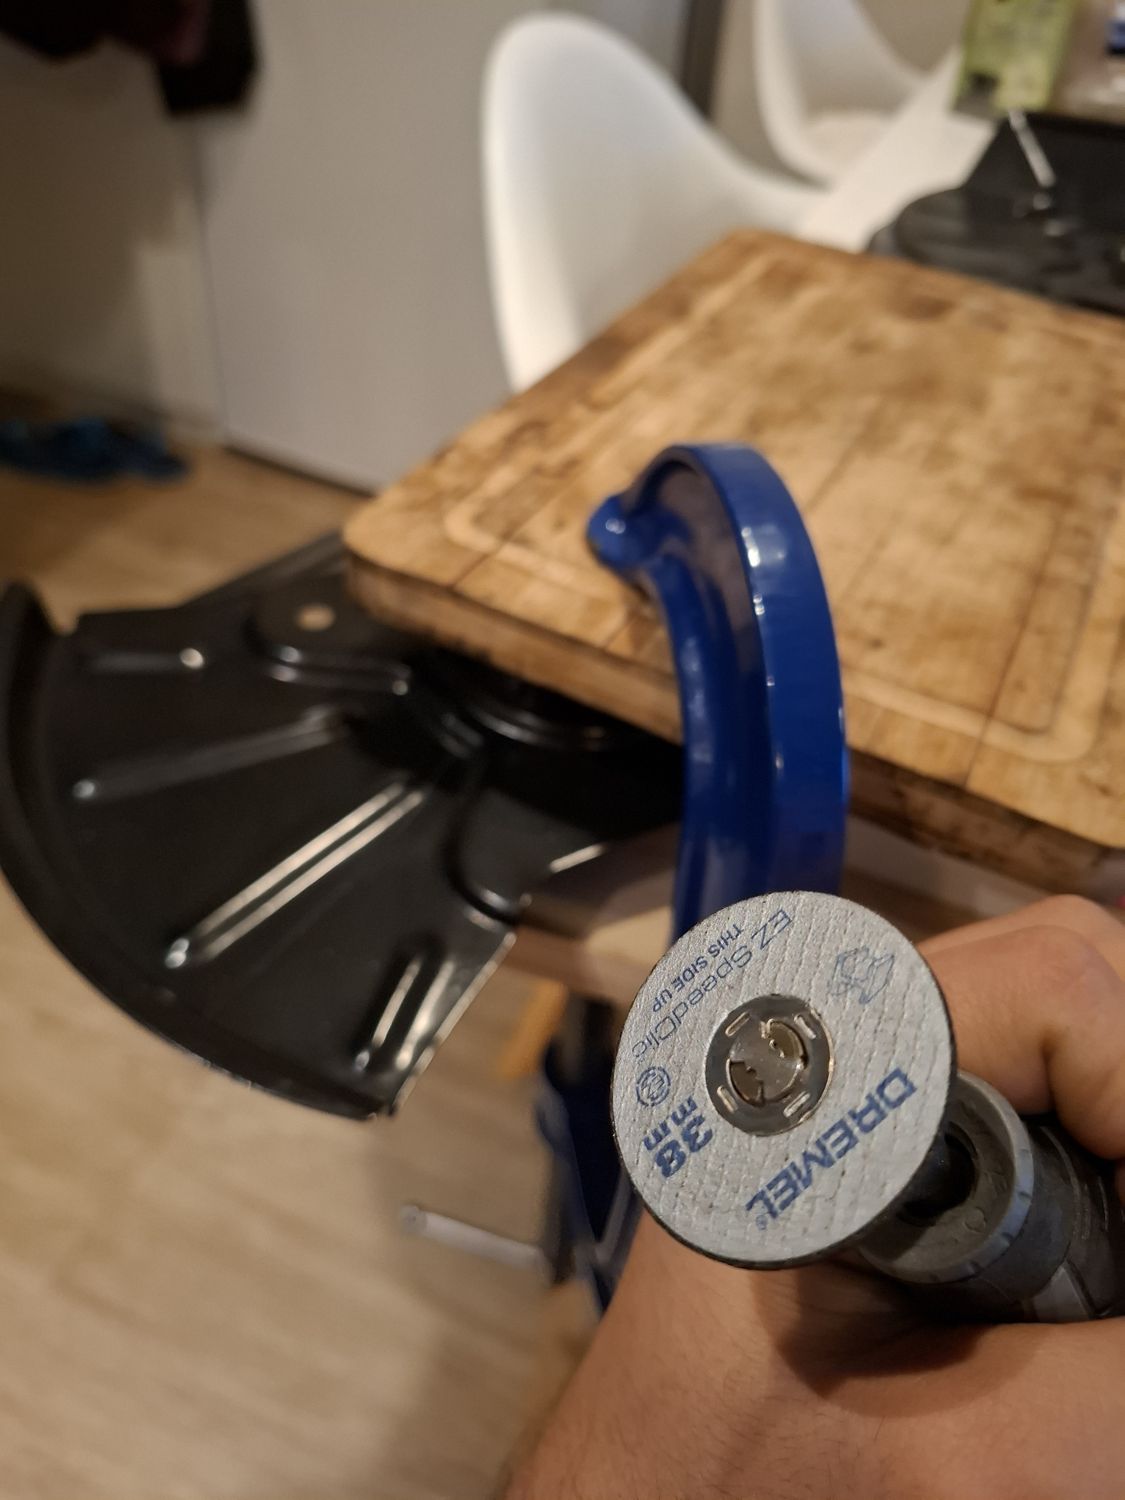
Alpina fitted Neue Klasse disc shields on the 02 because their shape scoops air onto the disc. I bought a new pair (BMW 34 11 2 760 114) and cut them with a Dremel so they fit behind the 02 strut. The previous owner's handmade aluminium shields were stripped and painted black; they will go with the old calipers.
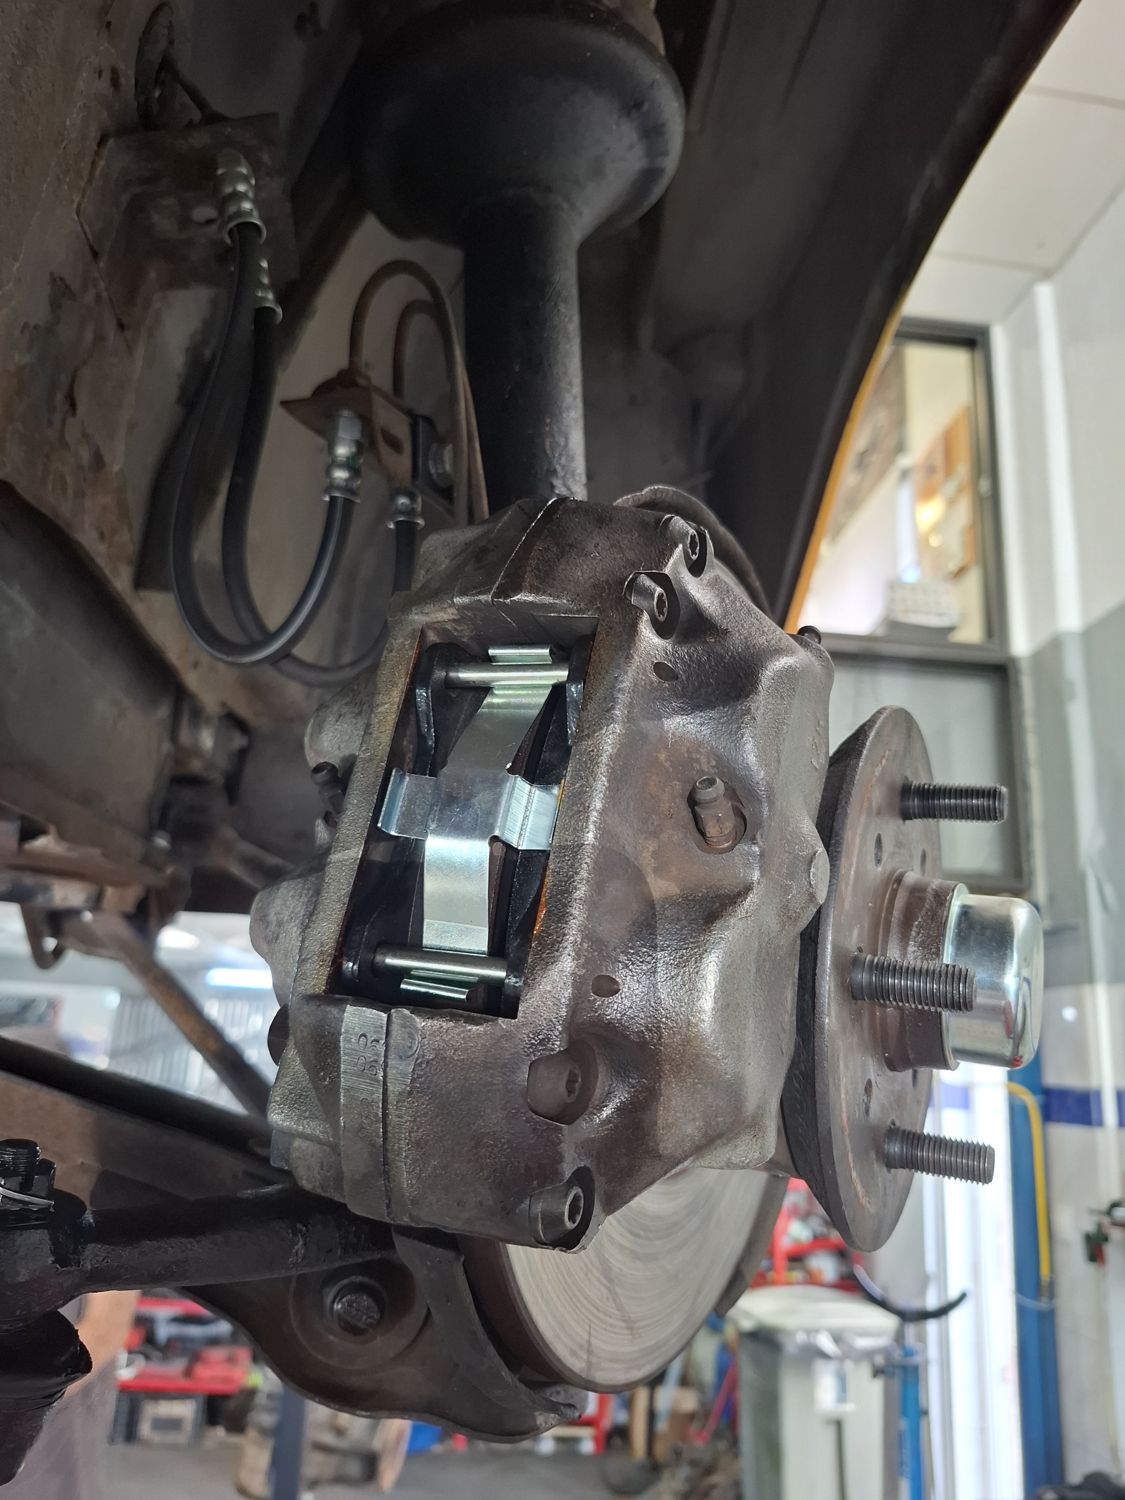
The aluminium shields before strippingCutting the NK shieldShield fitted behind the strutHub, caliper and shield together
Discs: NOS BALO
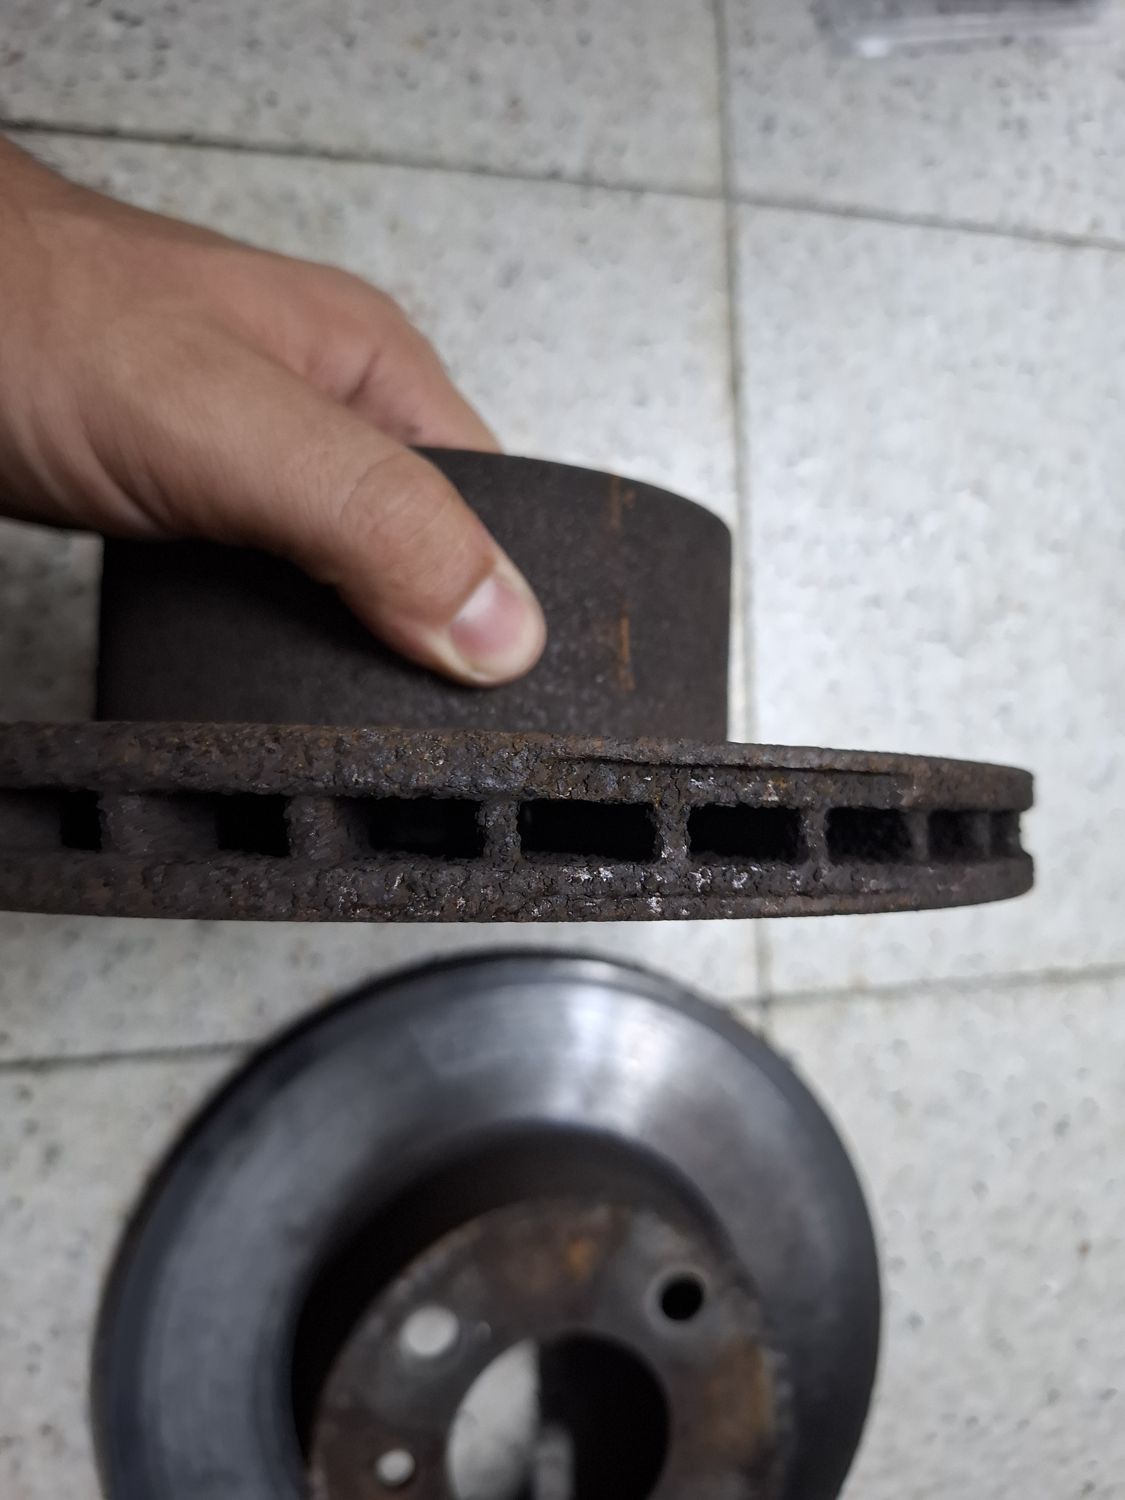
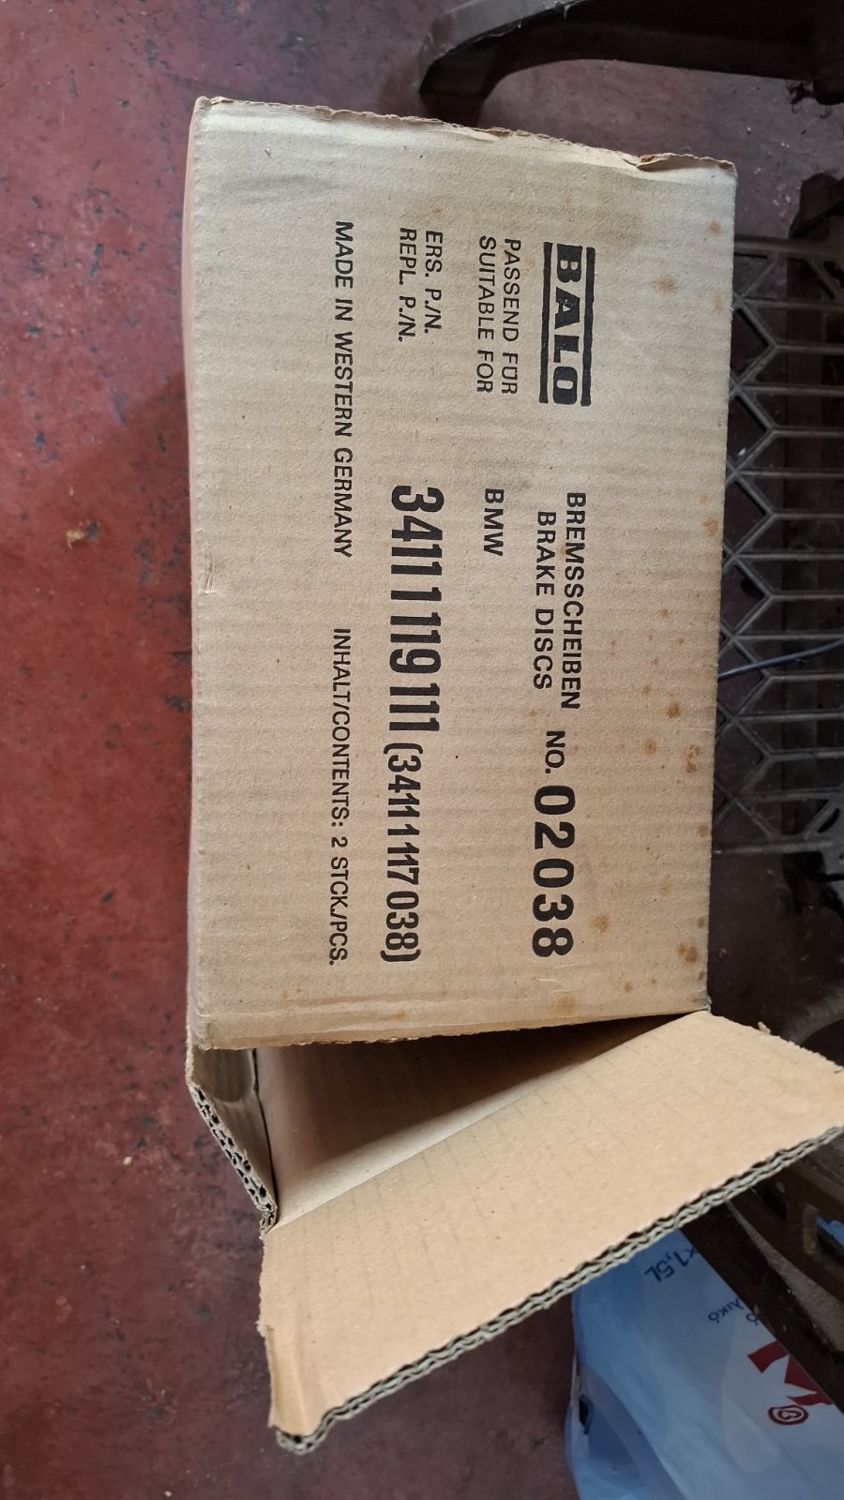
The used discs from the package were checked, but for the car I found a pair of new-old-stock BALO discs for the E21 323i.
The used discs from the packageNOS BALO discsStill in the original box
Where it stands
By 22 October both corners were mocked up: strut, hub, Turbo caliper and shield. The project is not finished yet. Still to do:
New FAG wheel bearings in the hubs (bought from Autodoc in 2025).
Fit the zinc-plated brake-hose brackets, the yellow-zinc hose clips and the M12 wave washers (Kapteijn).
Make new CuNiFe brake lines.
Pads: Textar (already on the shelf), with a new Bosch pad fitting kit.
Fit everything to the Touring.
The ti struts currently on the car, with calipers restored in September 2025, then stay on the shelf as a plug-in alternative. Part two of this story follows when the brakes are on the car.
Both struts assembled, 17 OctoberBoth corners complete, 22 October
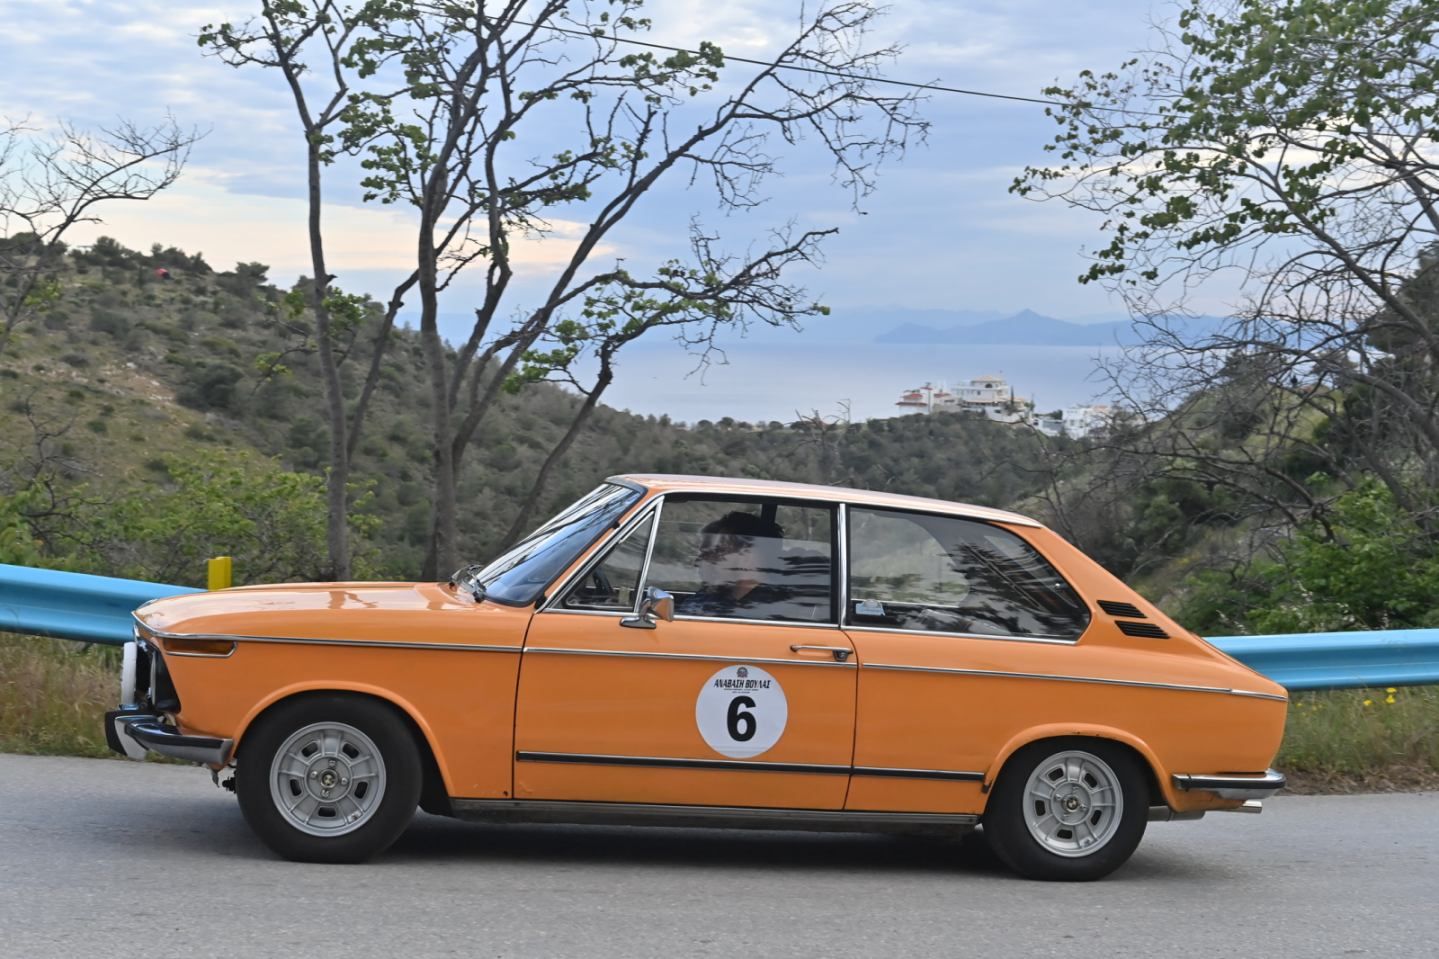
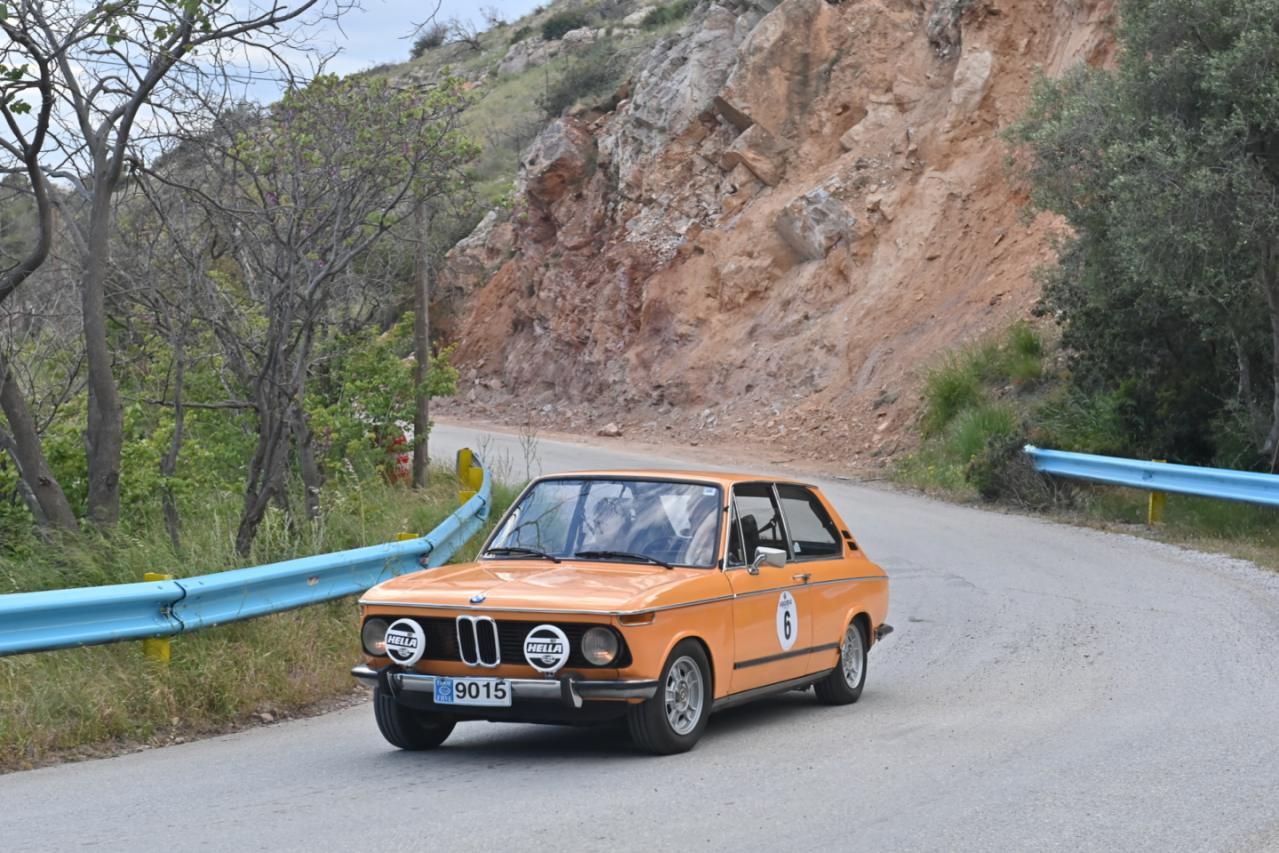
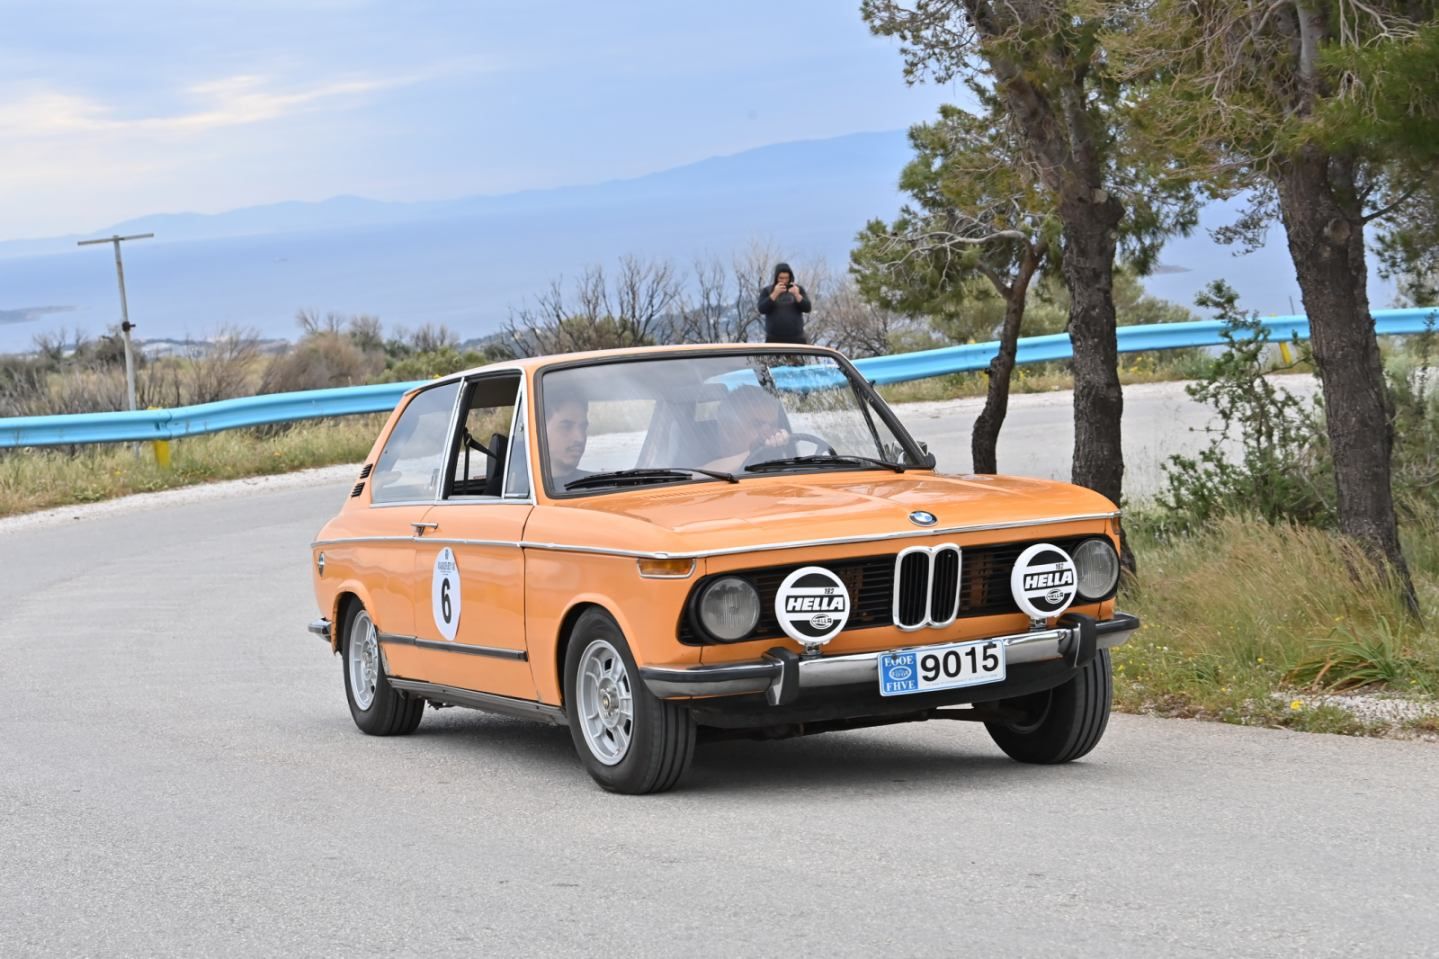
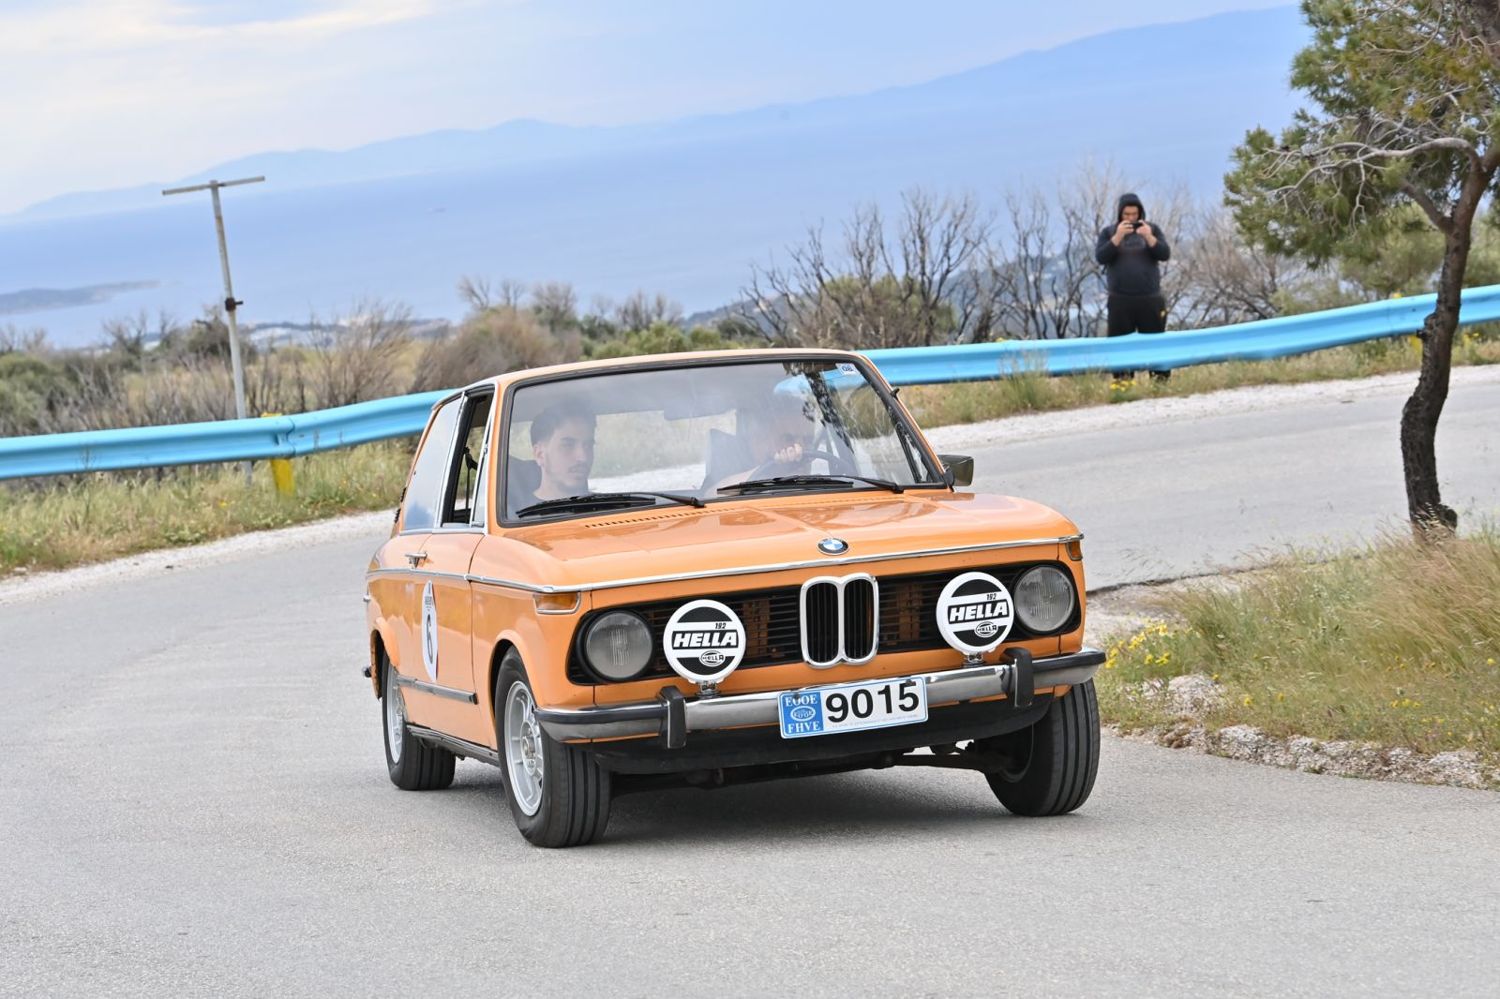
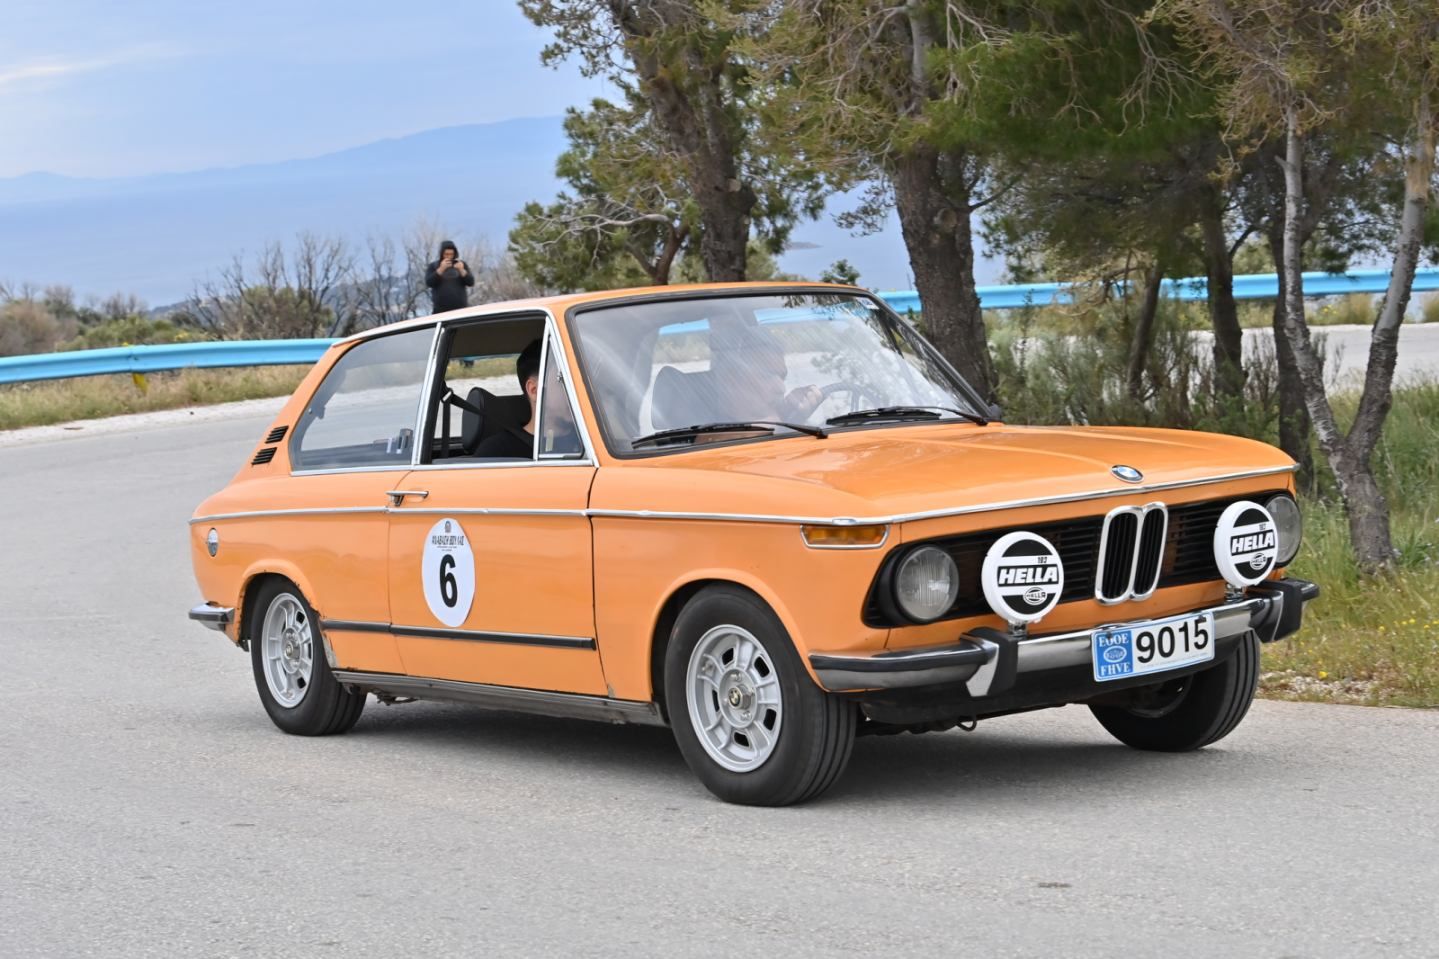
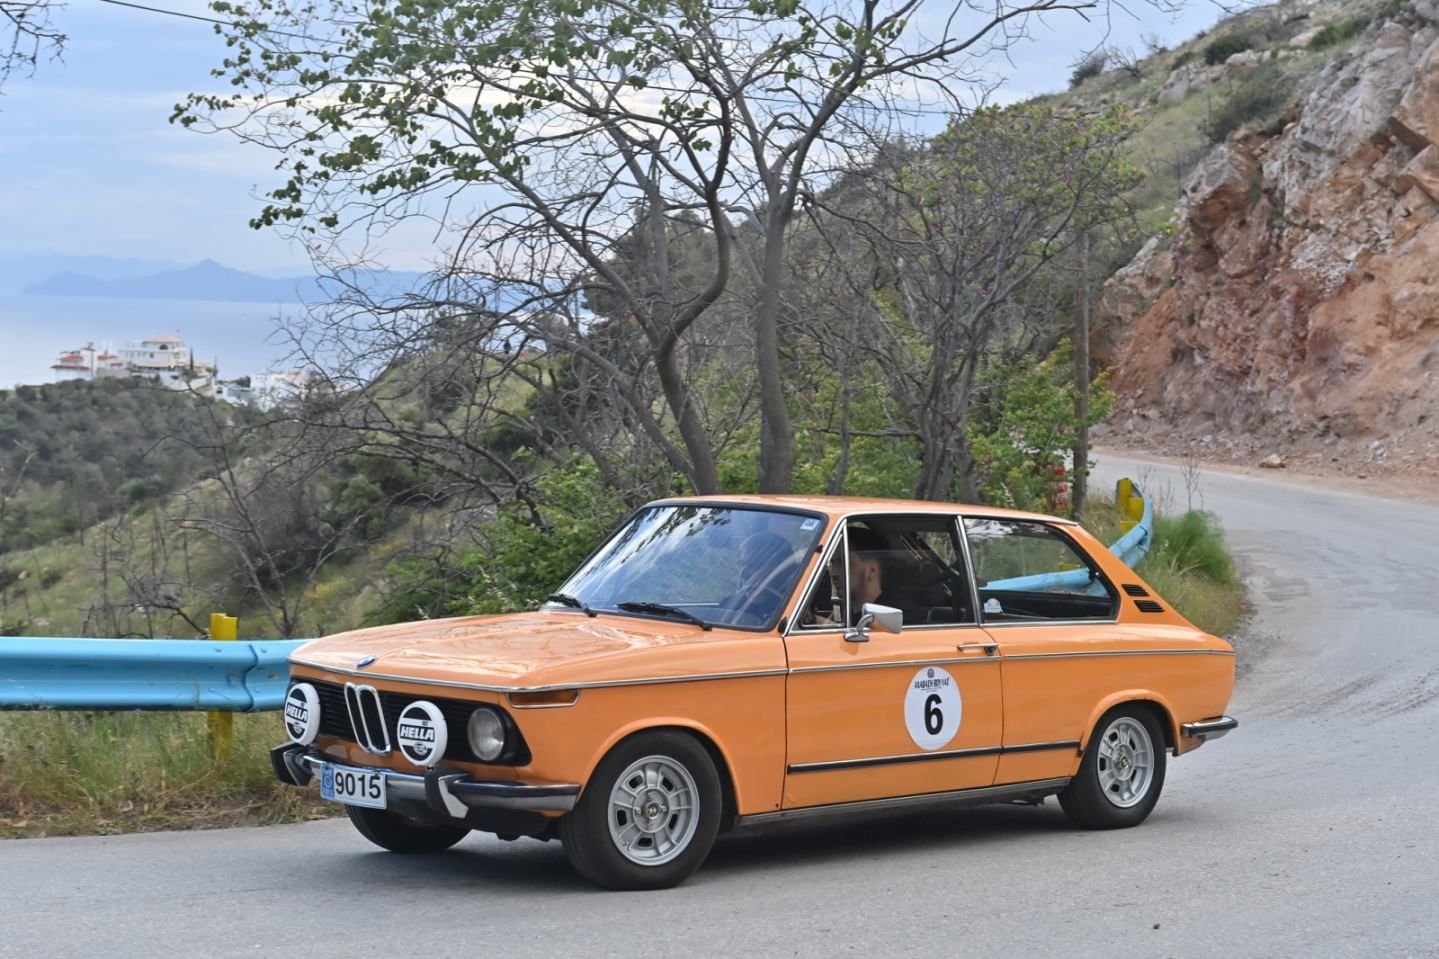
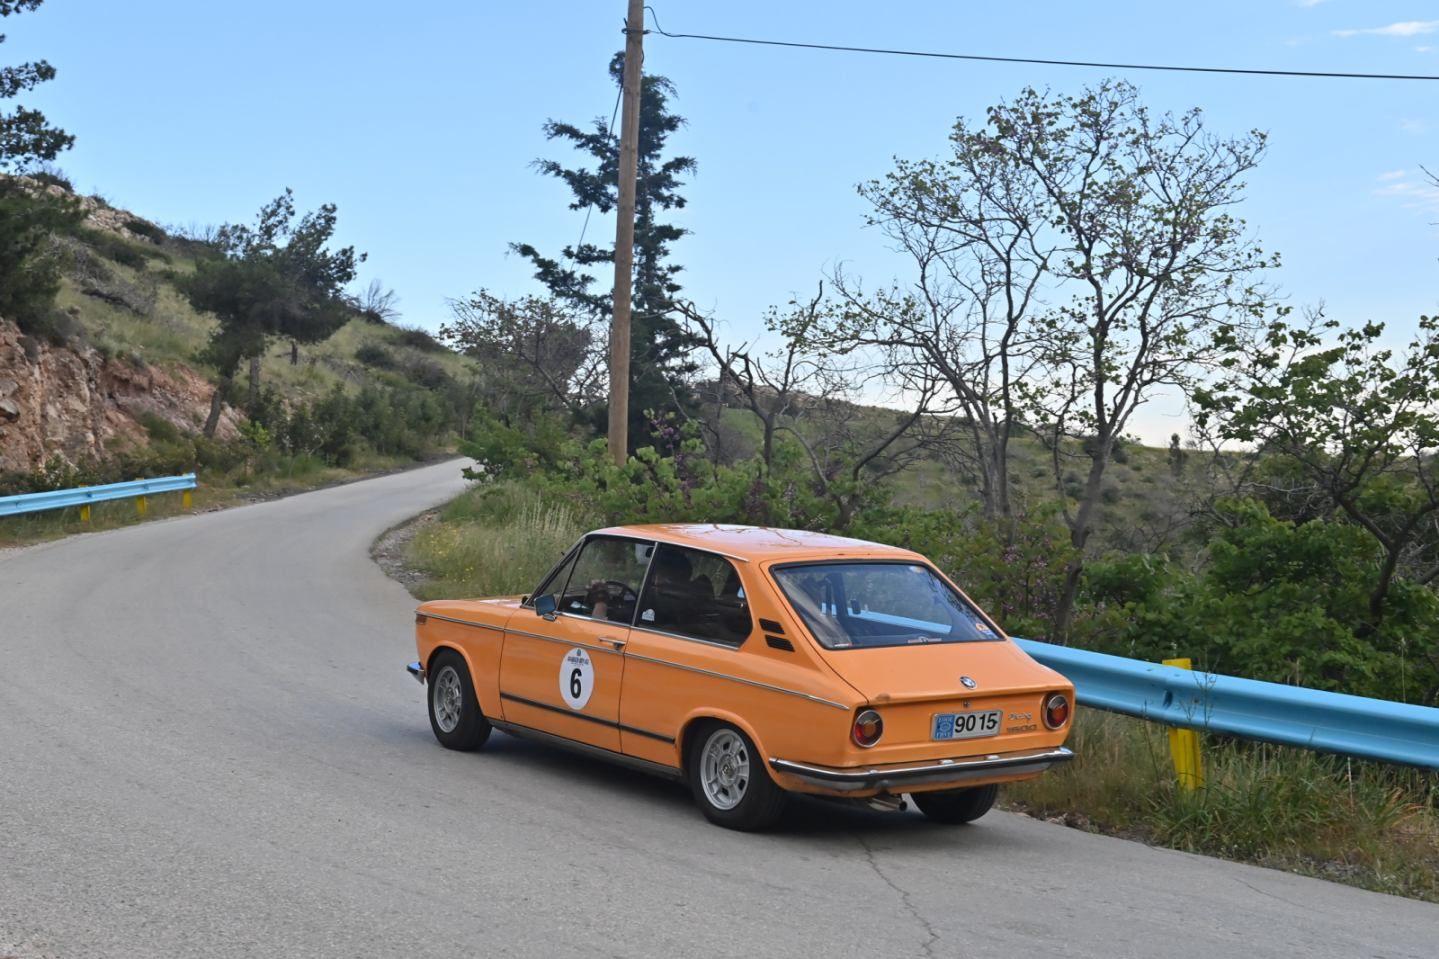
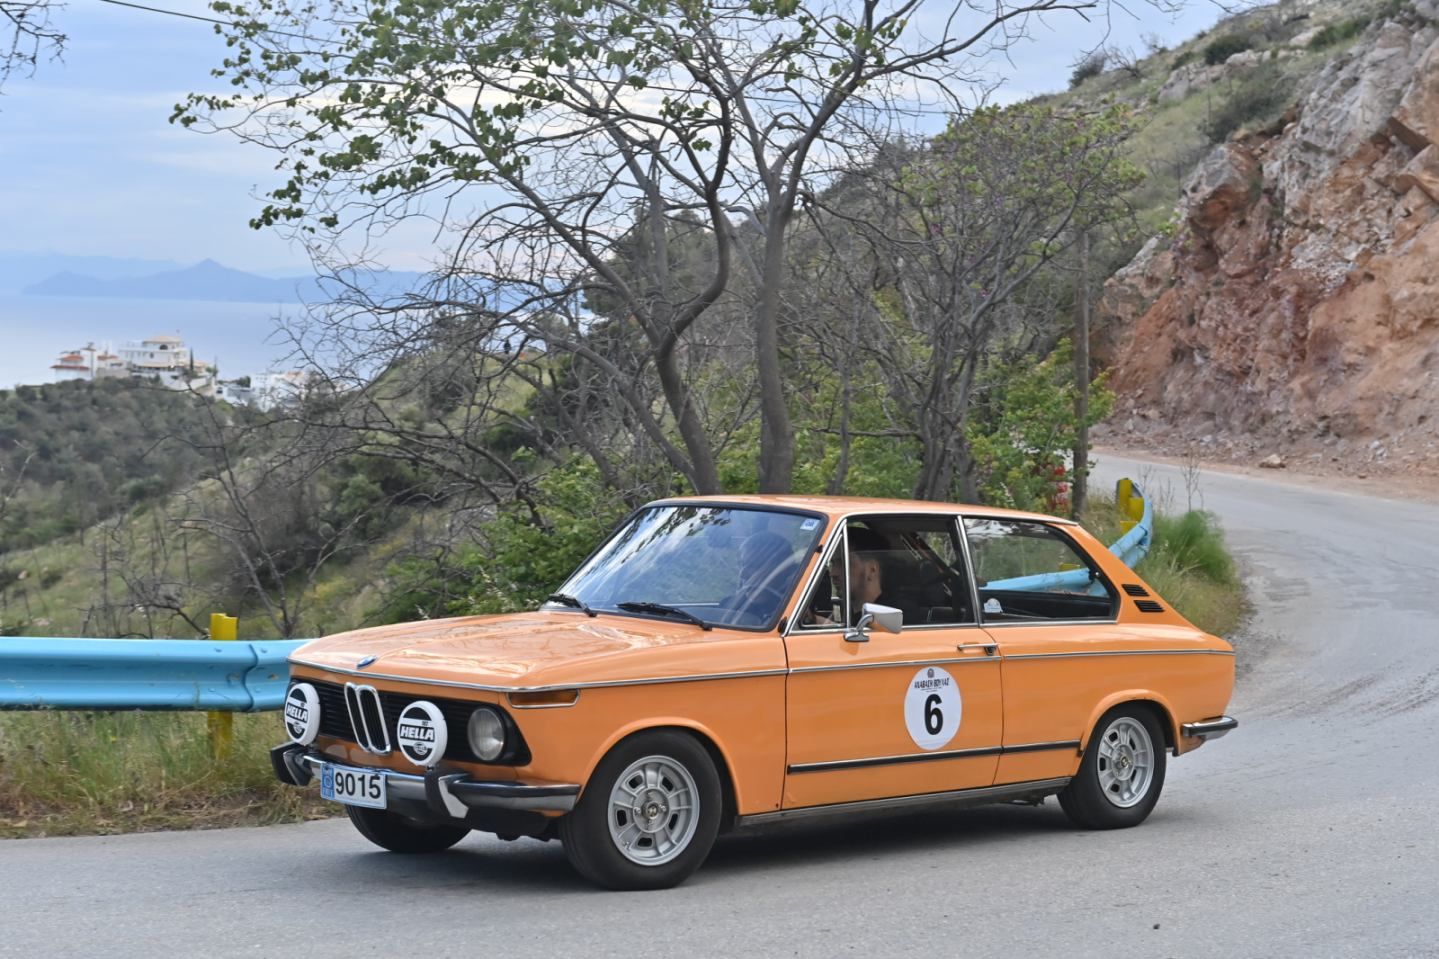
Start number 6 in the Regularity class of the Voula hillclimb above Athens, one day after the twin-Weber conversion was finished. Two runs, one each for my father and me, and third place in our category.
When25 Apr 2026
Photos16
The event
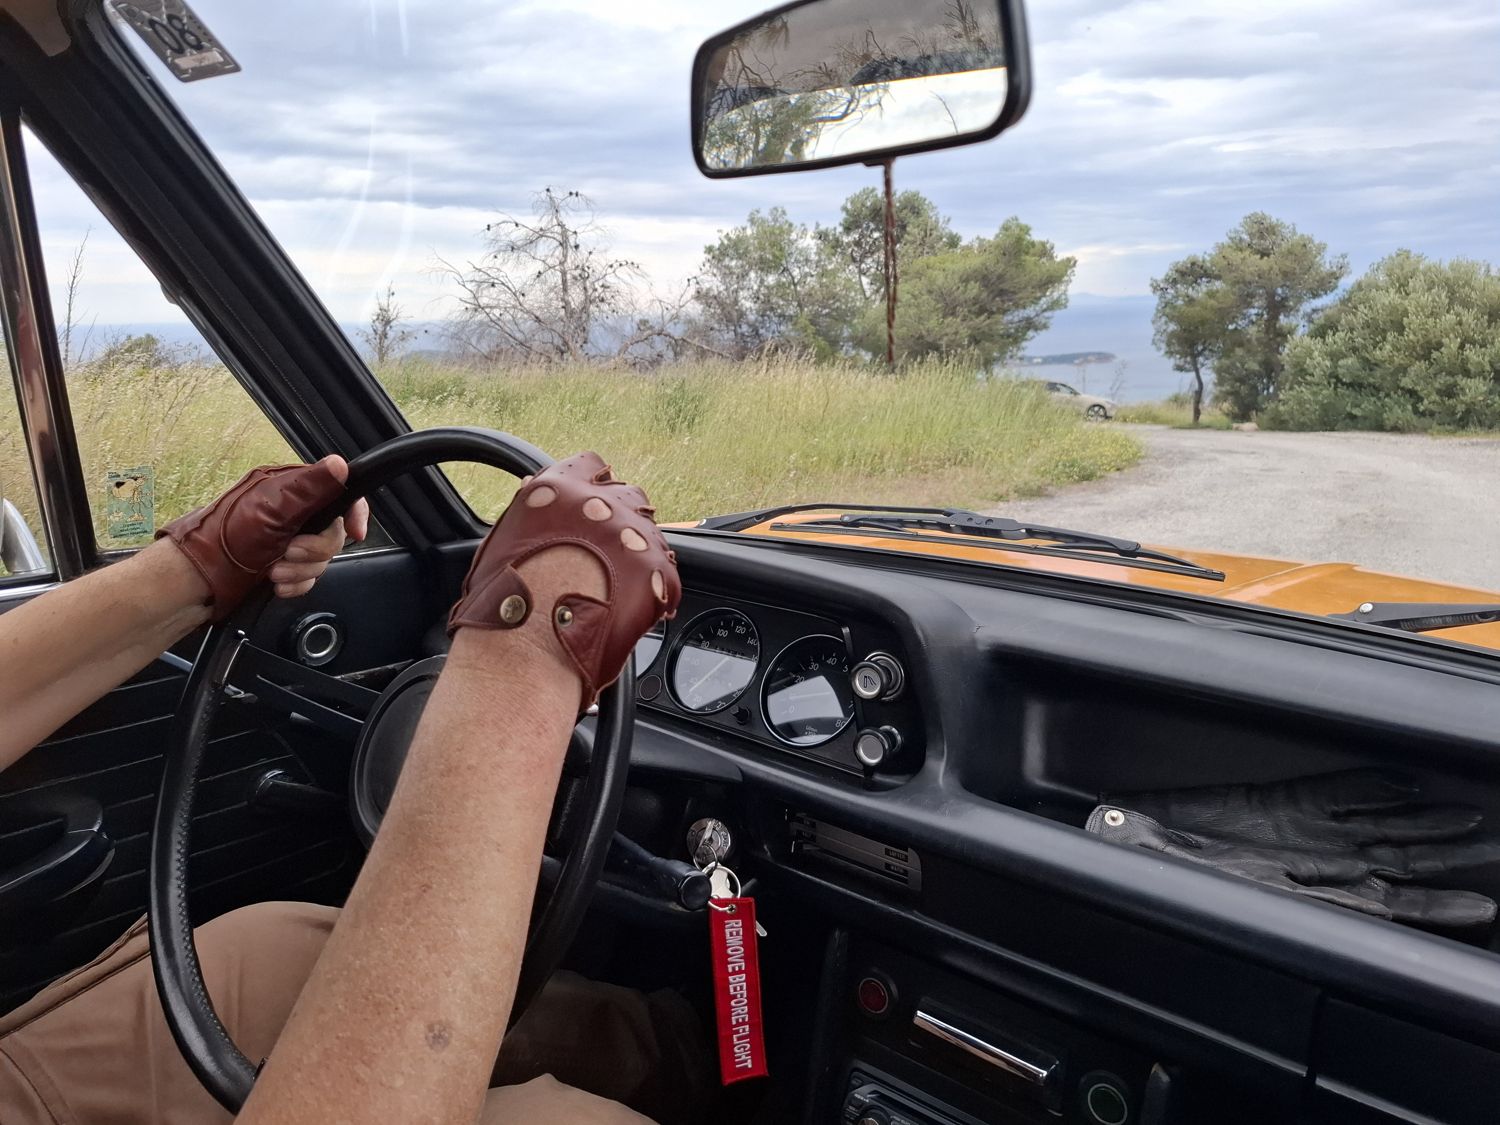
The Ανάβαση Βούλας (Voula hillclimb) is organised by ΣΙΣΑ, the Greek Sports Car Owners Club, on a twisting road in the hills above Voula, south of Athens, with the Saronic Gulf below. On 25 April 2026 we entered the Touring in the Regularity class: a BMW 1600 Touring, 1971, 1573 cc, start number 6.
There were two runs. My father drove one and I drove the other.
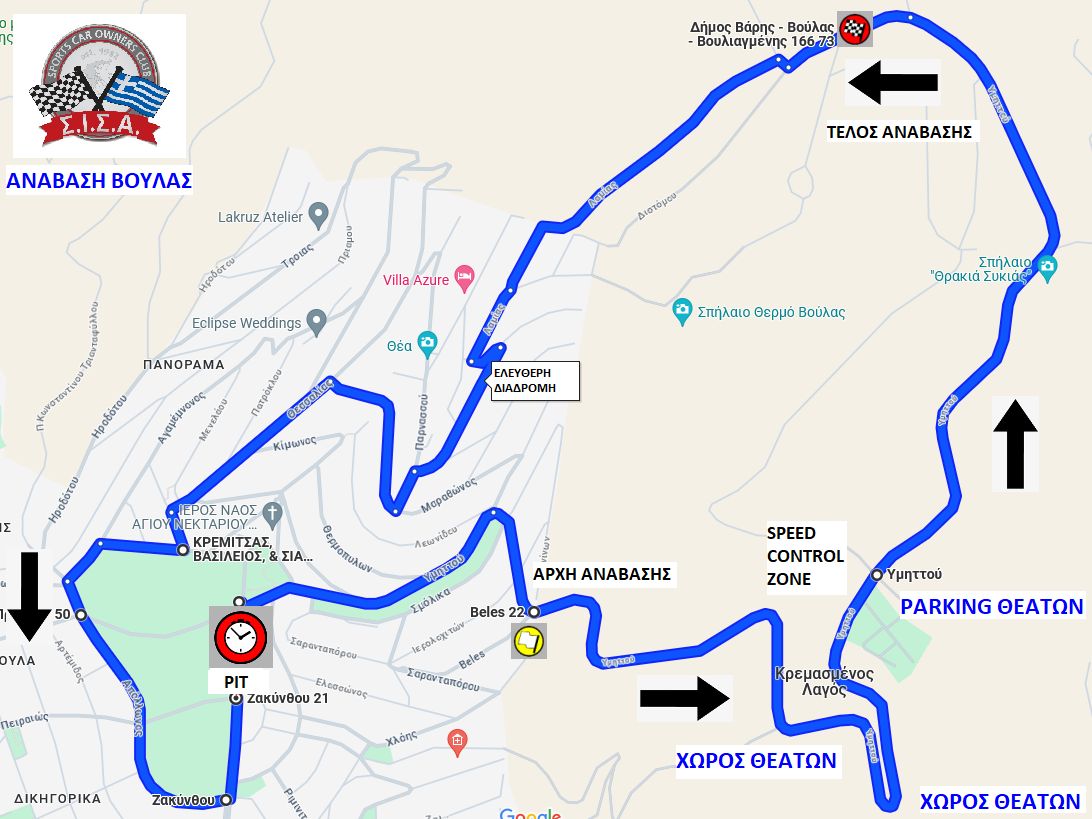
The route: start, speed control zone, pit and finish
Getting ready
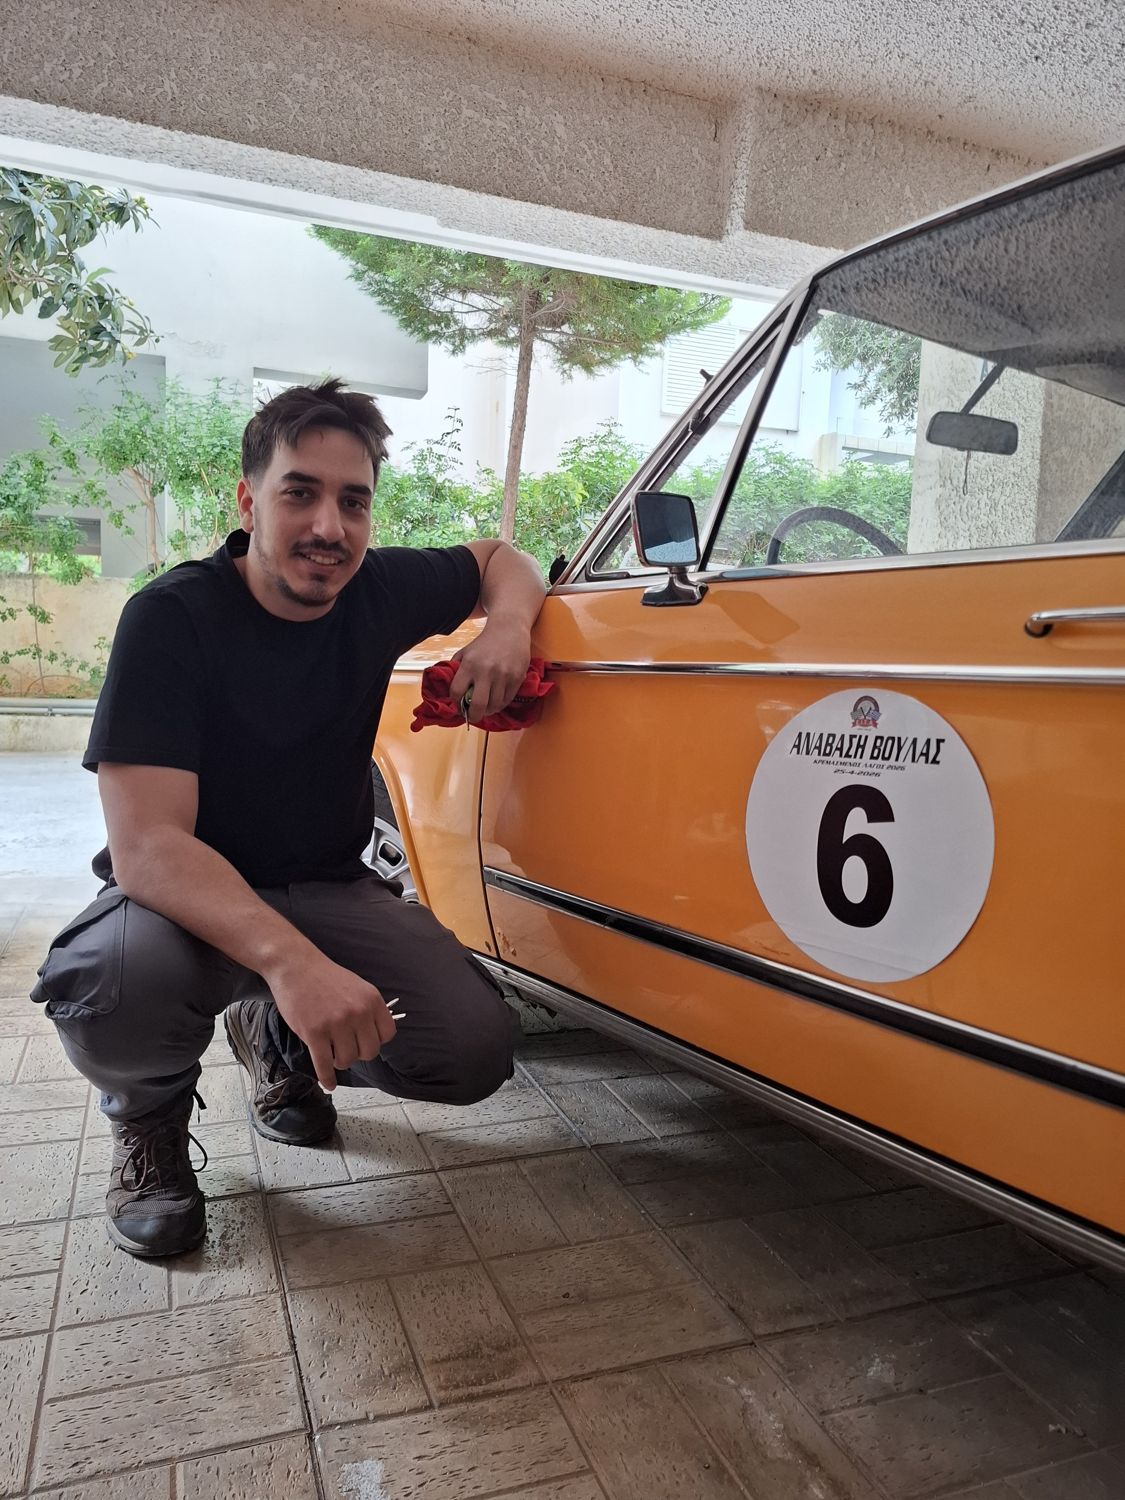
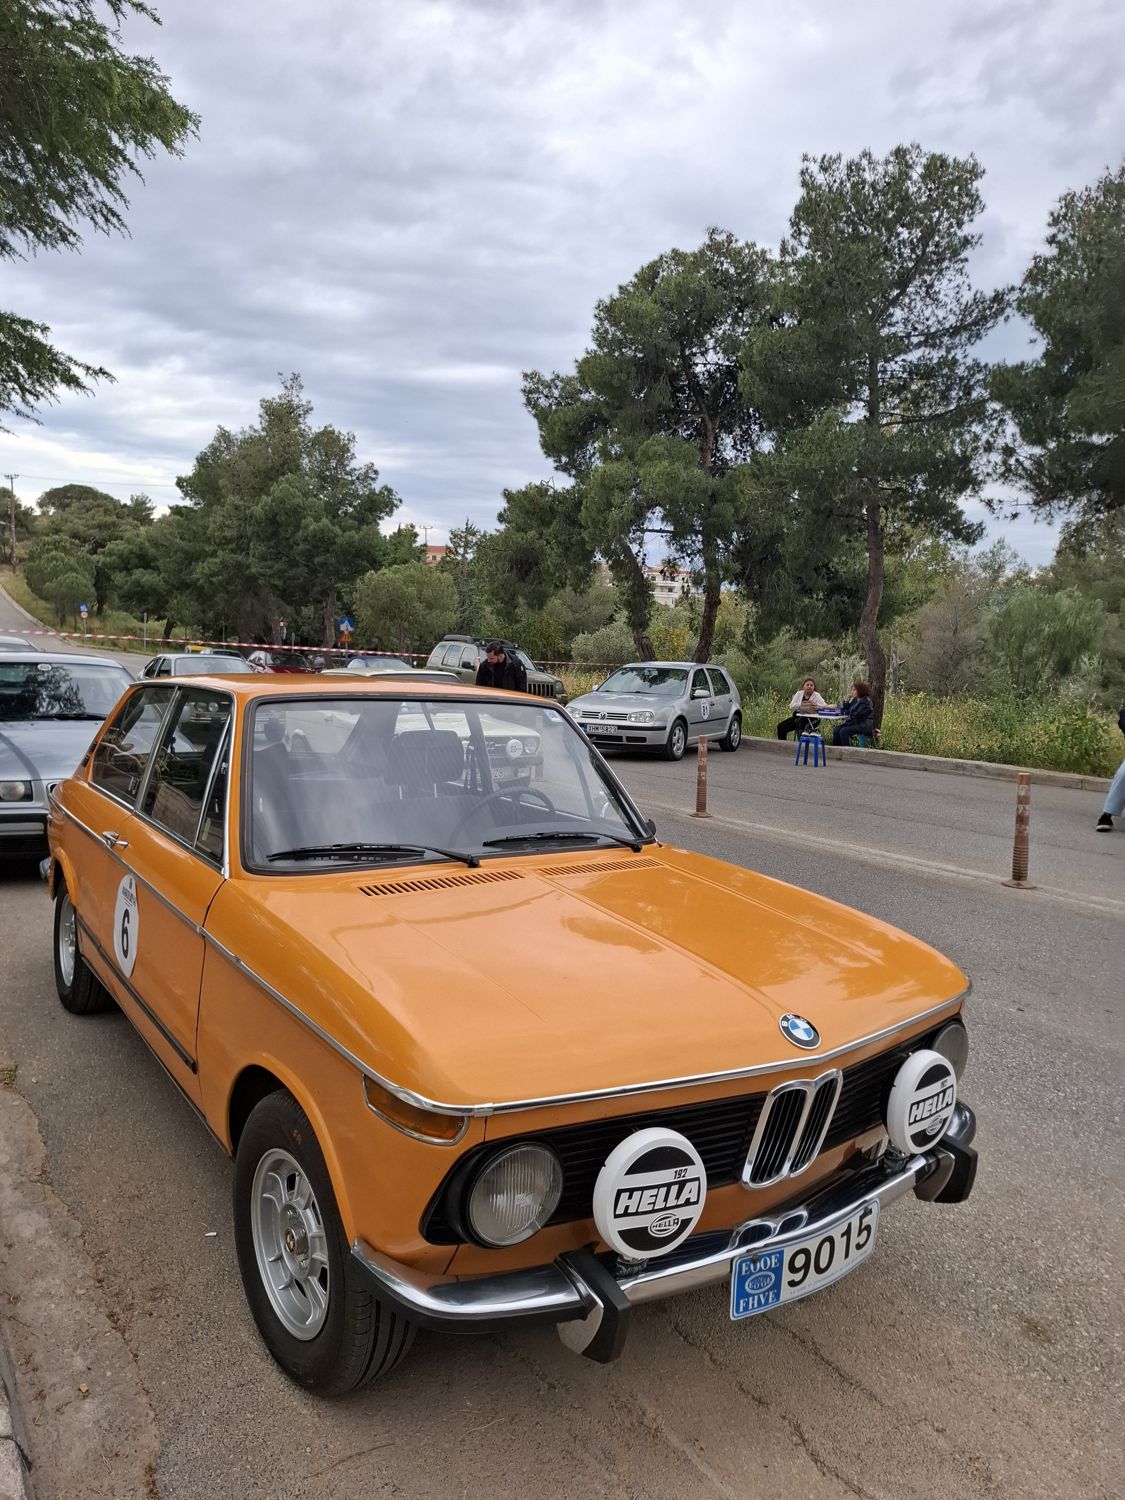
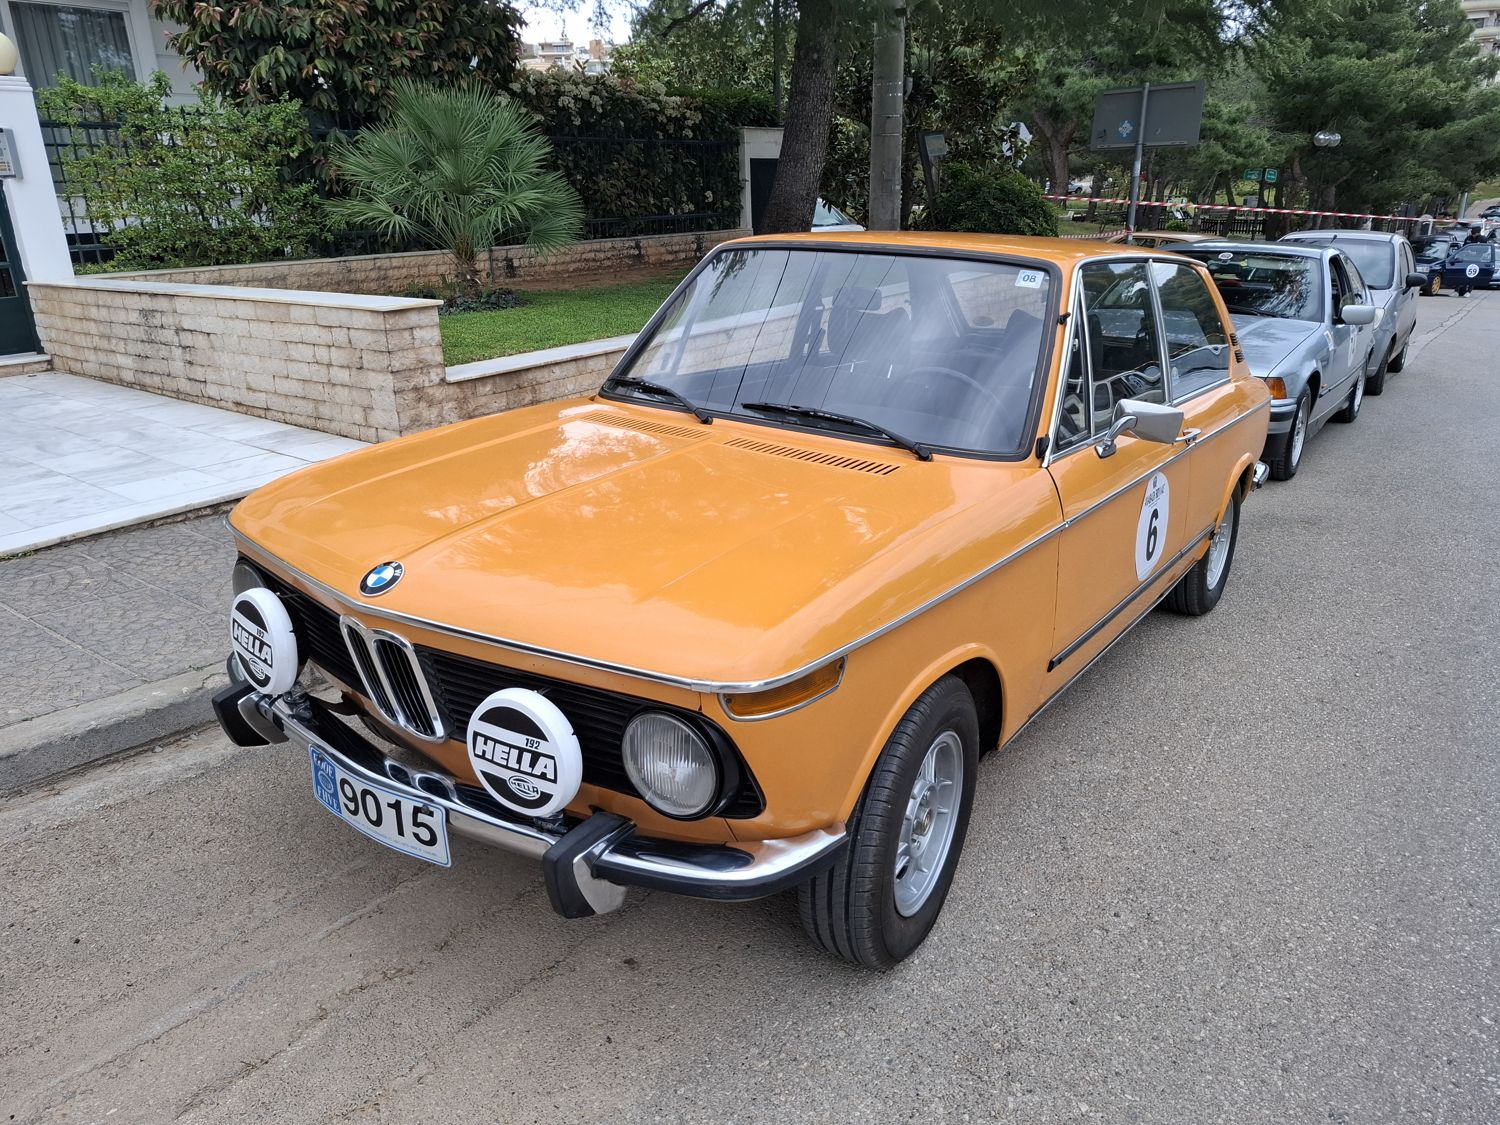
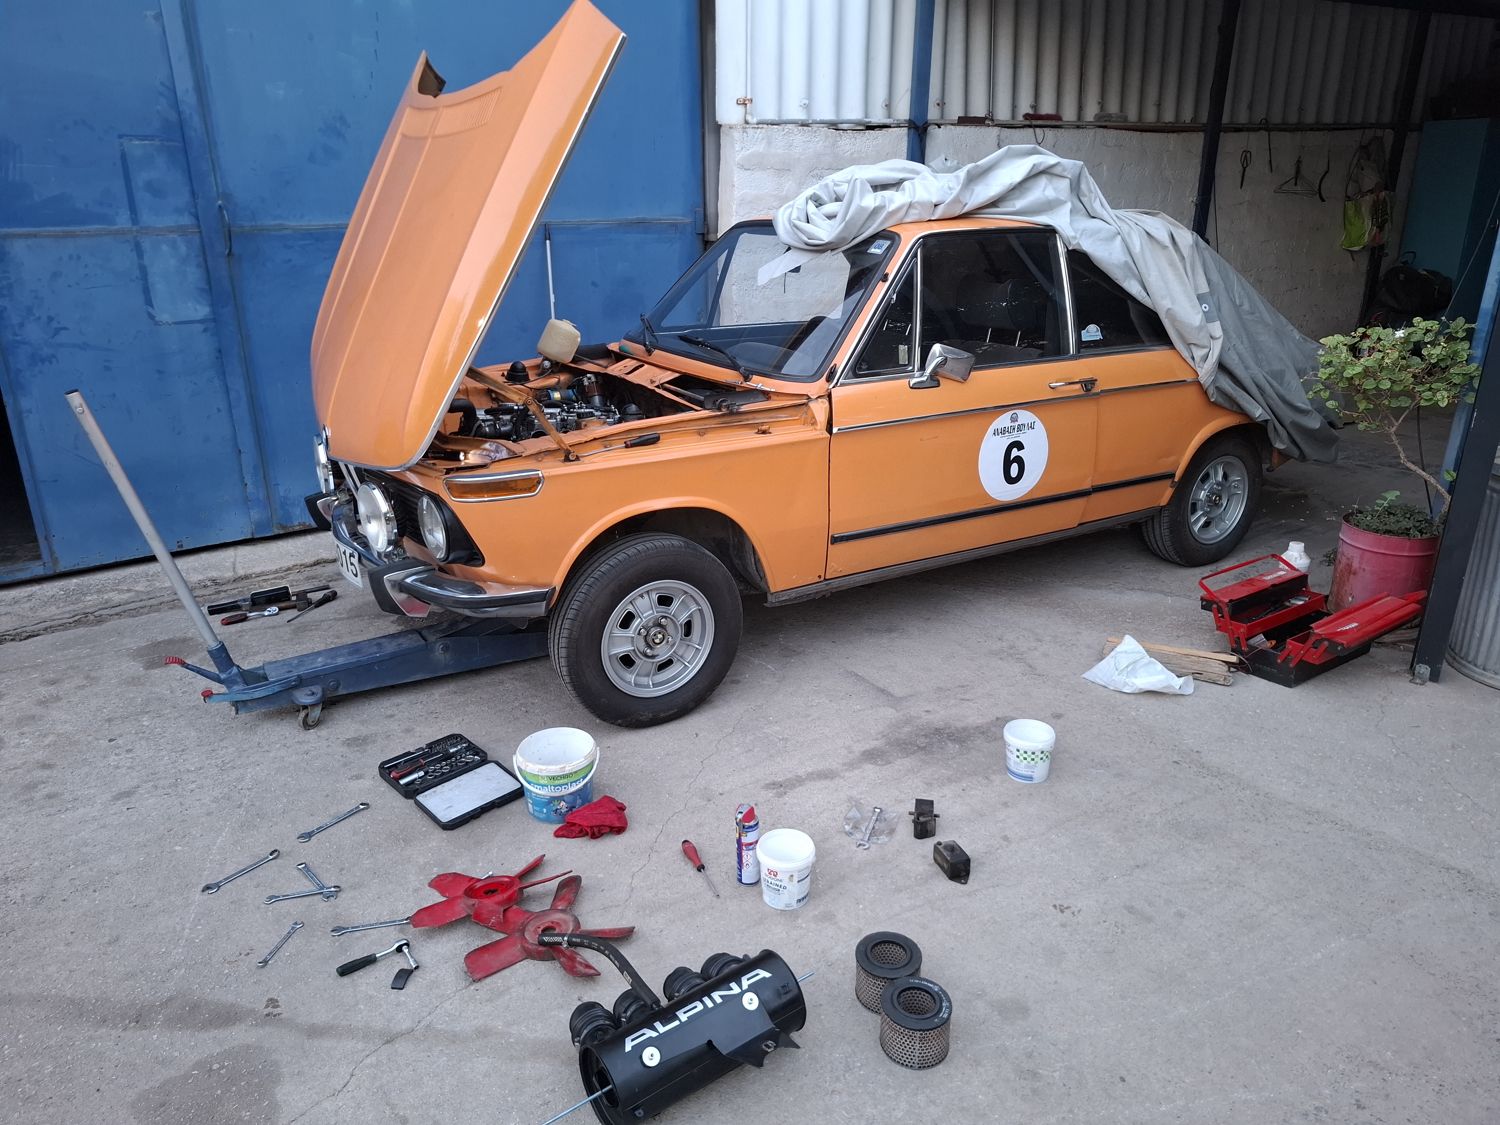
The car had come out of the workshop the day before, with its new twin Webers under the Alpina air box. In the afternoon it went to the start with its number on the doors.
Number 6 on the doorOn the way to the startIn the line of cars before the startLined up
On the hill
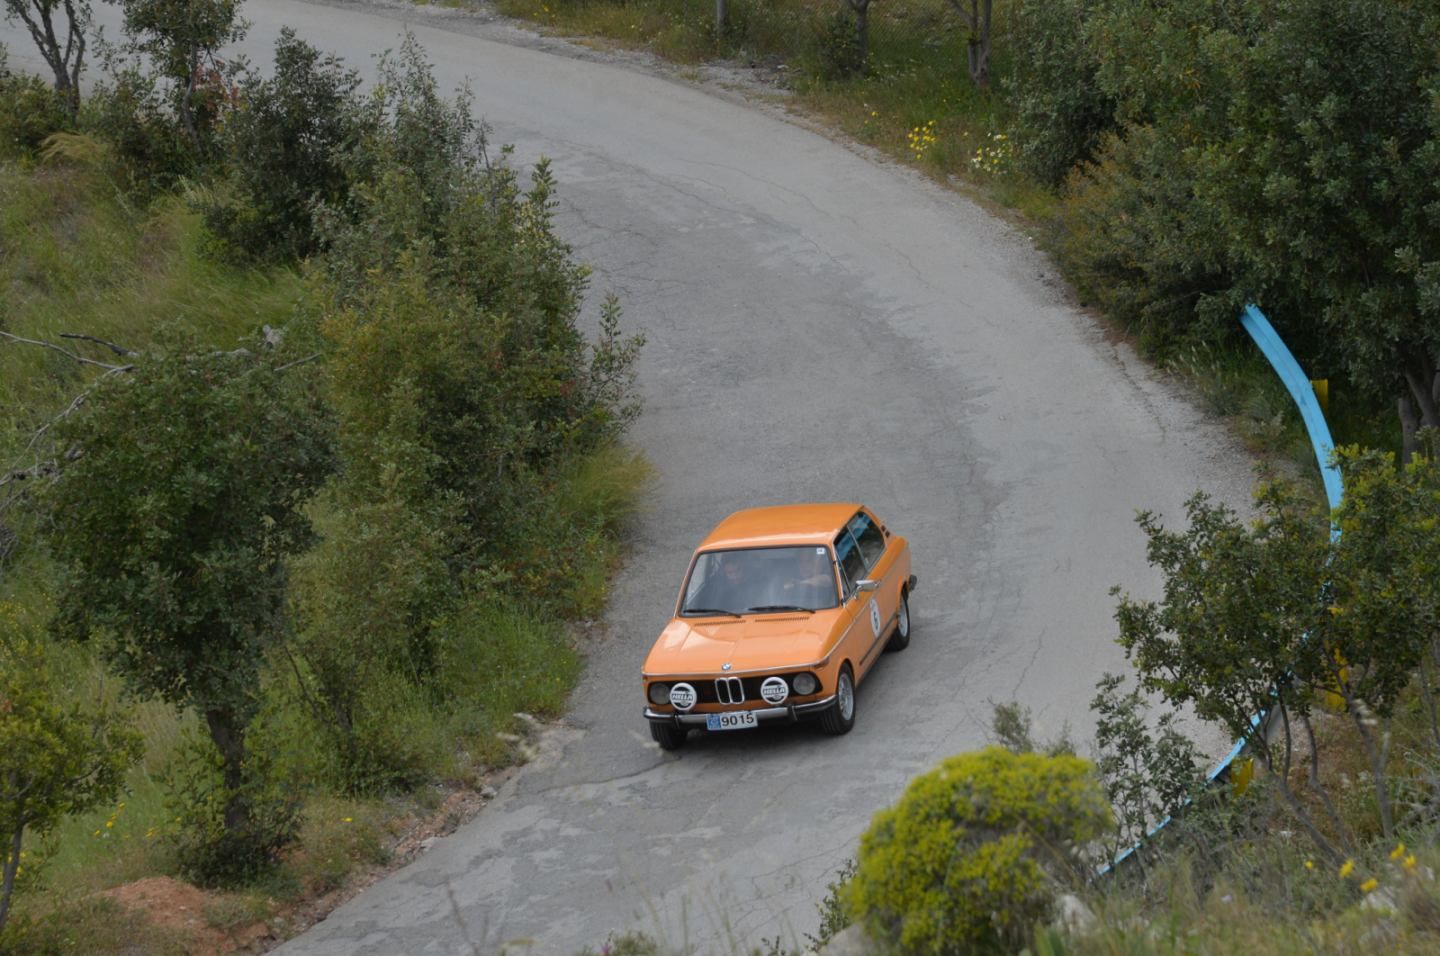
The event photographer caught the Touring on almost every corner. These are the photographer's original, unedited photos, so the colour of the car is the real one.
The hairpin from abovePast the rock faceNumber 6 in profileHead-onOut of the cornerTurning inUp the hill with the sea behindAway up the hill
Photos on the hill: the event photographer.
Third place, and the drive home
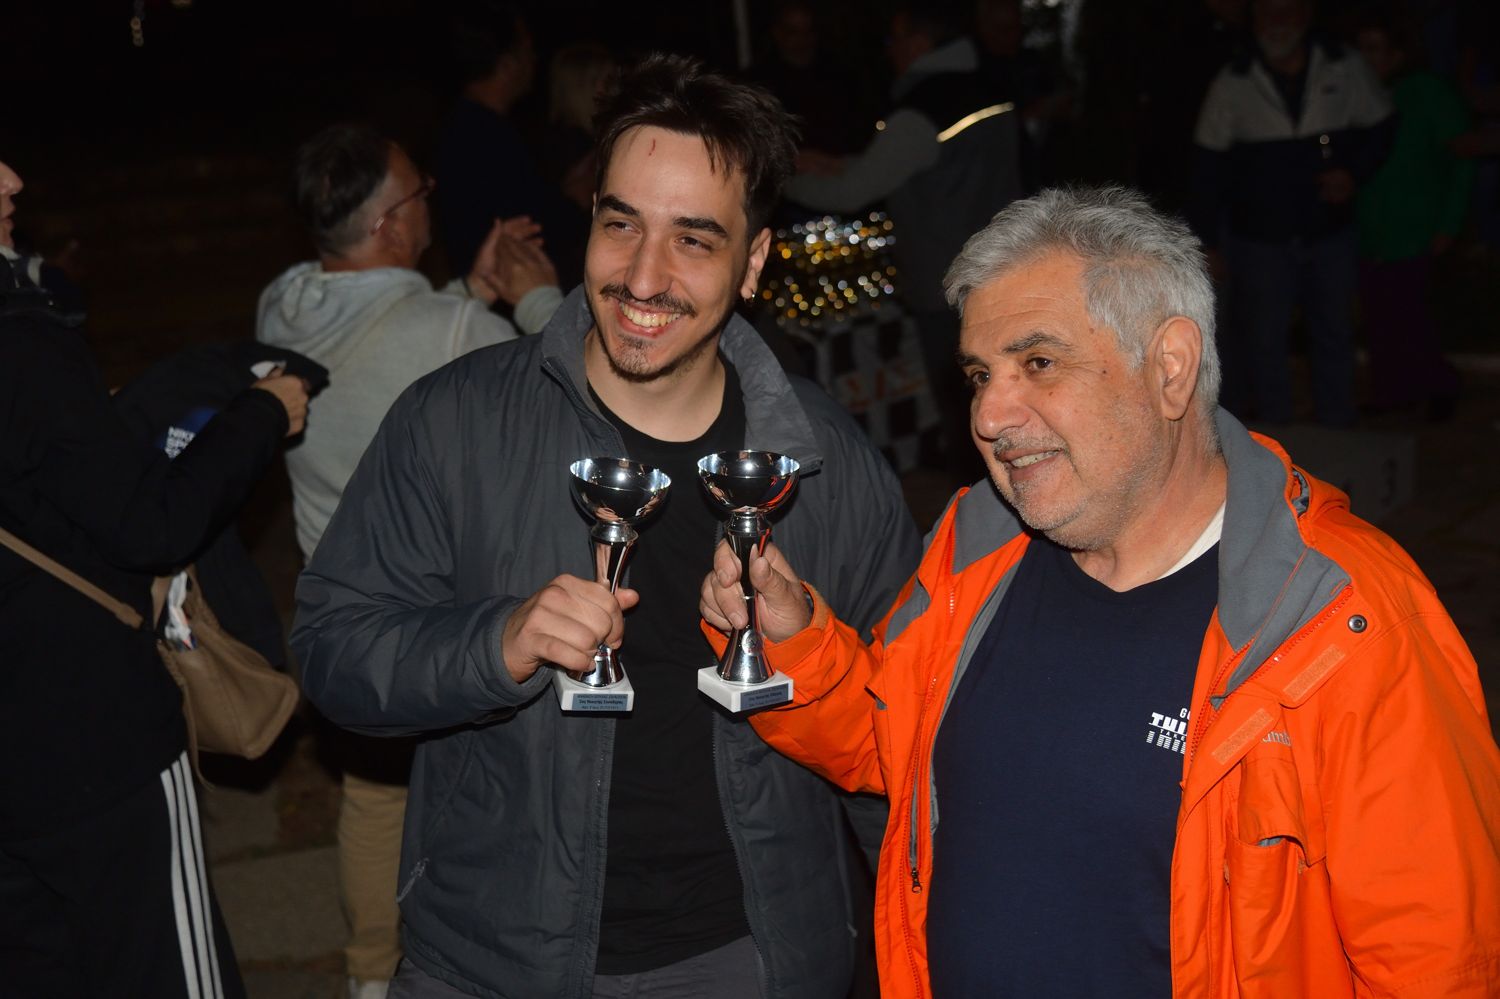
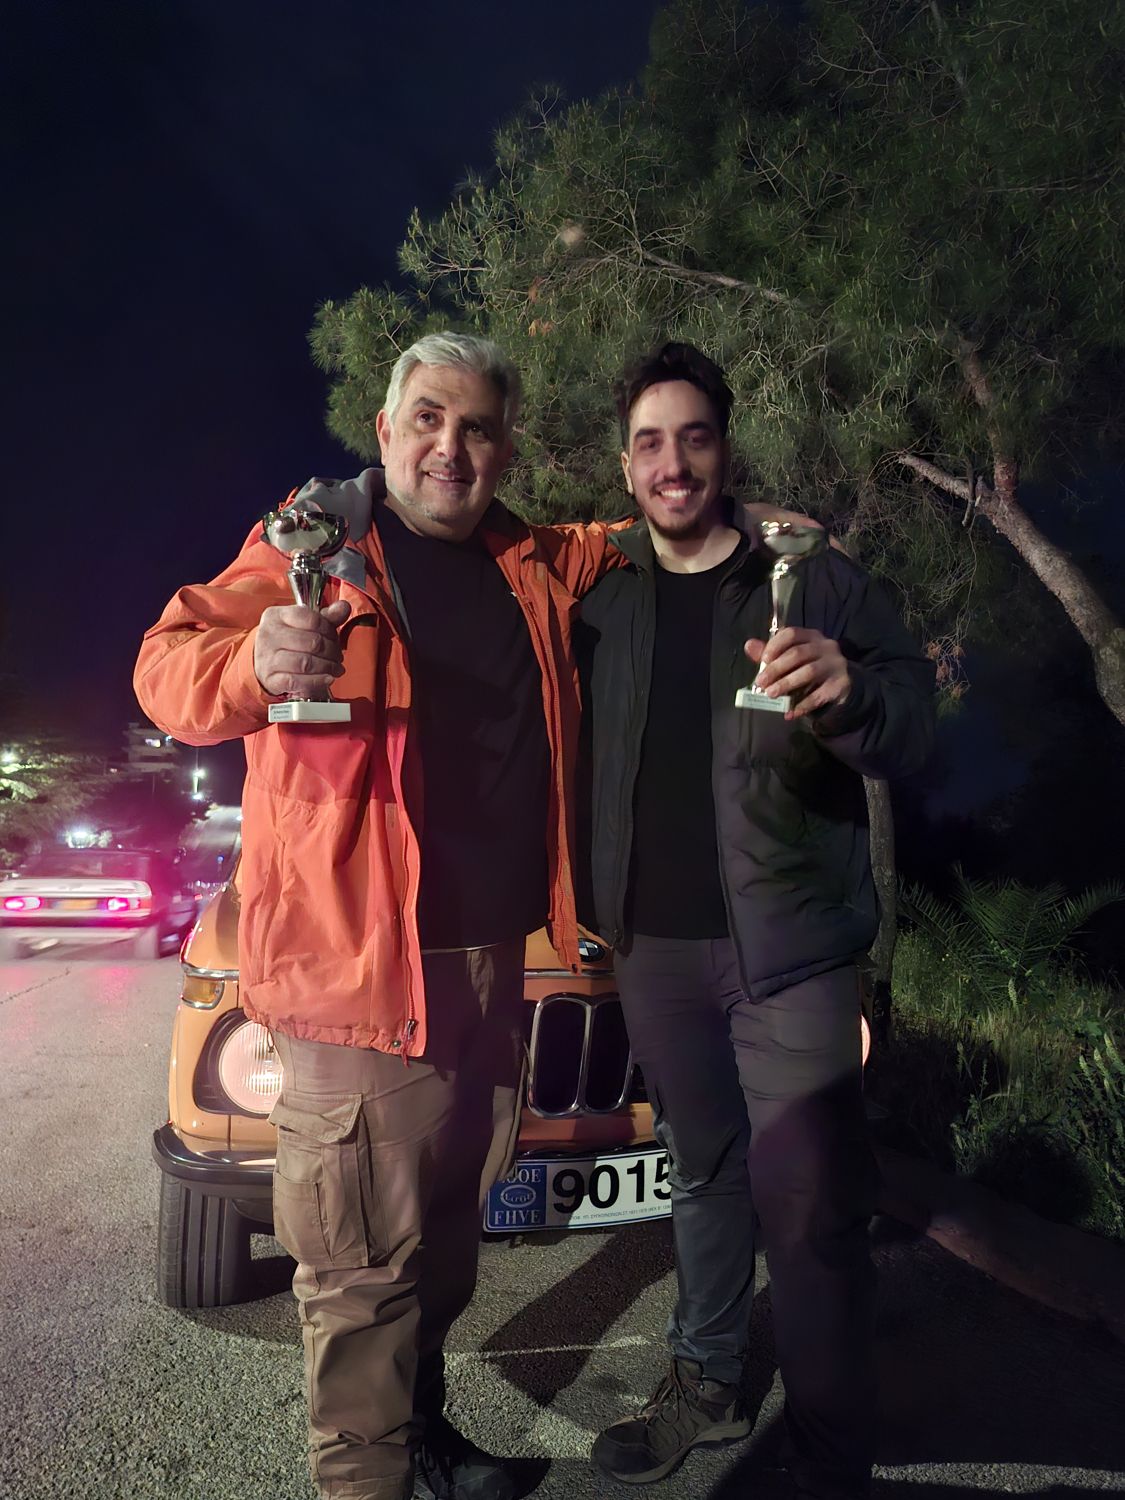
In the evening at the prize-giving we took third place in our category. The Touring drove back through the night with the Alpina box on display.
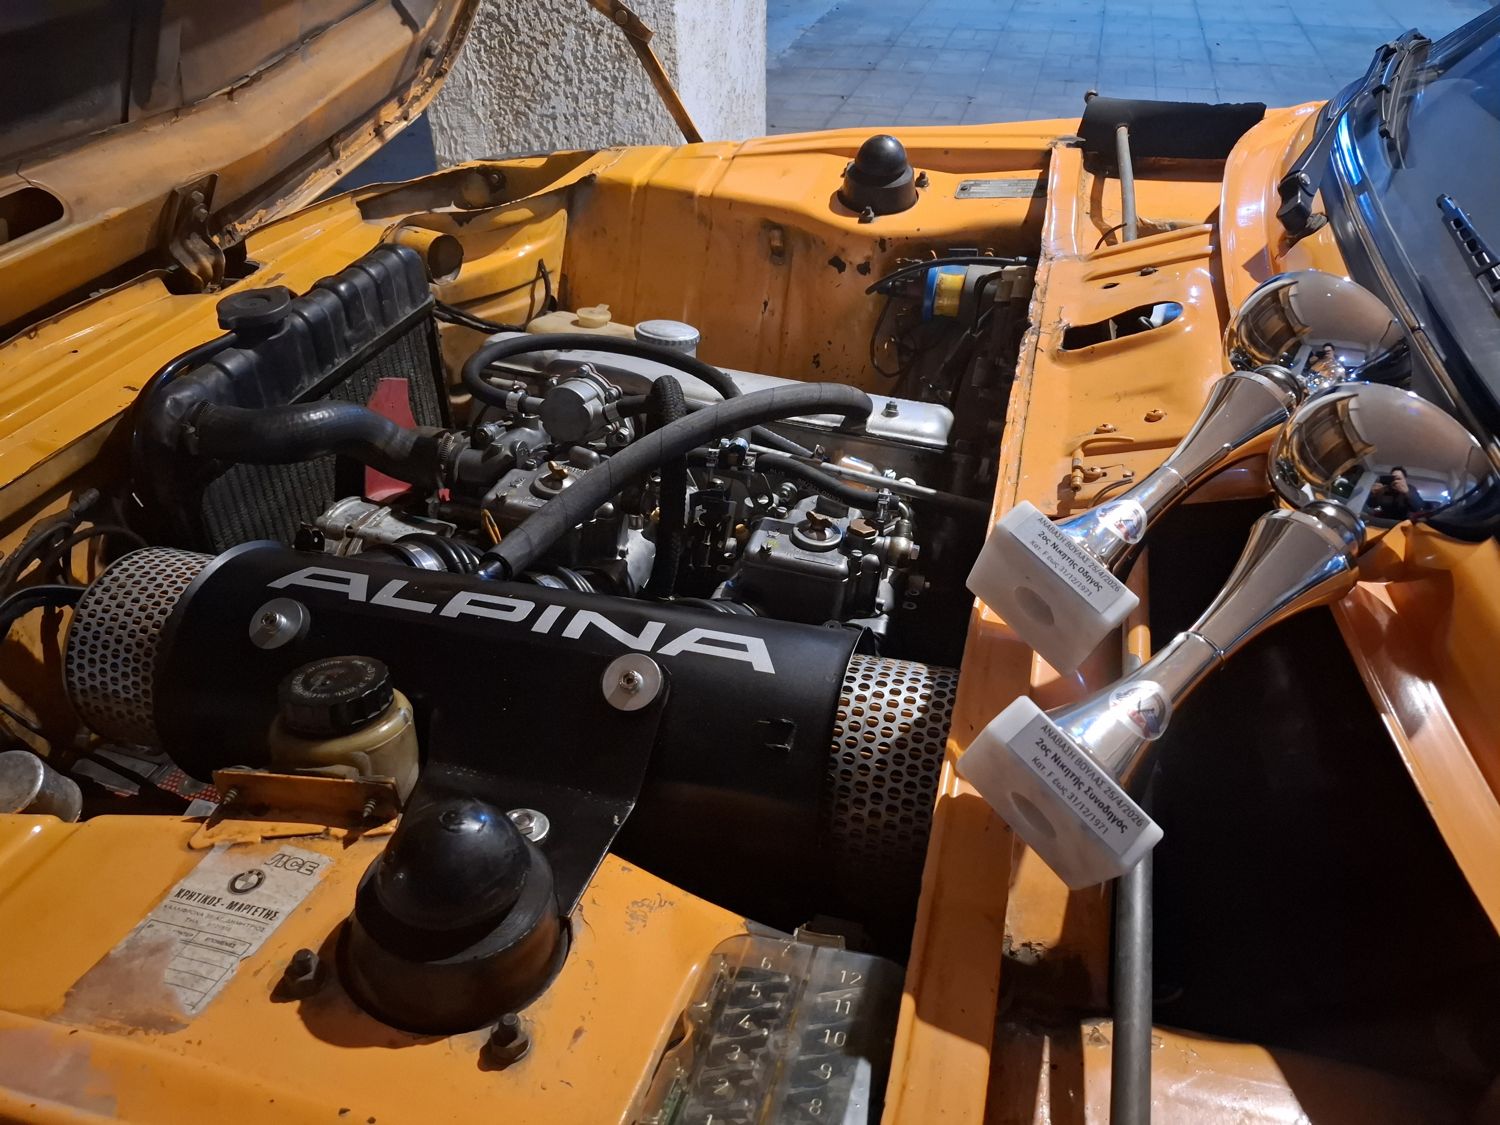
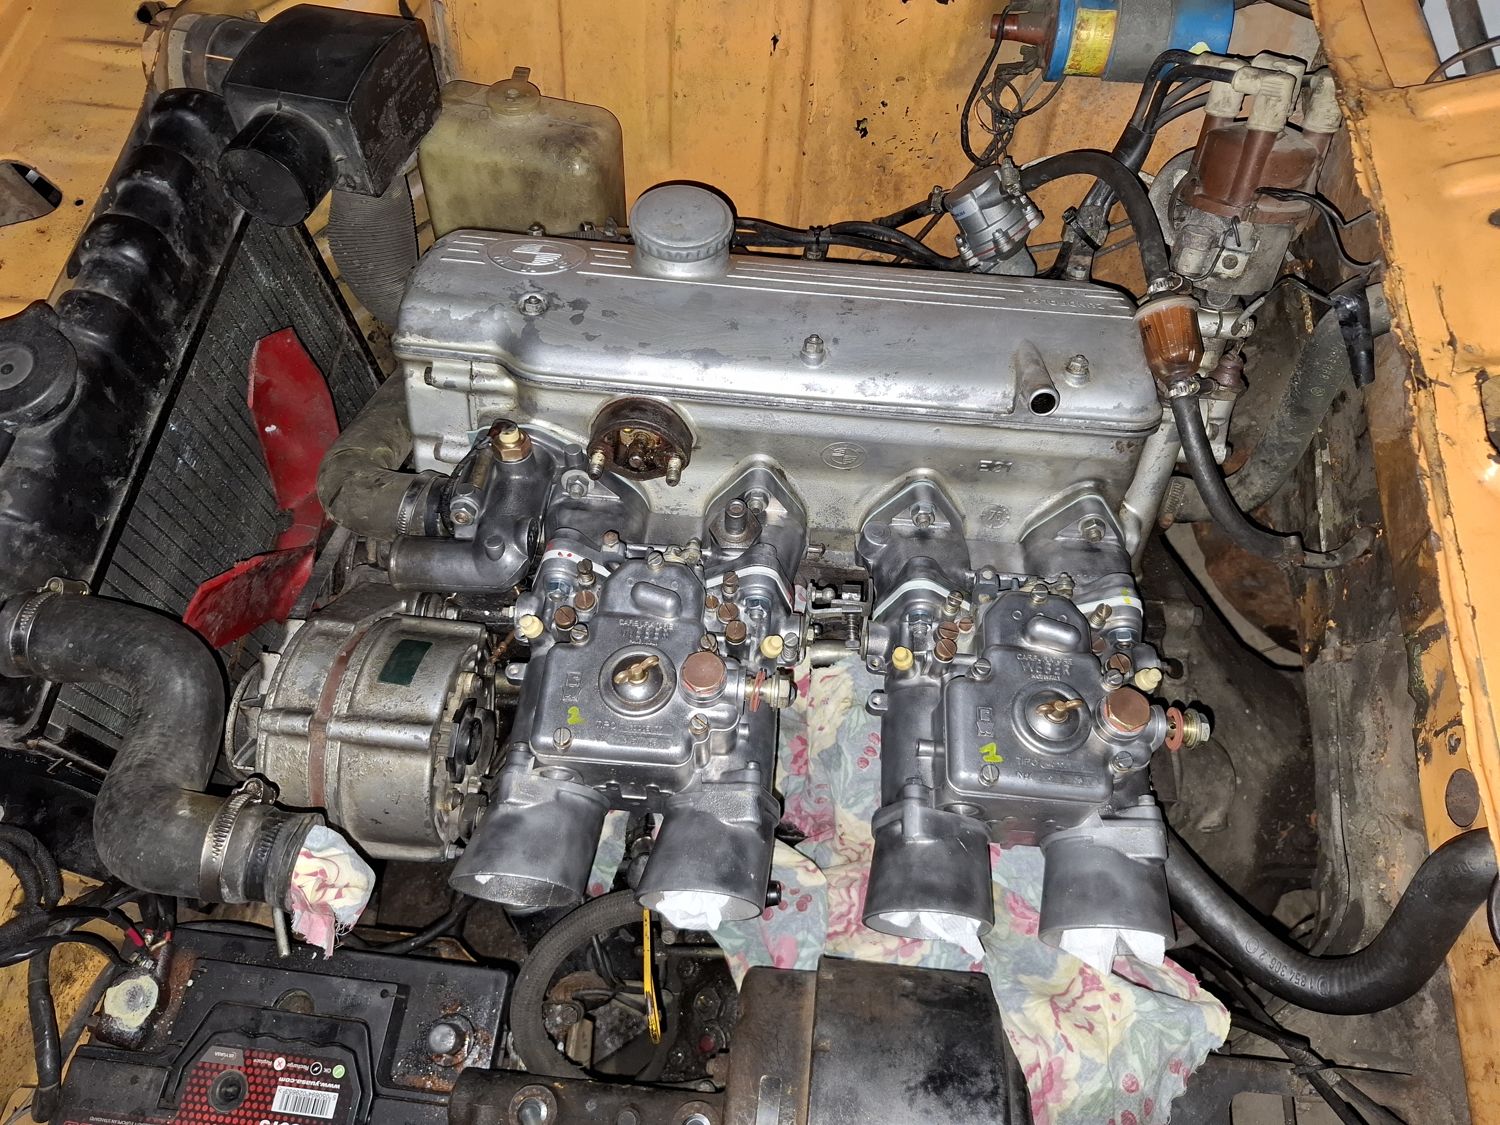
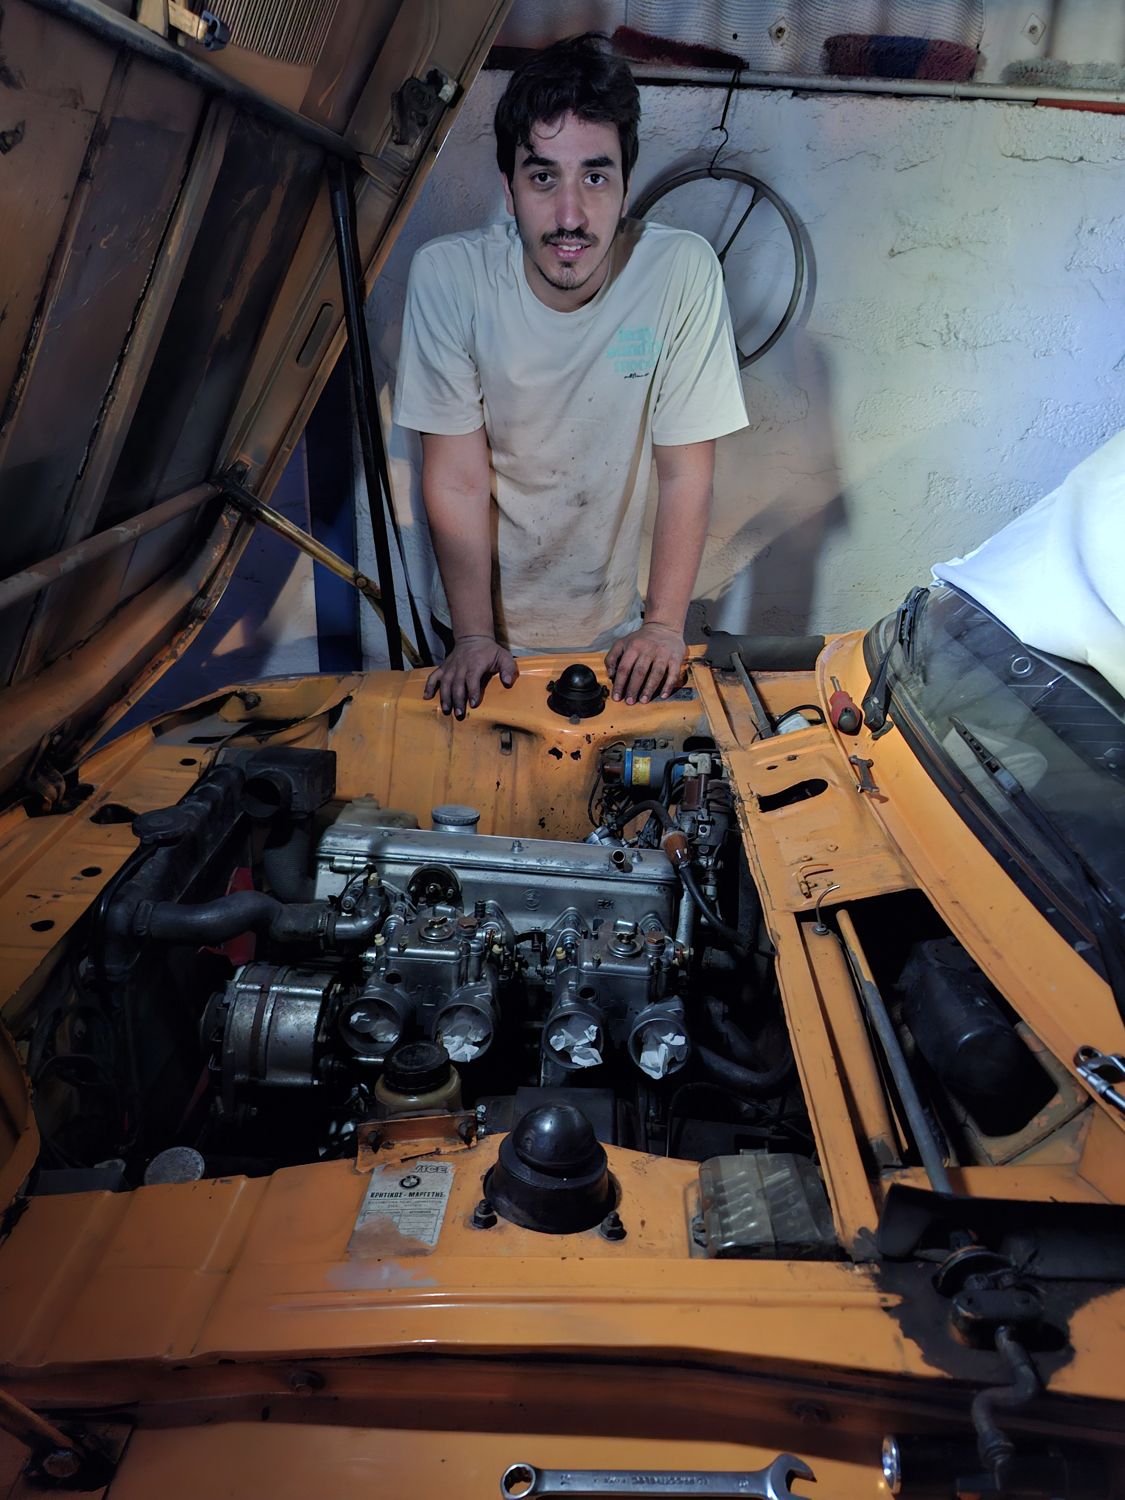
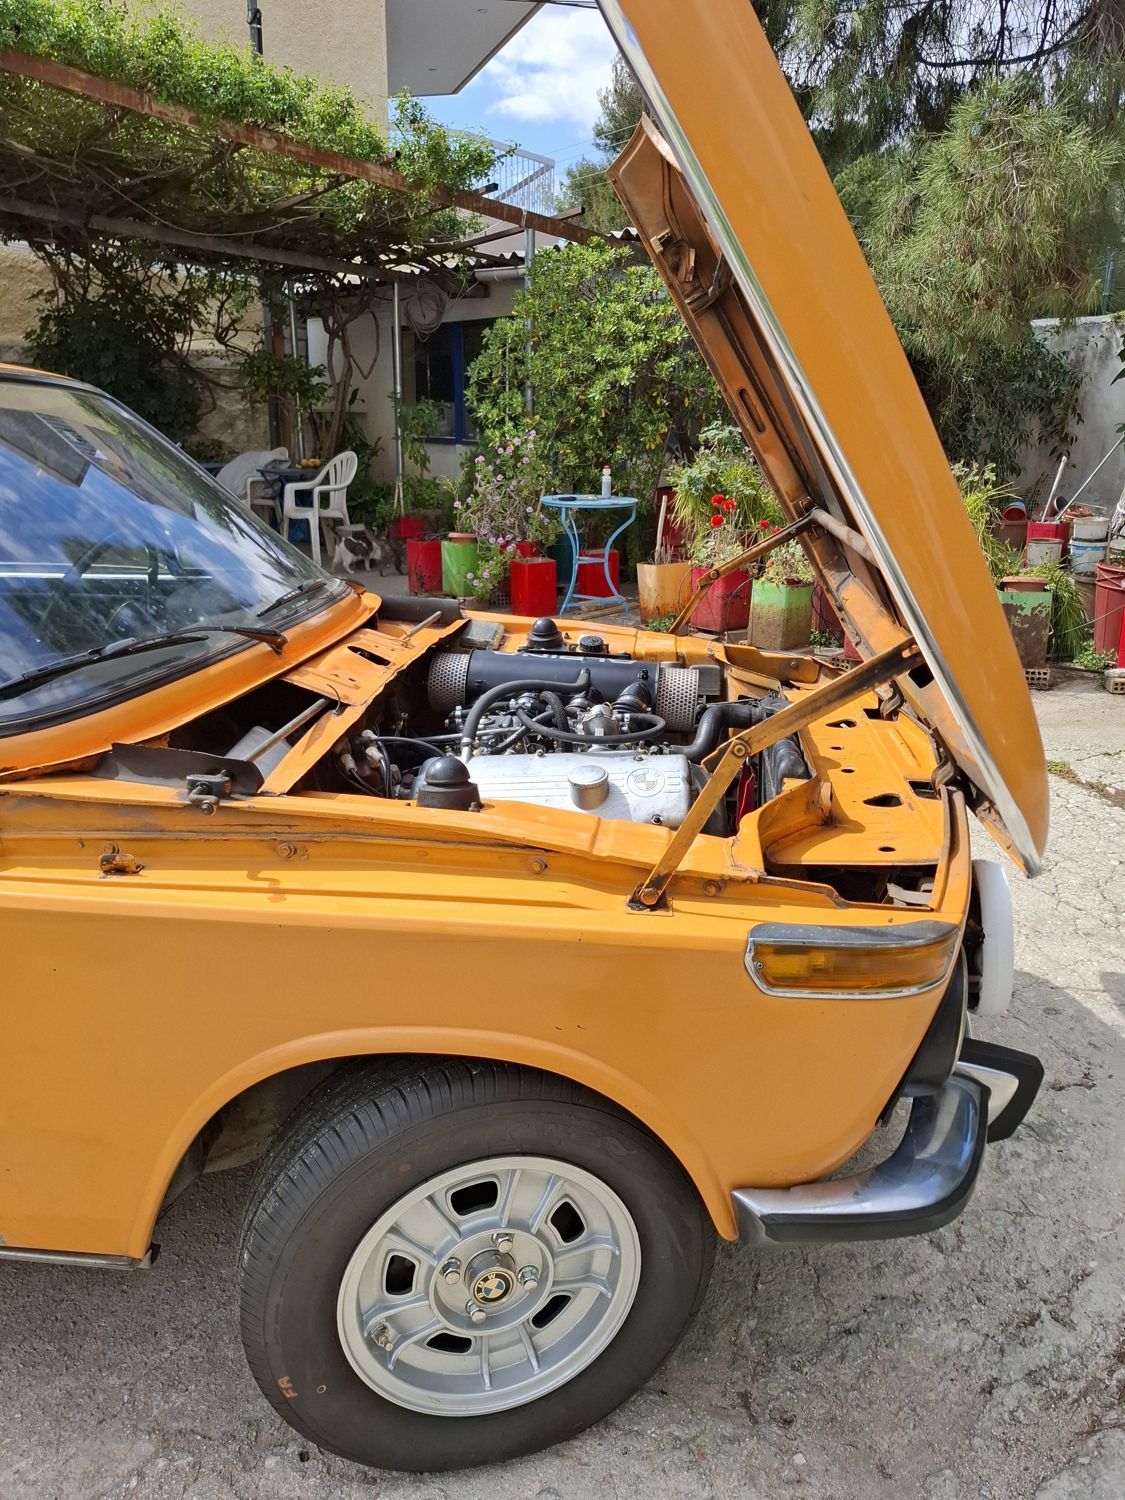
Third place: my father and me at the prize-giving (event photographer)With the trophiesThe engine bay after the event
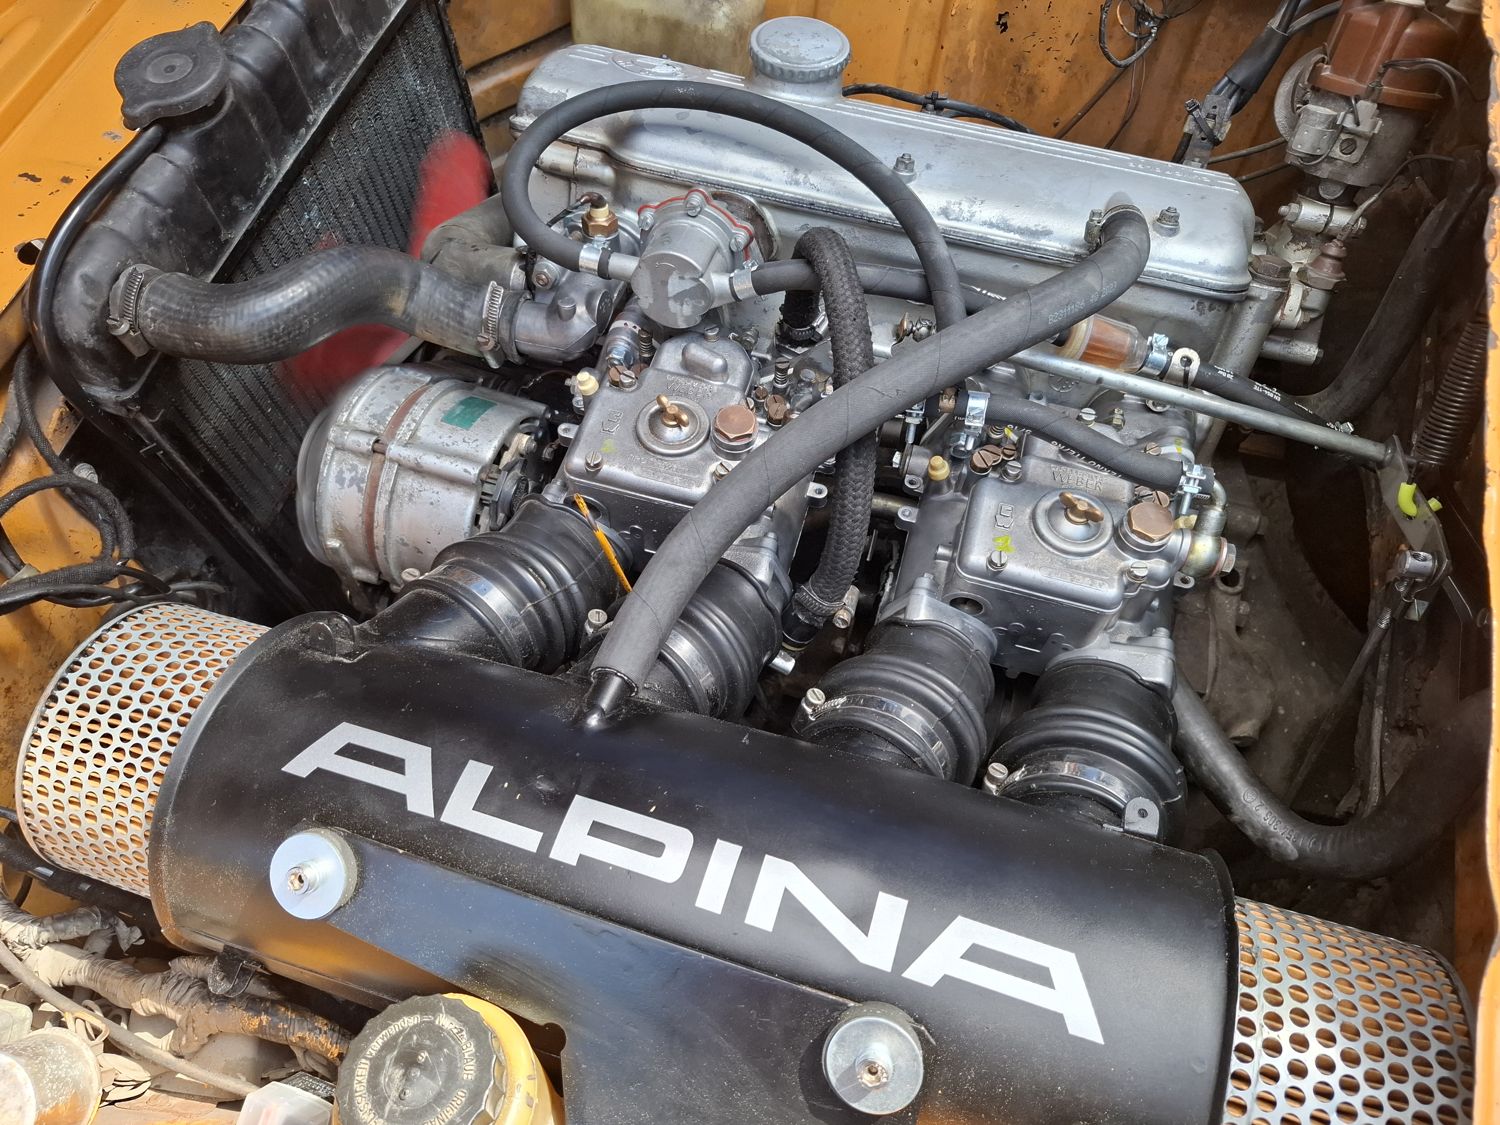
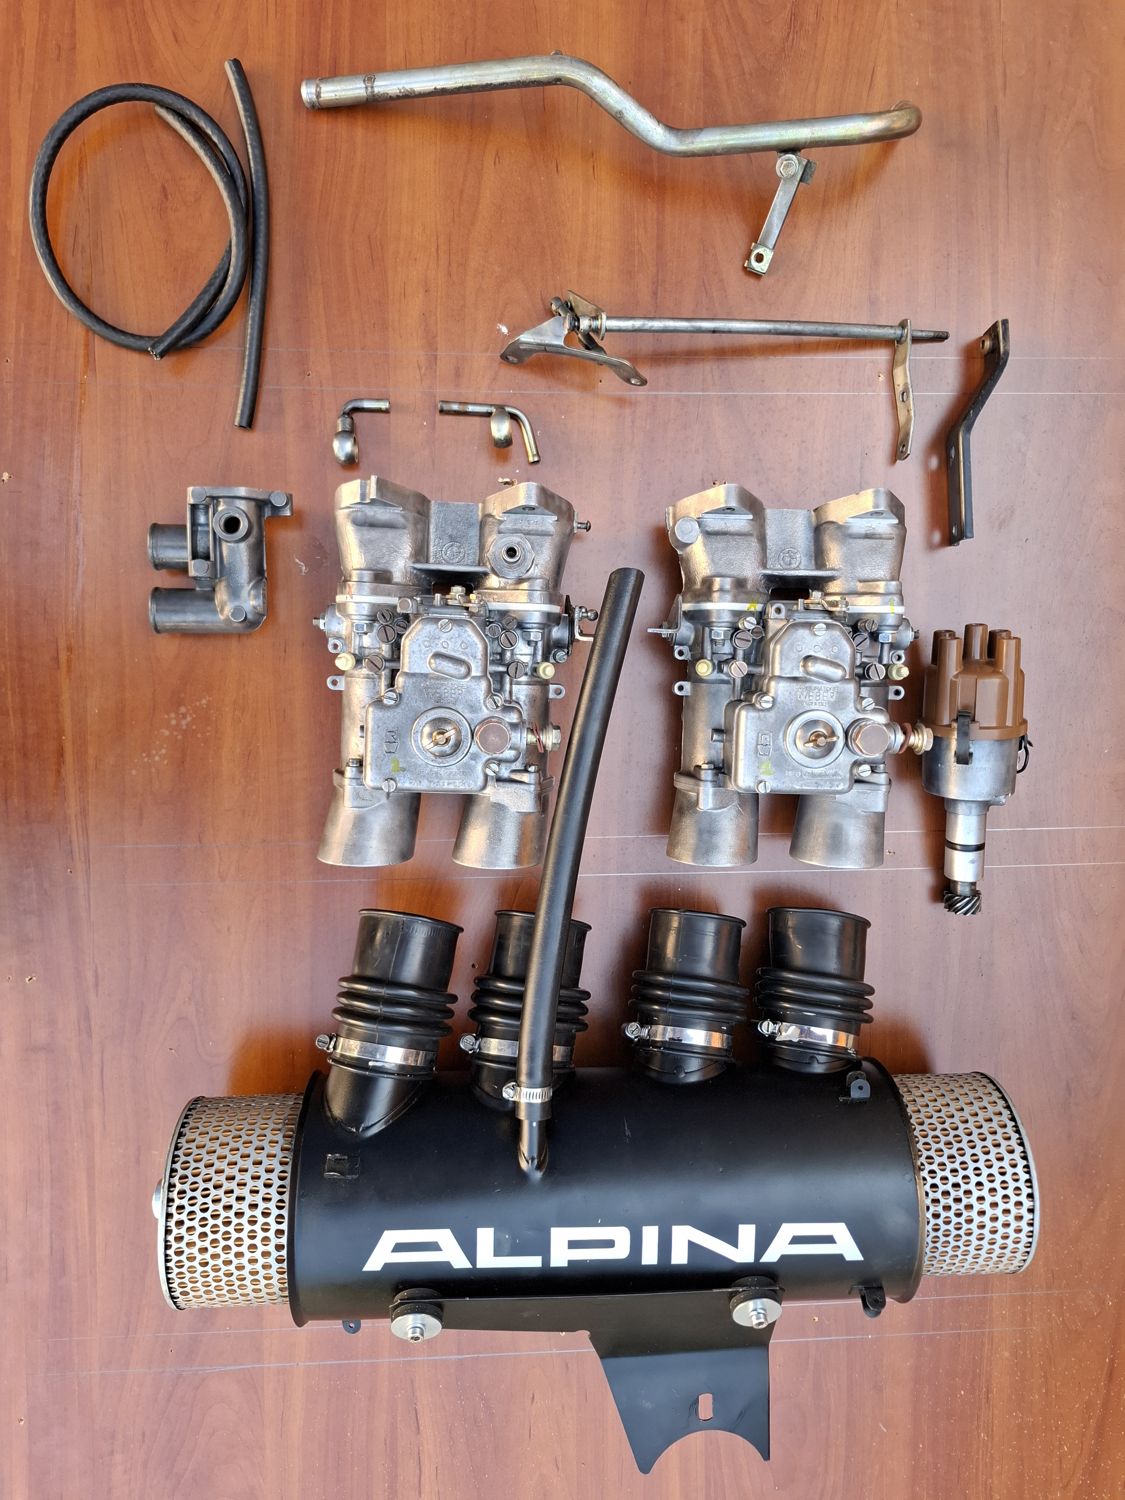
An untouched pair of Weber 40 DCOE 76/77 from my father's warehouse, rebuilt and fitted under an Alpina air box in two weeks, finished the day before the Voula hillclimb.
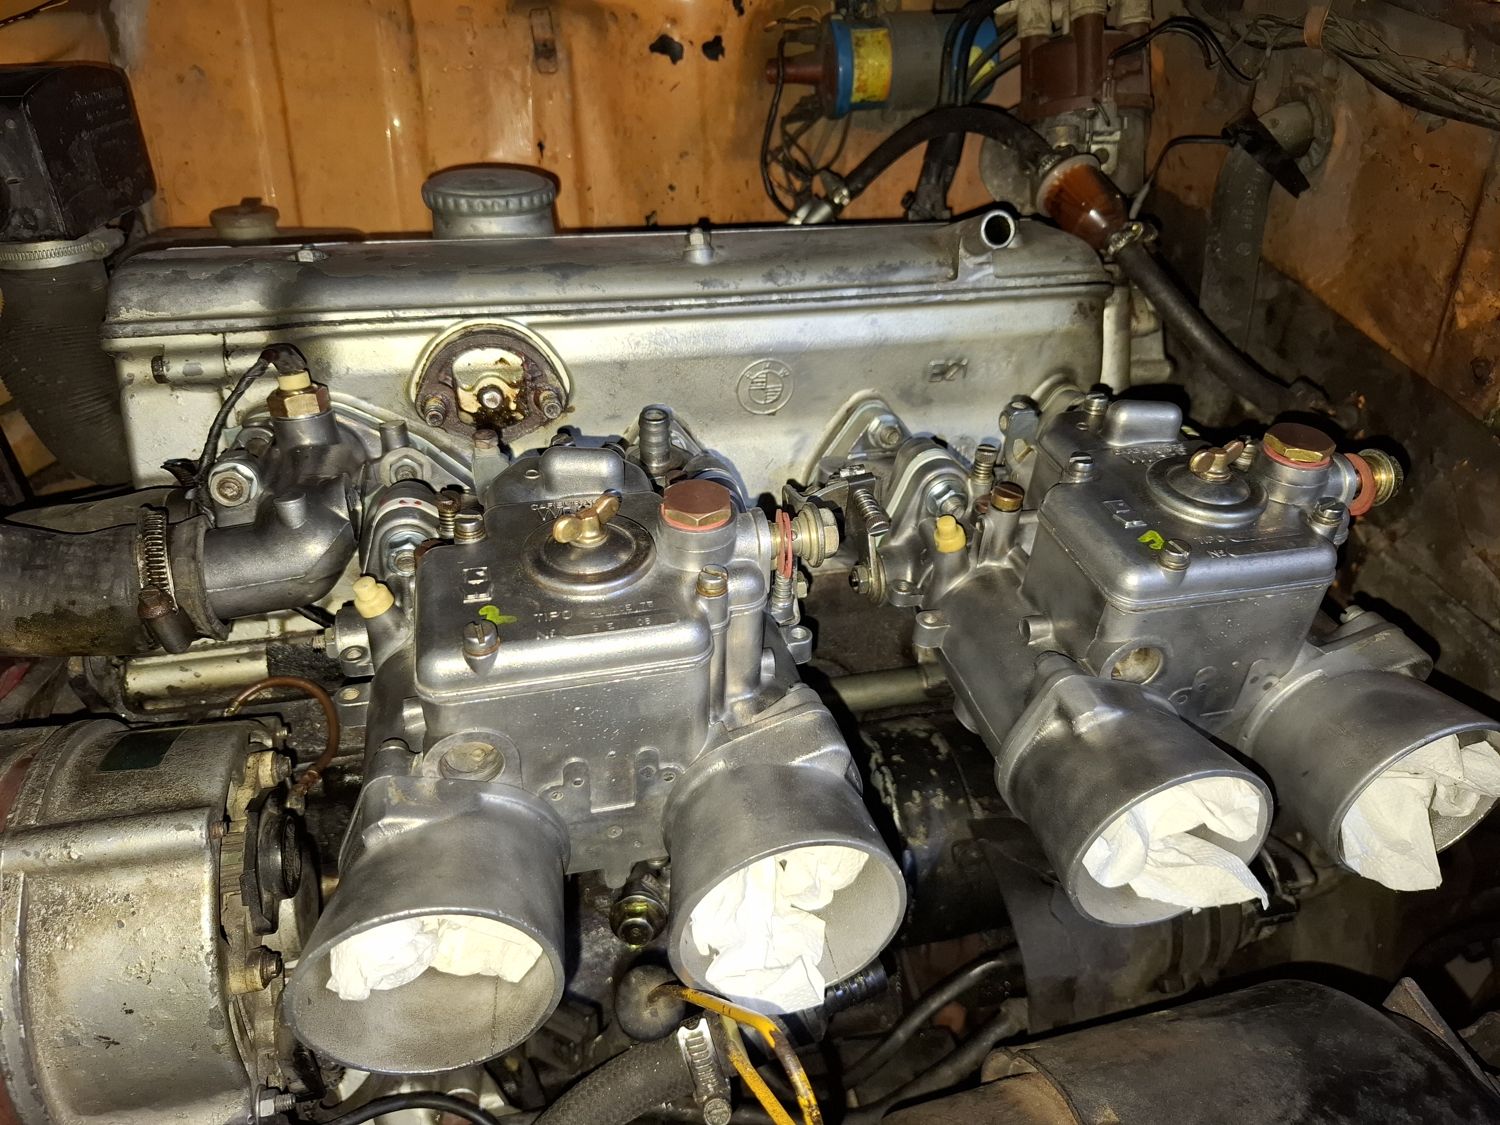
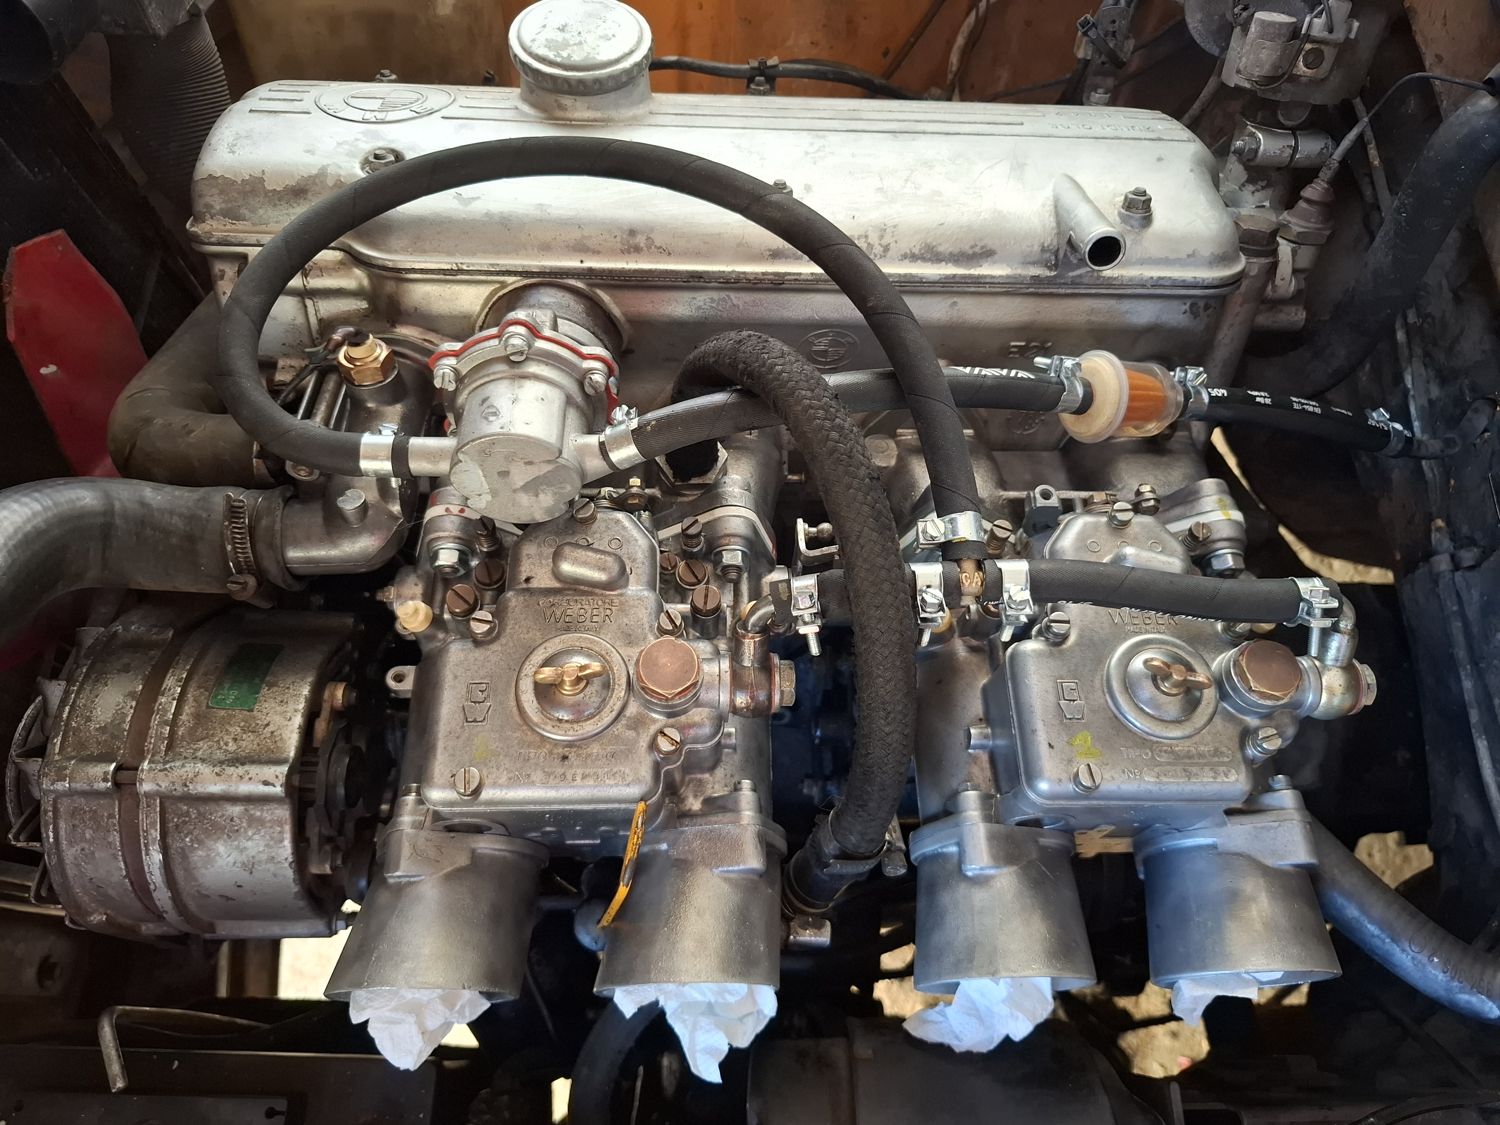
The Voula hillclimb was on 25 April 2026, and I wanted the Touring there on twin side-draught Webers instead of the original single Solex carb of a 2002 2.0. That left about two weeks, and it turned out to be a hell of a job. I did it together with my father, in his yard in Athens.
The carbs
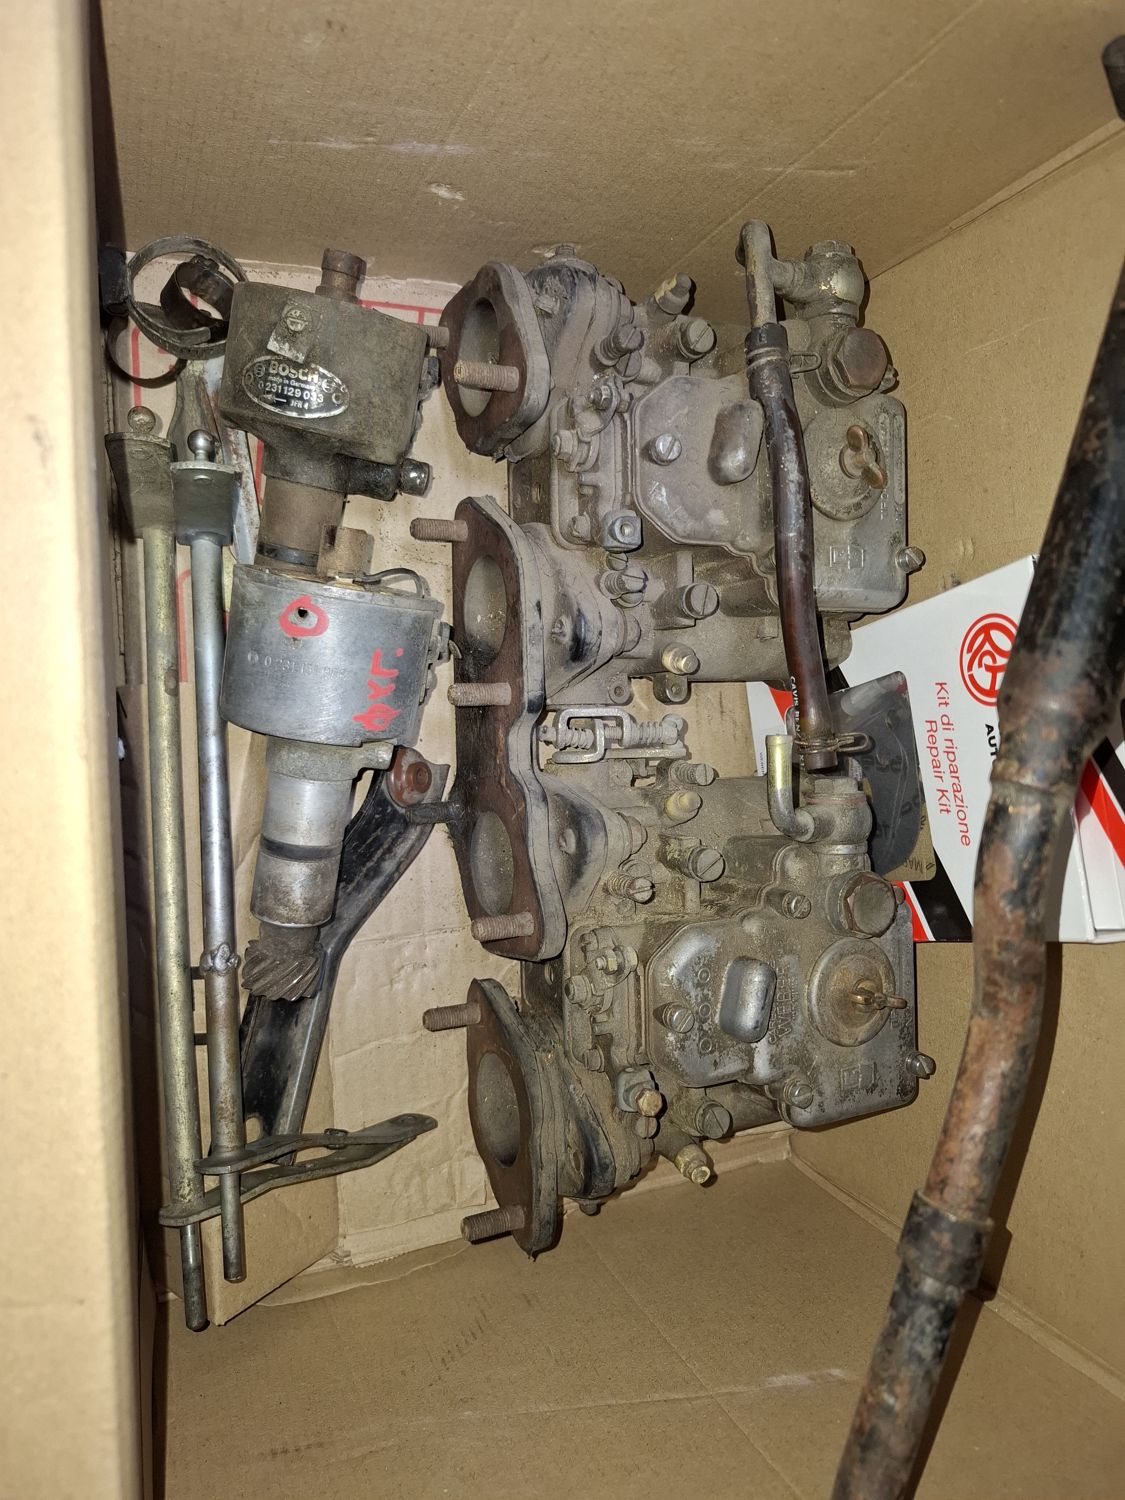
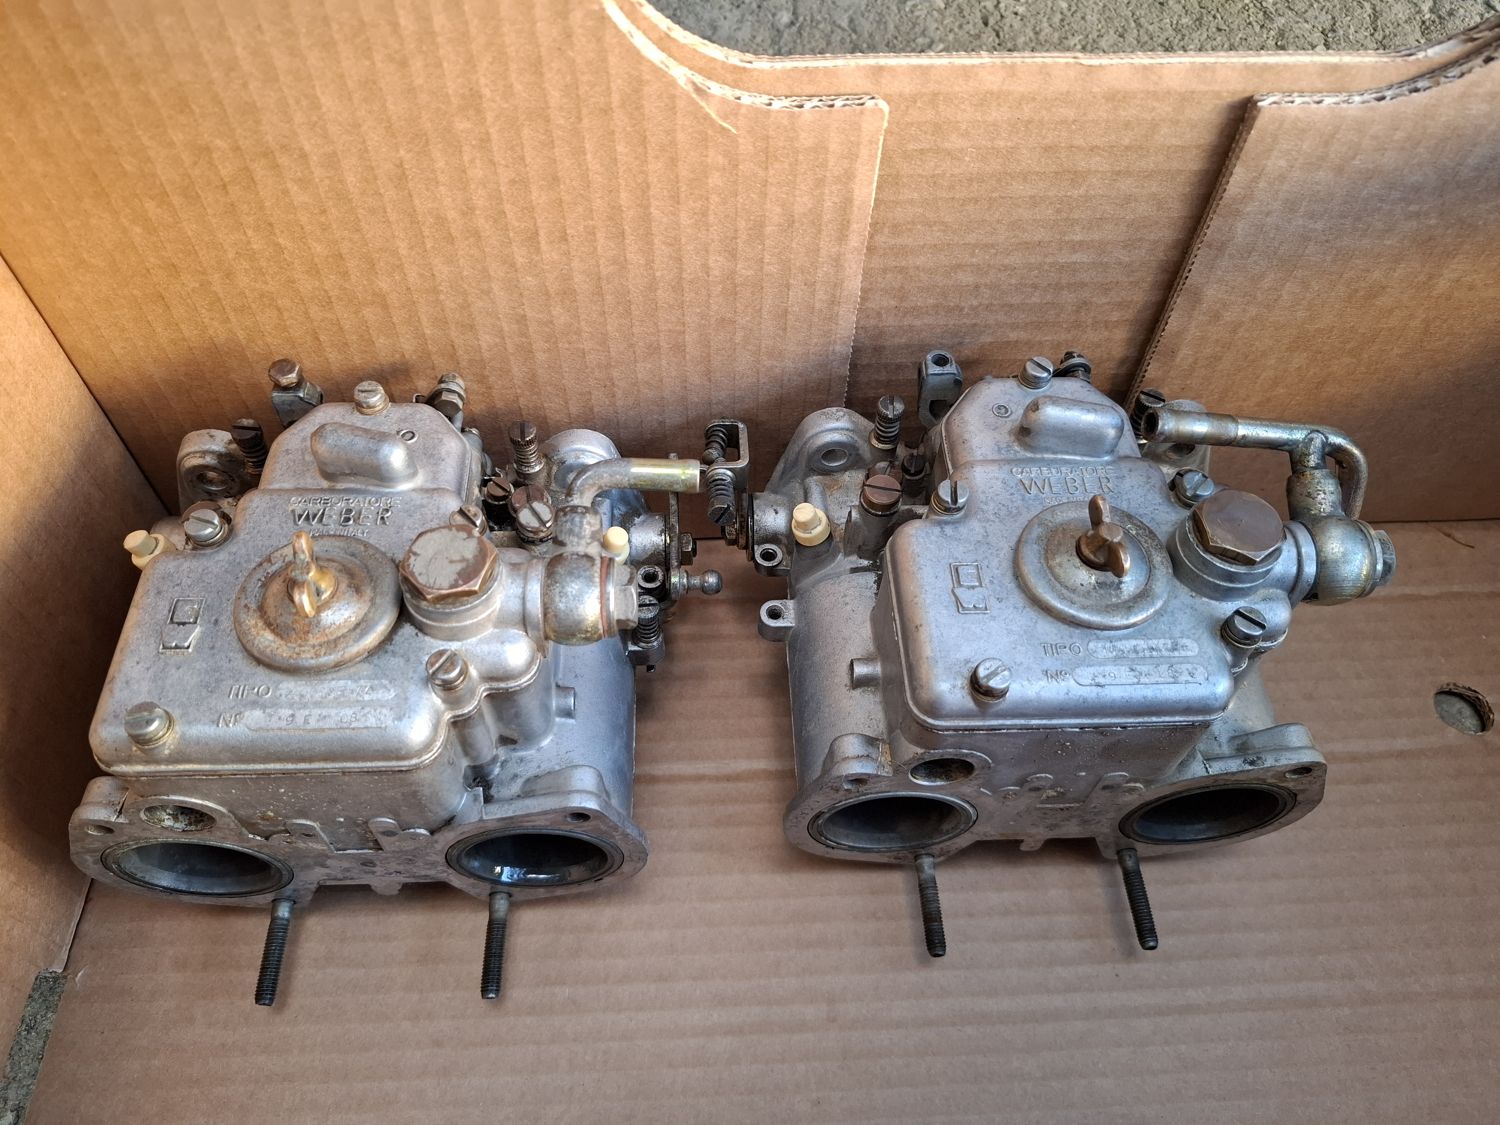
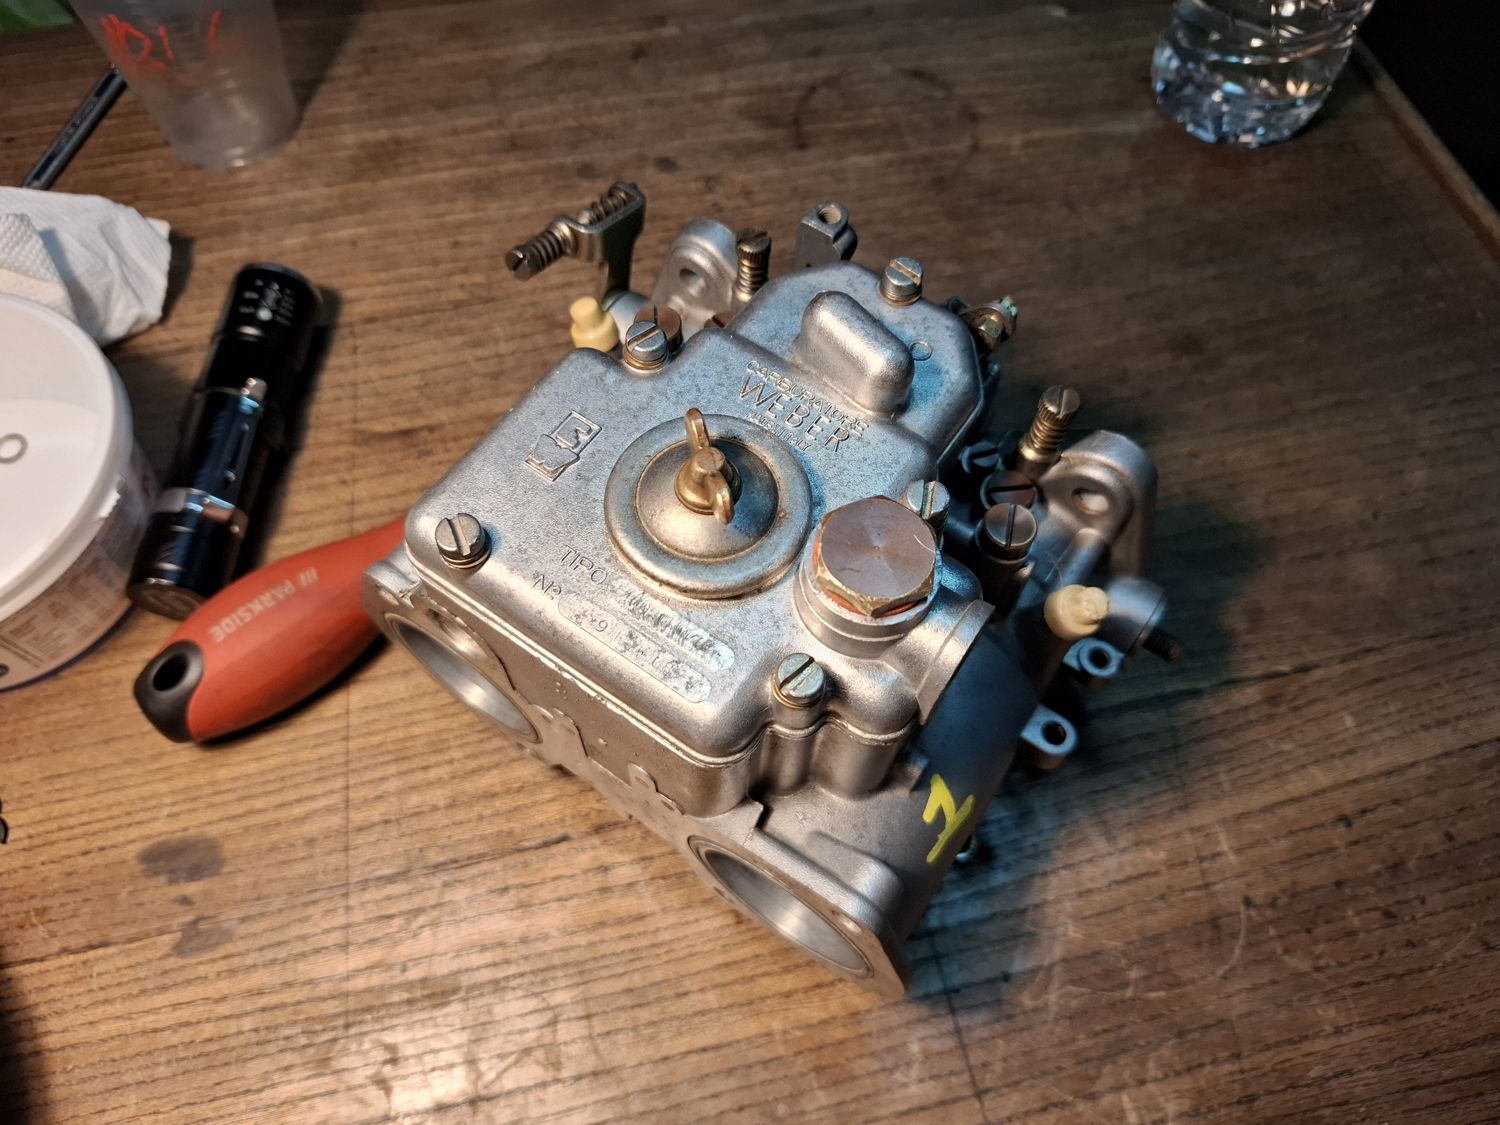
The carbs are an original, untouched pair of Weber 40 DCOE 76/77 that turned up in my father's warehouse. They cost nothing, but they needed a full rebuild before they could go anywhere near the engine.
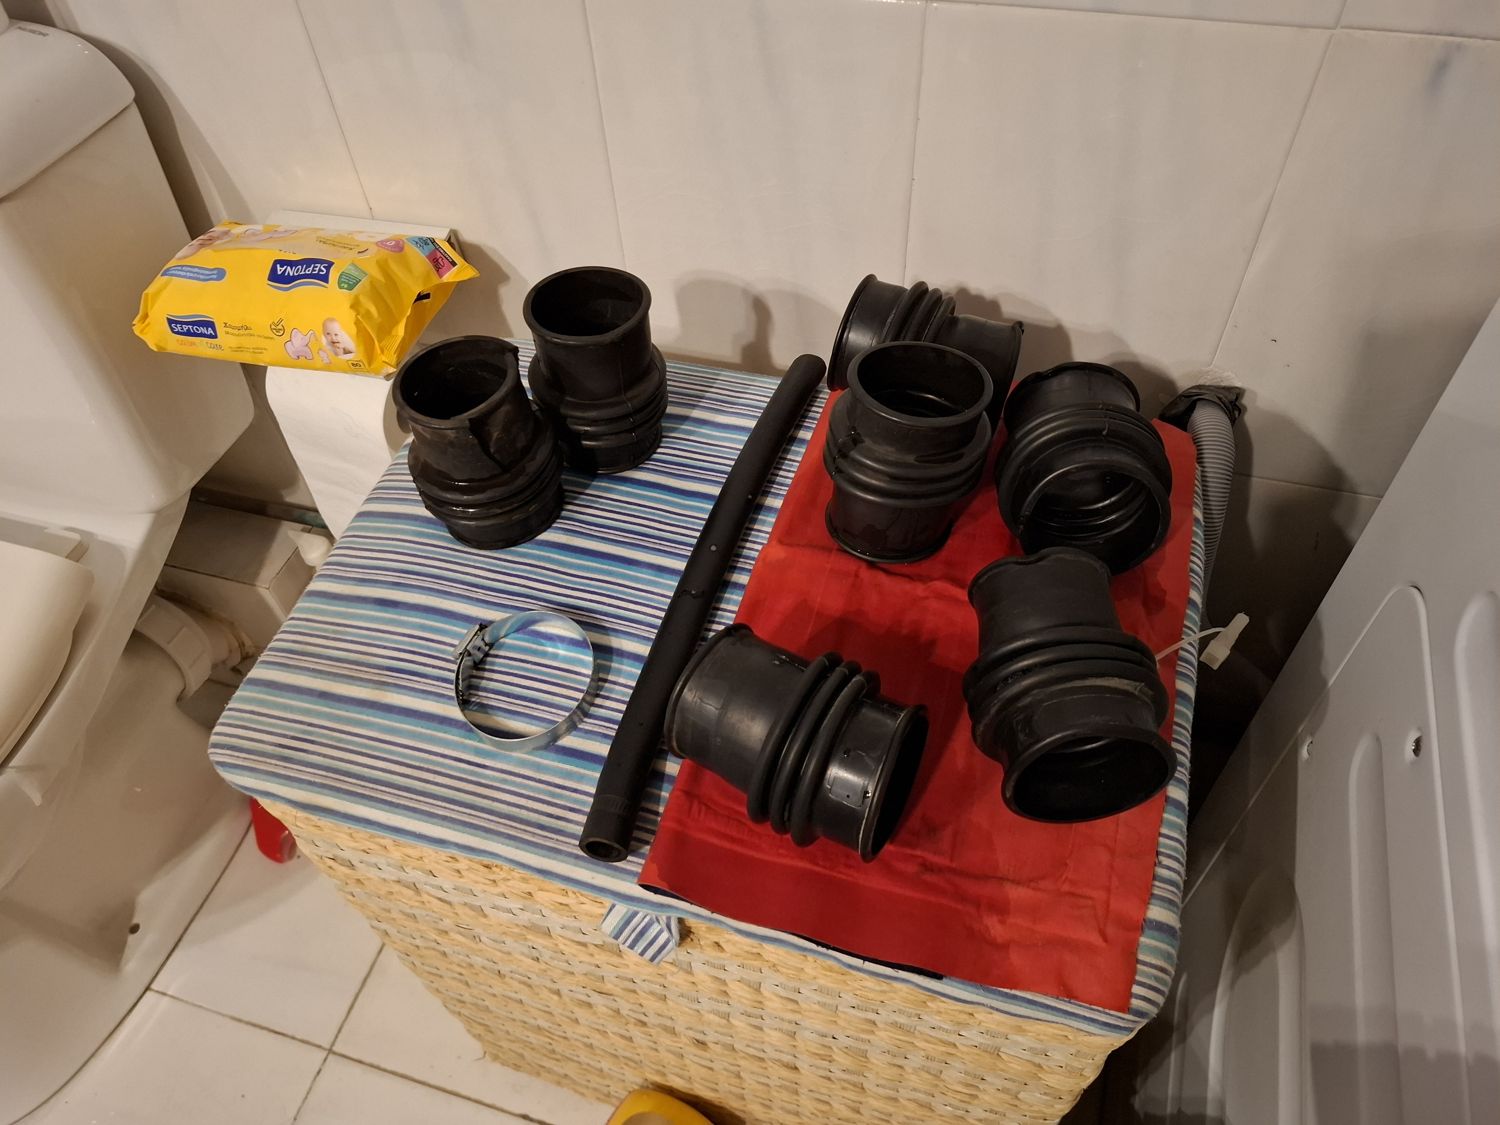
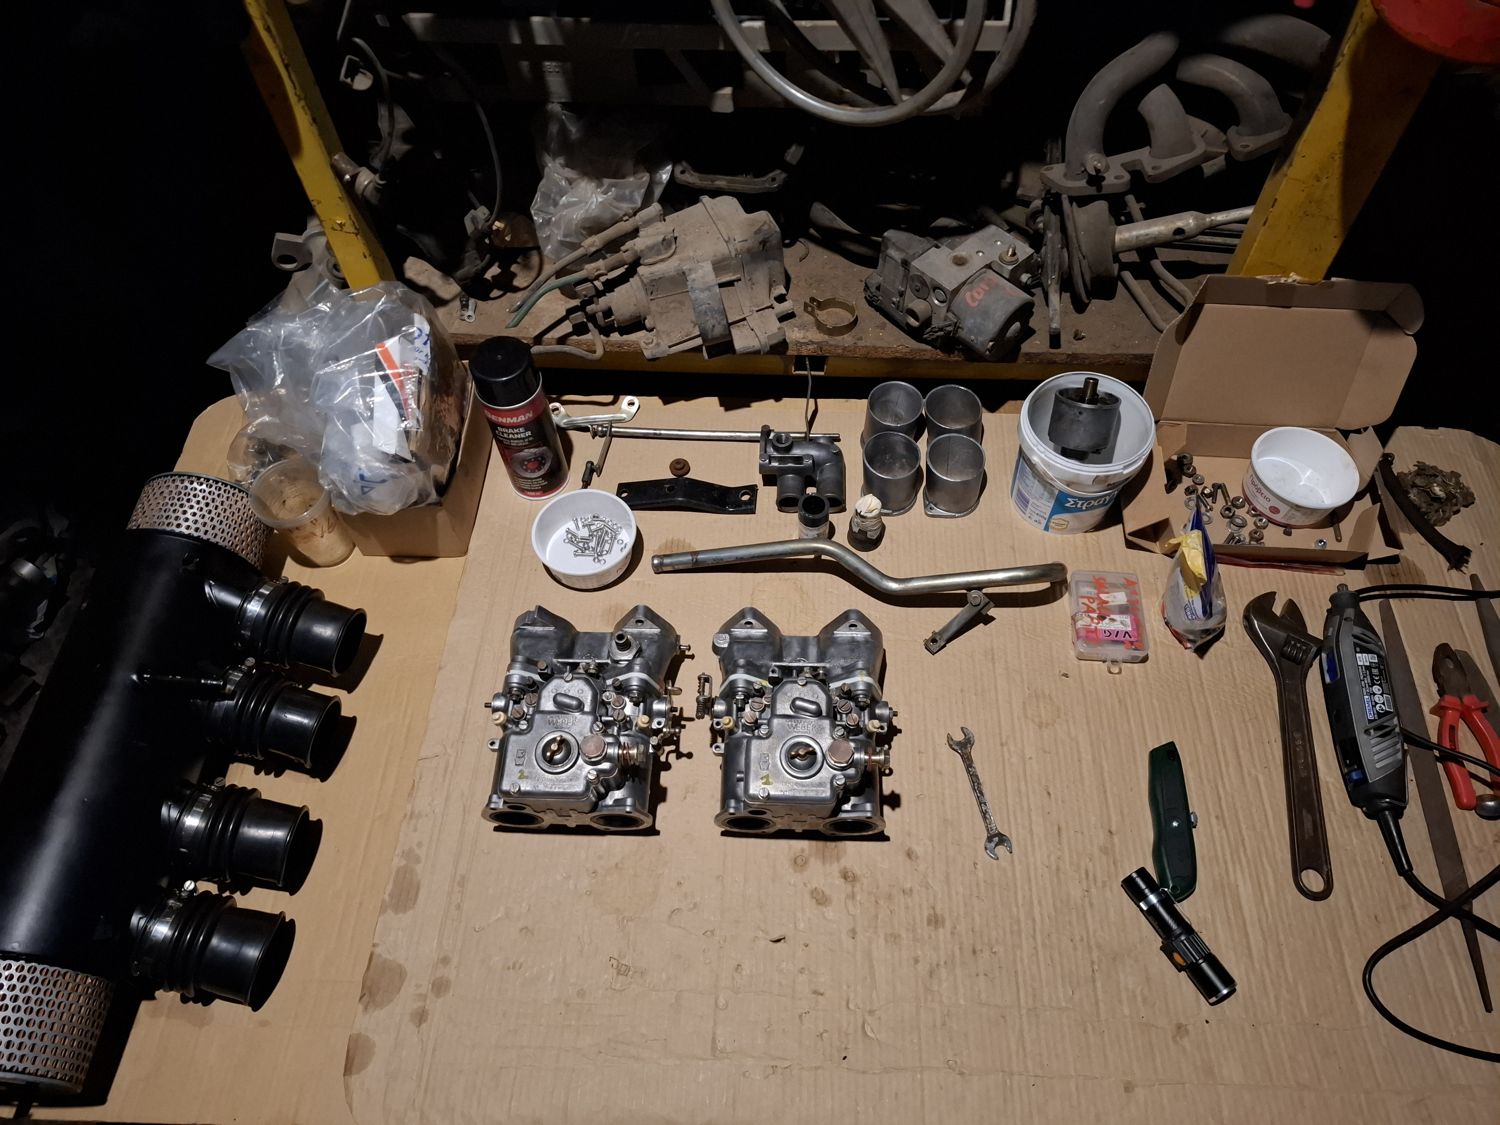
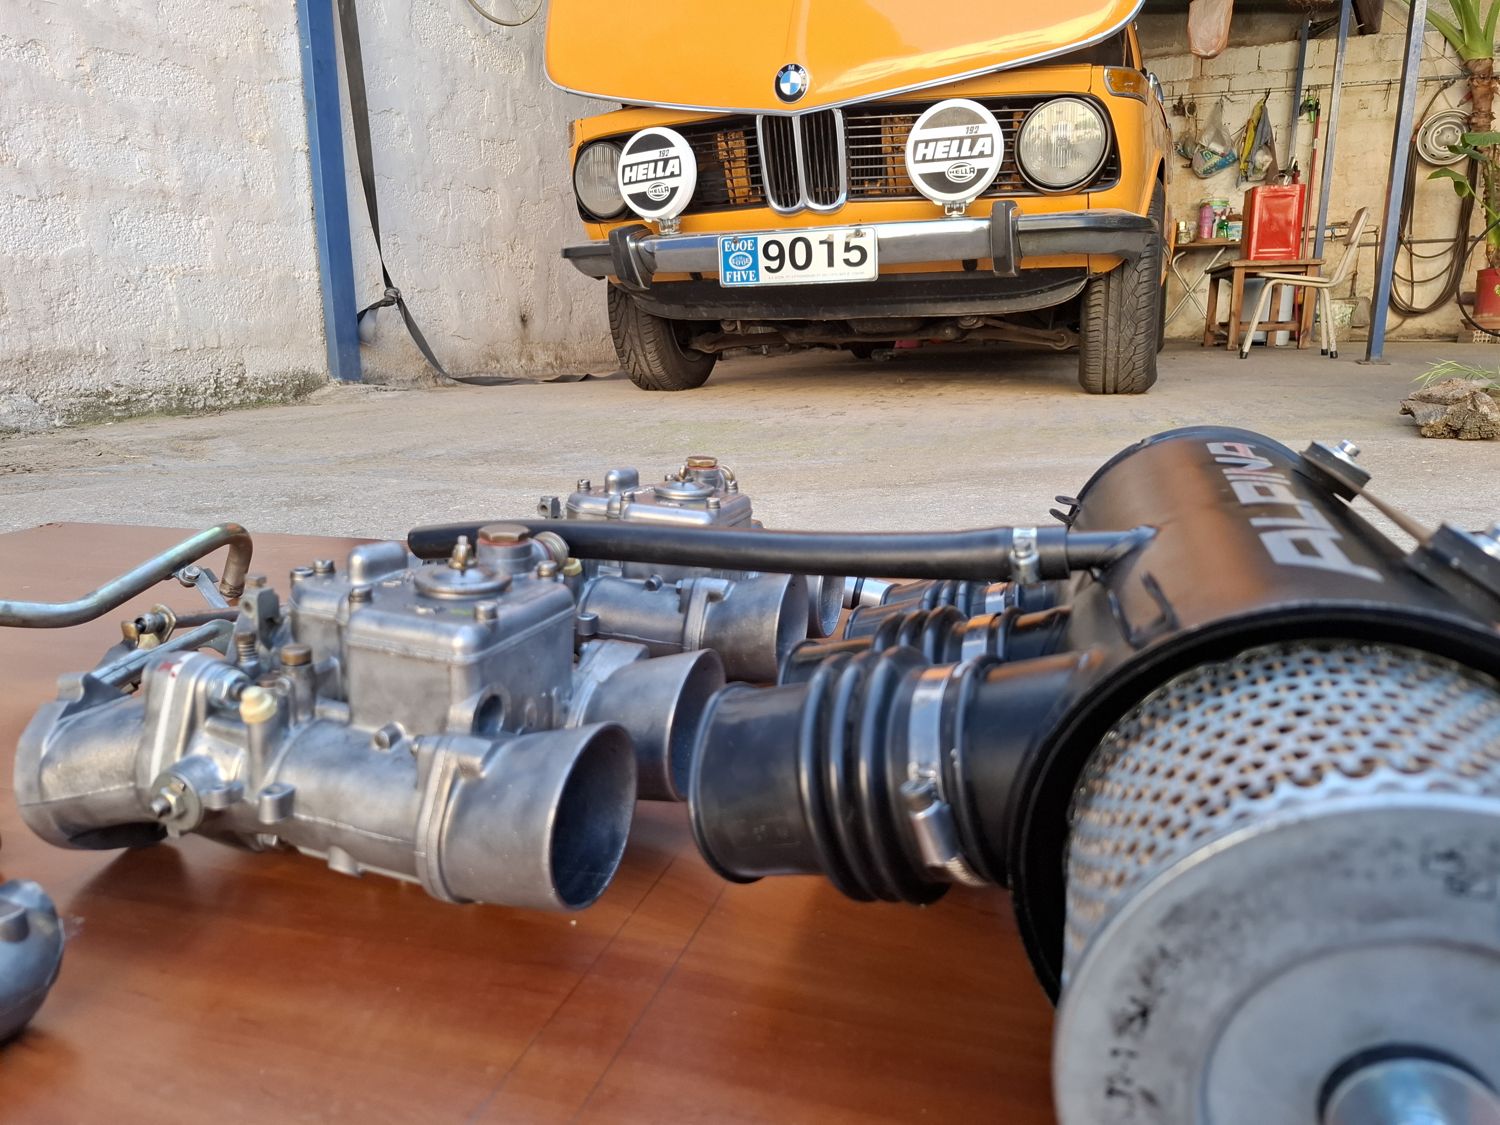
The Webers as they came out of storageIntake boots
Rebuilding them
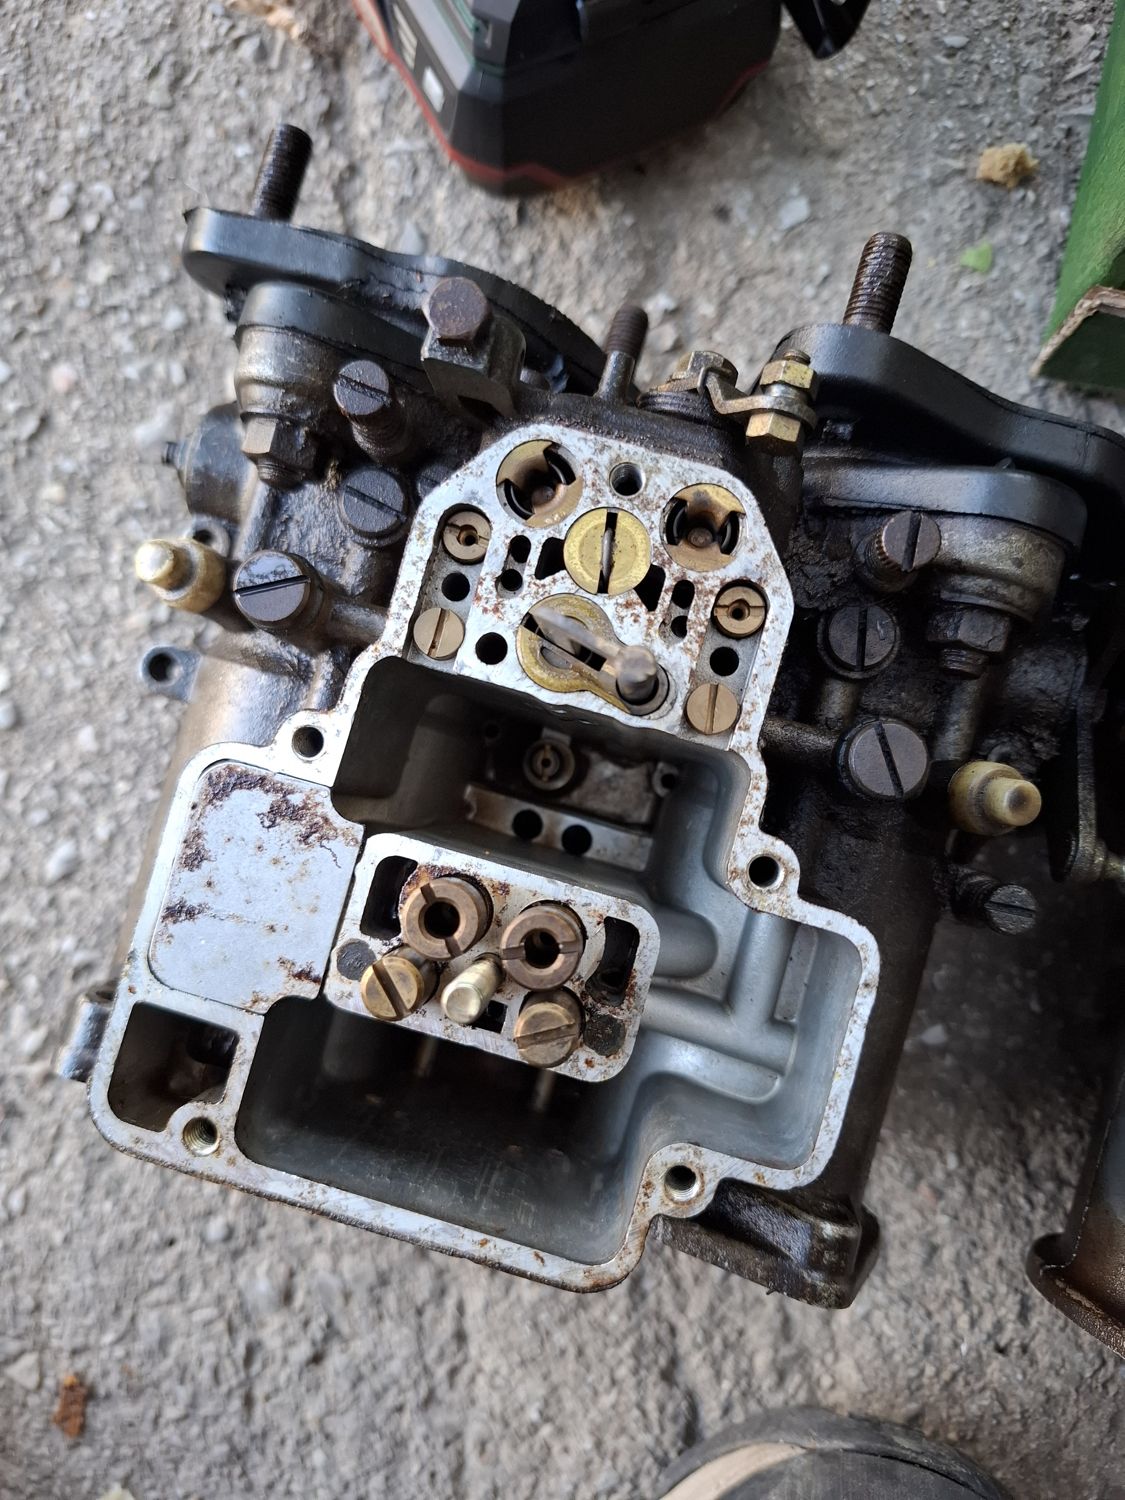
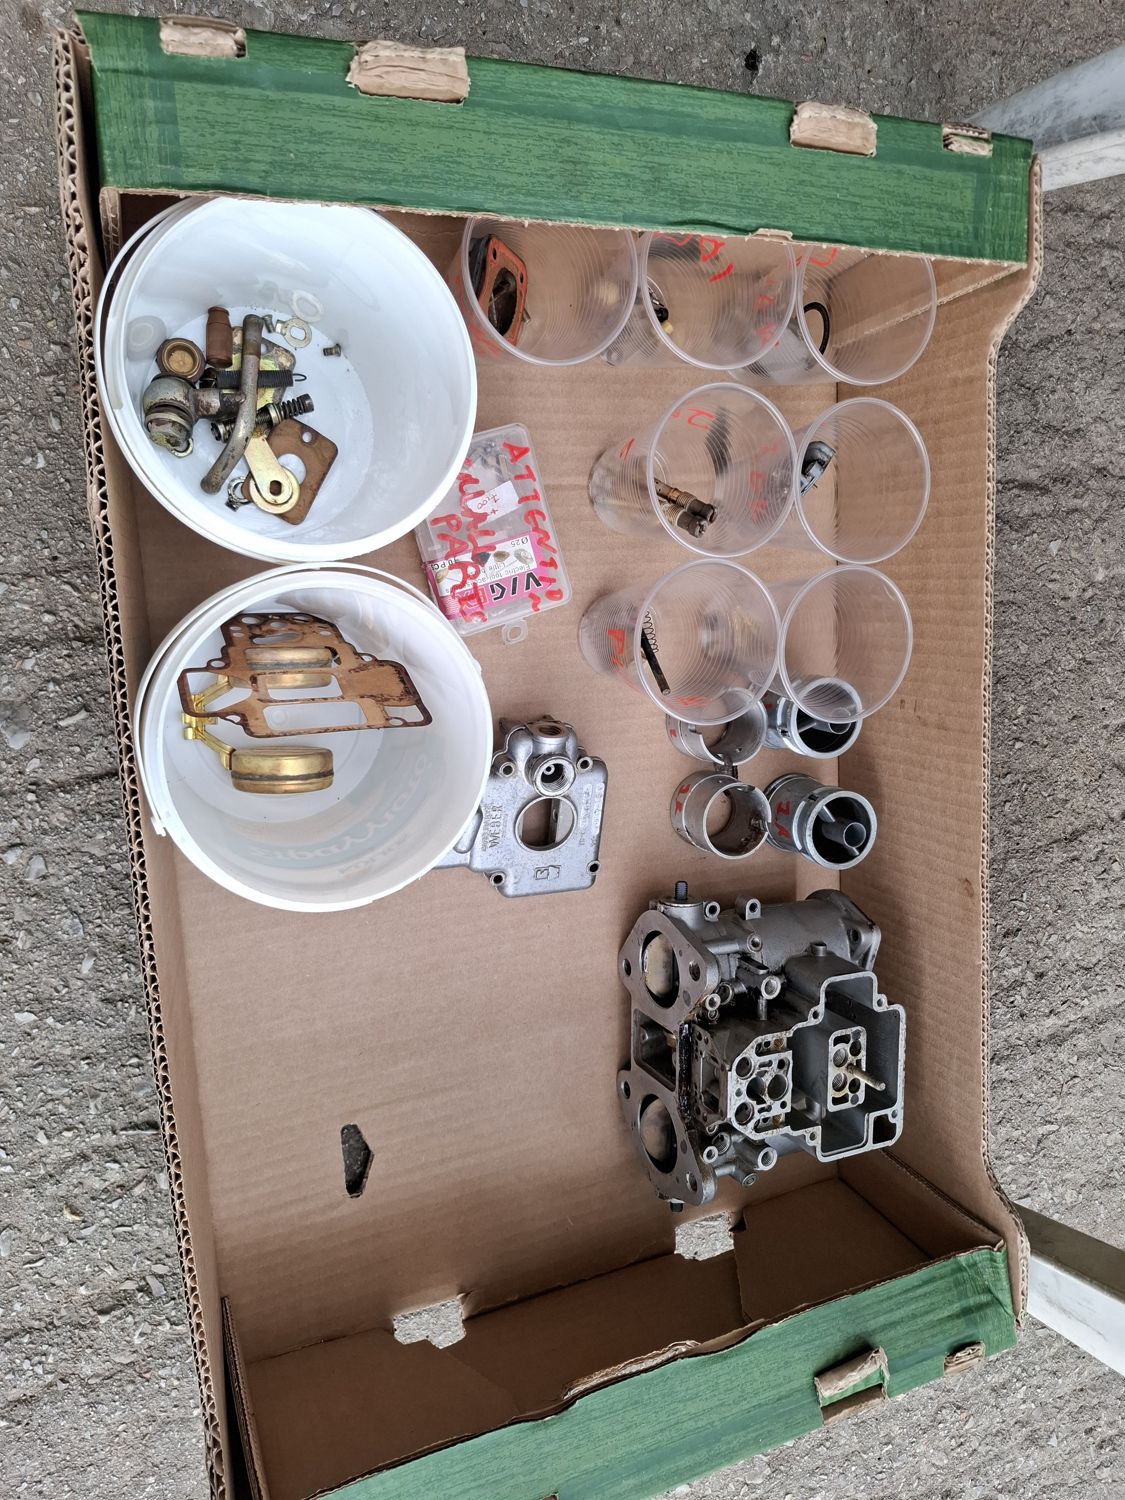
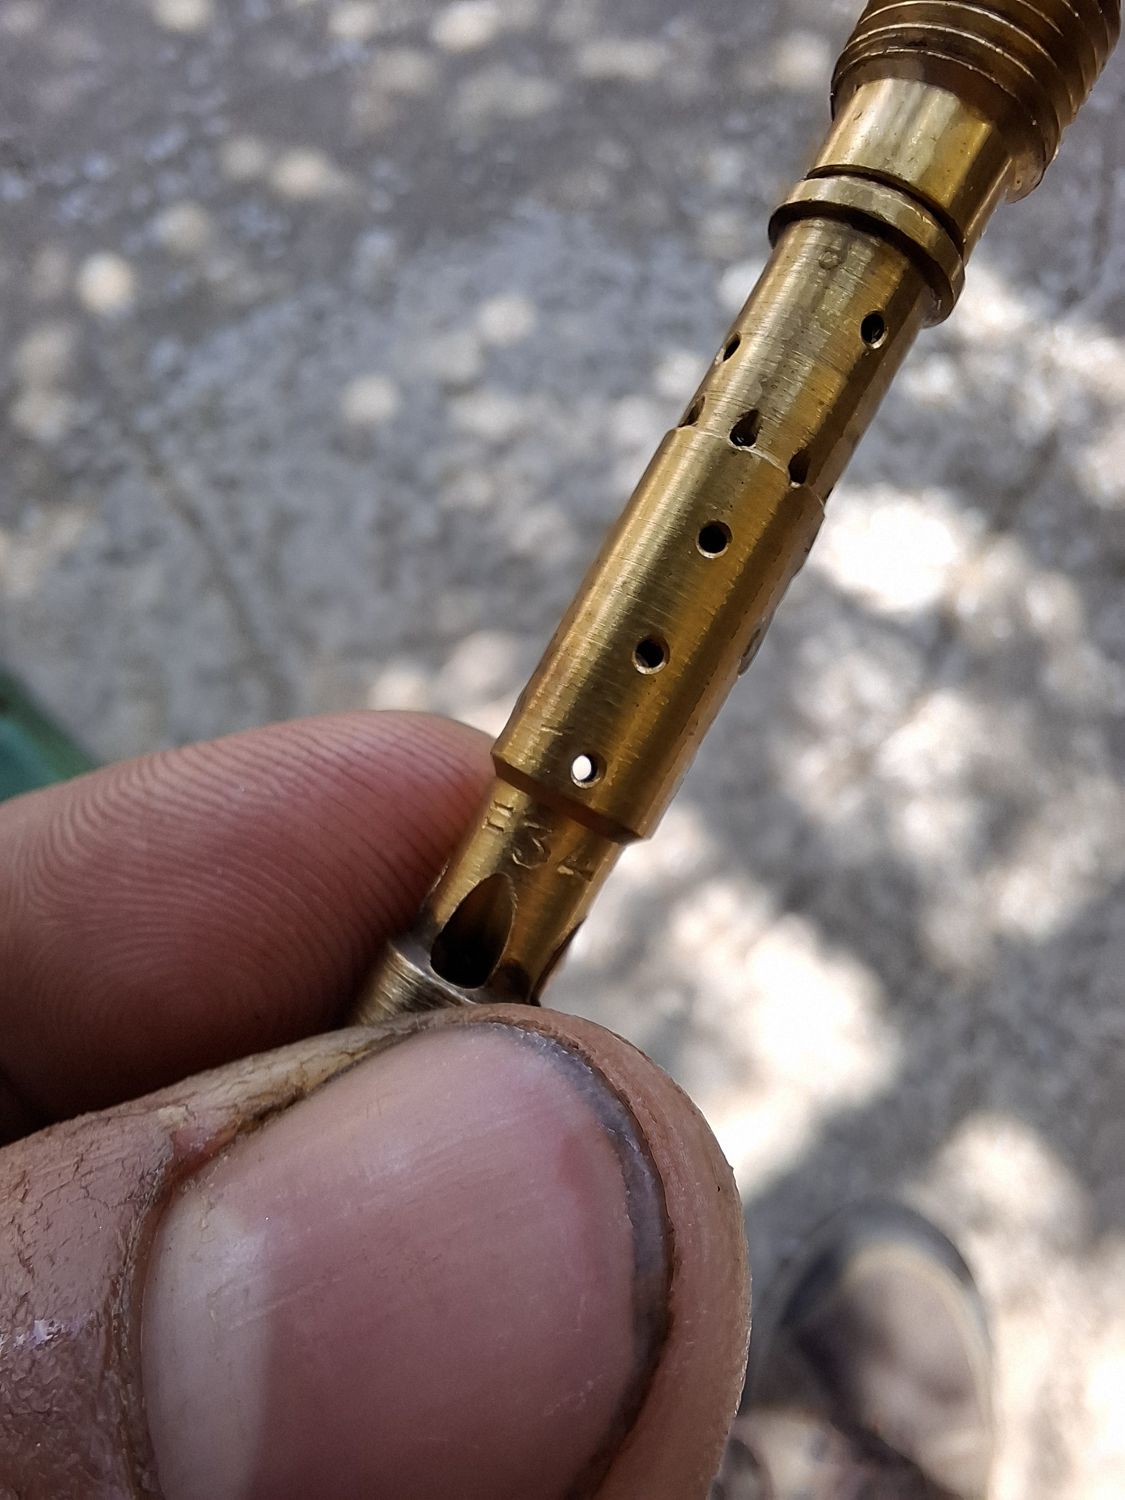
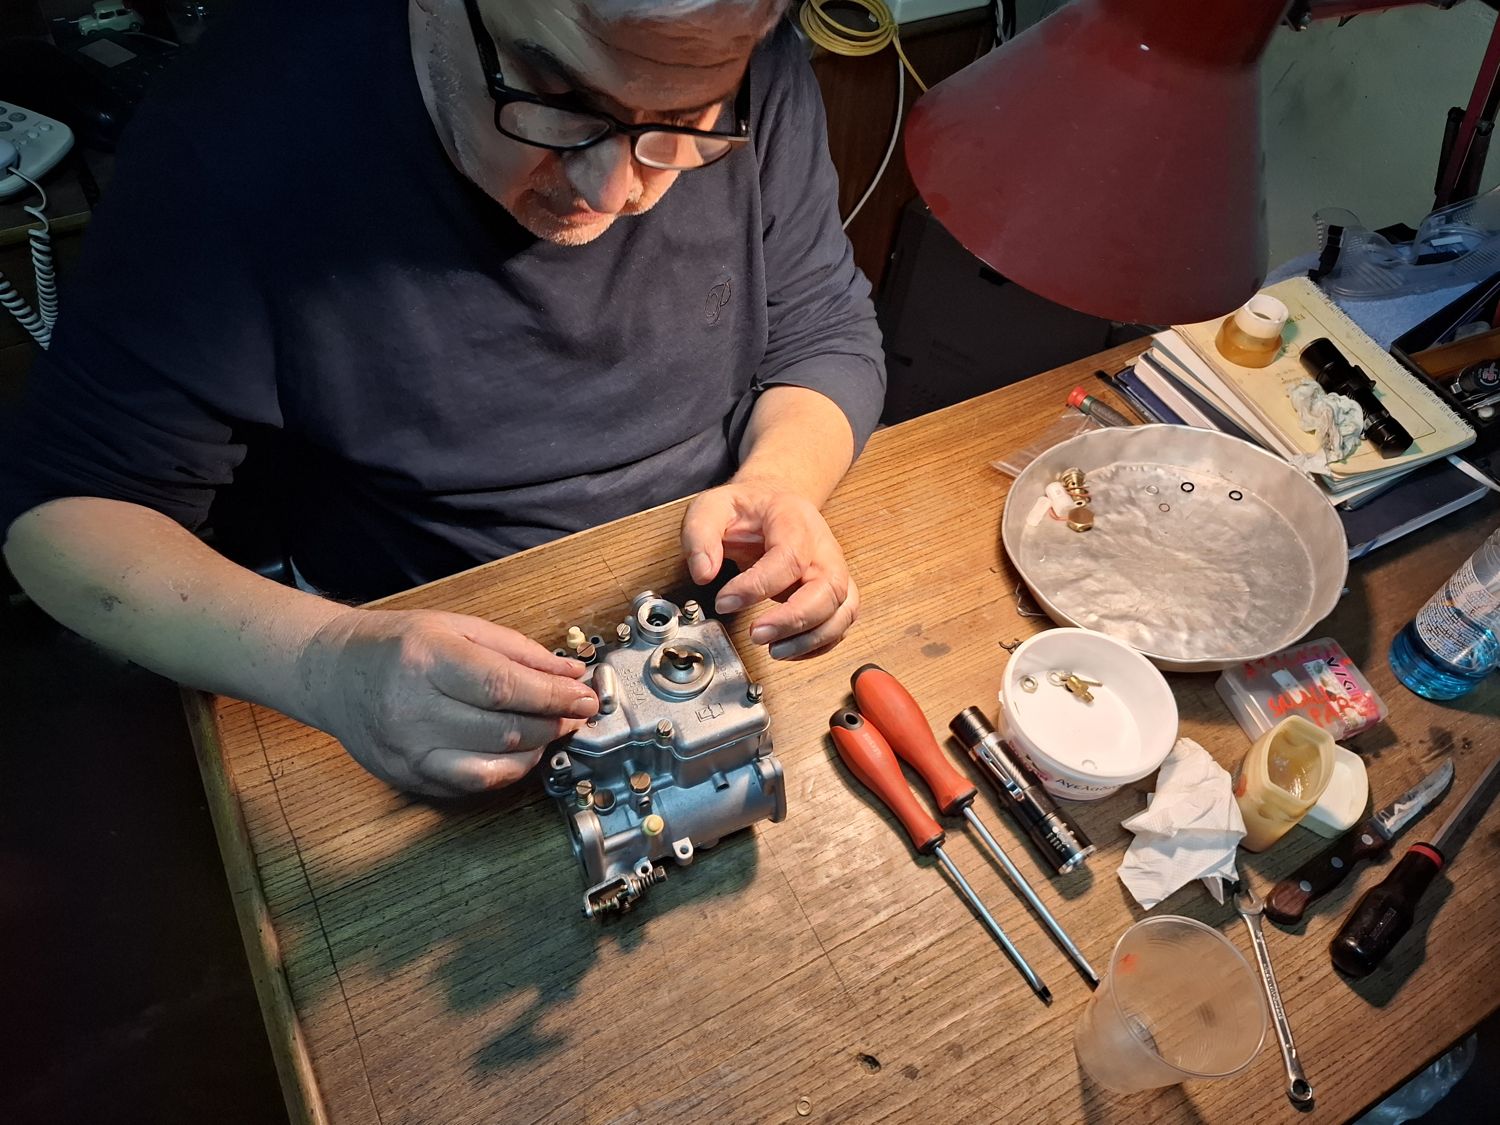
I stripped both carbs completely and cleaned every part thoroughly. Every jet, emulsion tube and small part went into its own cup so nothing got mixed up between the two carbs. They went back together with new gasket sets. The spindle bearings were in excellent condition, so I left them in.
Top cover offThe pair cleaned, 10 AprilJets and small parts sorted in cupsAn emulsion tubeWorking on the carbs at the desk, 13 AprilA rebuilt carb
The jetting is the factory setting for the 40 DCOE 76/77 (from the Weber application table for the Alfa Romeo 2000, a 1962 cc four-cylinder like the M10): choke 32, auxiliary venturi 4.5, main jet 135, air corrector 210, emulsion tube F34, idle jet 55 F17, starter 85 F9, pump jet 35, needle valve 150.
Manifolds, gaskets and coolant
The intake manifolds were cleaned and polished; no port matching was needed. Between head and manifold went new paper gaskets, and between manifold and carb new phenolic spacers with two paper gaskets each (Walloth & Nesch). All washers and nuts are new. The manifold-to-carb nuts are 13 mm instead of the original 12 mm, because we could not find genuine 12 mm ones from BMW. That makes tightening the carbs onto the manifolds a bit trickier.
For the coolant I used a cleaned original 2002ti water divider. The metal bypass tube that a twin-carb engine needs came from an E30 318i M10 with L-Jetronic, with its one small outlet plugged. This way the heater hose on the firewall stays exactly as it was, so going back to a single carb would be easy.
Linkage and throttle
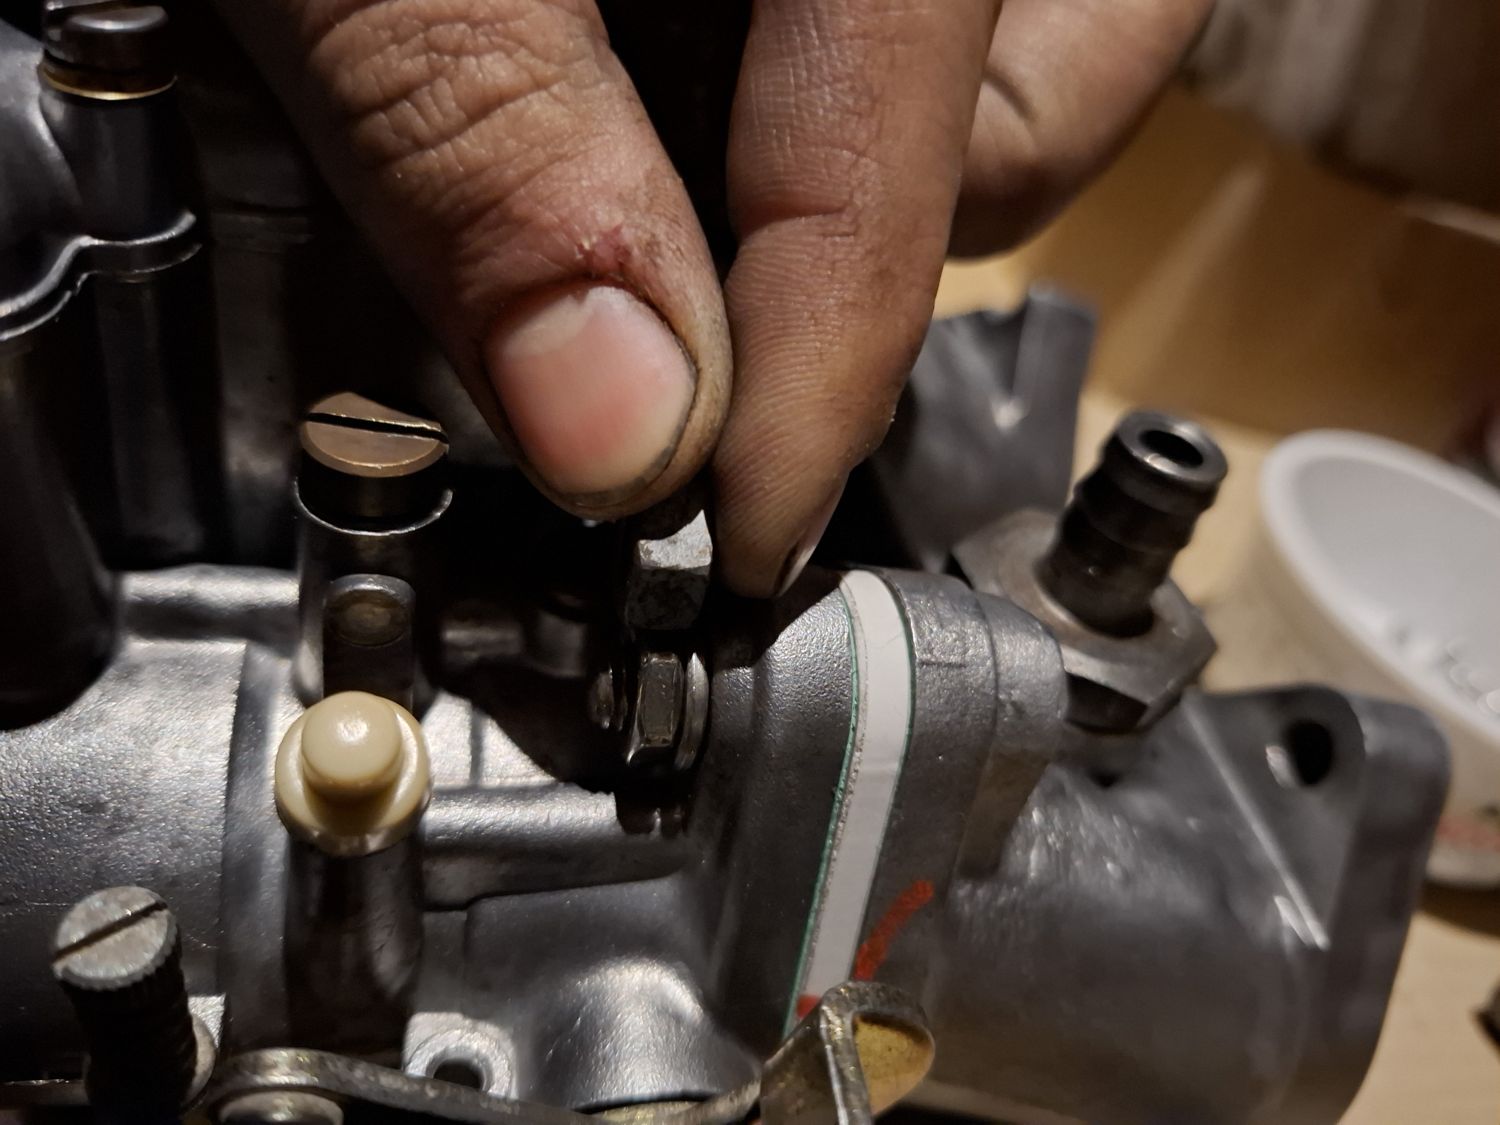
The original 2002ti throttle linkage was in excellent condition and went straight back on. The bridge-type bracket that bolts onto the manifold studs was raised with two thick washers, so the linkage clears the chokes. The DCOE-specific lever arms I did not have; I bought them separately from Athanasakos.
The firewall bracket that supports the linkage got a new bushing, softened in warm water to fit, which took the noise away. A throttle return spring runs from the left carb lever to the stud on the side of the manifold, as on an original 2002ti.
The rod from the pedal box to the carb linkage had to be straightened. The ti has its own firewall bracket, which pushes the rod to the side, and a bent rod then hits the gearbox and clutch. The ti originally has a straight rod, but we could not find one. The clamps at both ends of the rod are new.
Carbs and parts on the bench, 15 AprilSetting up the linkage
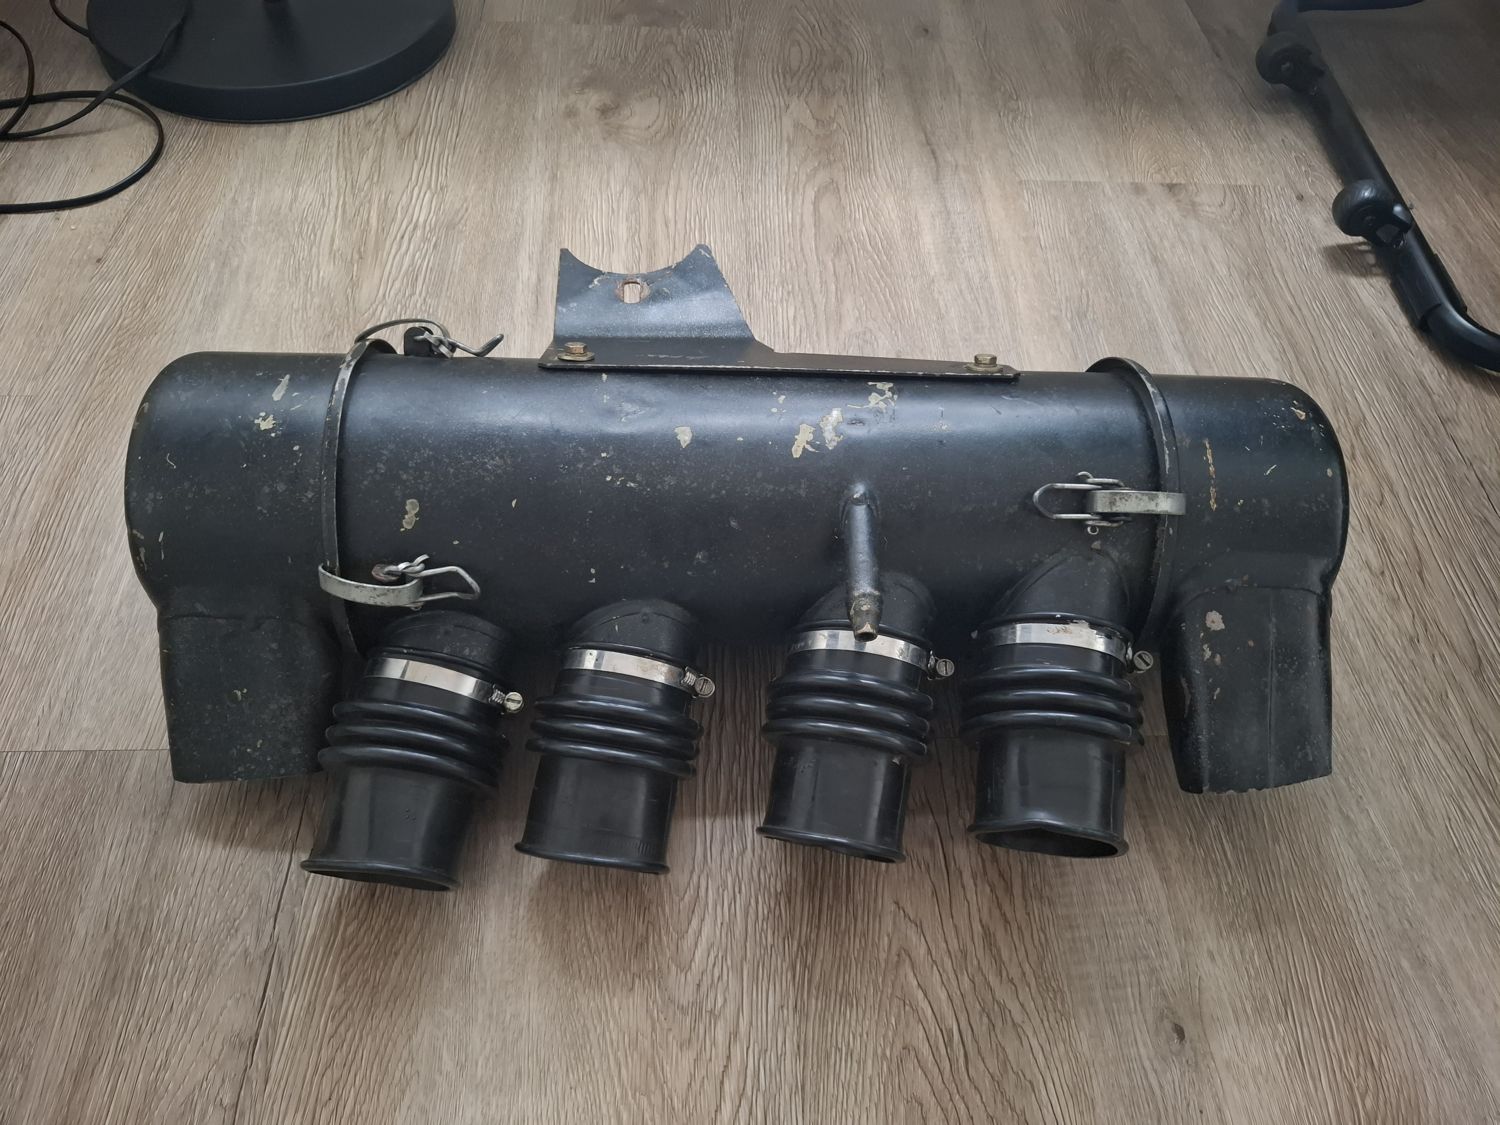
The Alpina air box
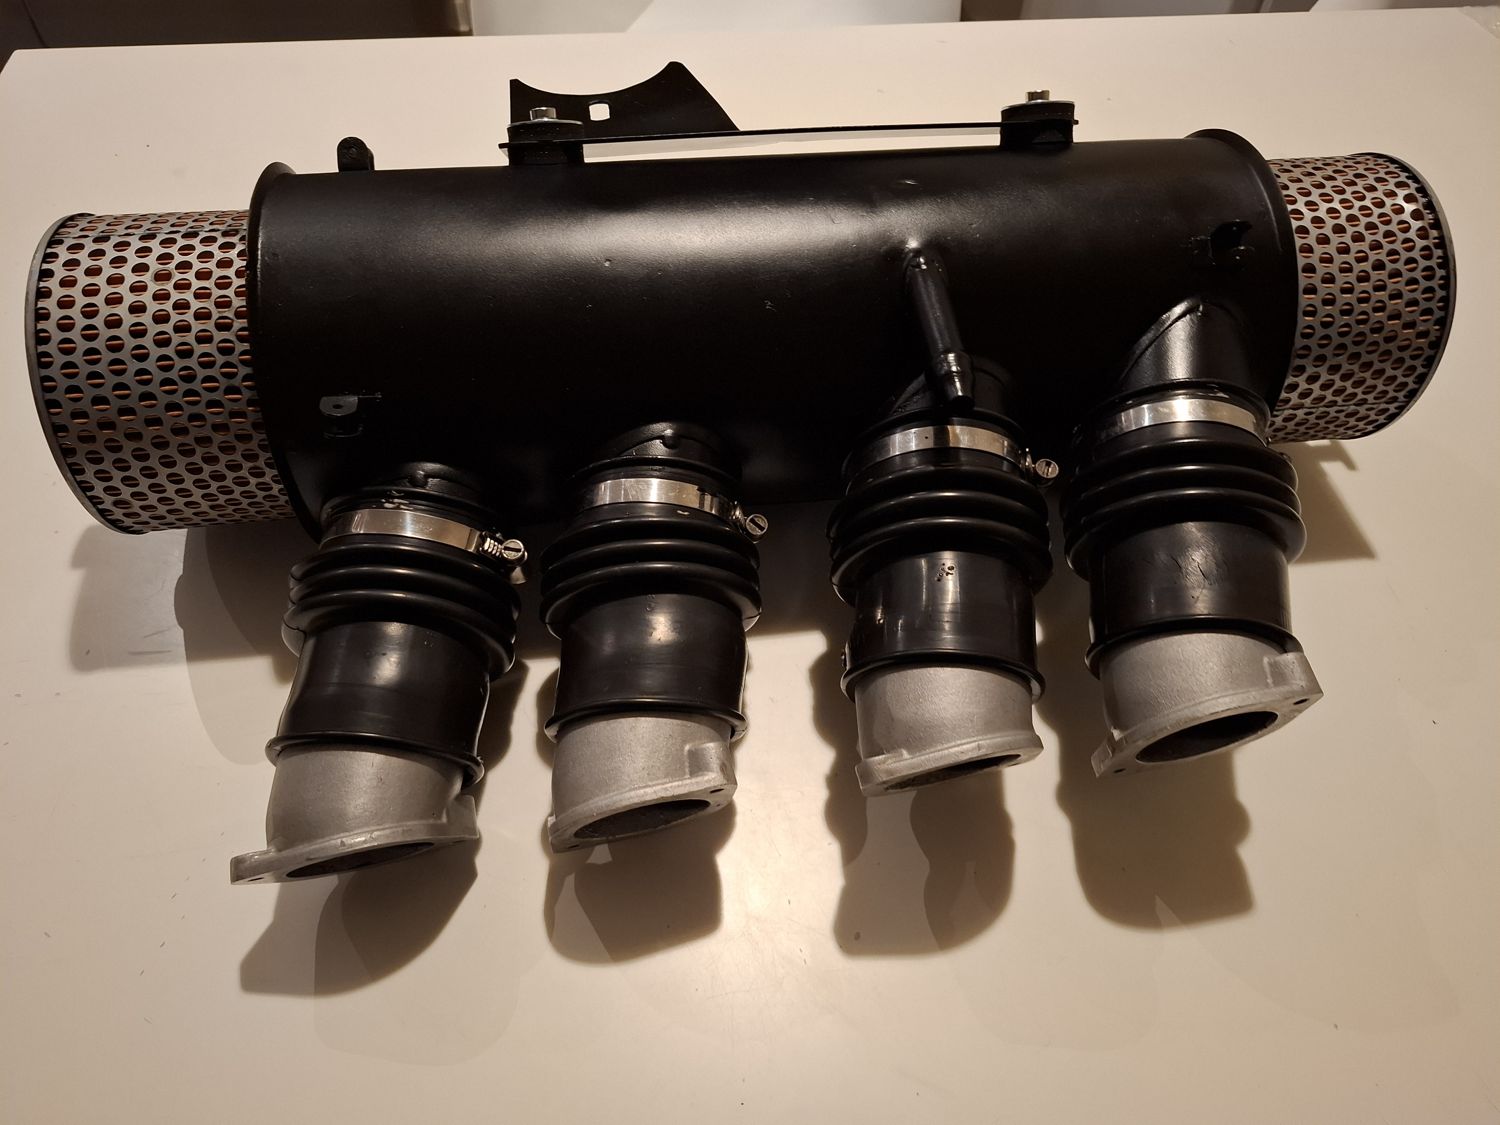
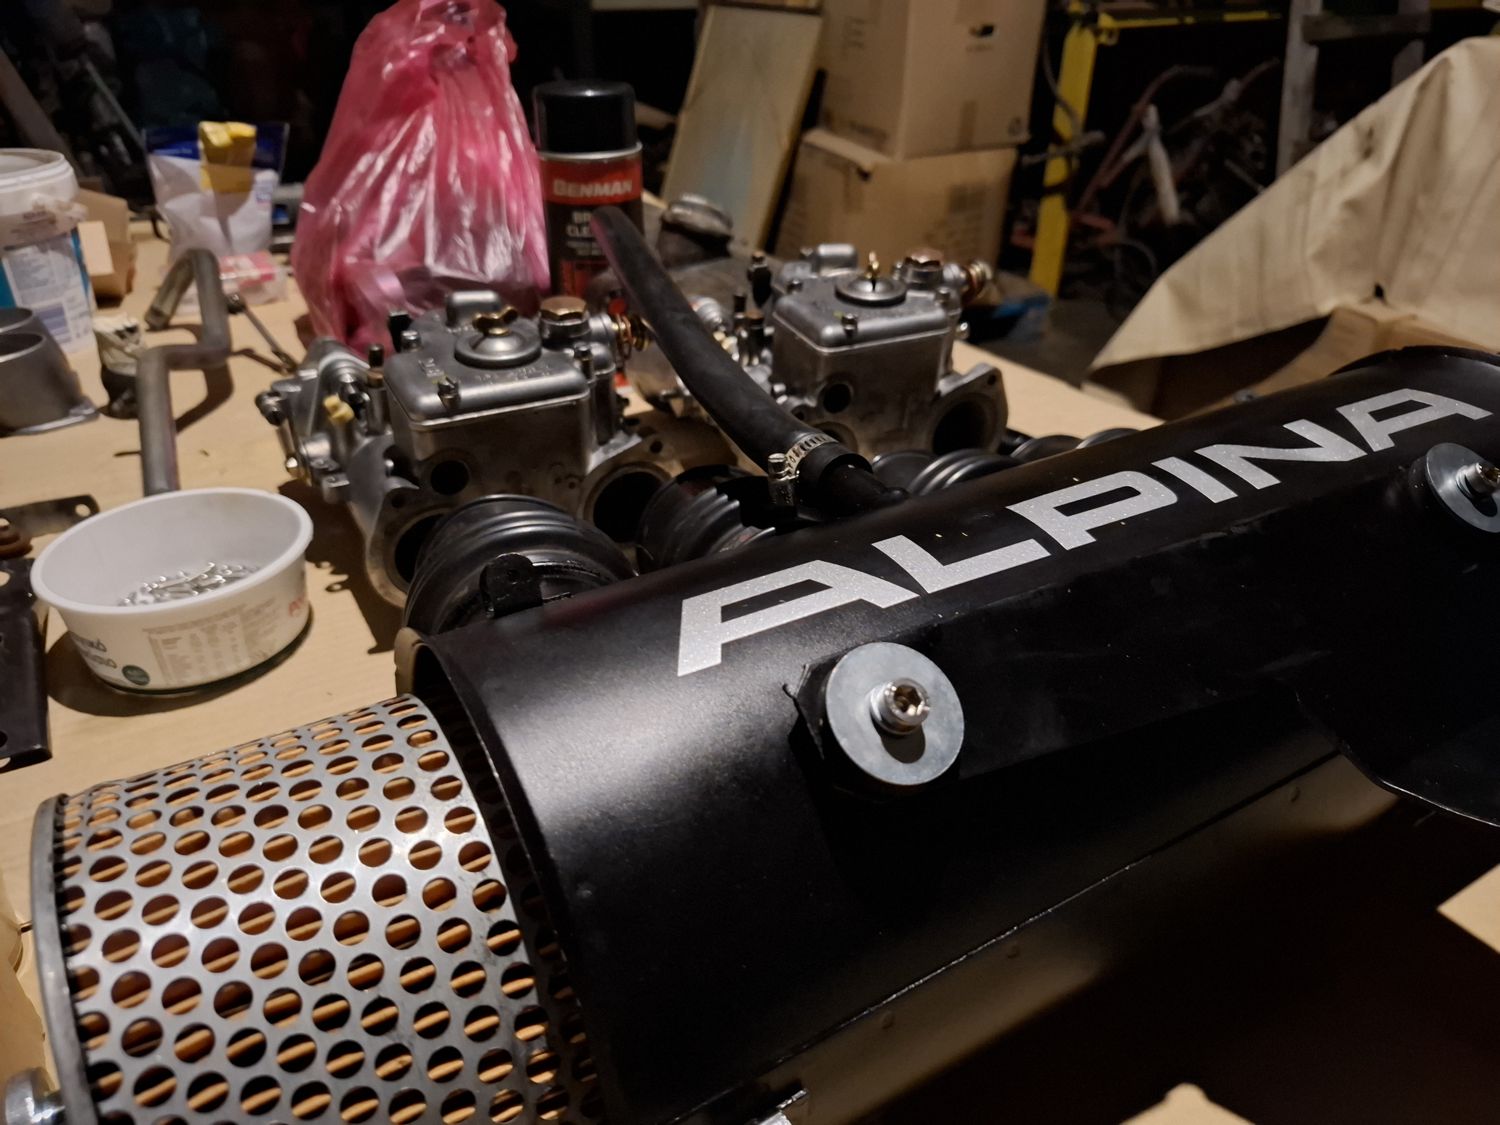
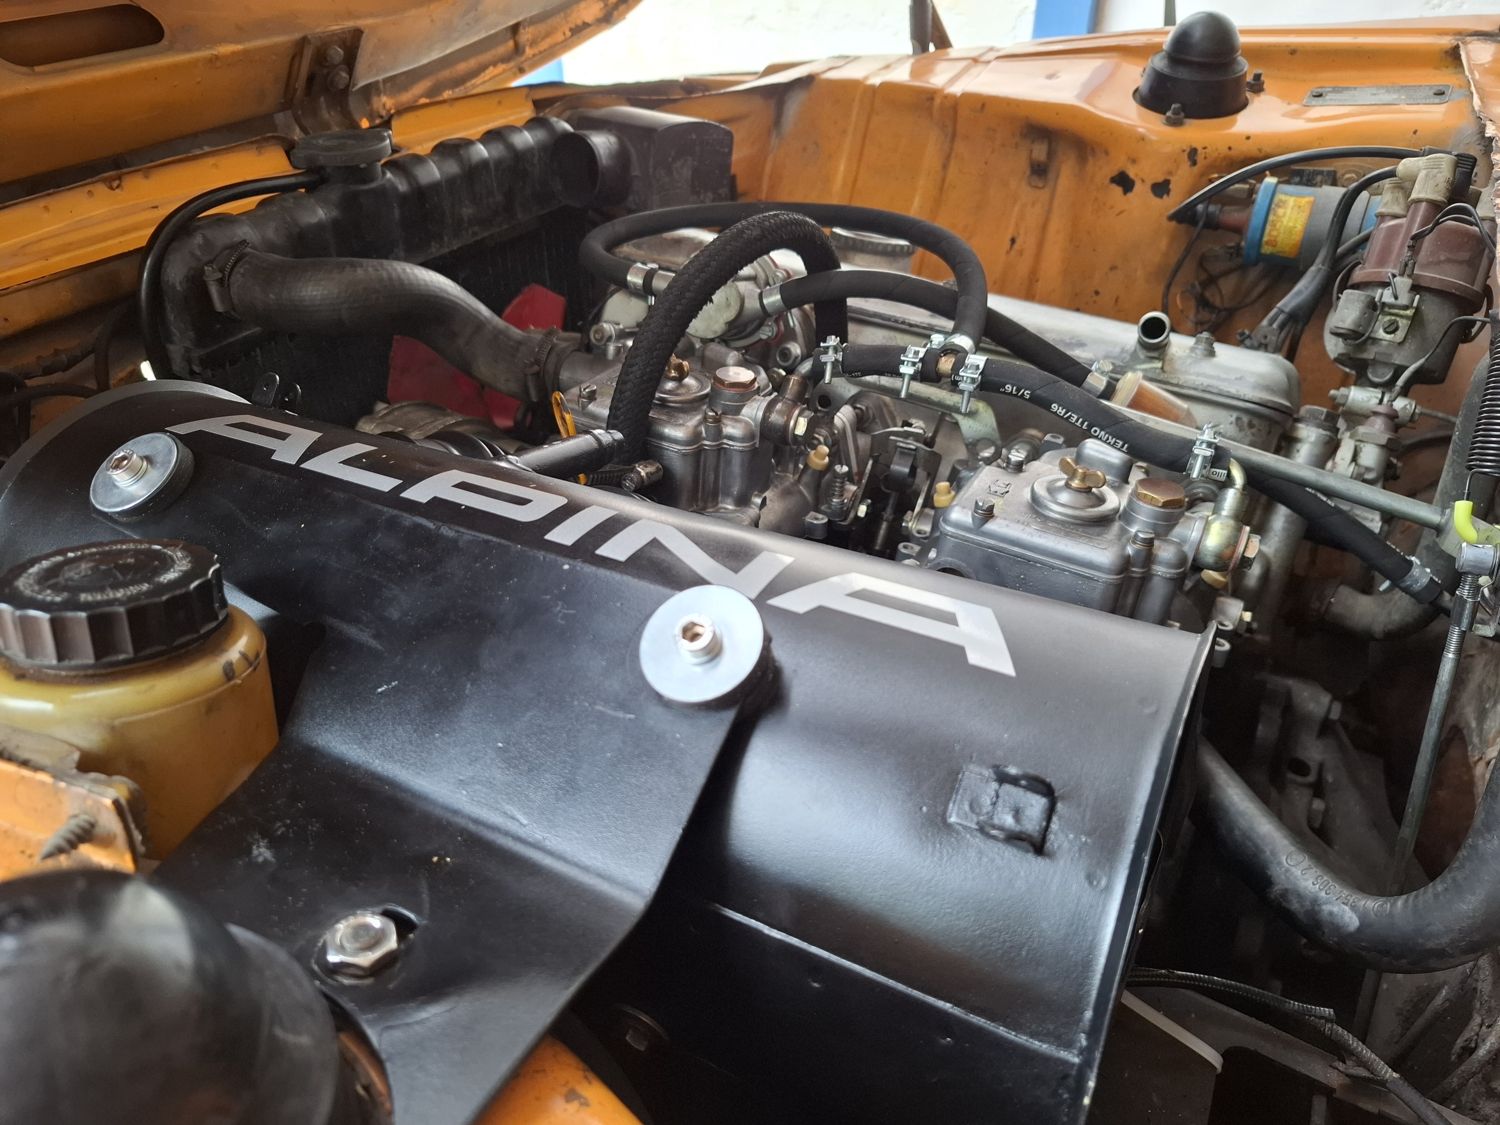
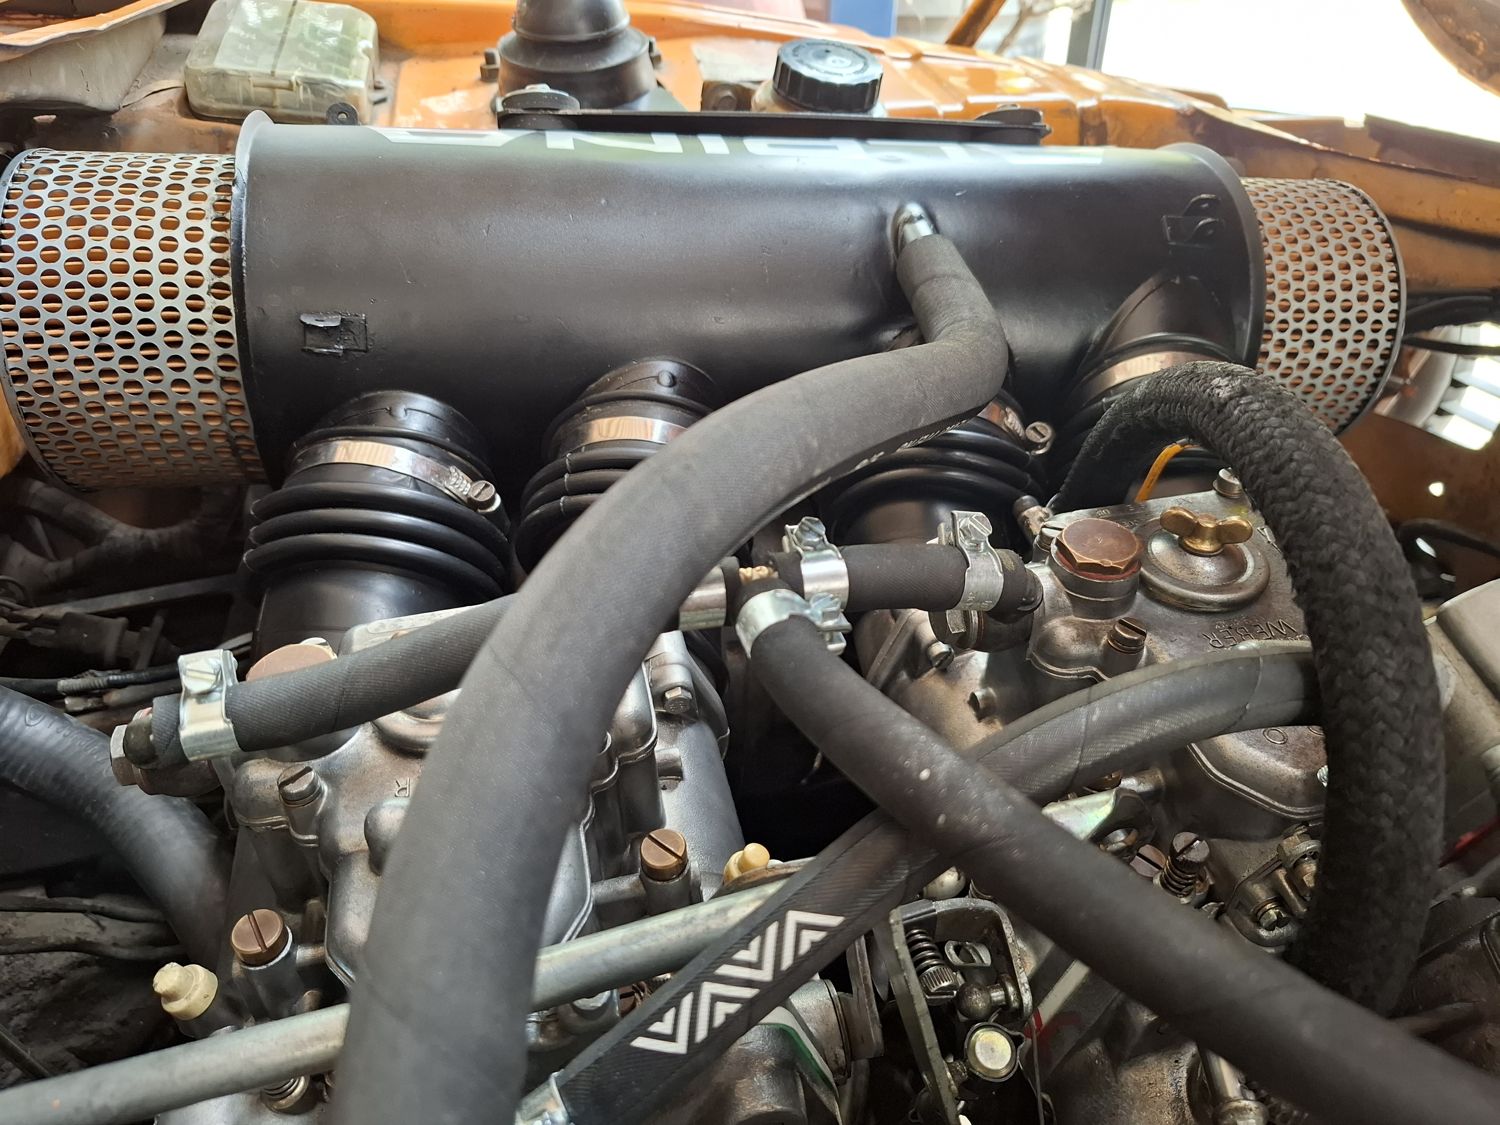
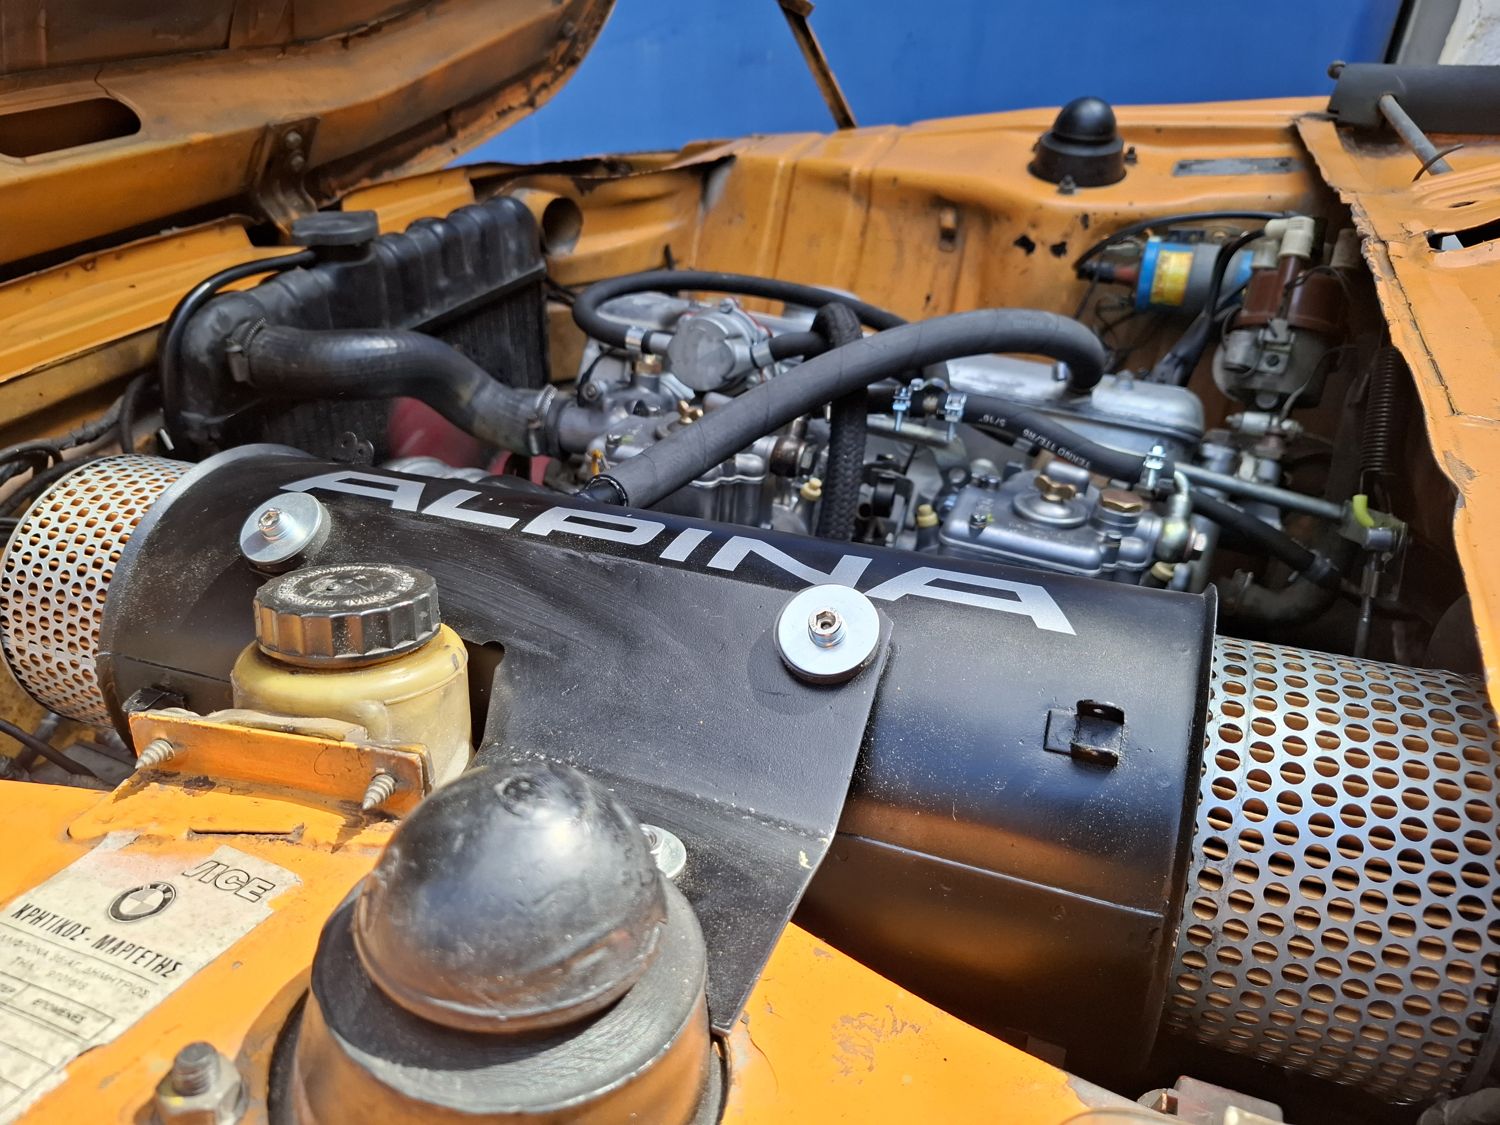
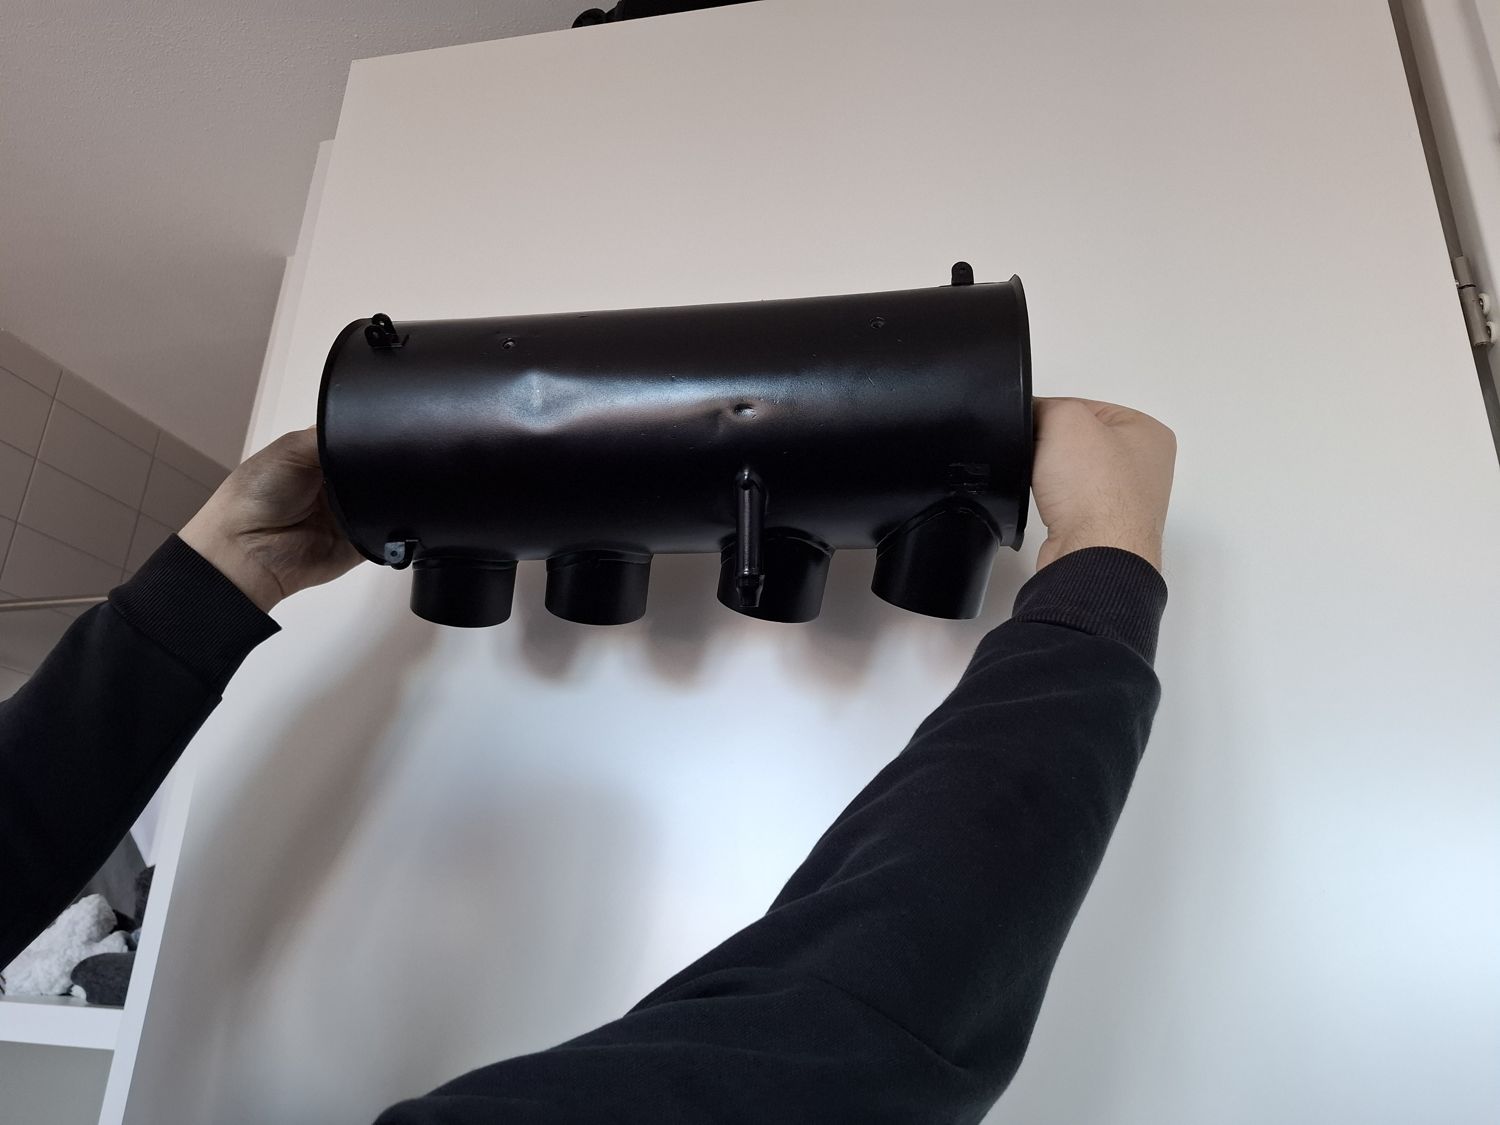
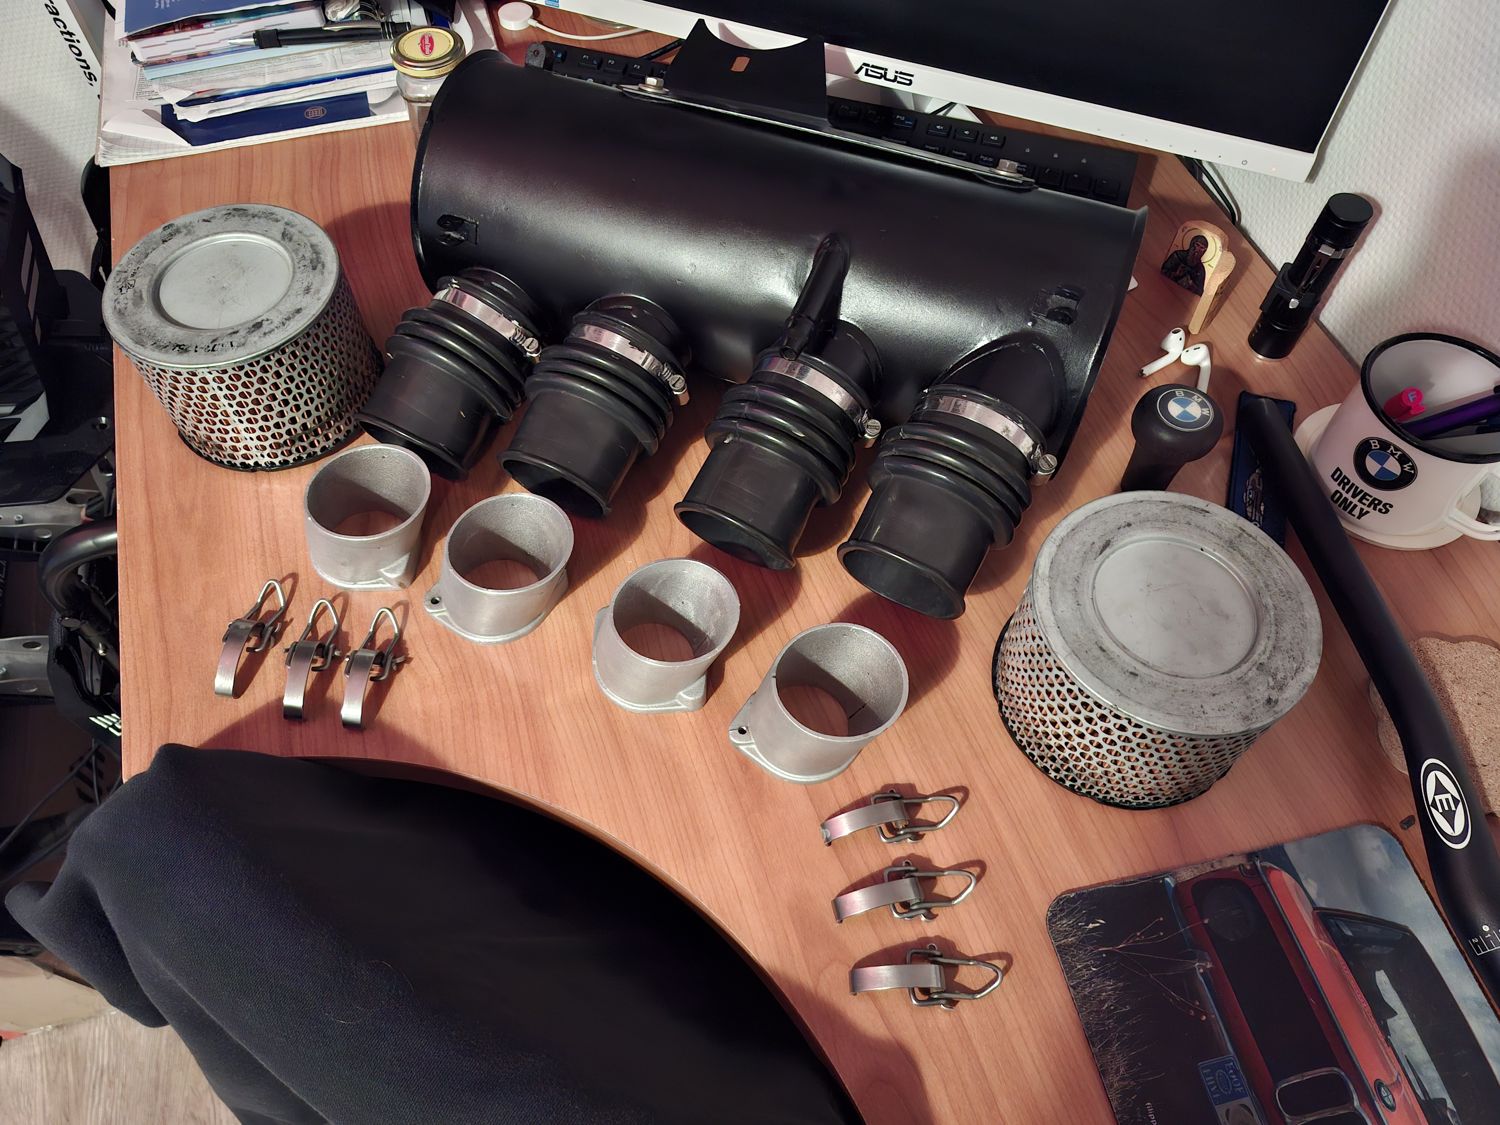
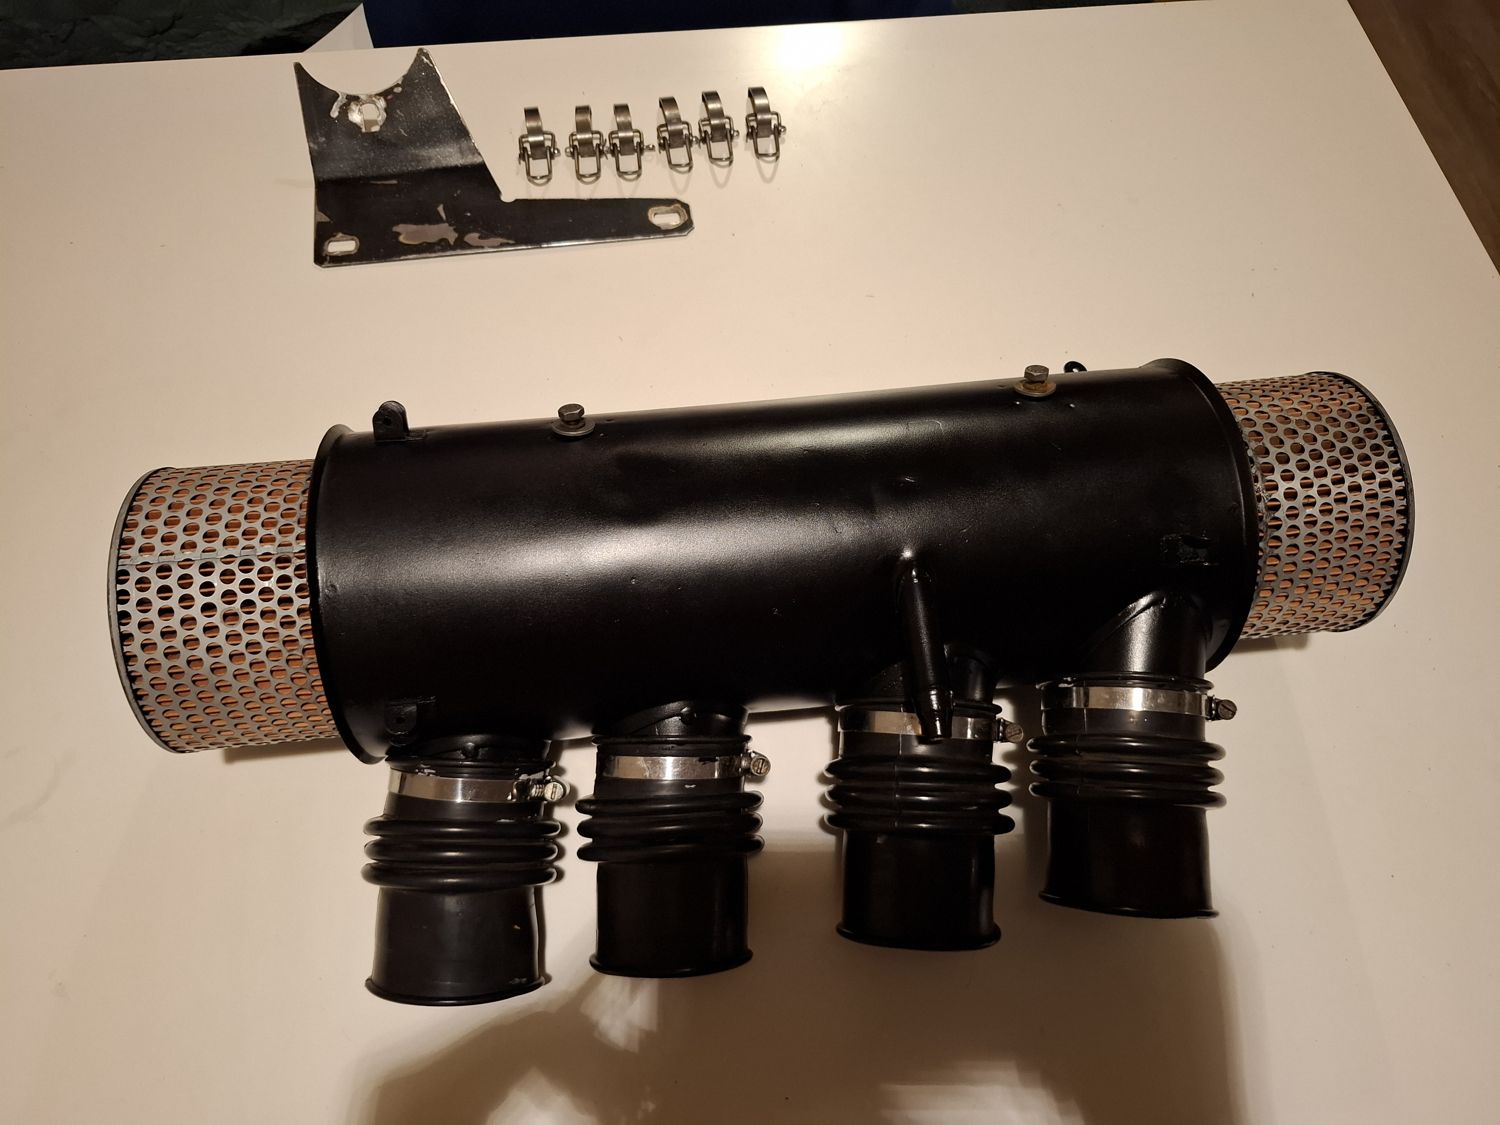
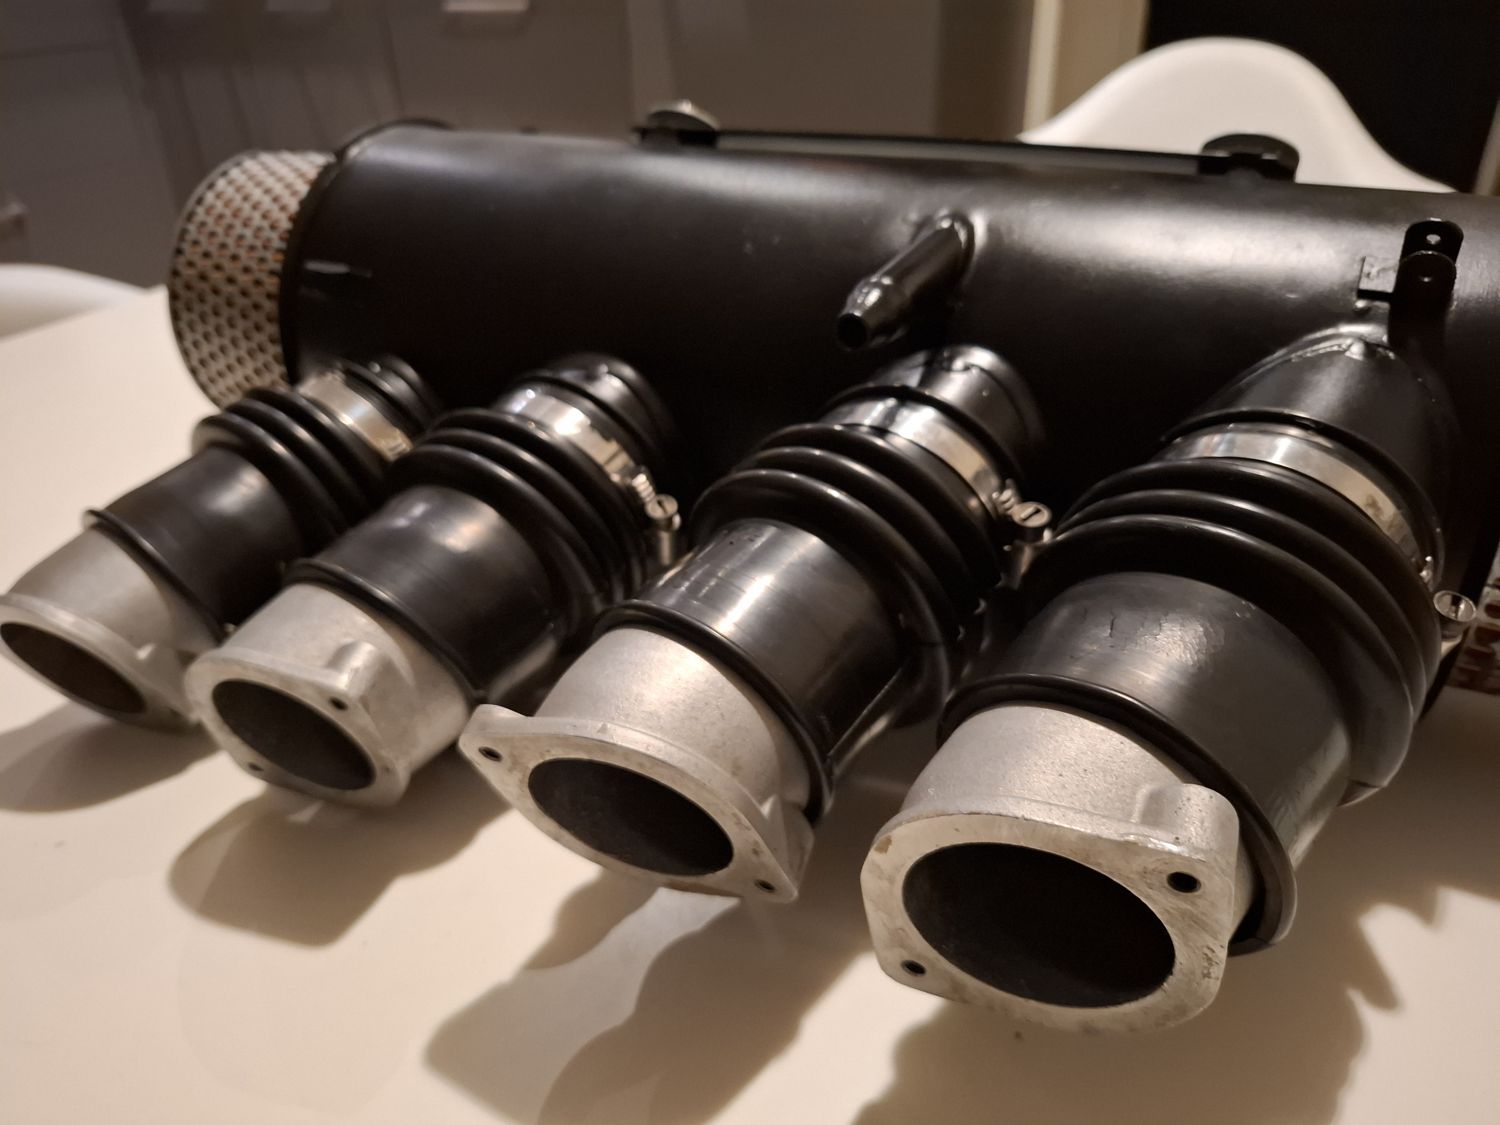
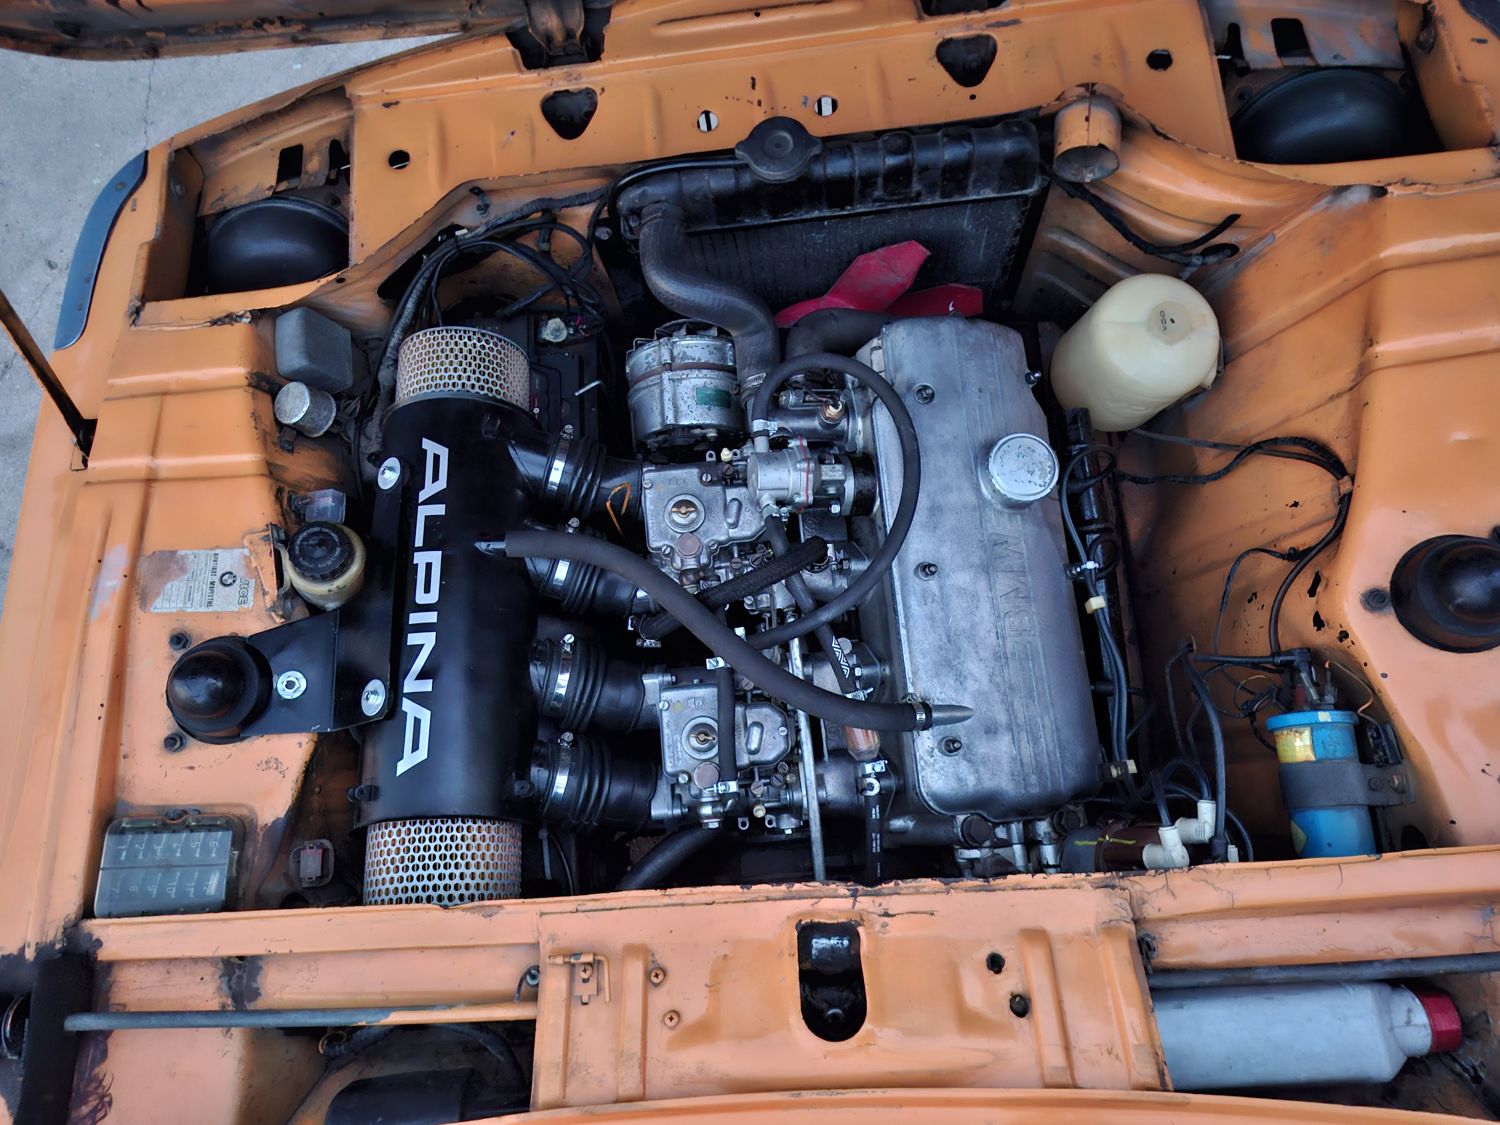
The air filter housing came with the original Alpina A1 Solex DDH set I bought; we restored it in Delft in February, and it now carries Alpina lettering from Walloth & Nesch. The same set also gave the polished intake funnels and a second linkage. They are needed because the air filter tubes are inclined, and they make the connection between carbs and box. The box is held on one of the strut tower studs with a bracket that is also original to the A1 setup.
The Alpina air boxThe complete kit, 18 AprilReady to go in
Into the car
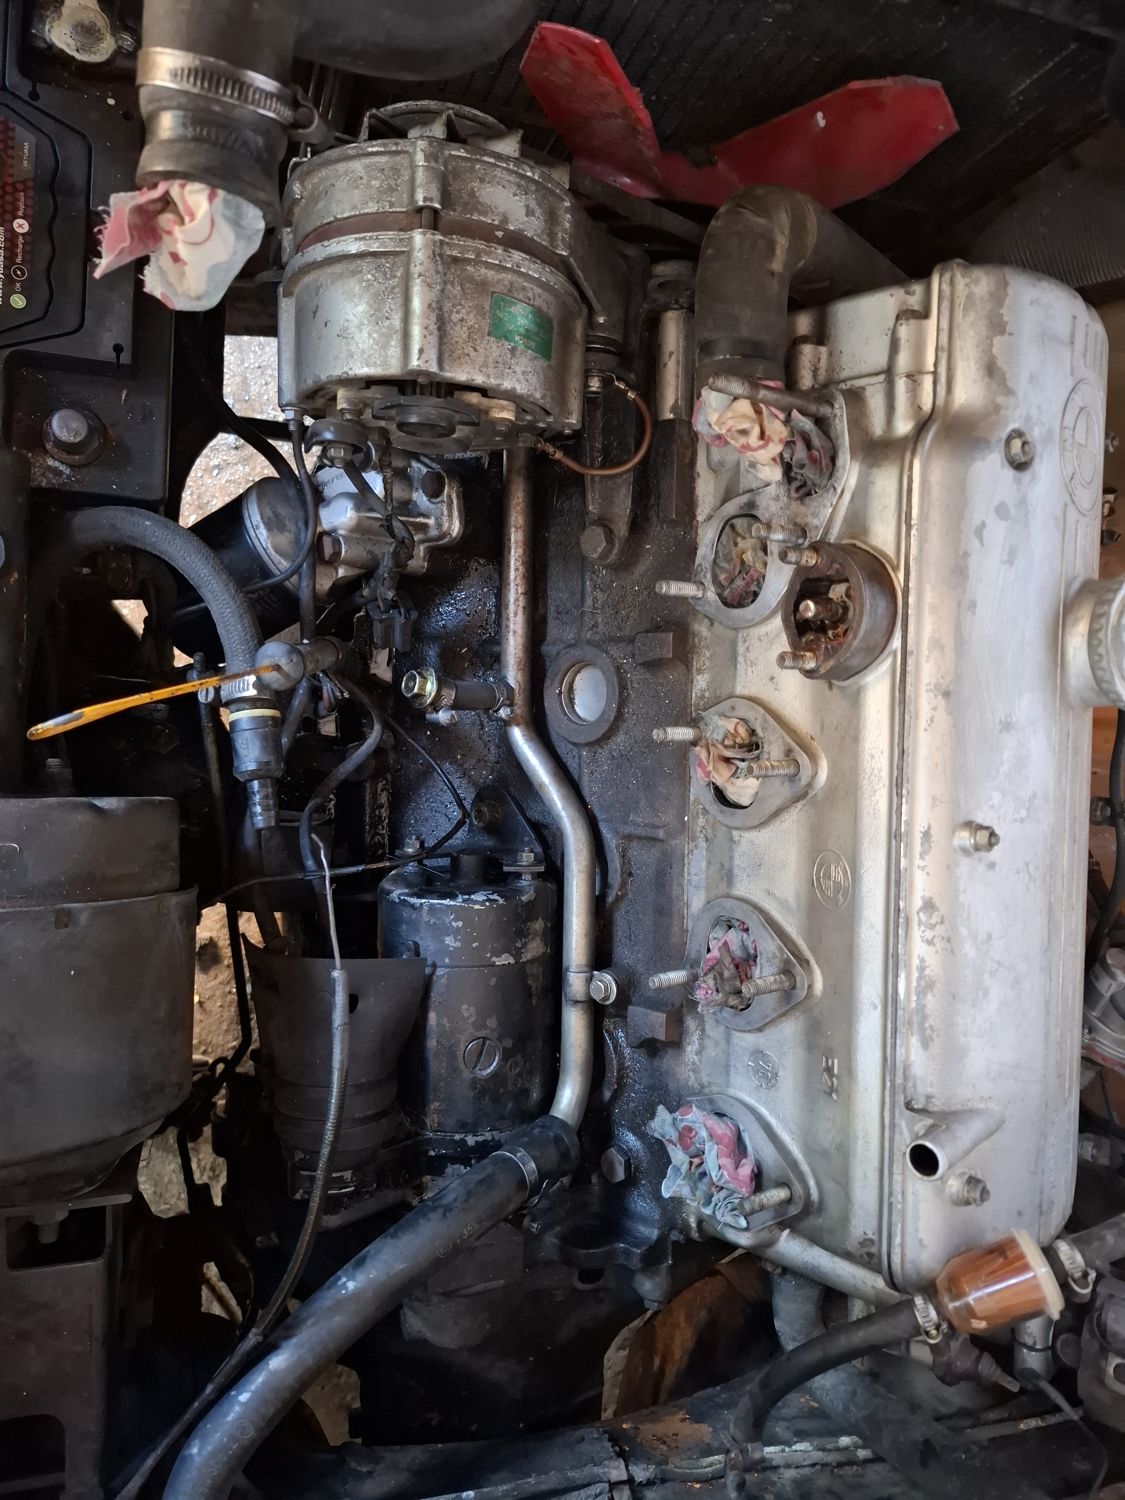
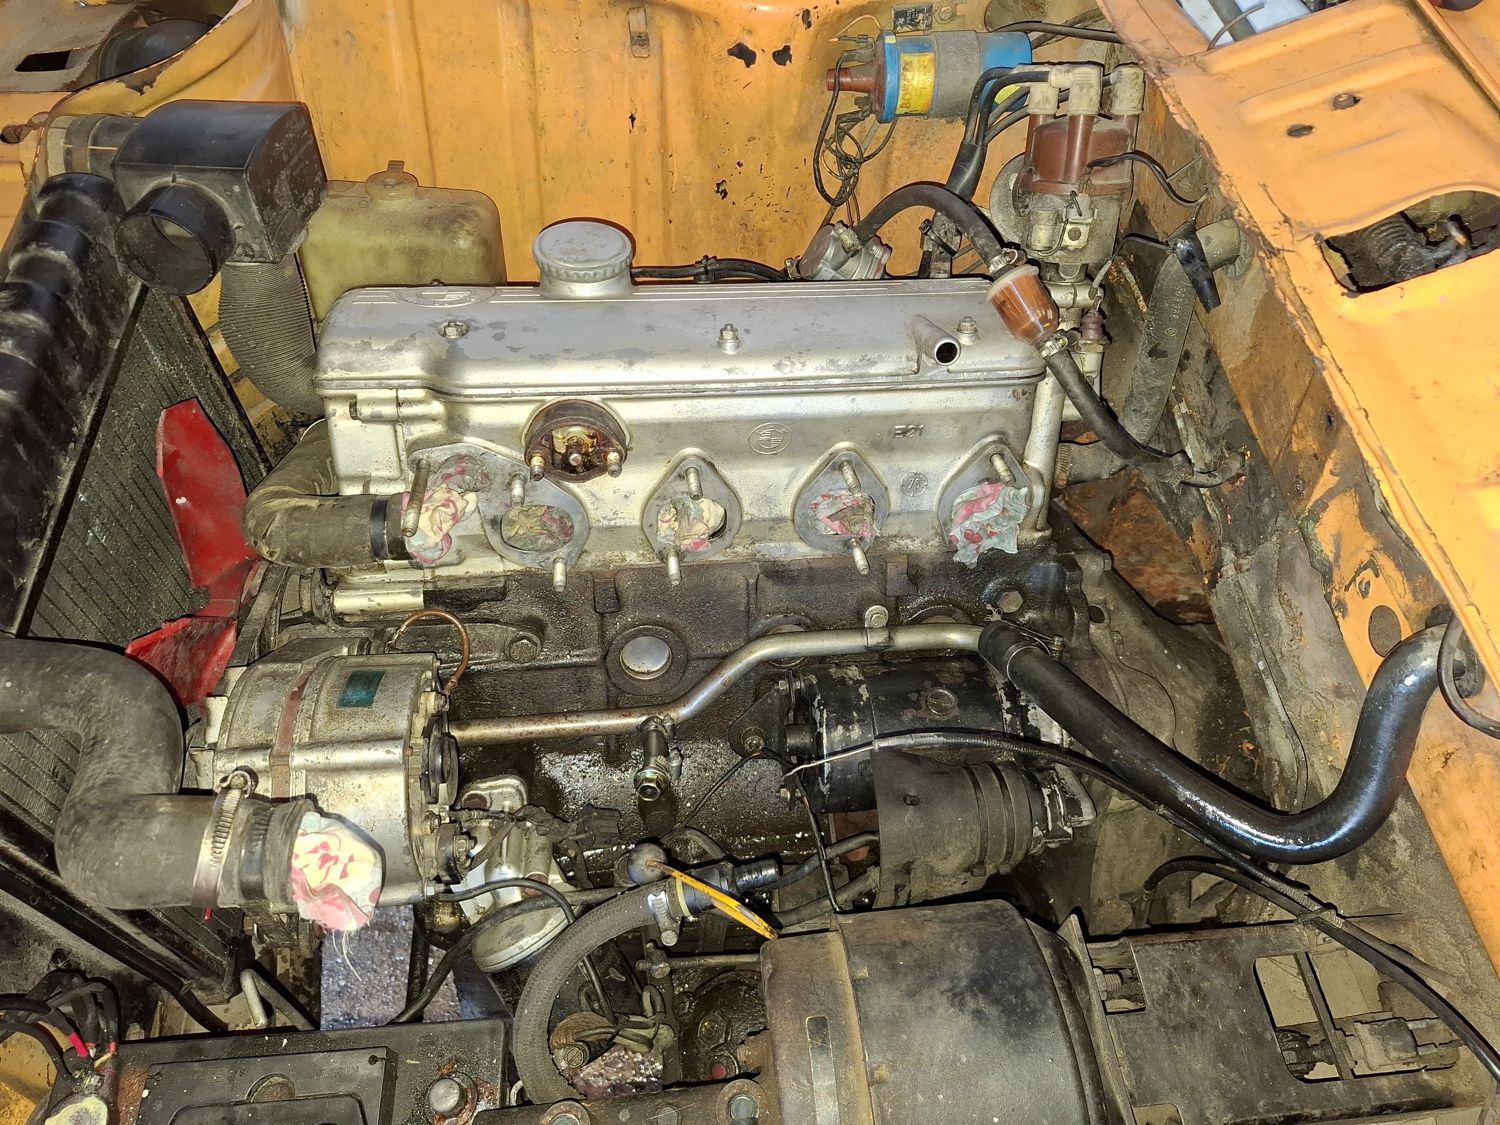
On 20 April the old induction came off, the ports were covered, and the manifolds and carbs went on. The next days were for the linkage, fuel lines and the air box.
Old setup off, 20 AprilPorts covered while the manifolds go onManifolds and carbs onCarbs fitted, trumpets coveredHappy with the first eveningFuel lines and linkage, 21 April
Finished, one day early
By 24 April the Alpina box sat on its bracket and the engine bay looked as if it had always been that way. The next morning we drove to Voula.
Air box on, 23 AprilHoses and linkage under the boxFinished, 24 AprilThe finished engine bayReady for Voula
Later that summer: the right distributor
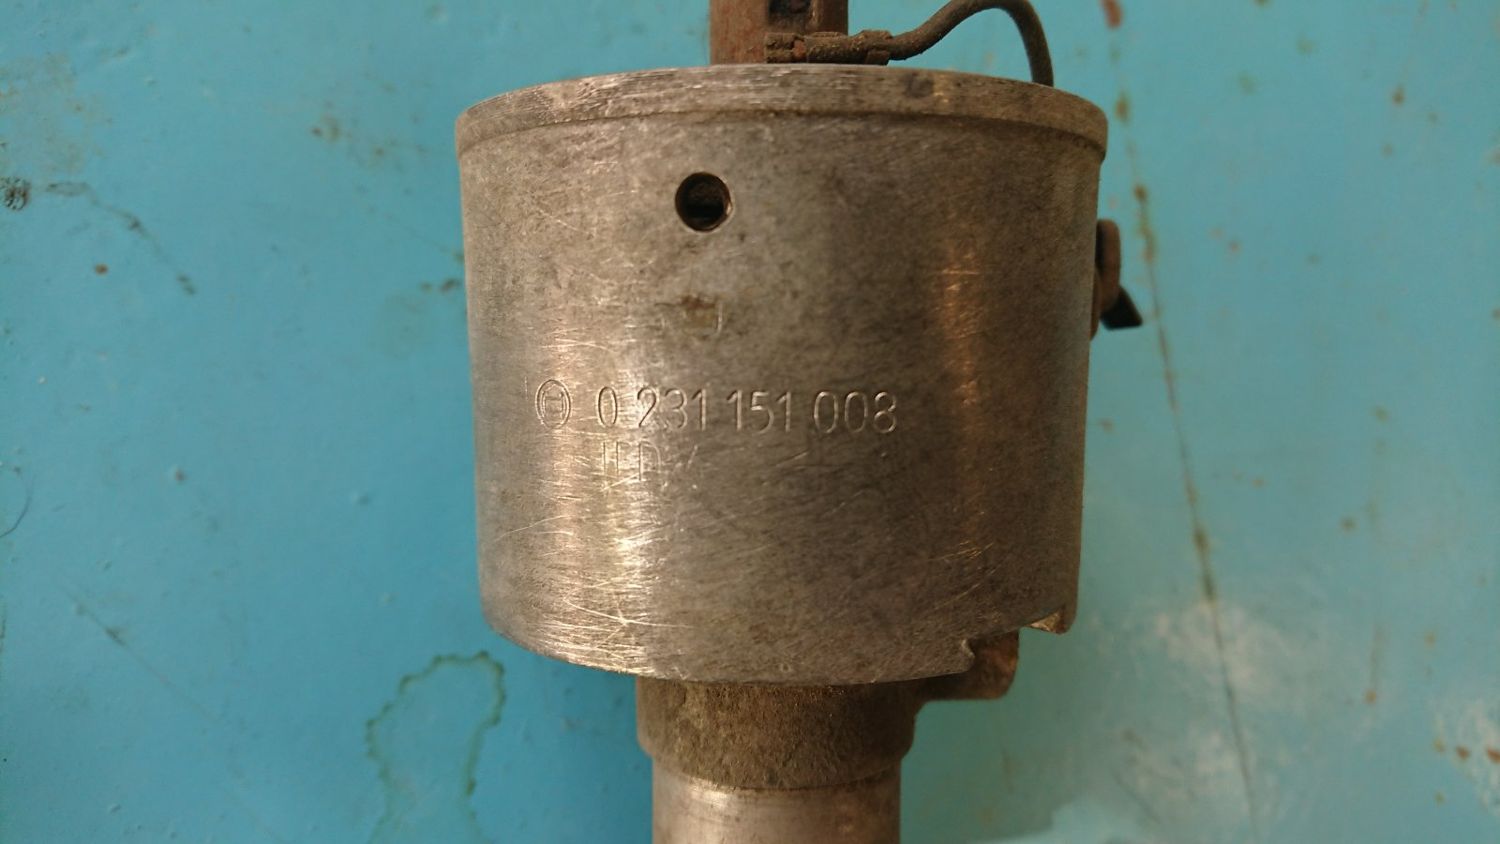
In the summer I fitted a good original Bosch 0 231 151 008 (JFU 4), the centrifugal-only distributor of the 2002 ti and tii. It was my father's old stock, kept aside for this car. I set it up following the factory manual and Wolfgang's guidance on the 02-club forum:
The Bosch 0 231 151 008
At idle the timing is at TDC.
25° BTDC at 2,200 rpm, with the vacuum hose disconnected. (For the 0 231 151 008, -009, -003, 0 231 188 002, -001 and 0 231 129 037; only the 0 231 129 026 reaches 25° already at 1,400 rpm.) On the pulley that is about 25 mm from the TDC mark.
Full advance of 30–34° BTDC at 3,500 rpm, about 32 mm from TDC on the pulley.
The settings for a standard ti apply to engines up to a 304° camshaft.
How it runs
In general it behaves well and gives a good baseline. There is some spitting back through the carbs at low load around 2,200 rpm, so the first thing to try is a slightly richer idle jet: from 55 F17 to 60 F17.
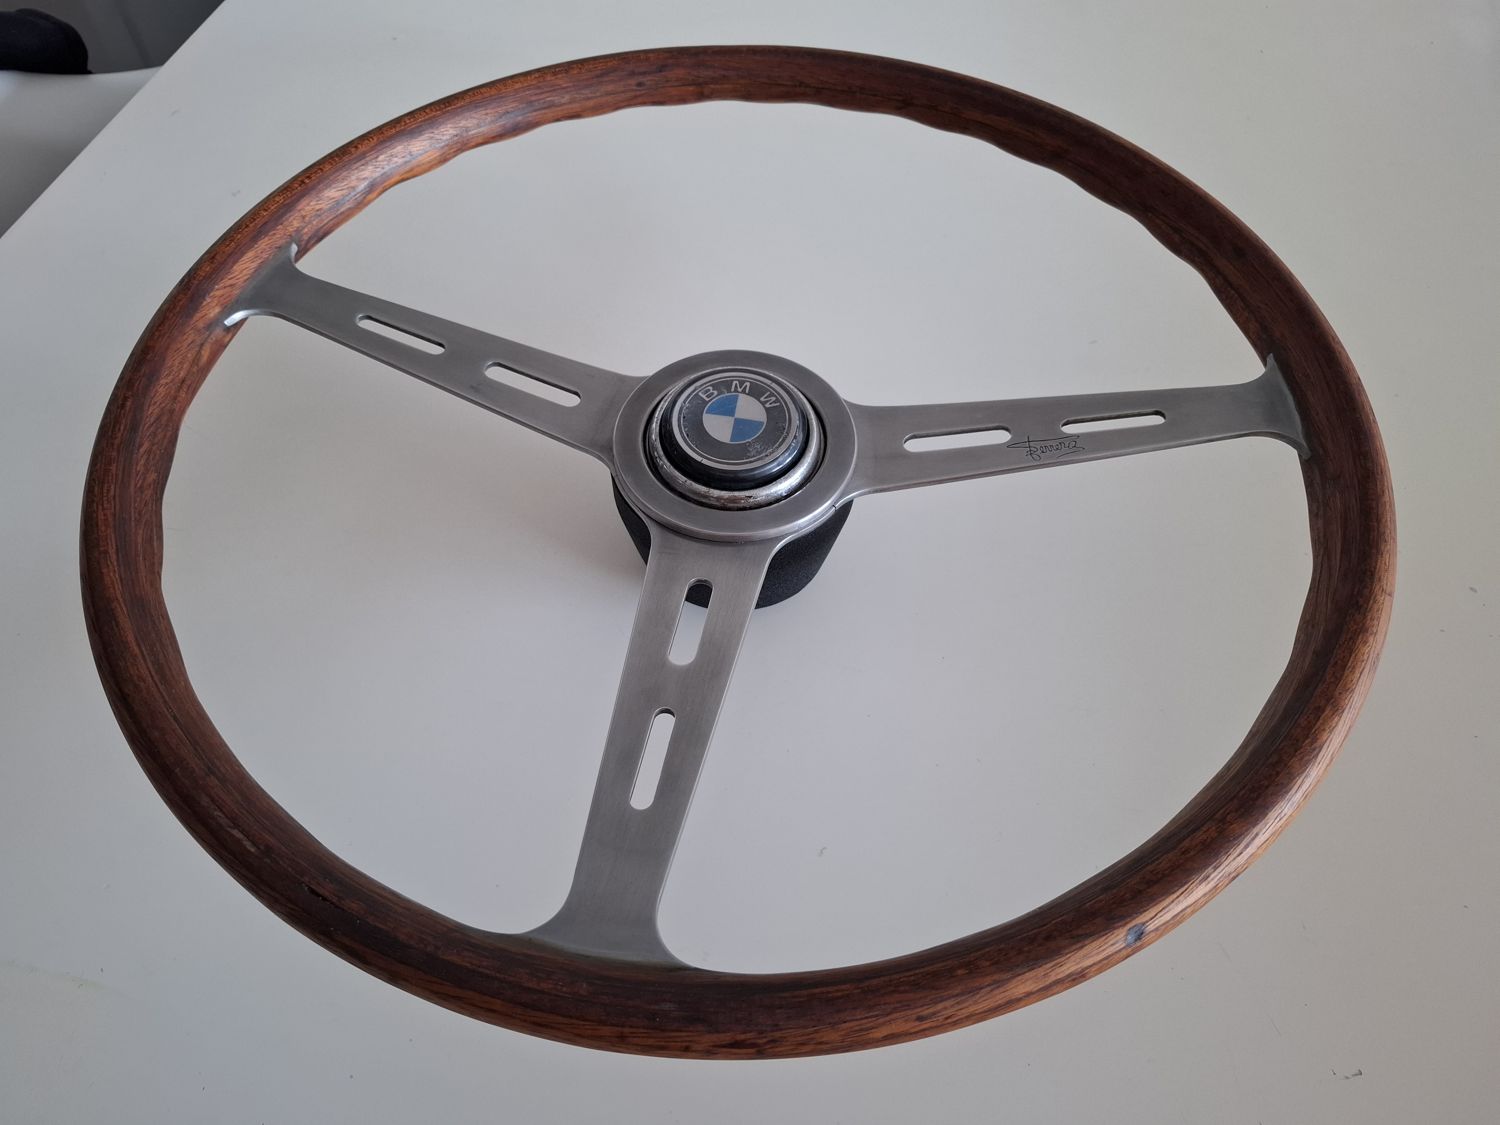
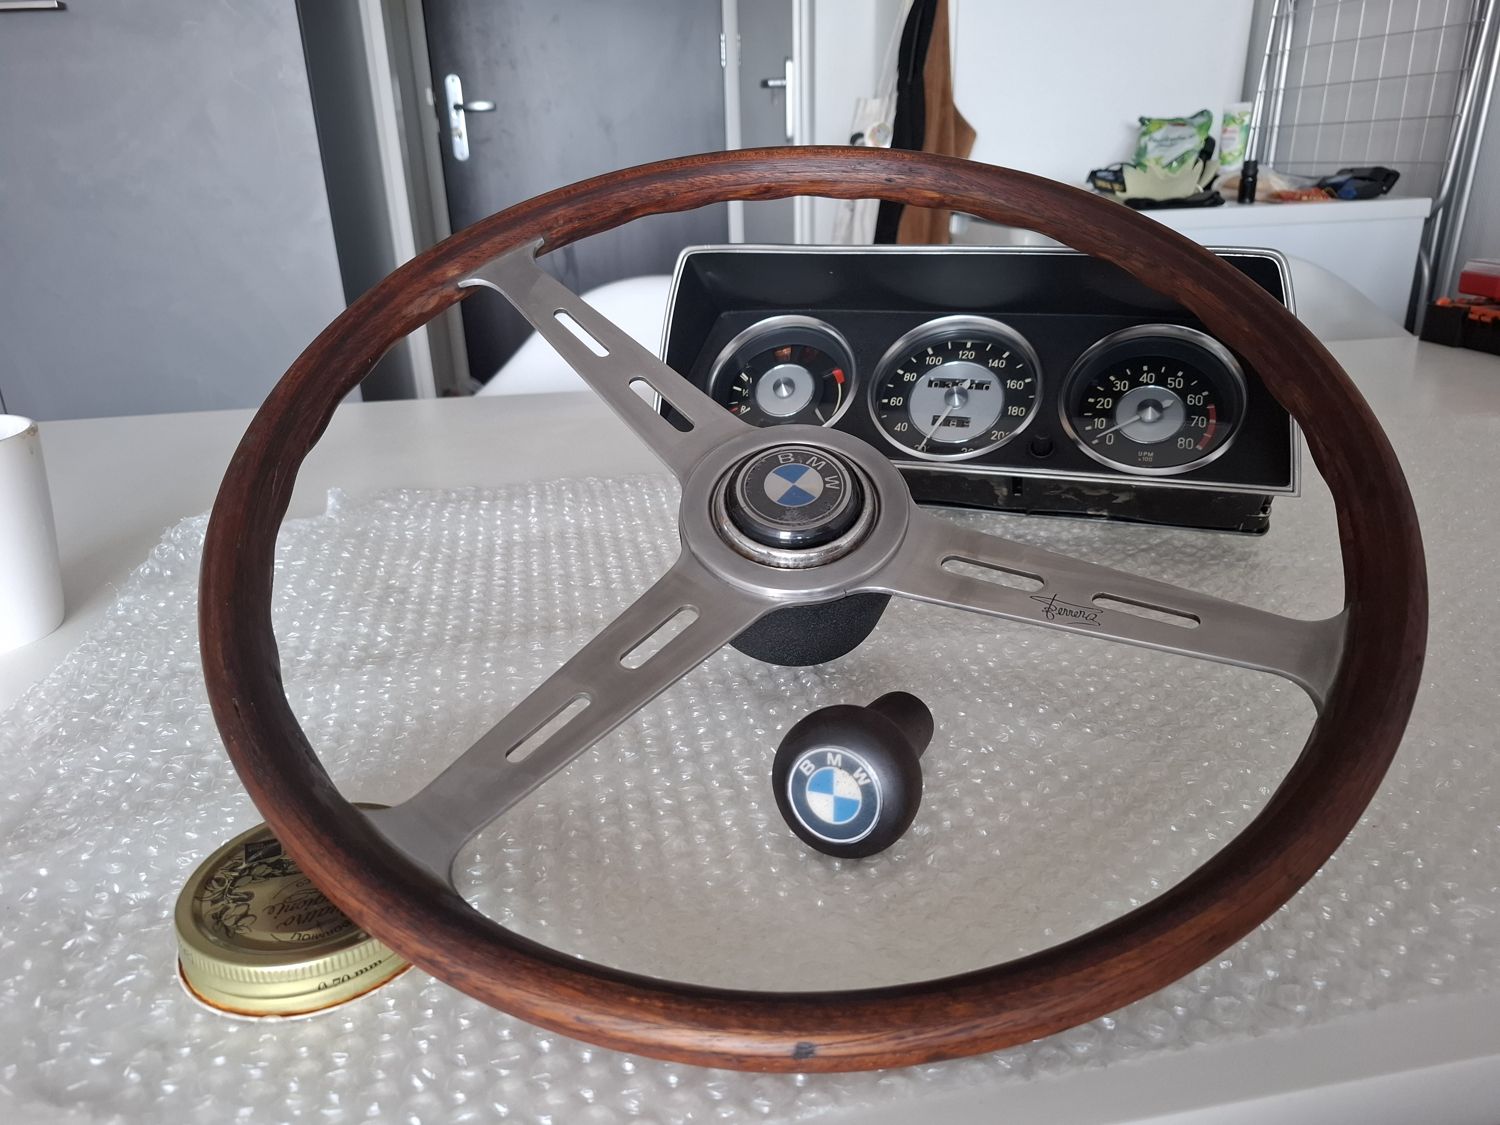
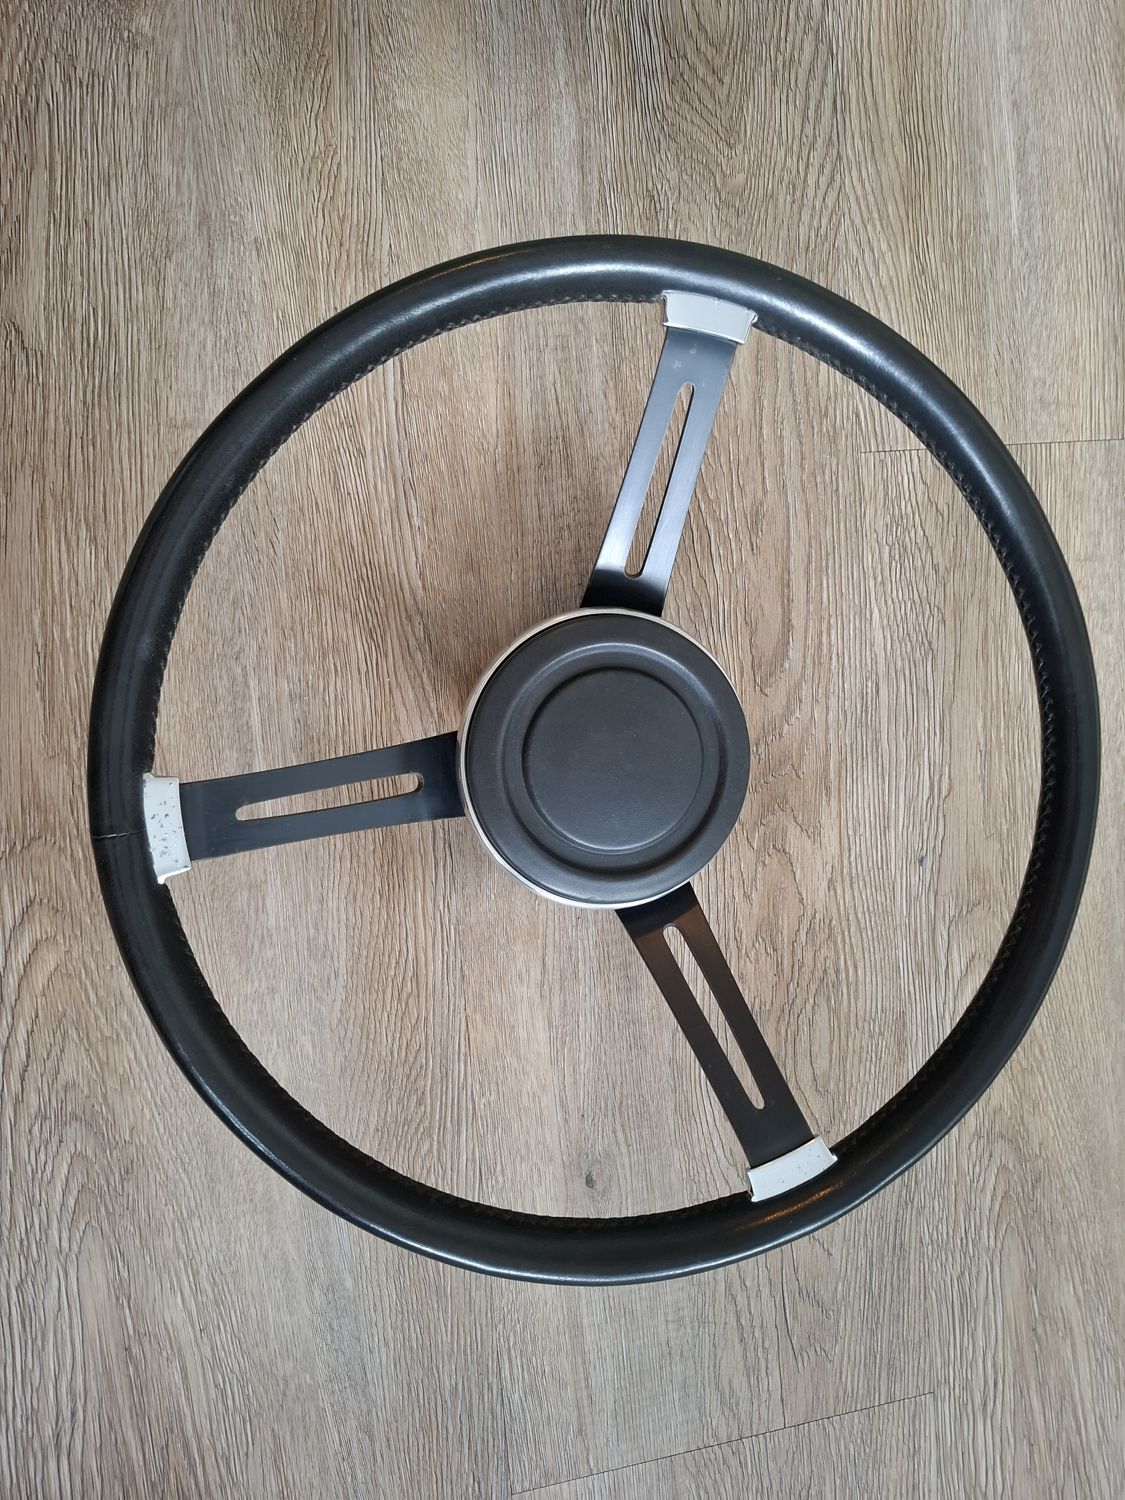
Bringing a Ferrero wooden steering wheel back to life
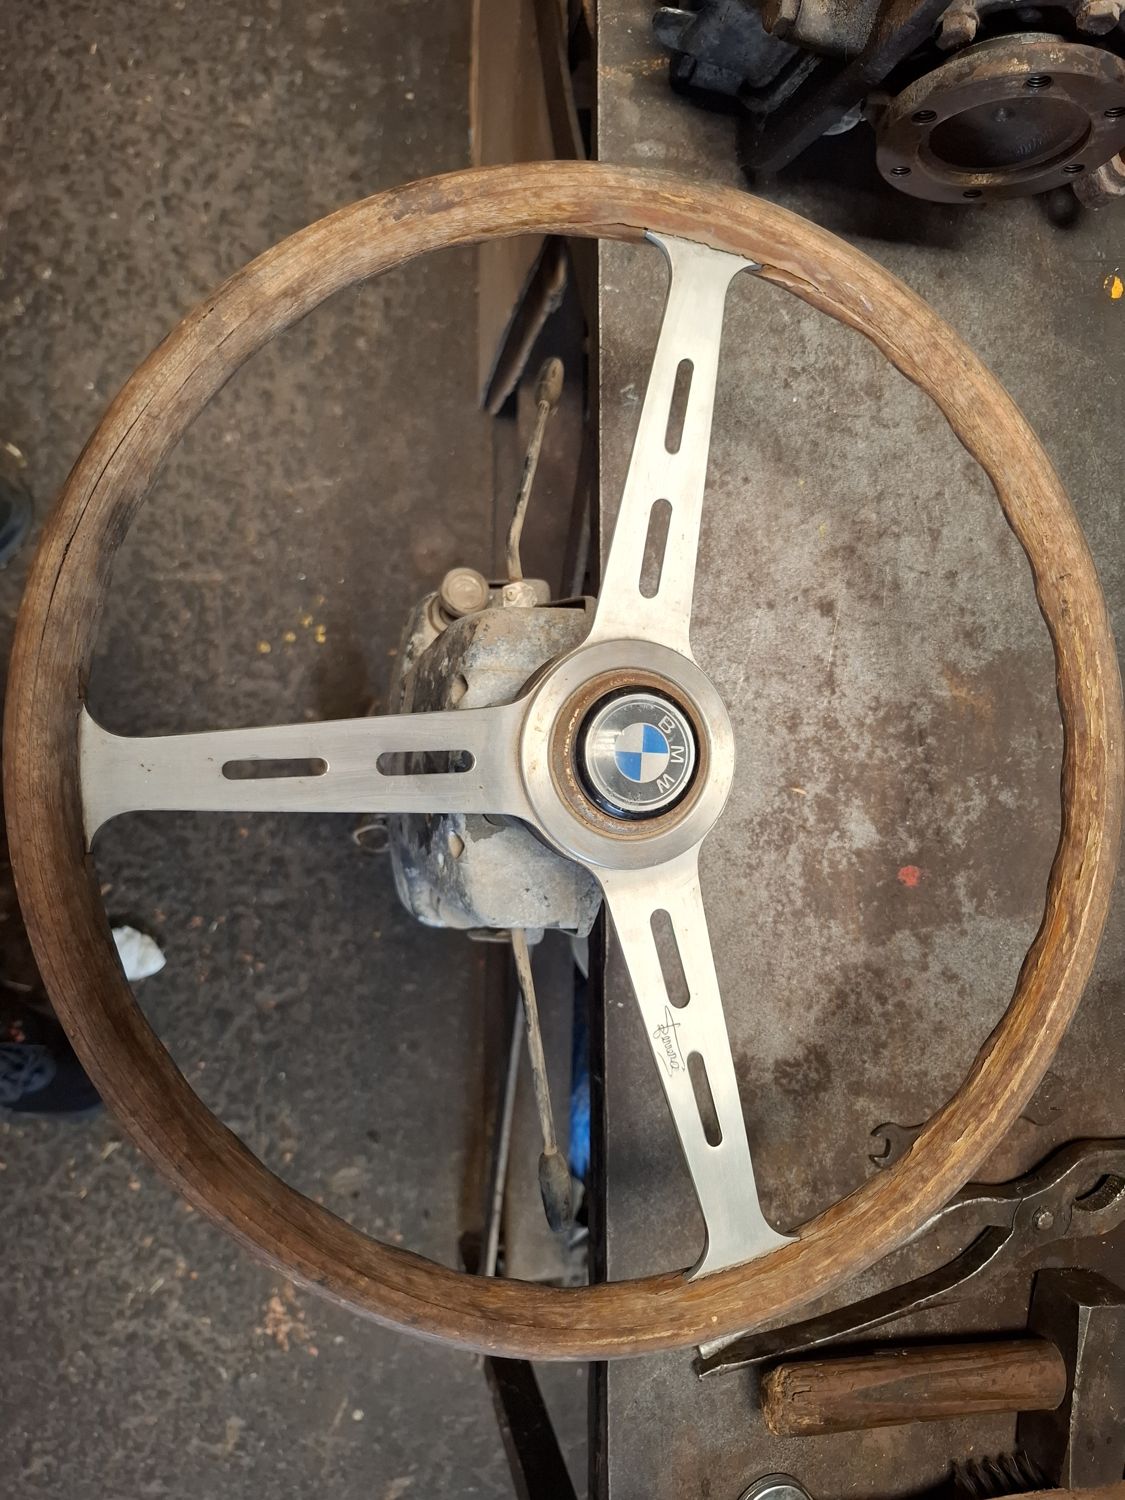
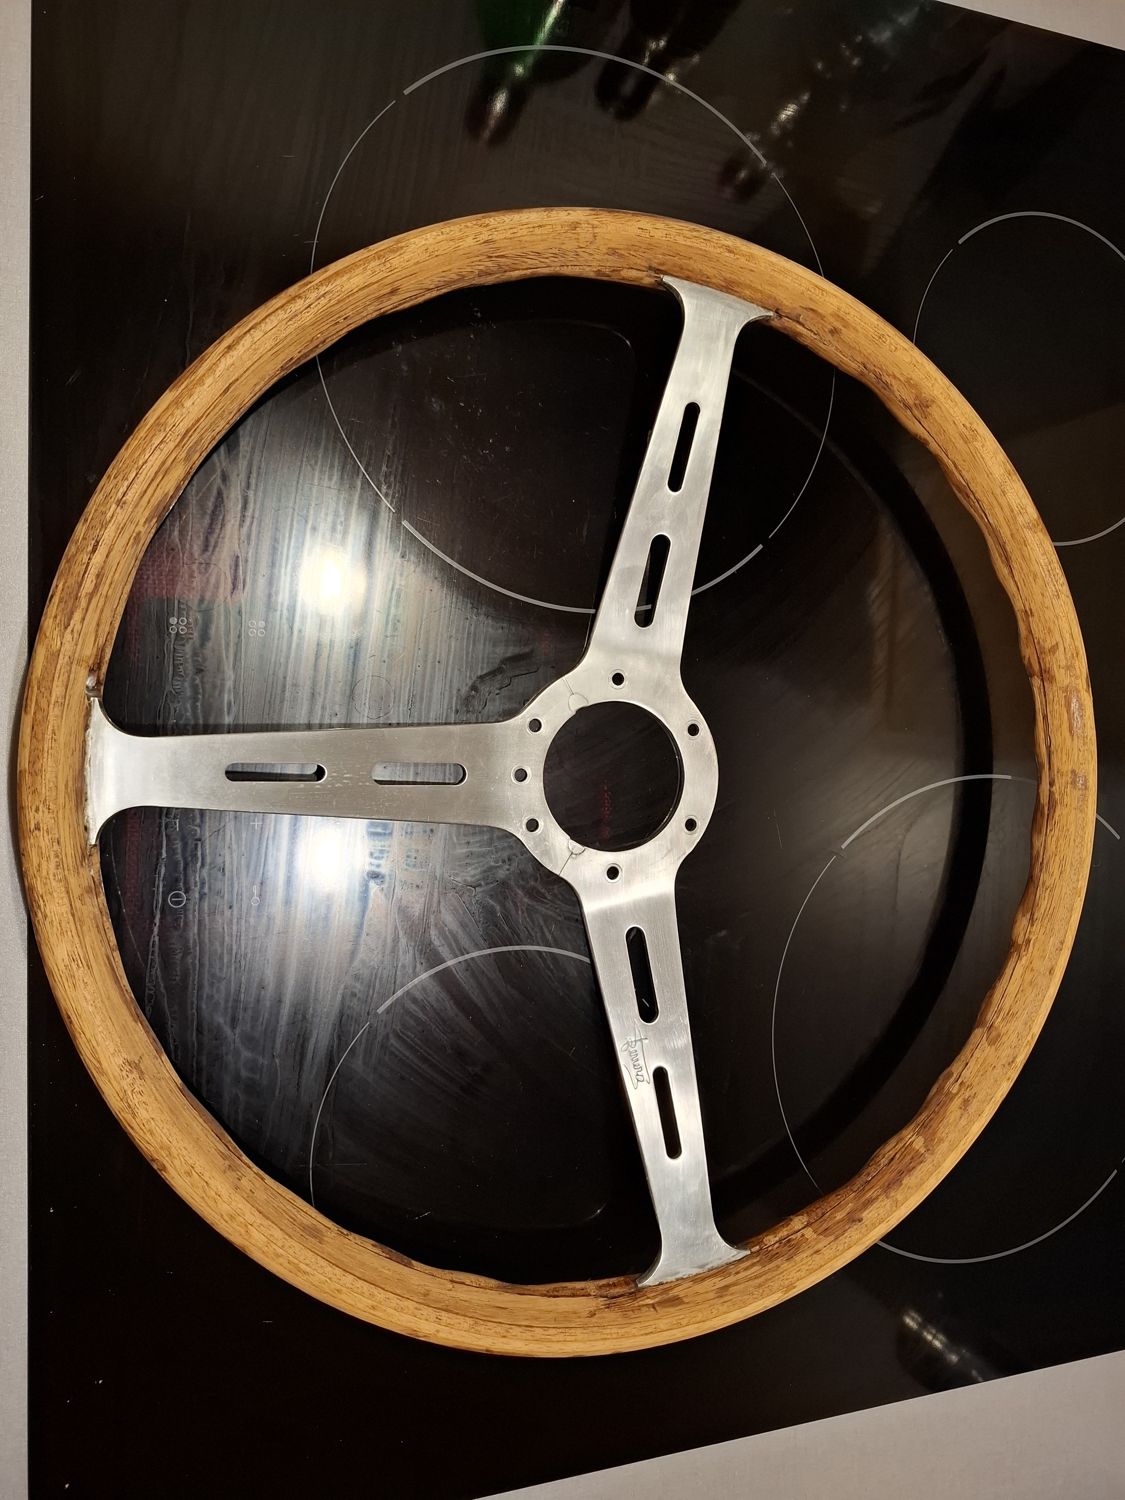
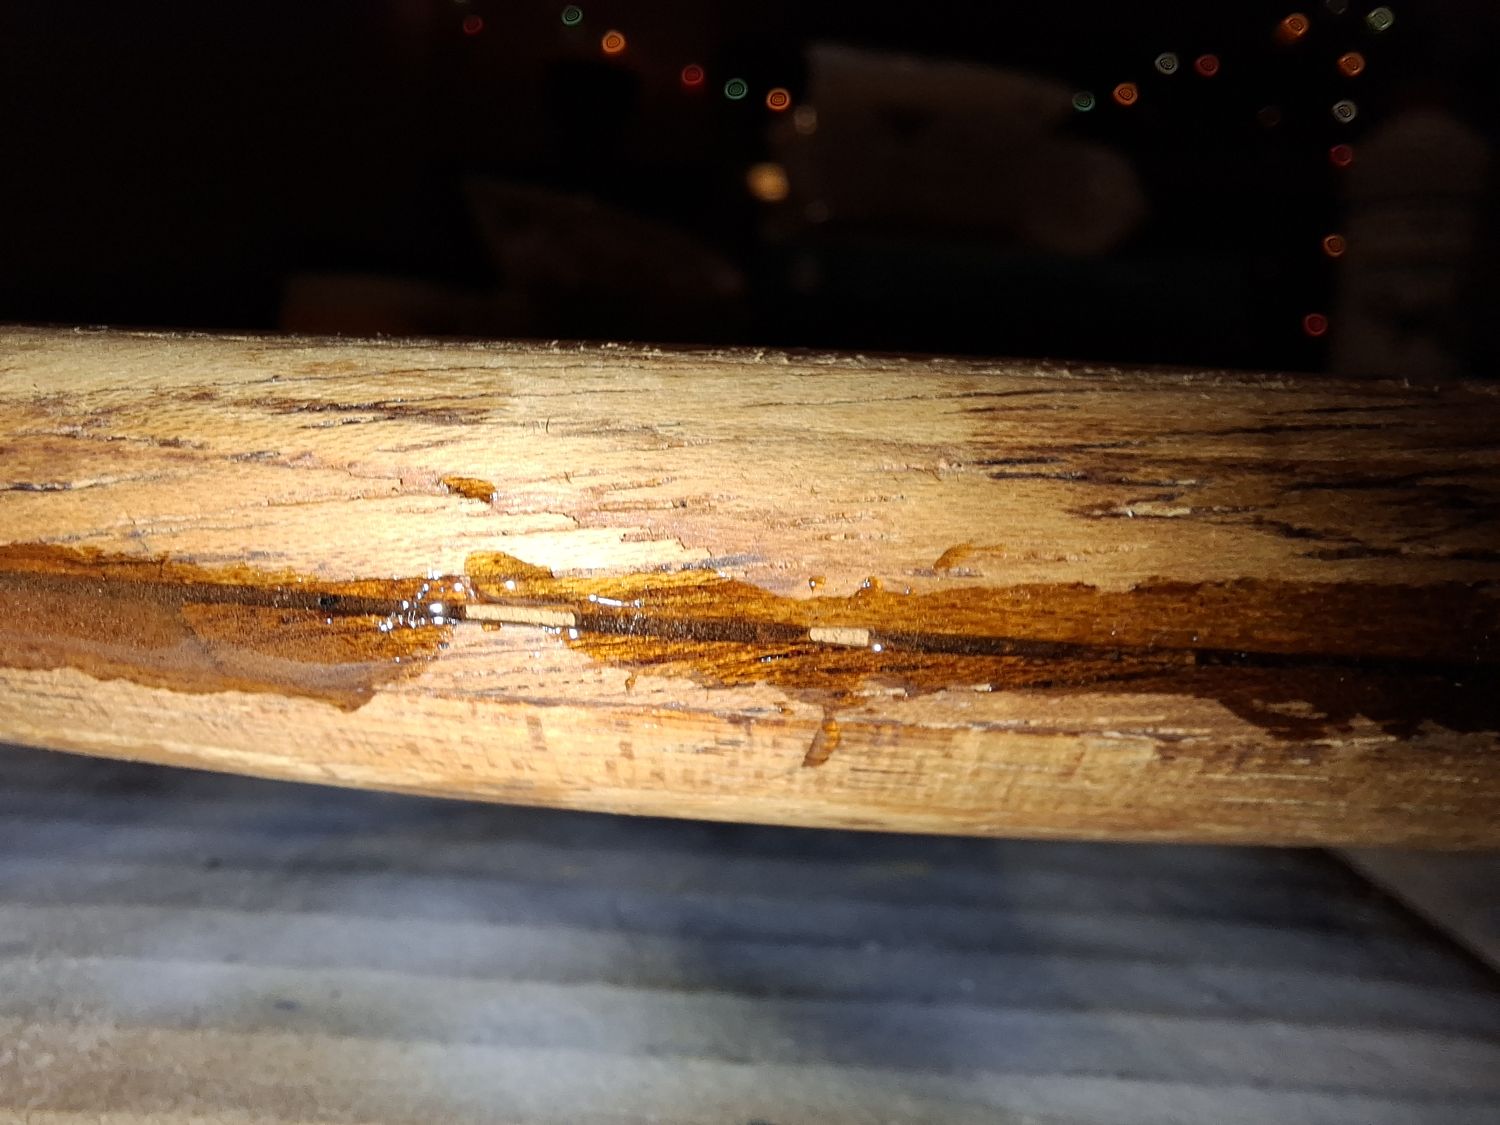
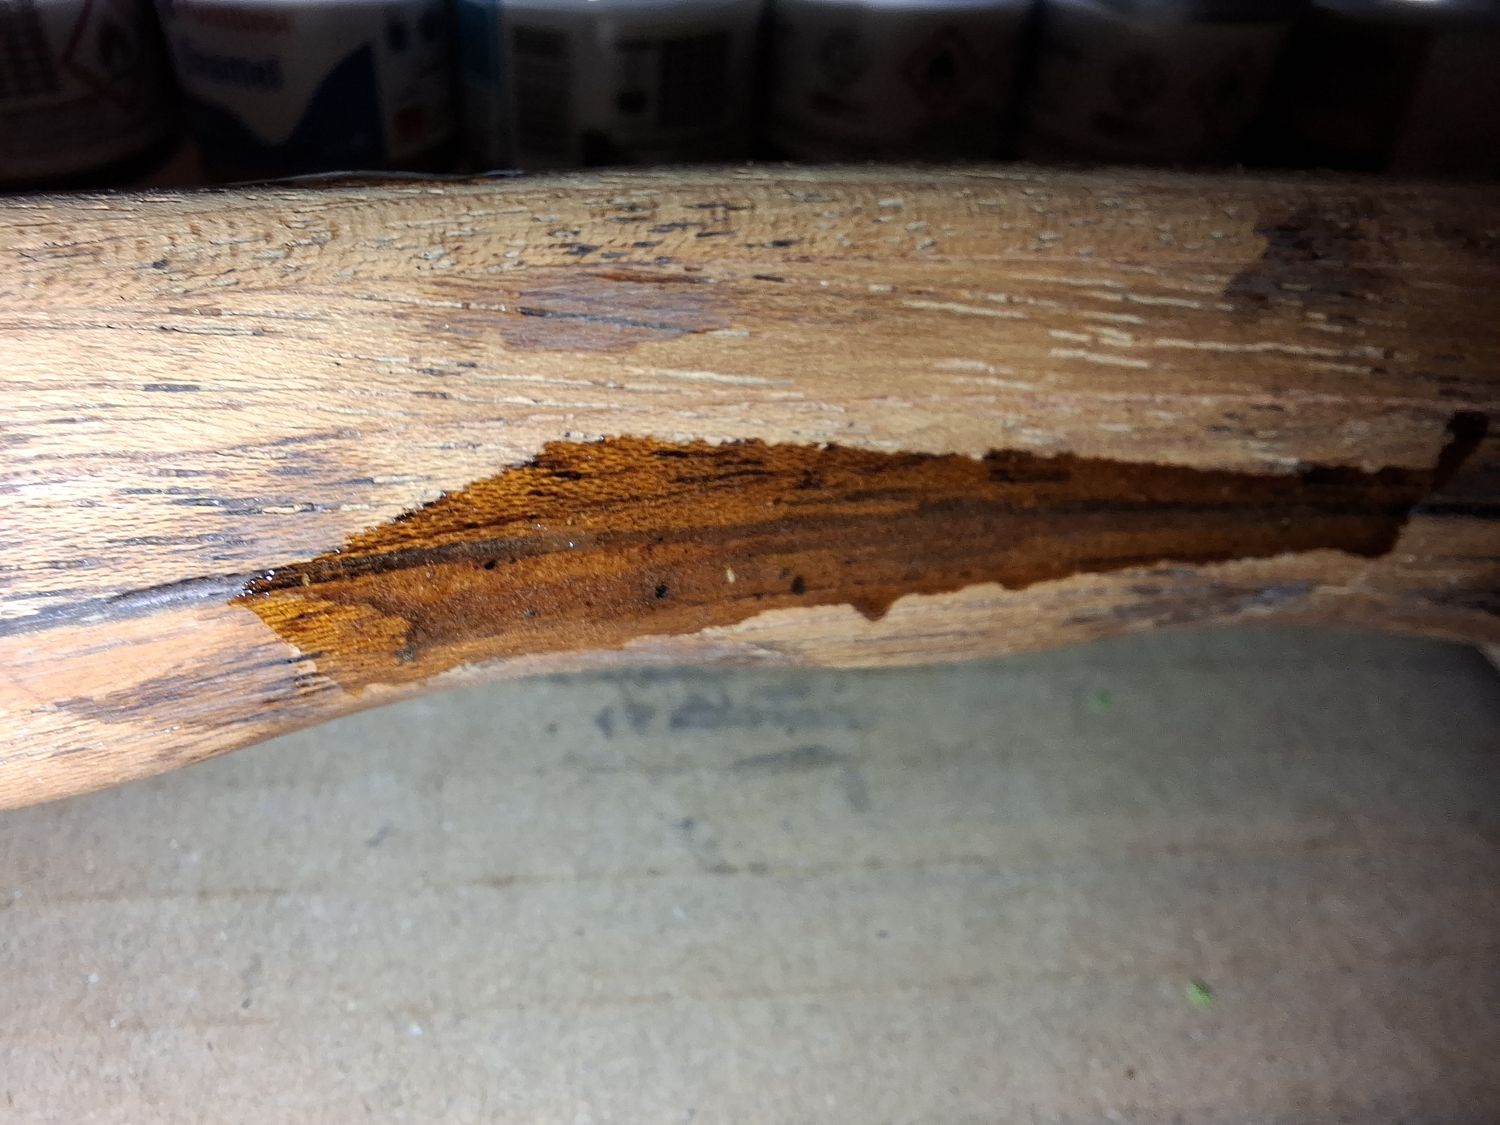
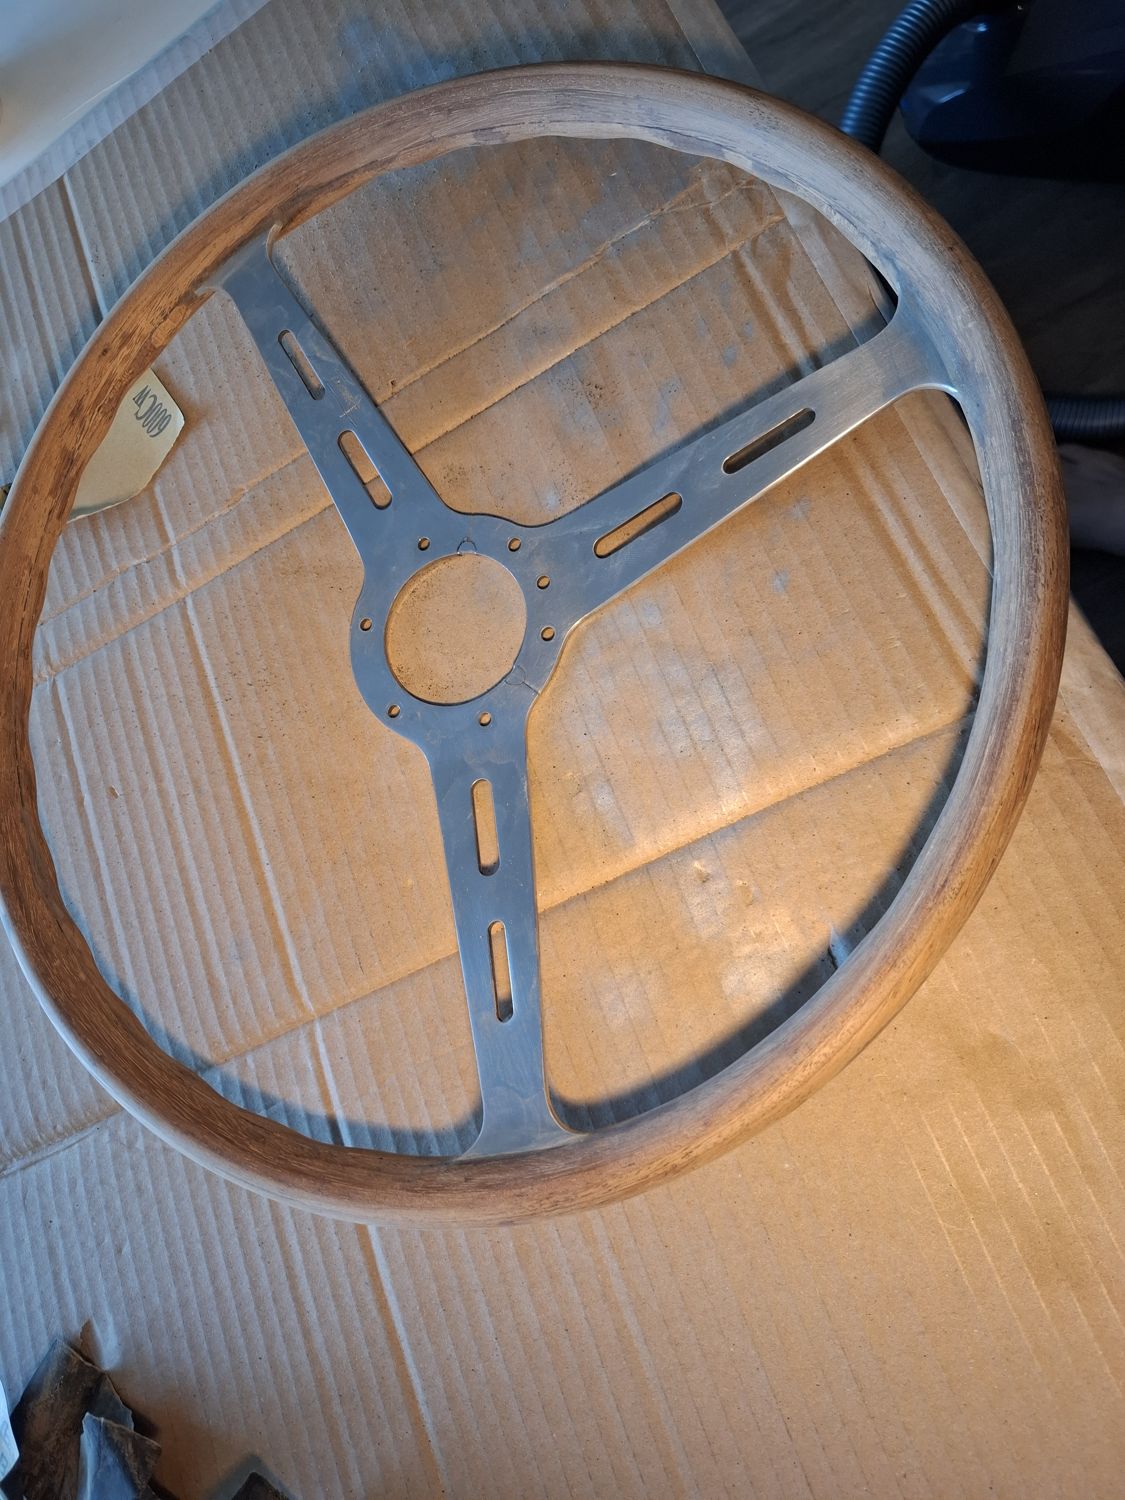
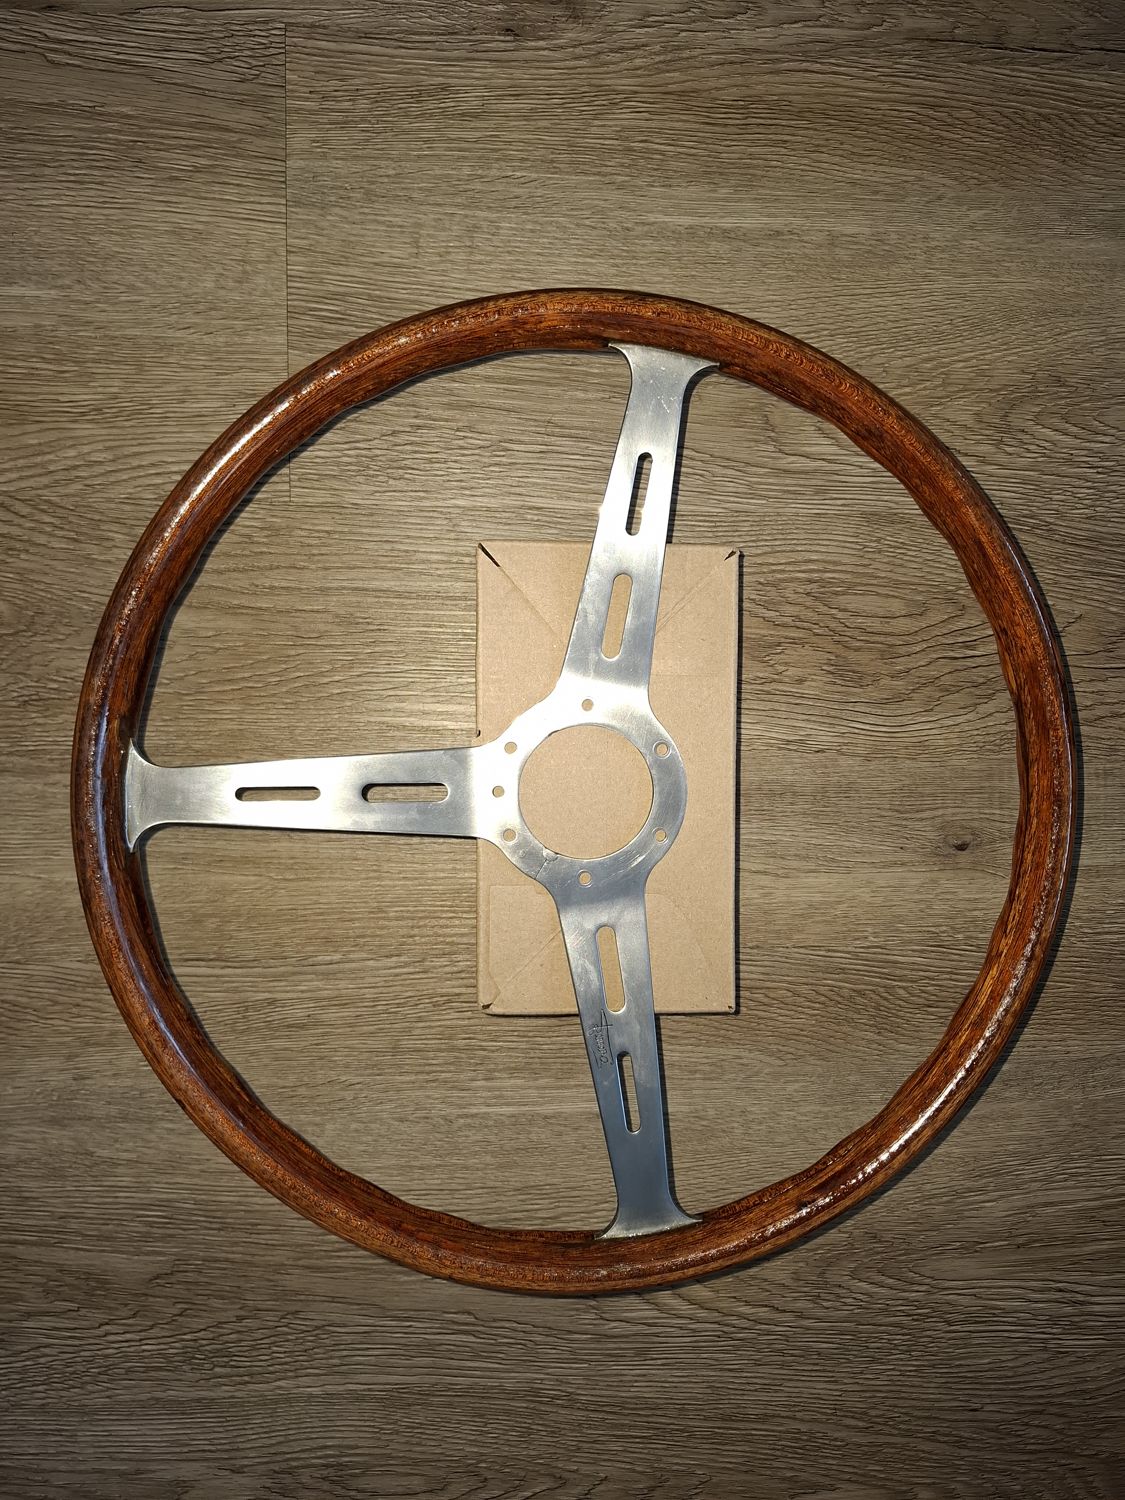
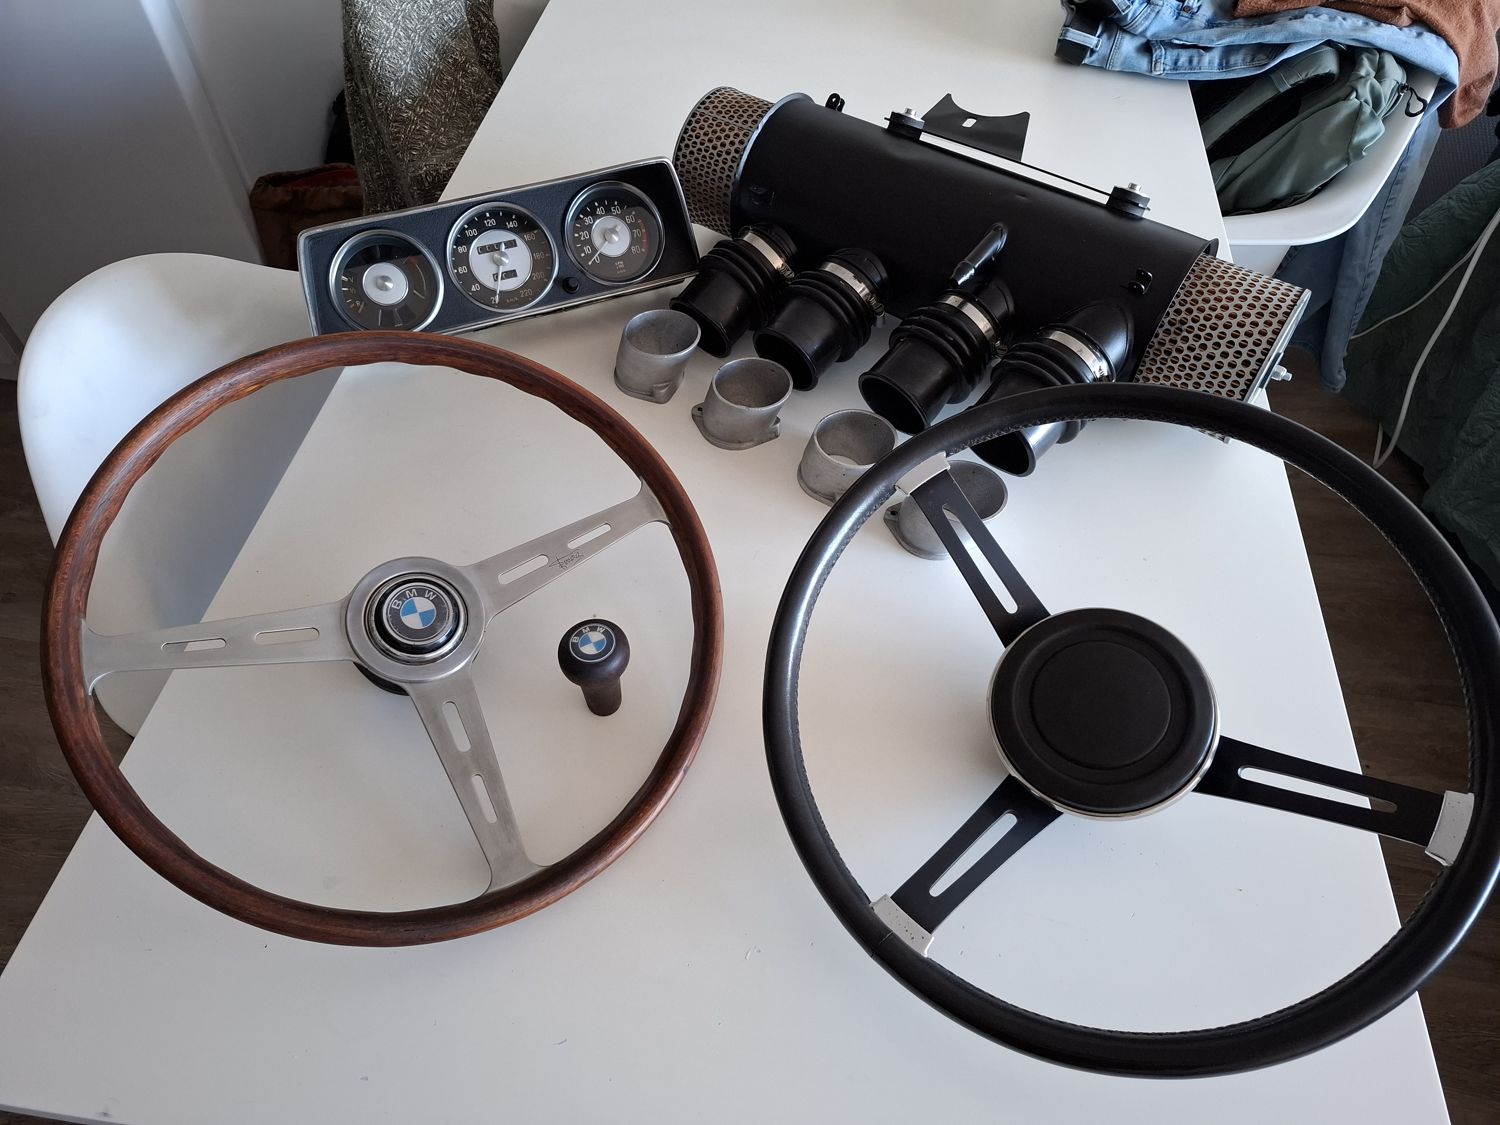
Grey, brittle and coming apart at the old glue joint. Re-glued with epoxy and twine, sanded to 1000 grit, many coats of tung oil and a German wood wax.
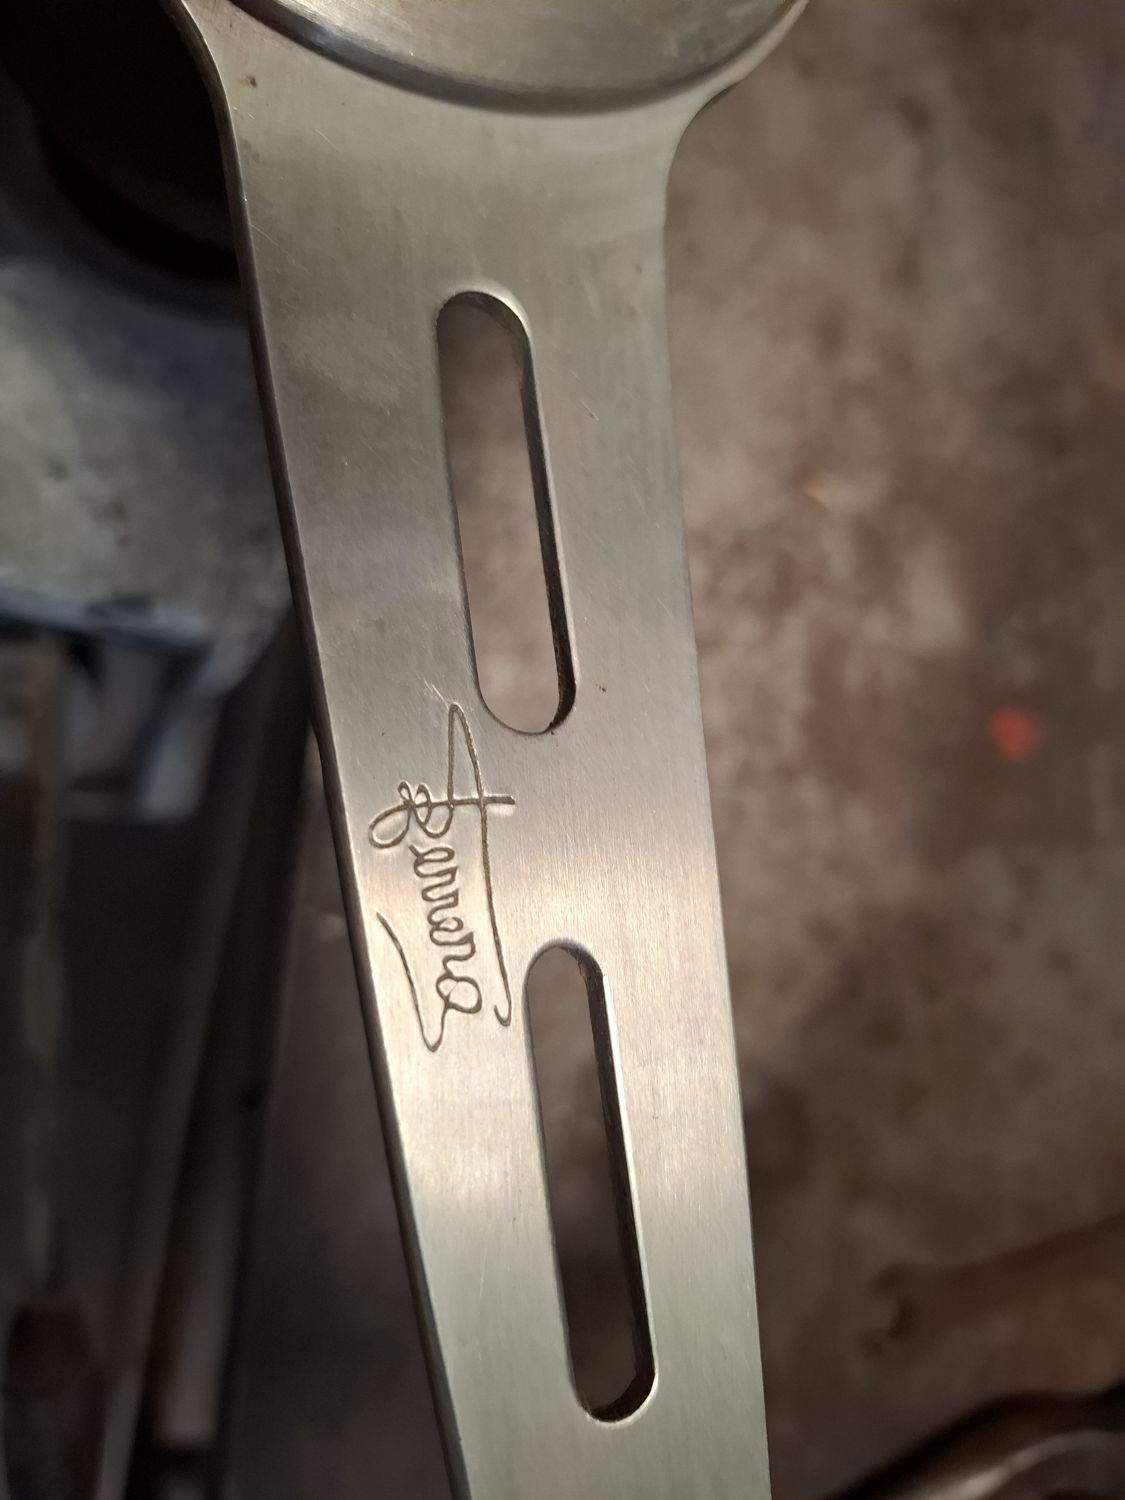
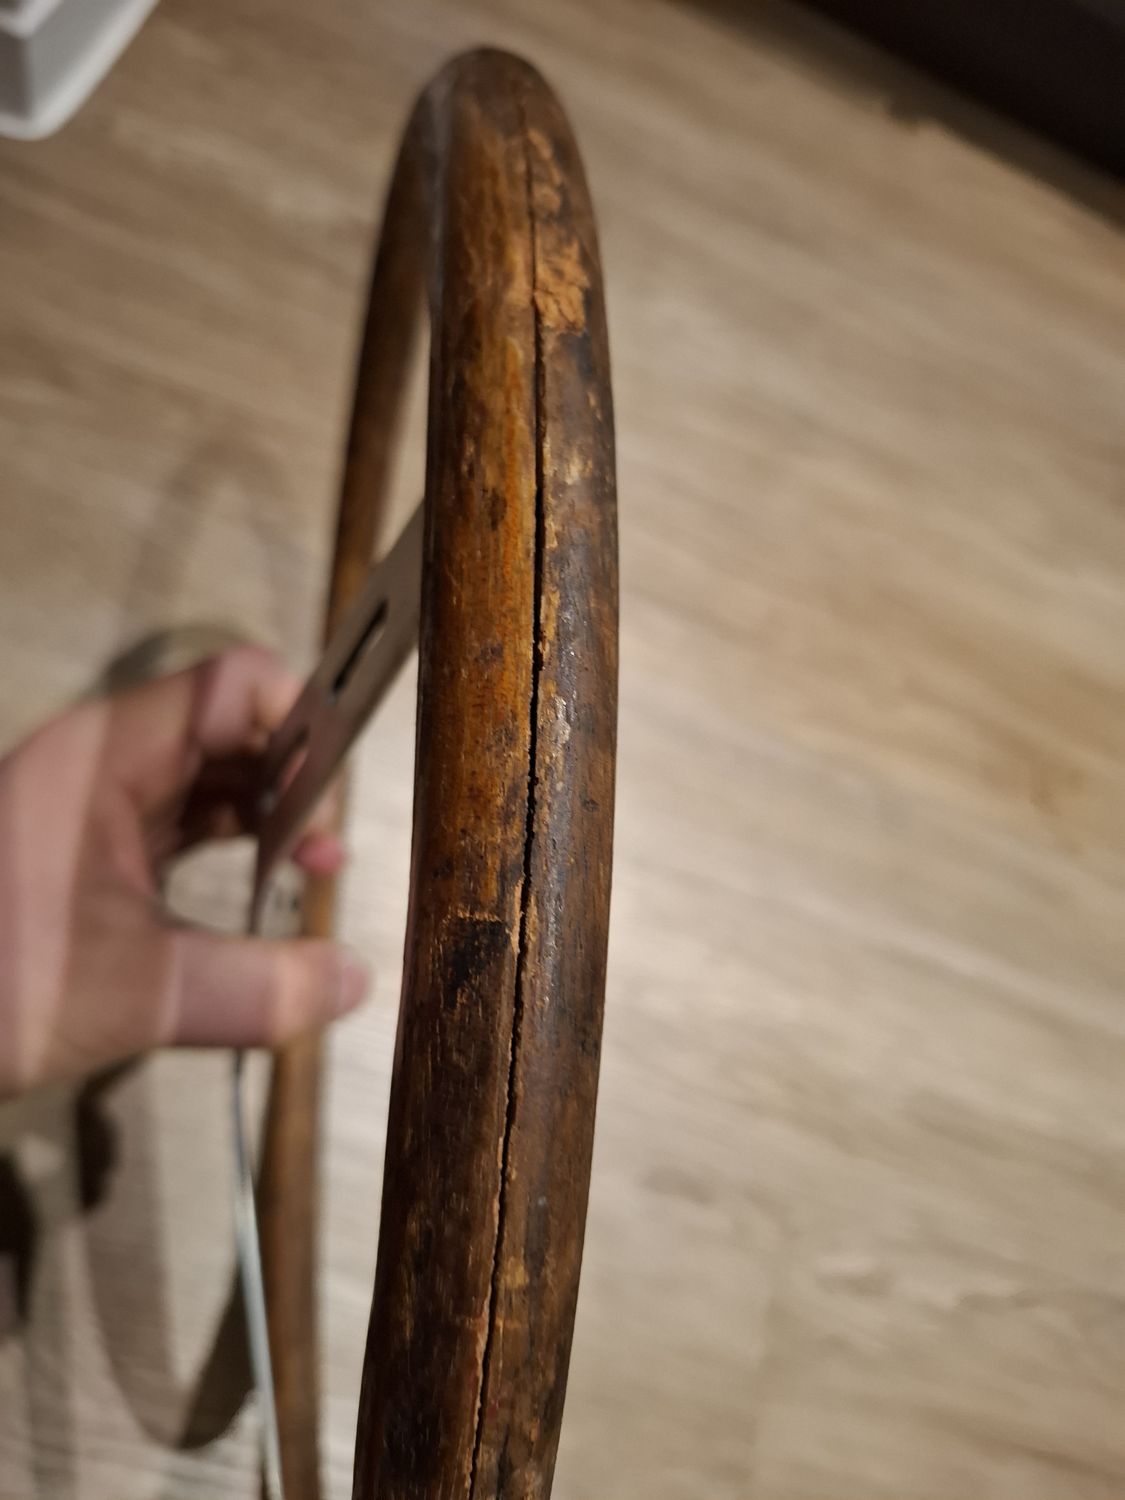
I had this wooden Ferrero wheel for a while and always planned to restore it. It is a three-spoke wheel with polished slotted spokes and the engraved Ferrero signature. In August 2025 I asked on the bmw2002faq forum whether anyone knew more about it, but I could not find much information anywhere. The wood was not in good shape: grey, dry, and cracked along the joints.
The wheel, August 2025The engraved Ferrero signature on the spokeCracks running along the rim joint
It came apart, luckily
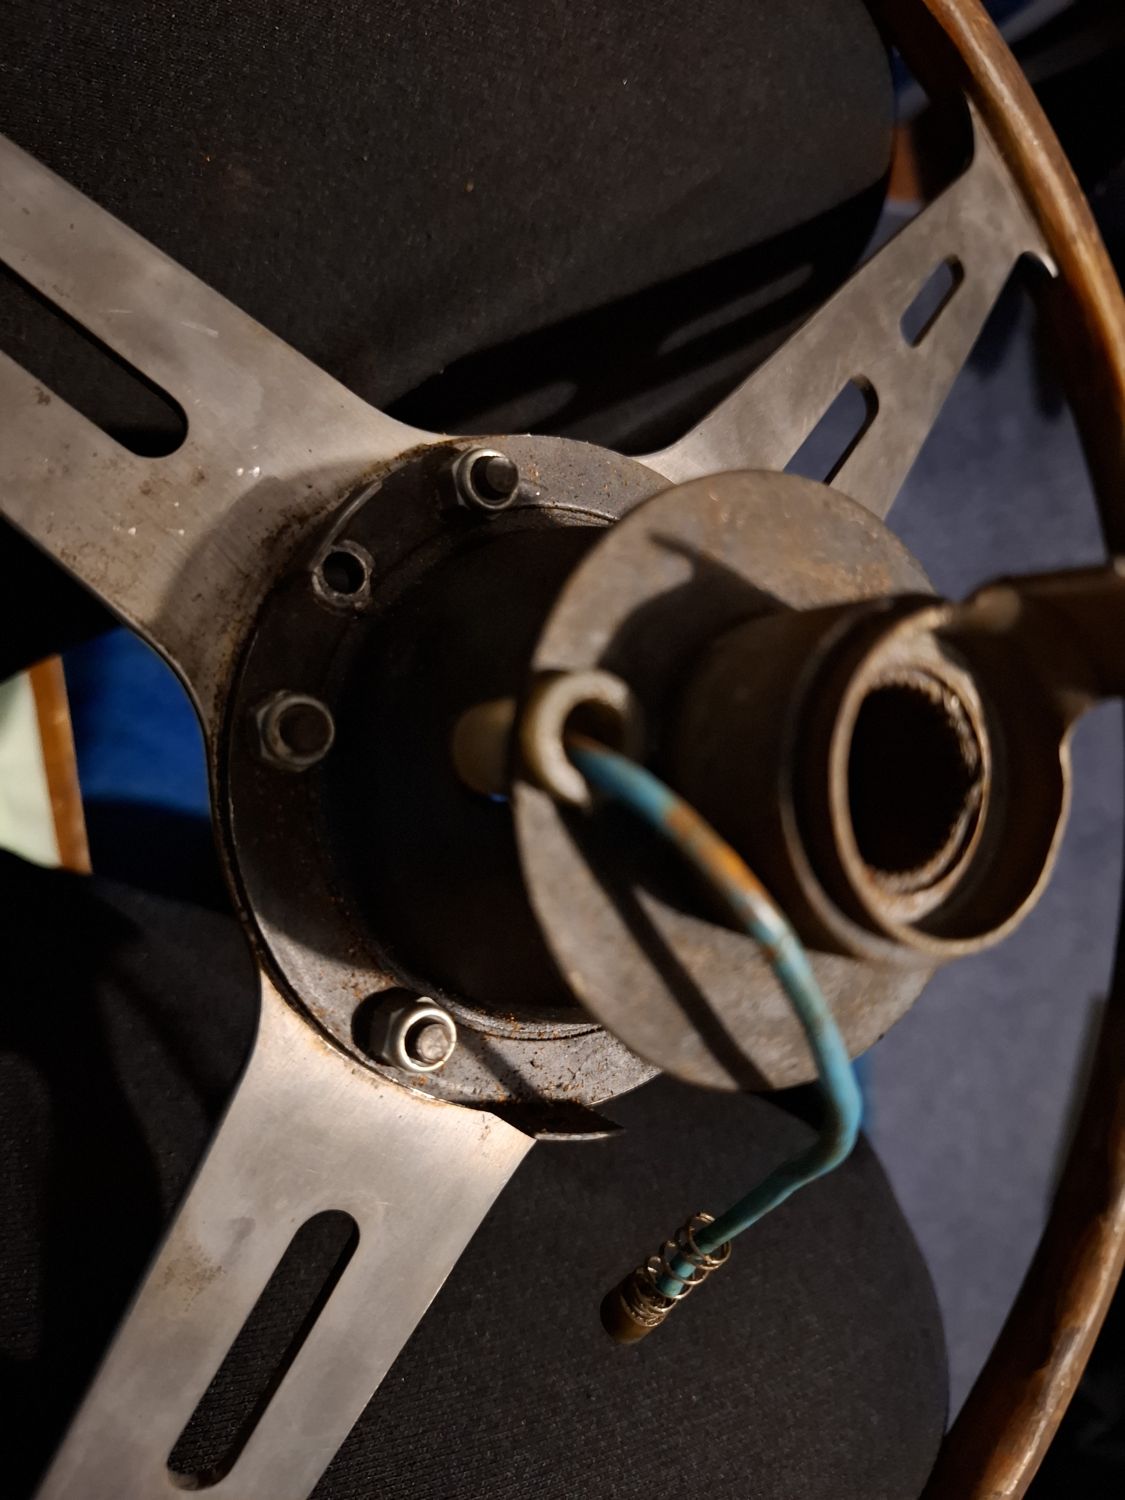
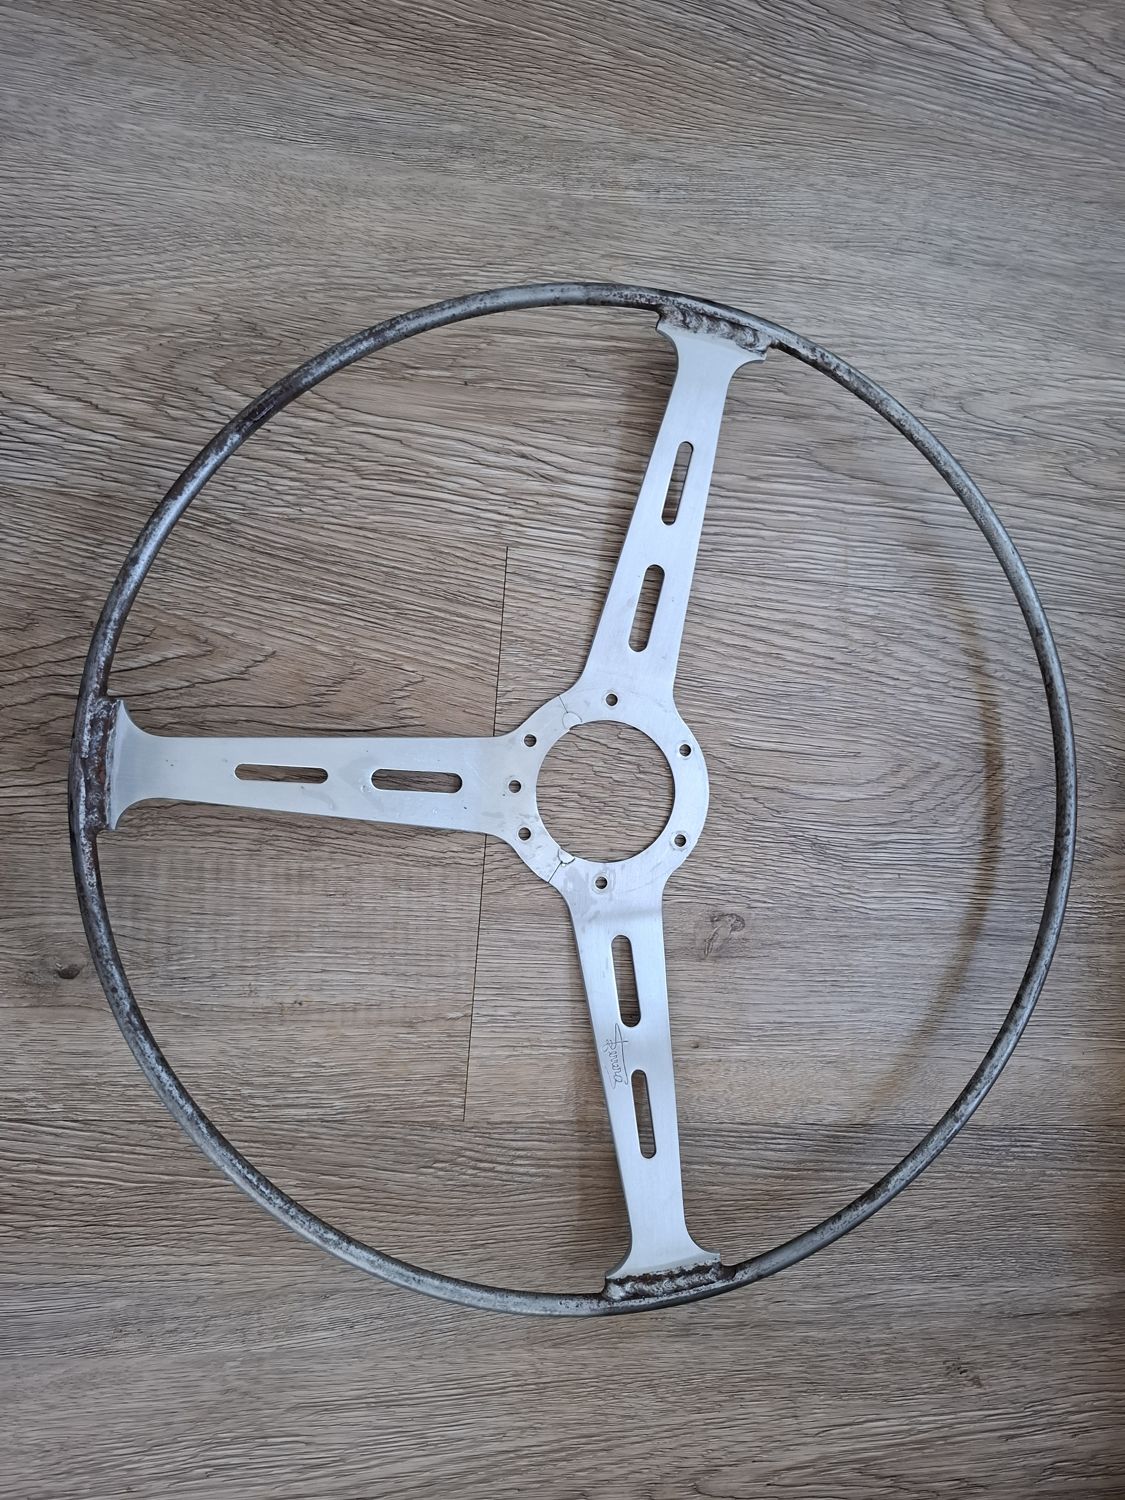
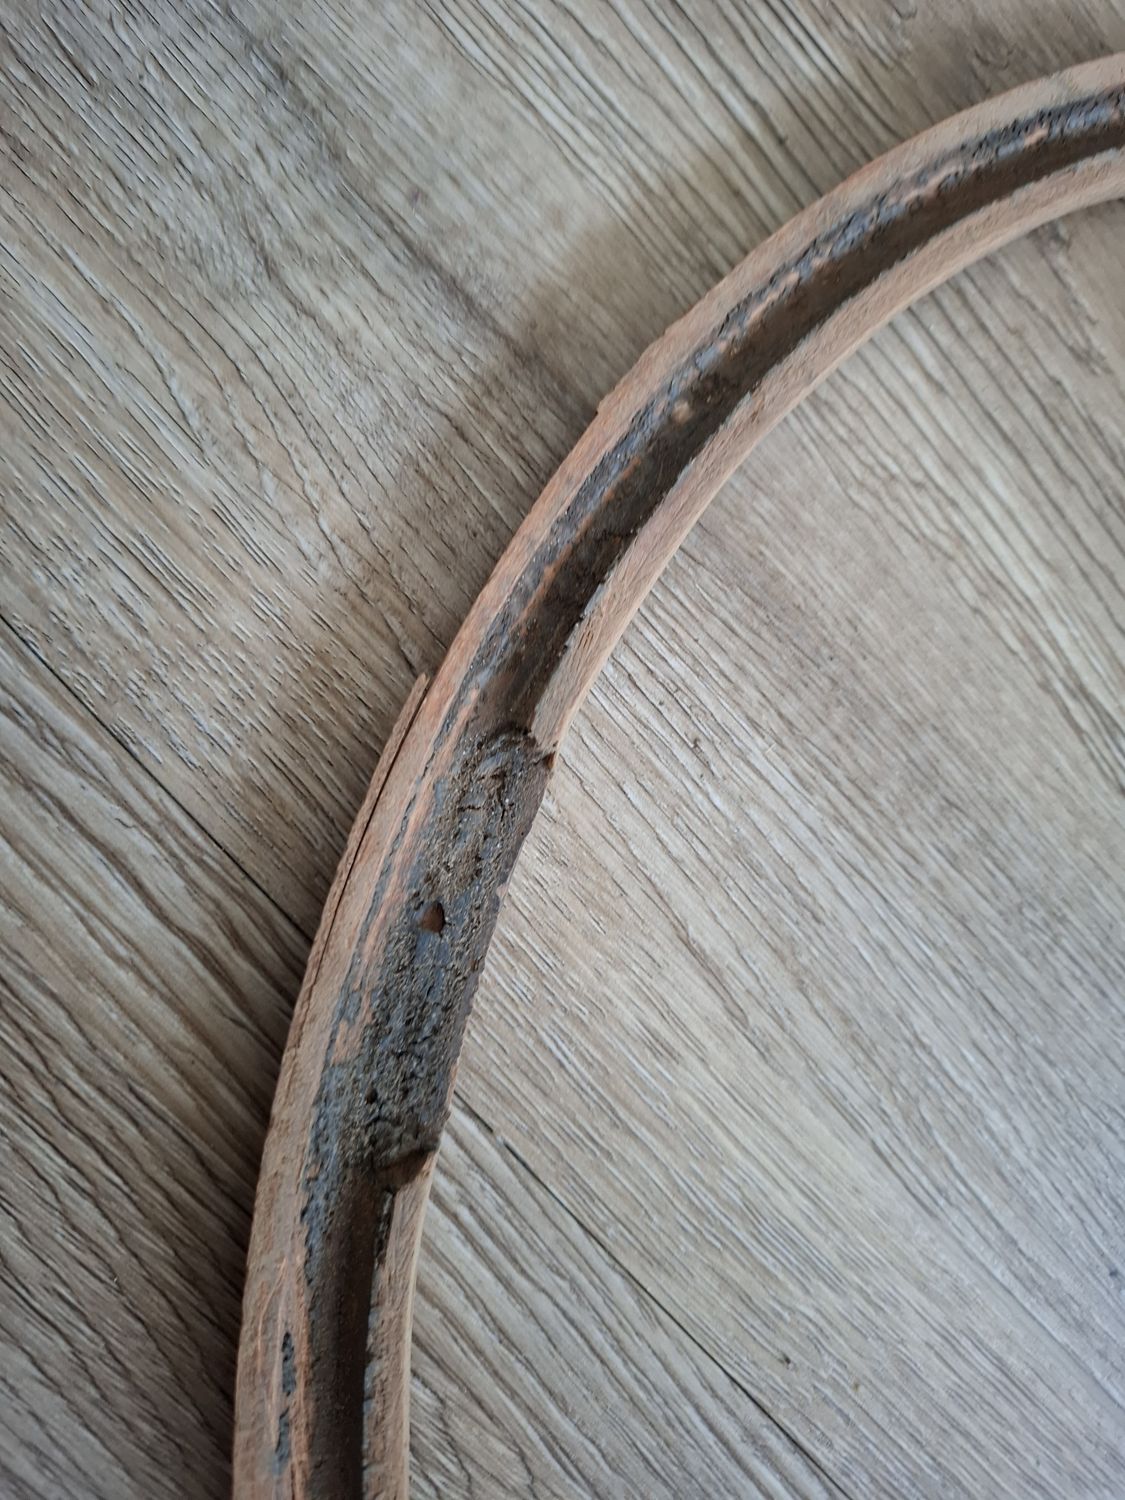
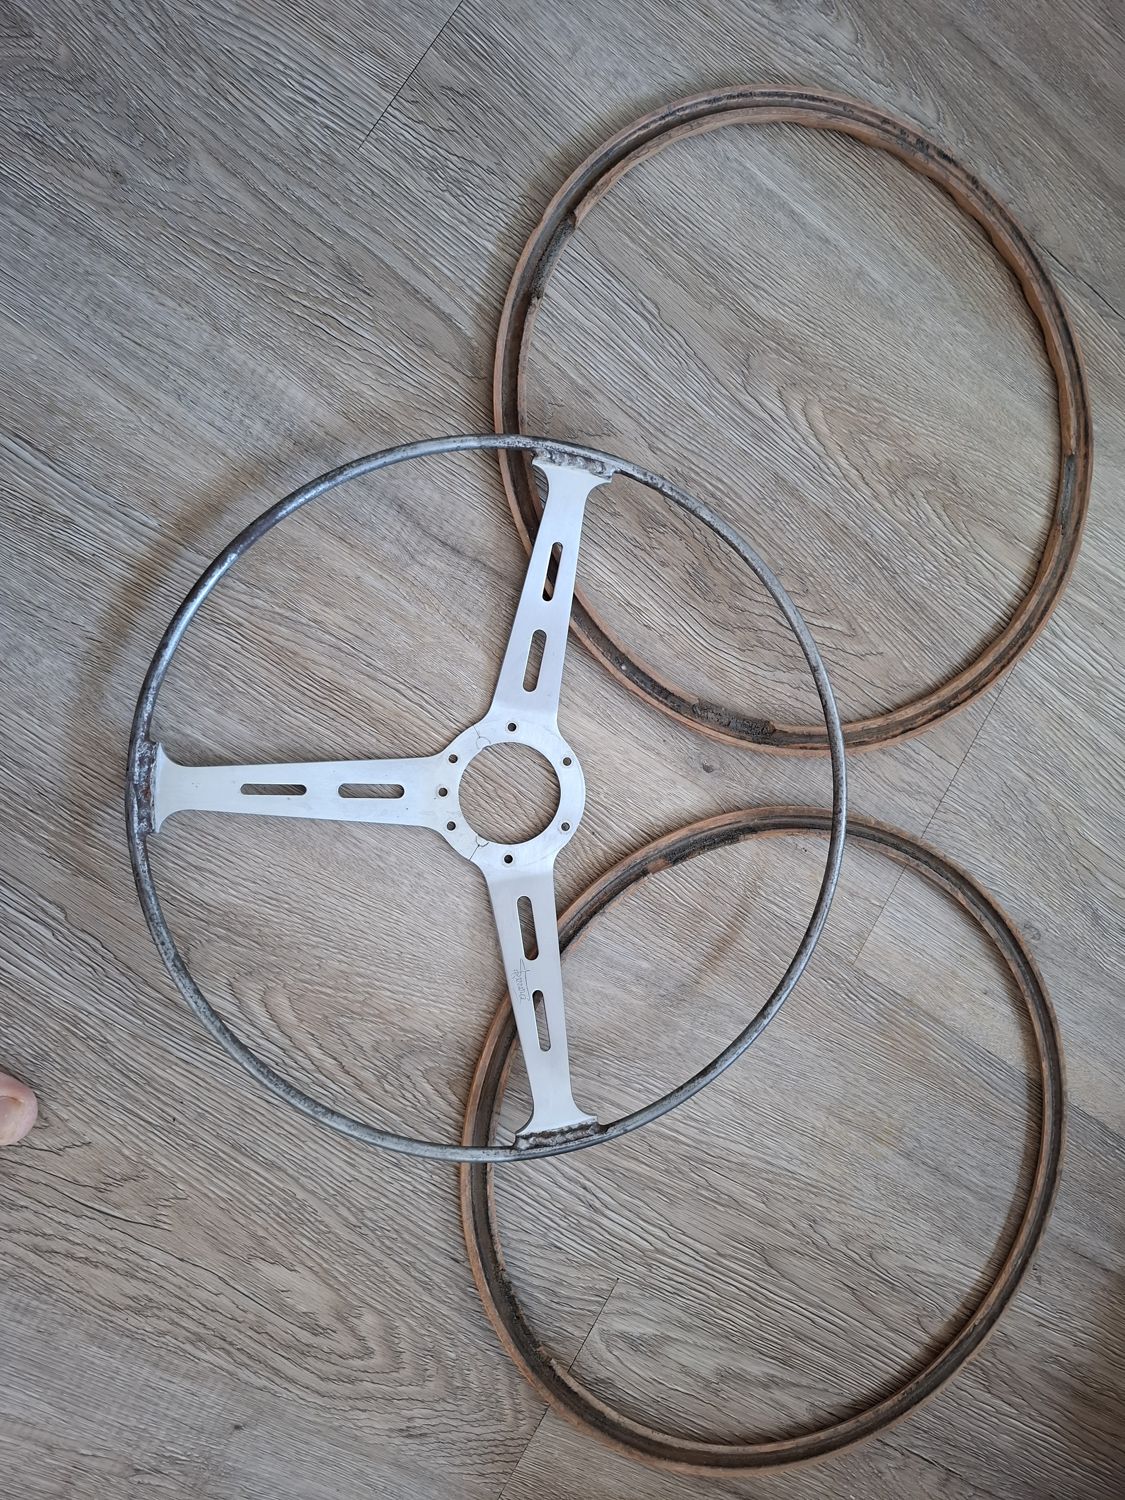
In January the hub and horn contact came off. On 7 February I started on the rim: the old finish came off with steel wool and sanding. While I was removing old epoxy from the wood near the spokes, the wheel split in two. Fortunately the only crack was at the joint between the two wooden halves, which was a big relief. The original glue had become very brittle and crusty over the years, and the halves had already separated. Underneath the wood there is a thin metal hoop on the spokes, and the wood is two grooved half-rims glued around it from either side.
Hub and horn contact, January 2026The bare spoke frame with its metal hoopOne of the two wooden half-rims, with its grooveFrame and both half-rims side by side
Gluing it back together
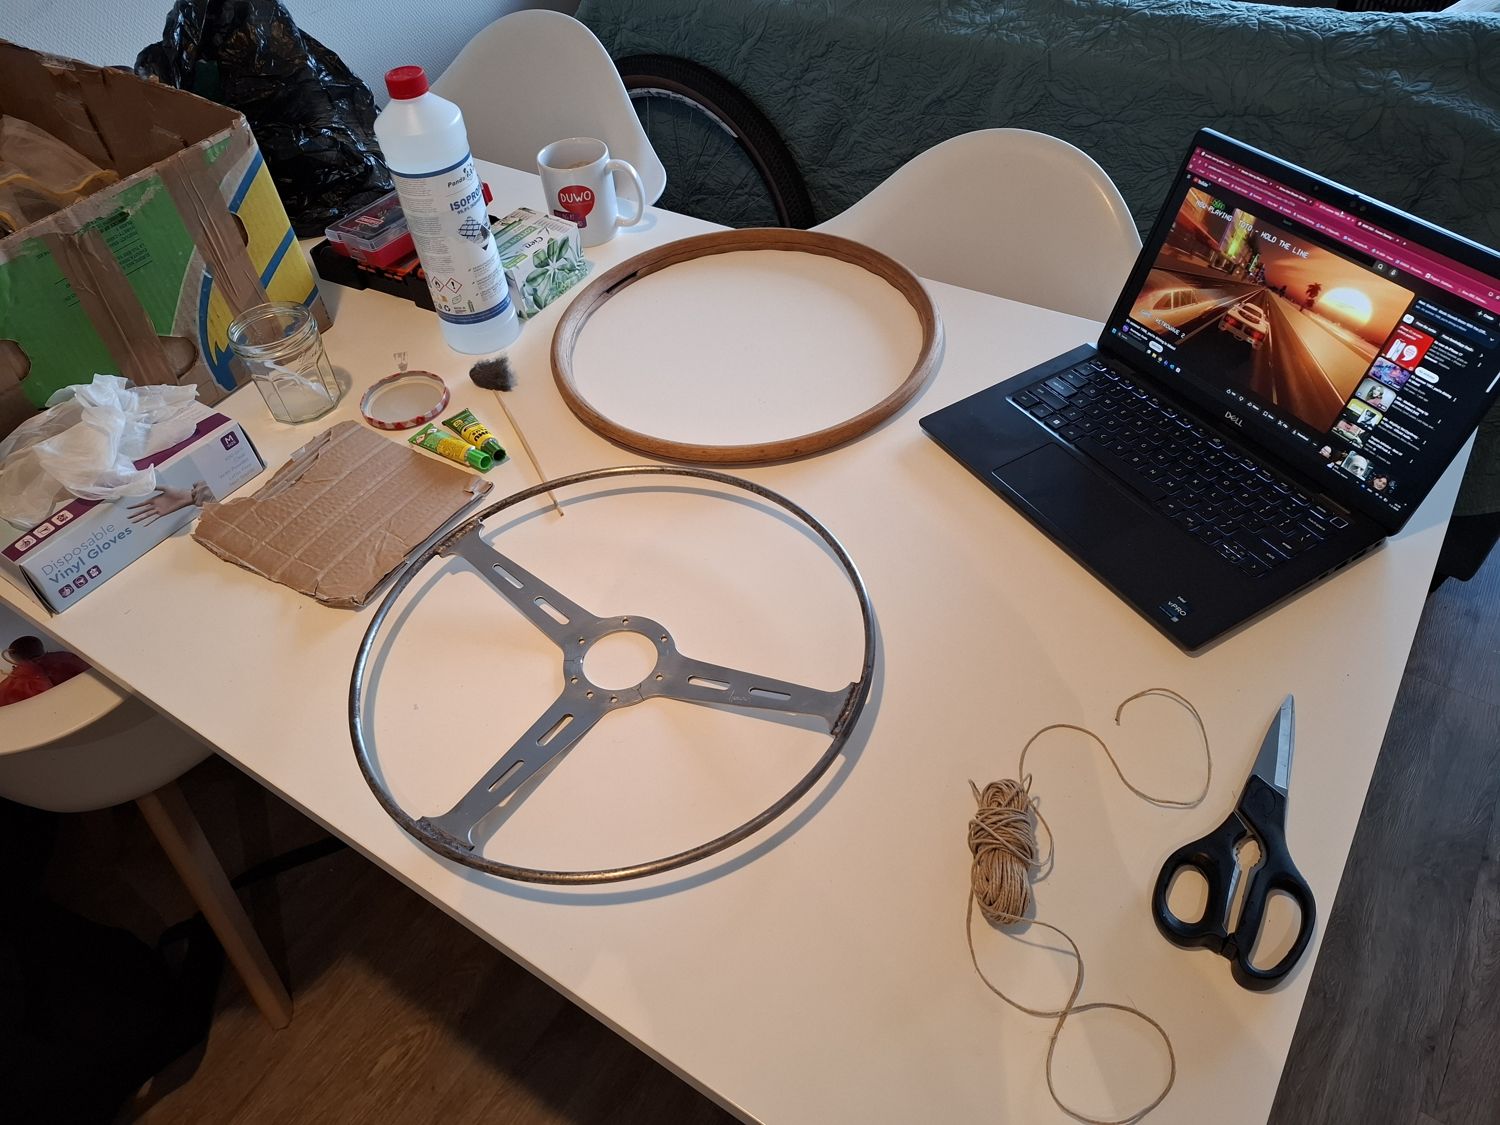
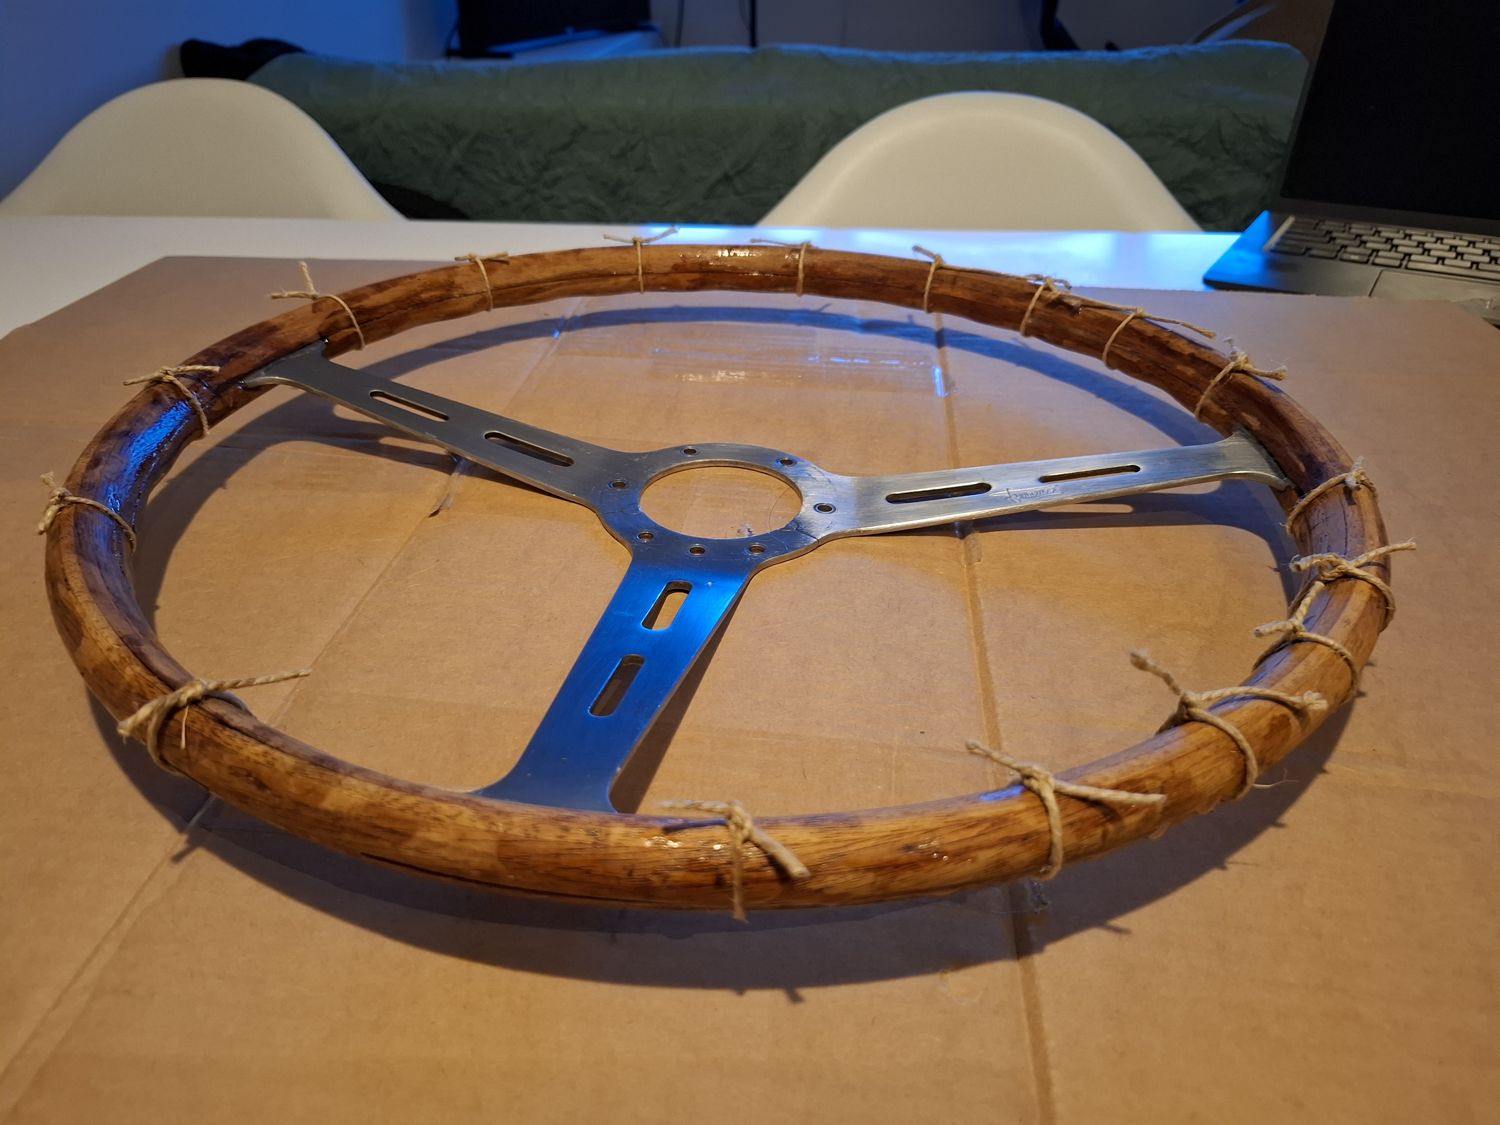
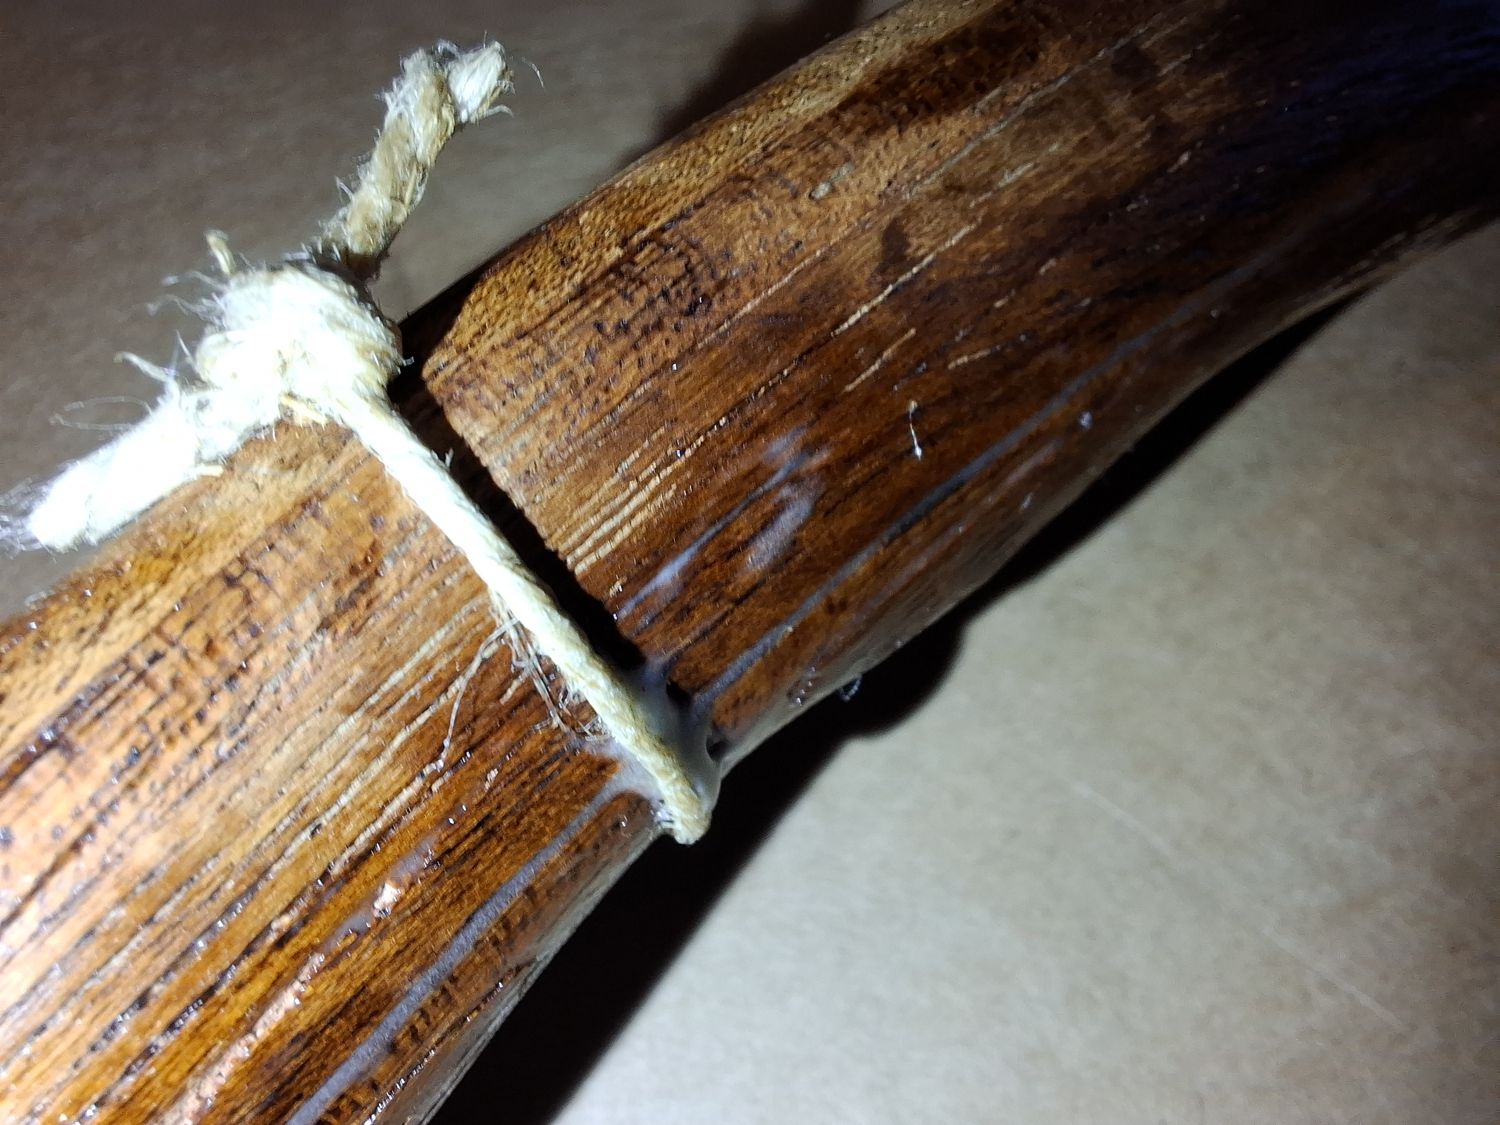
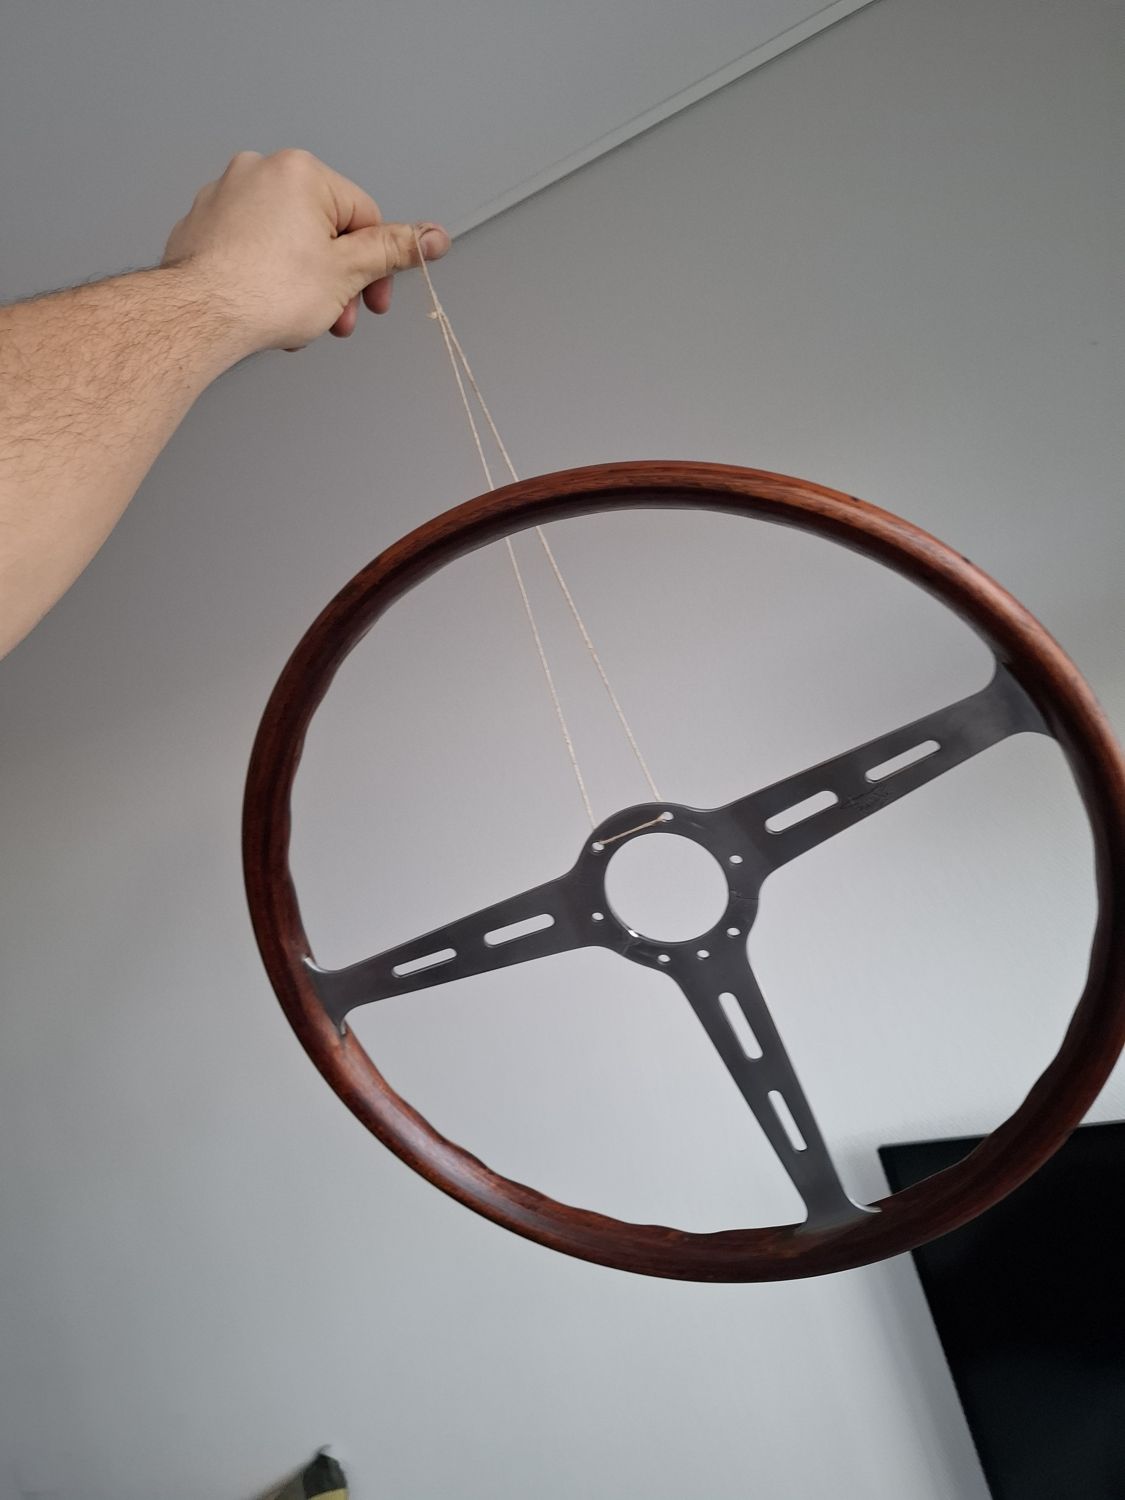
I removed as much of the old glue as I could and sanded everything. Then the three parts, the two wooden halves and the metal rim, went back together with two-part epoxy, pressed together the old-fashioned way: dozens of turns of twine pulled tight all around the rim, and then waiting.
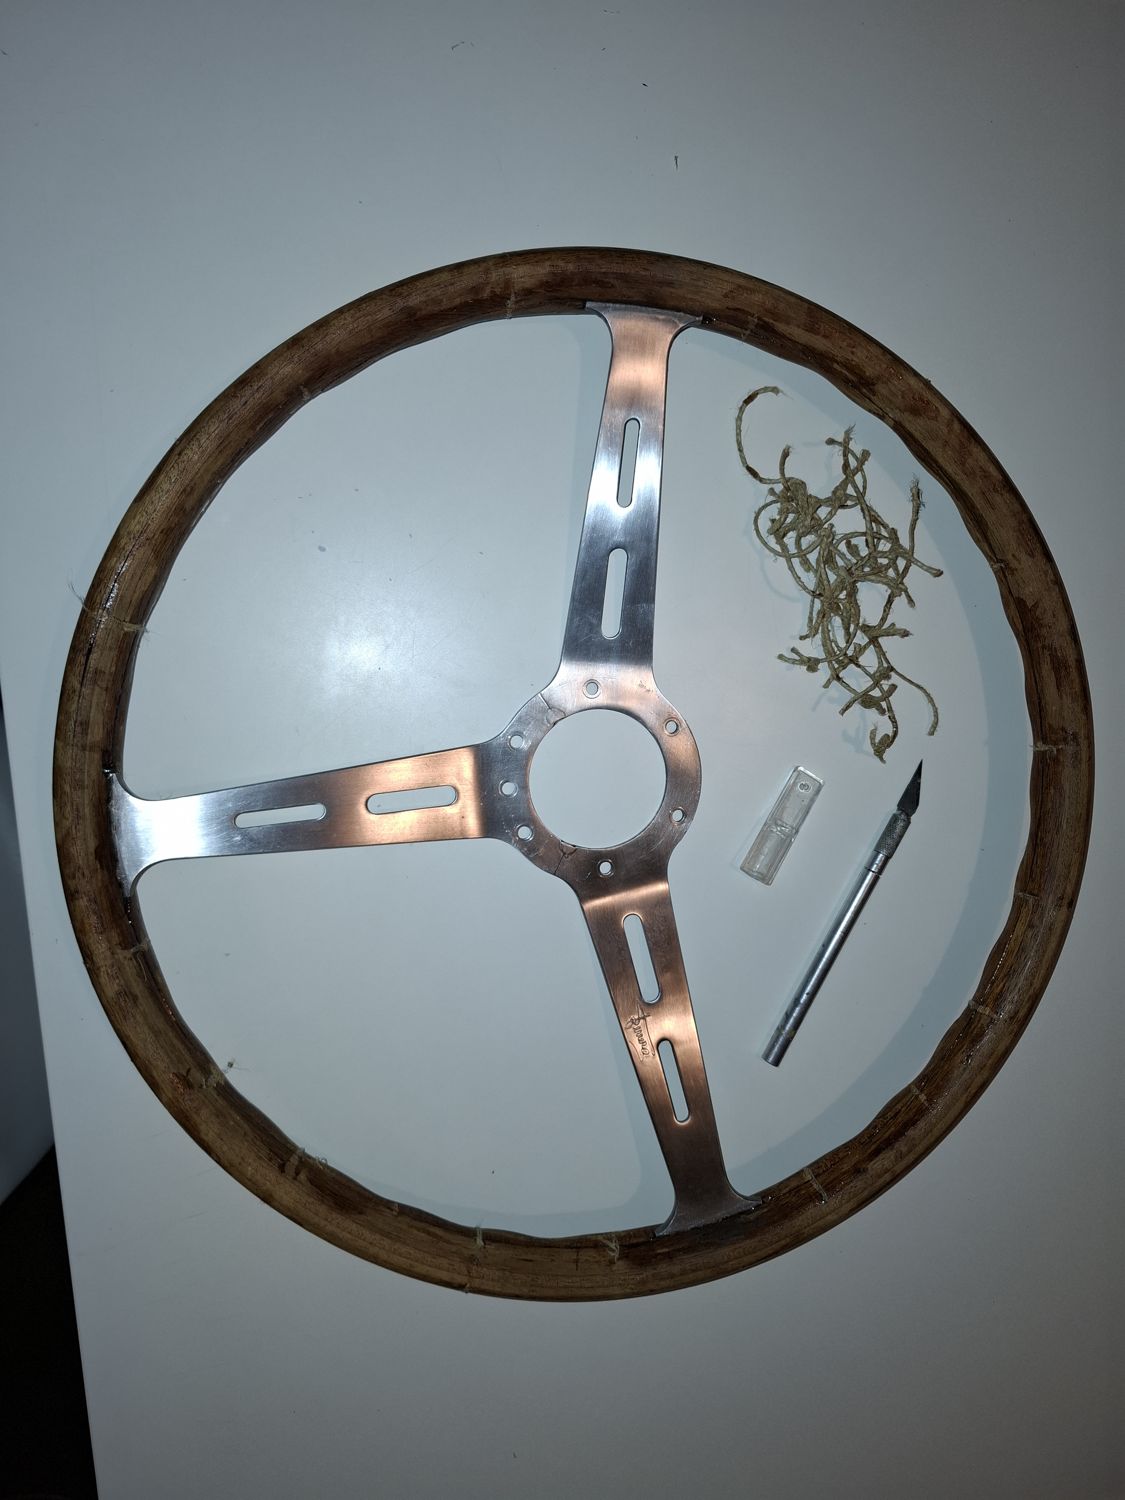
Setting up: frame, rims, glue and twineClamped with twine all aroundClose-up of a twine clampCured and unwrapped
Filling and sanding
In a few places, especially where the wood meets the spokes, there were gaps. I filled them with wood dust mixed into epoxy. After curing, the excess came off with a razor blade, and then the sanding started again, working up gradually to 1000 grit.
Sanded back to bare woodFilling the gaps at the spoke jointA filled gap along the rim
Oil and wax
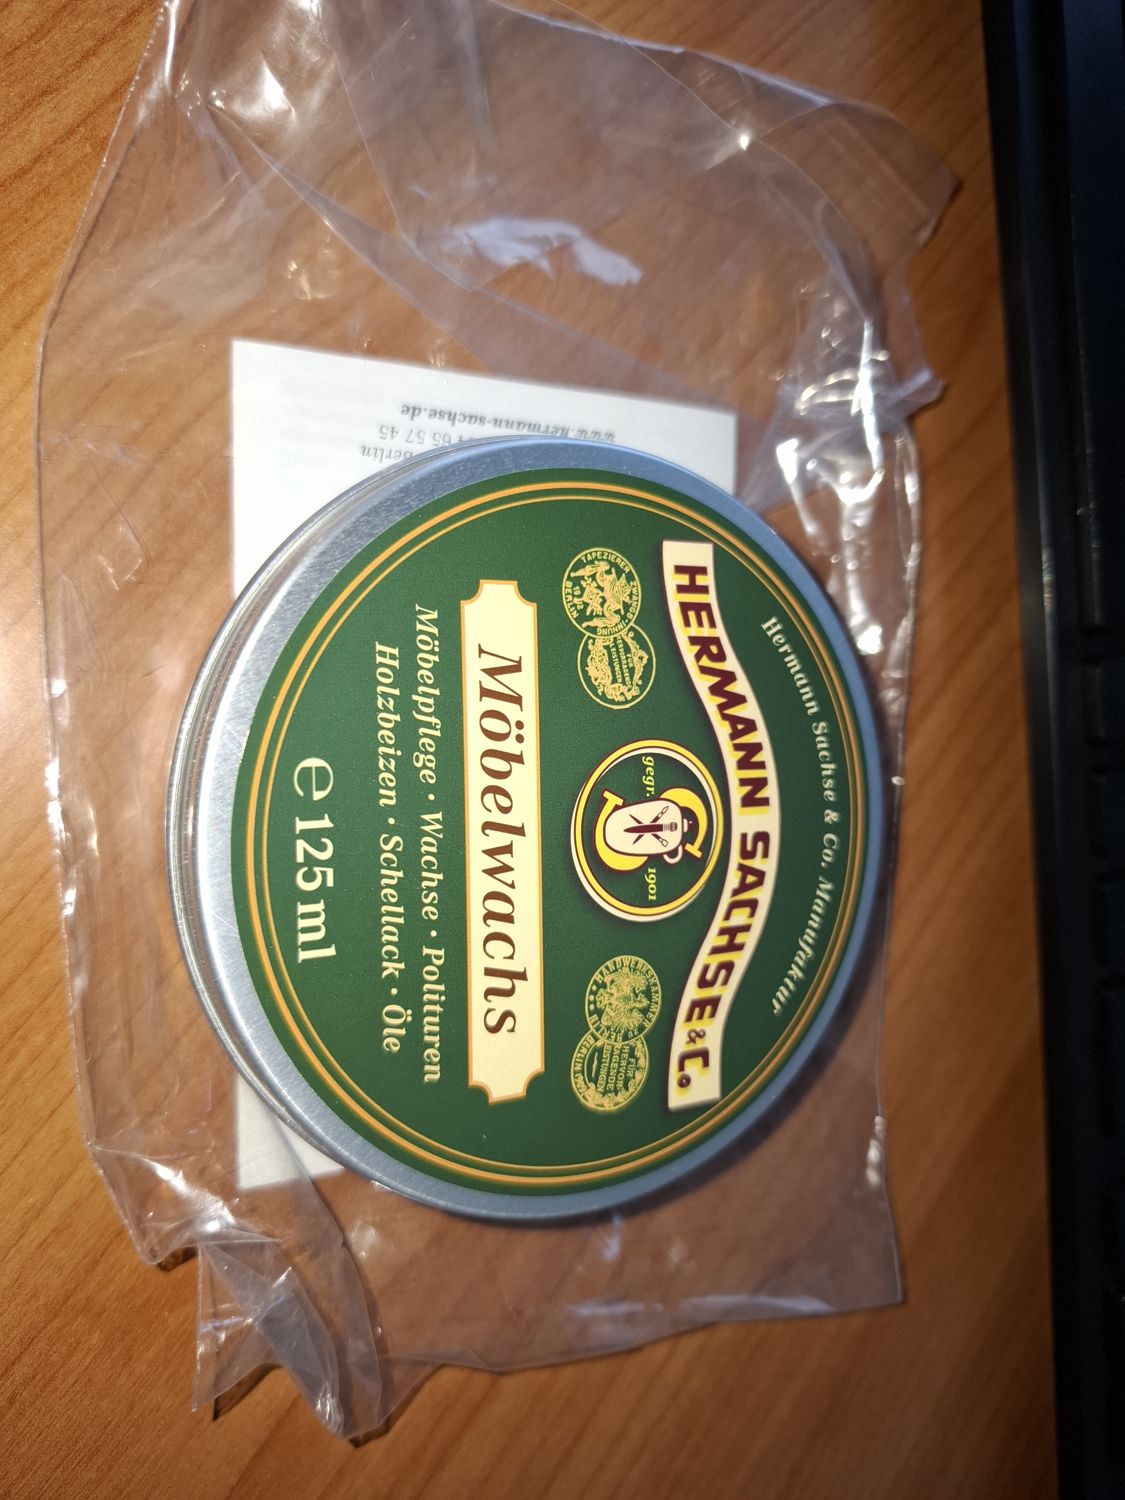
The wood then got many coats of tung oil, each one deepening the colour, with the wheel hanging up to dry between coats. The final finish is a German wood wax (it smells great), buffed with fine steel wool. The spokes were lightly polished up to 2000 grit and finished again with very fine steel wool.
After the first coats of tung oilThe colour deepening with every coatHanging to dry between coatsThe German wood wax for the last layer
The result
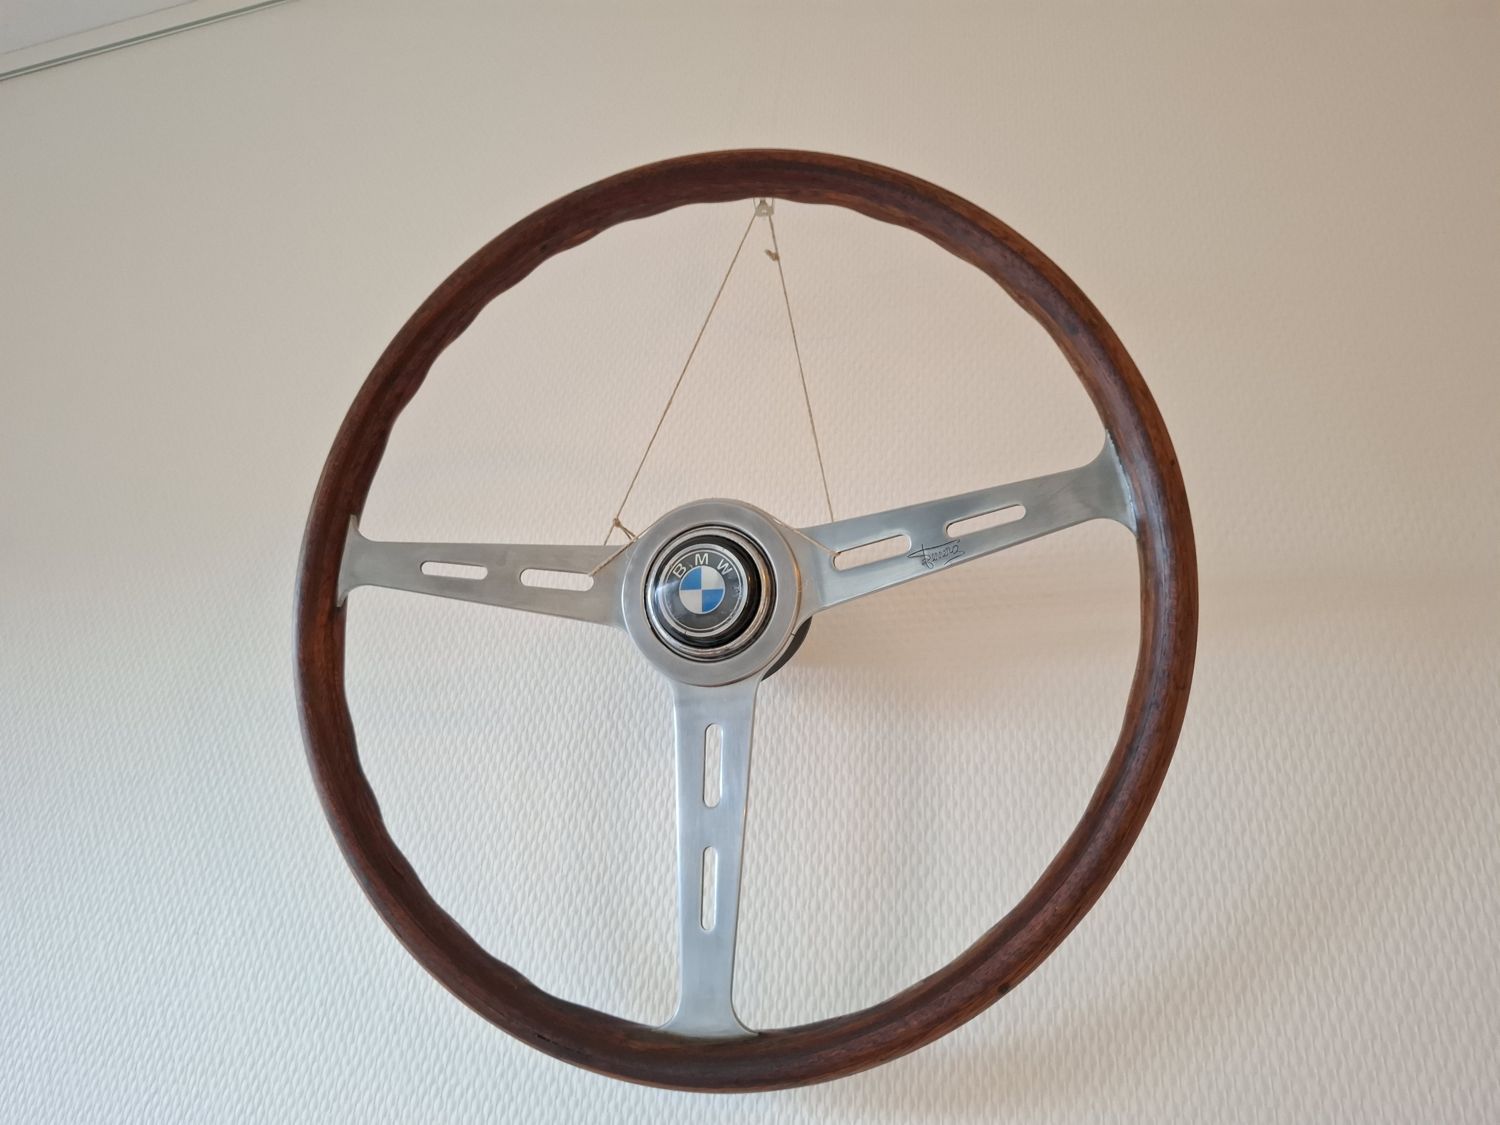
It was a lengthy process, but I am quite happy with the result. The horn button will need re-plating at some point; that will probably happen when I send out a larger batch of parts for plating.
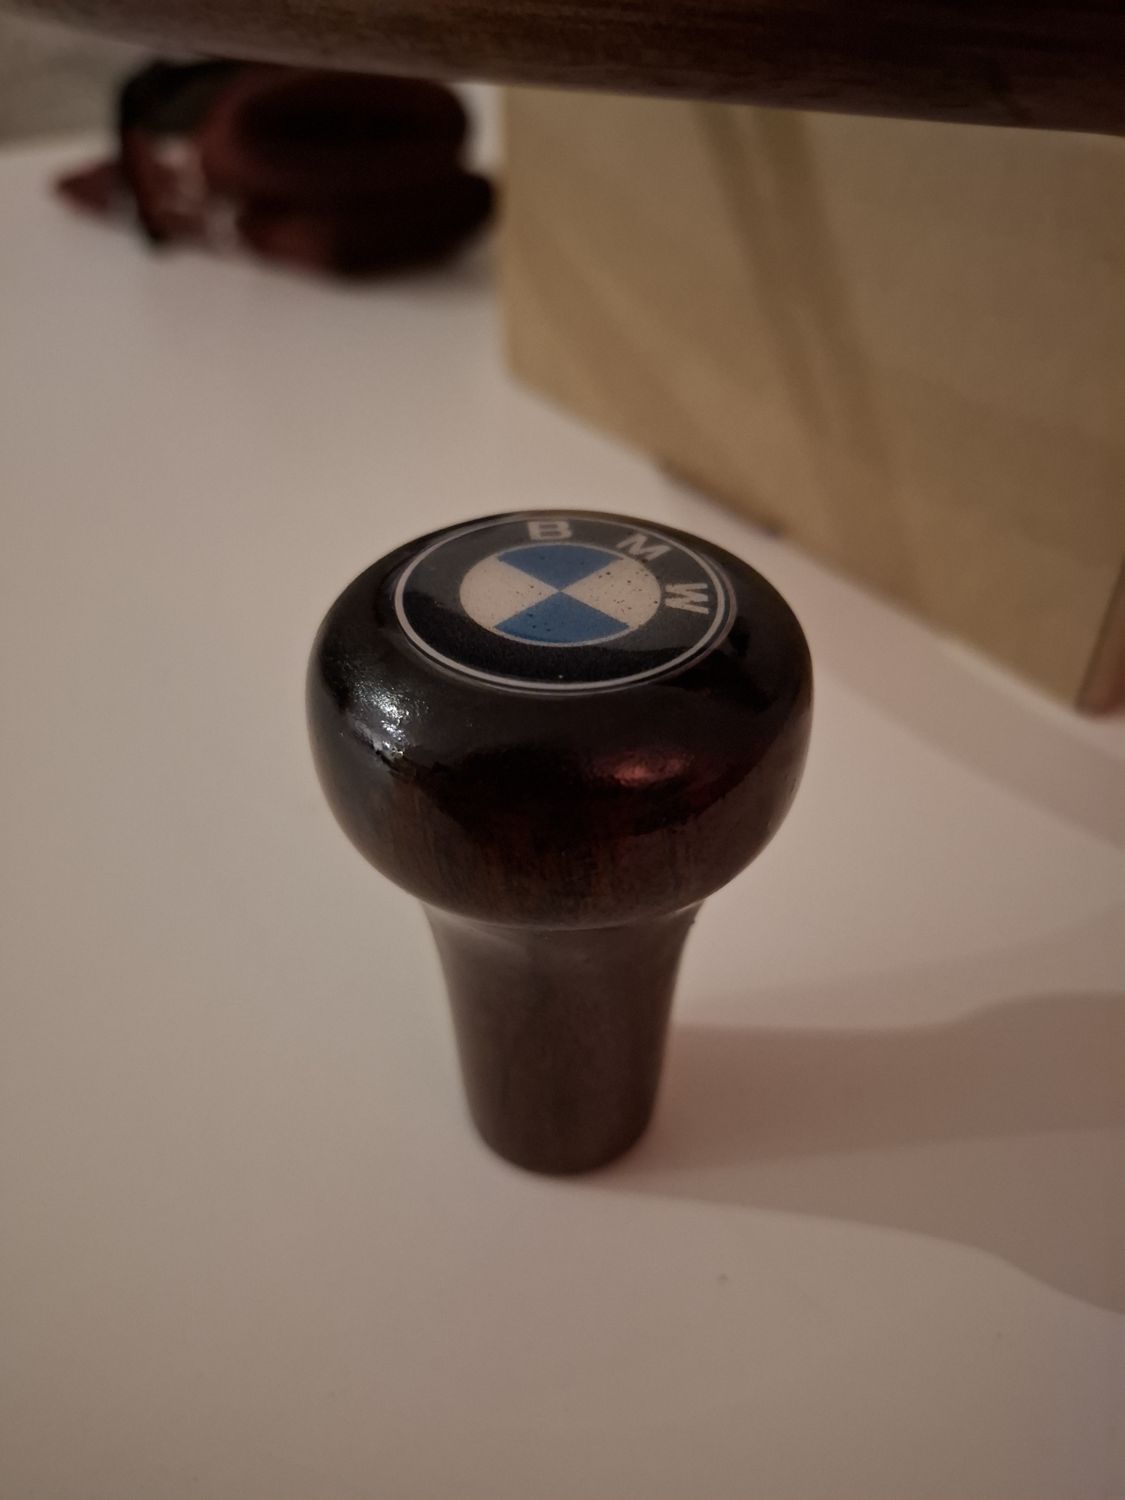
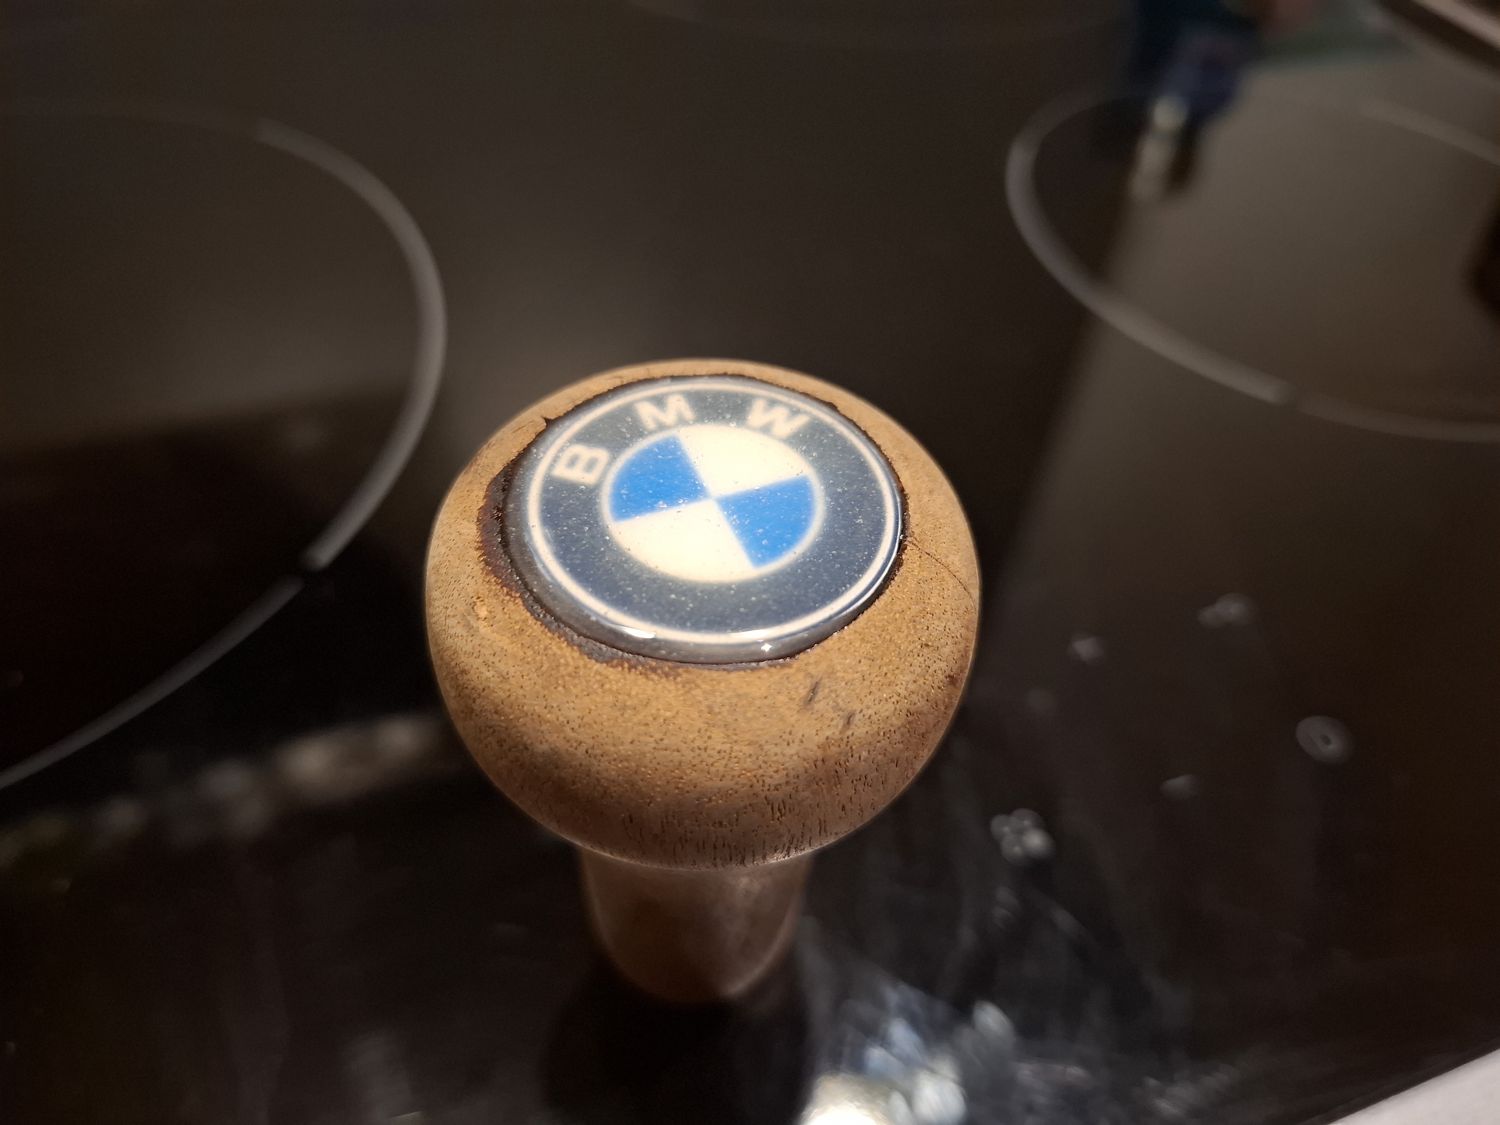
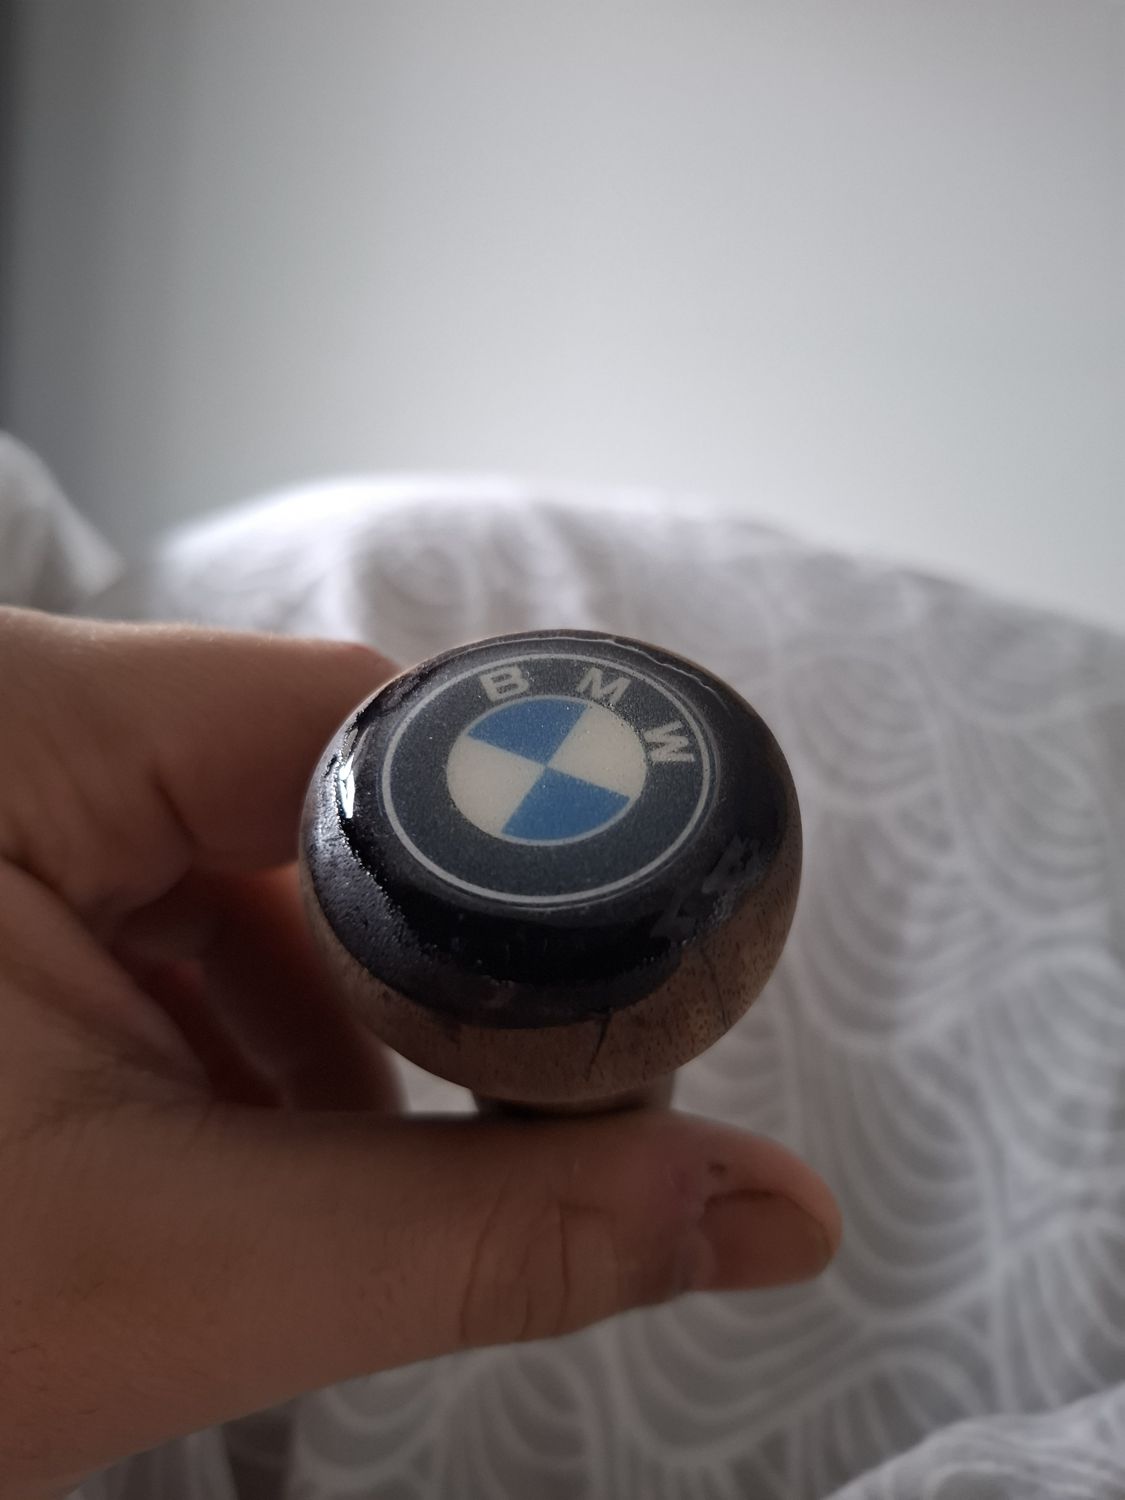
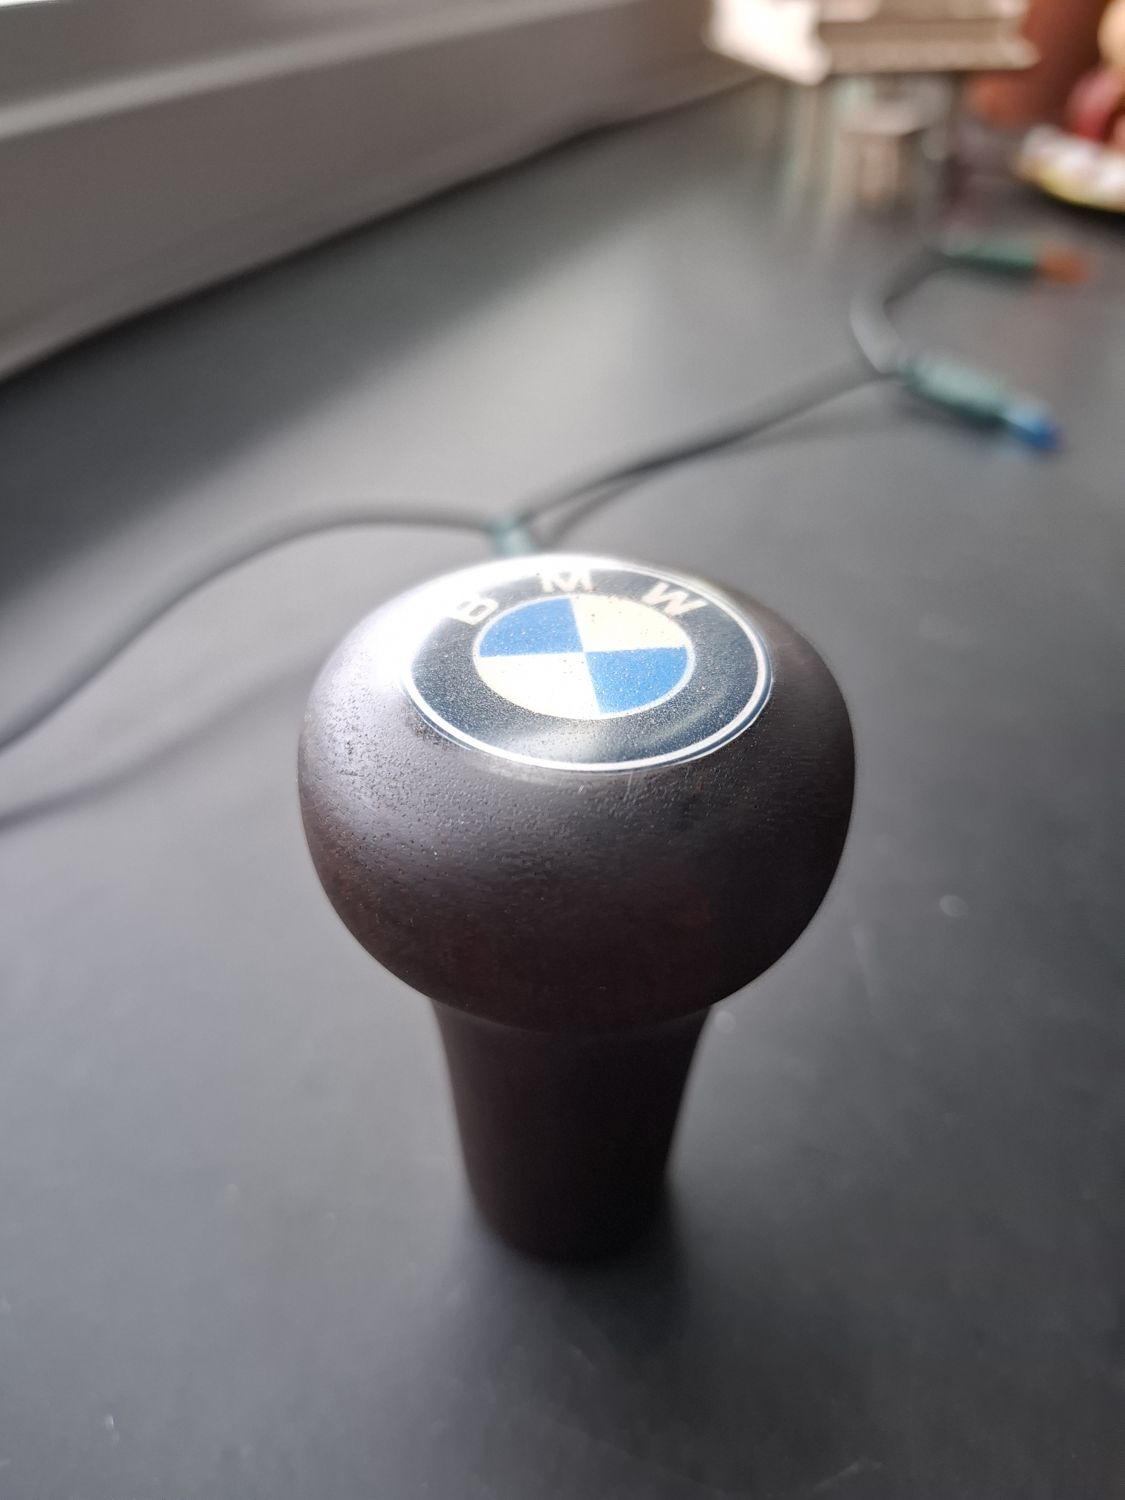
Finished, with the BMW hub fittedTogether with the restored cluster and gear knobFinished, March 2026
I shared the finished wheel in the bmw2002faq steering wheel thread in March 2026 (link below).
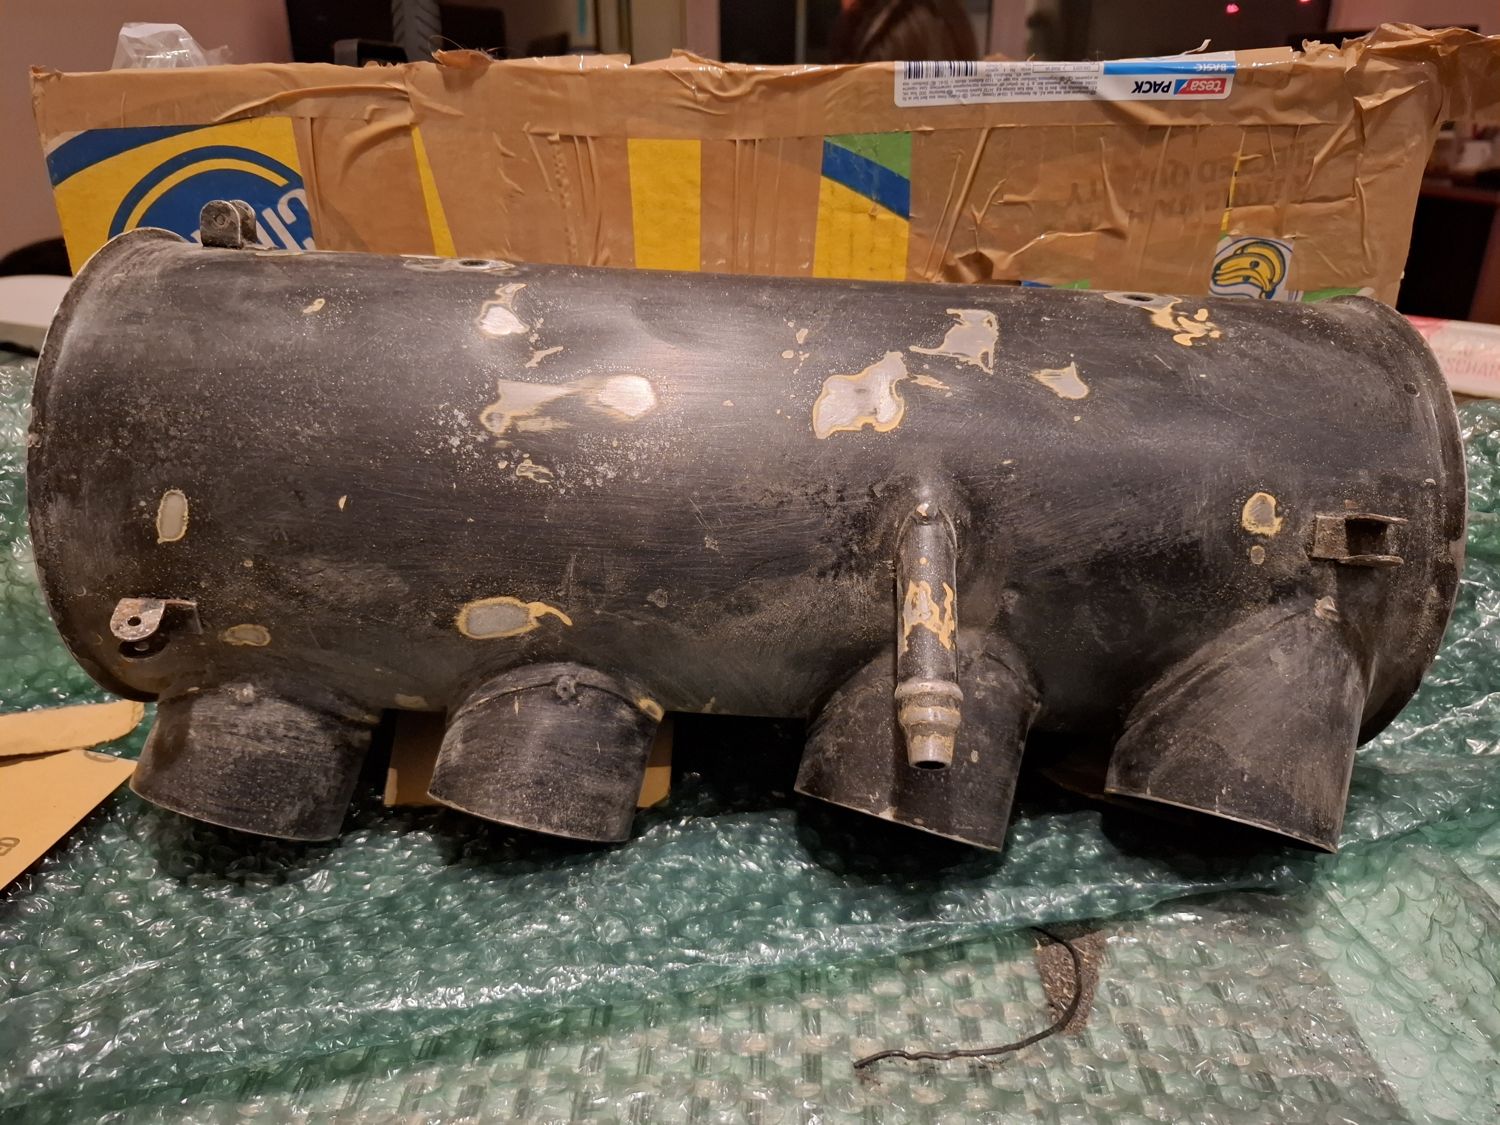
Refreshing a 2002ti air filter housing for twin carbs
A solid but tired 2002ti air box: etch primer and satin black, Alpina-style open filters instead of the snorkels, and new mounting hardware made to carry them properly.
When28 Jan – 1 Mar 2026
Photos13
Ledger SKUP-0165
Why this part
For the twin-carb setup on the Touring I wanted the original 2002ti air filter housing. This one came with the original Alpina A1 Solex DDH set I bought, together with the intake funnels, a mounting bracket and a second linkage. It was solid but tired: chipped paint and surface rust.
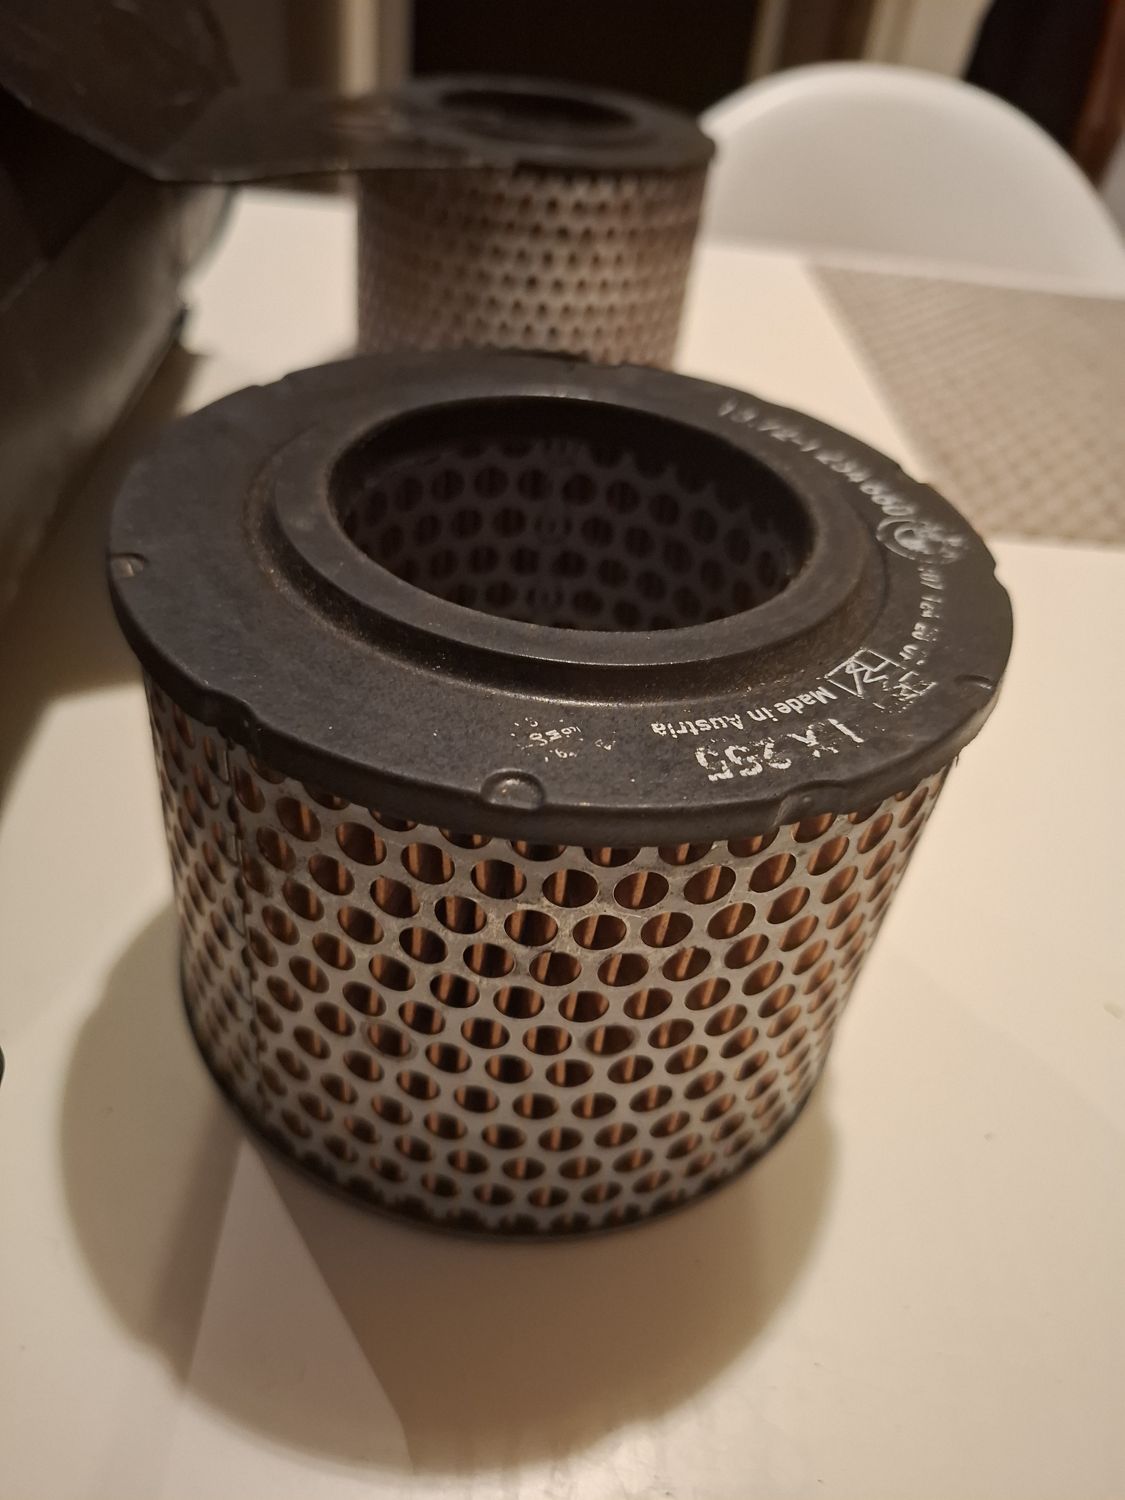
As it arrived, January 2026The original filter elementsChipped paint and rust spots
Paint
I stripped it wherever needed, applied etch primer and refinished it in satin black. I did not want it to look too glossy.
Cleaned upInside paintedOutside in satin black
Alpina-style filters
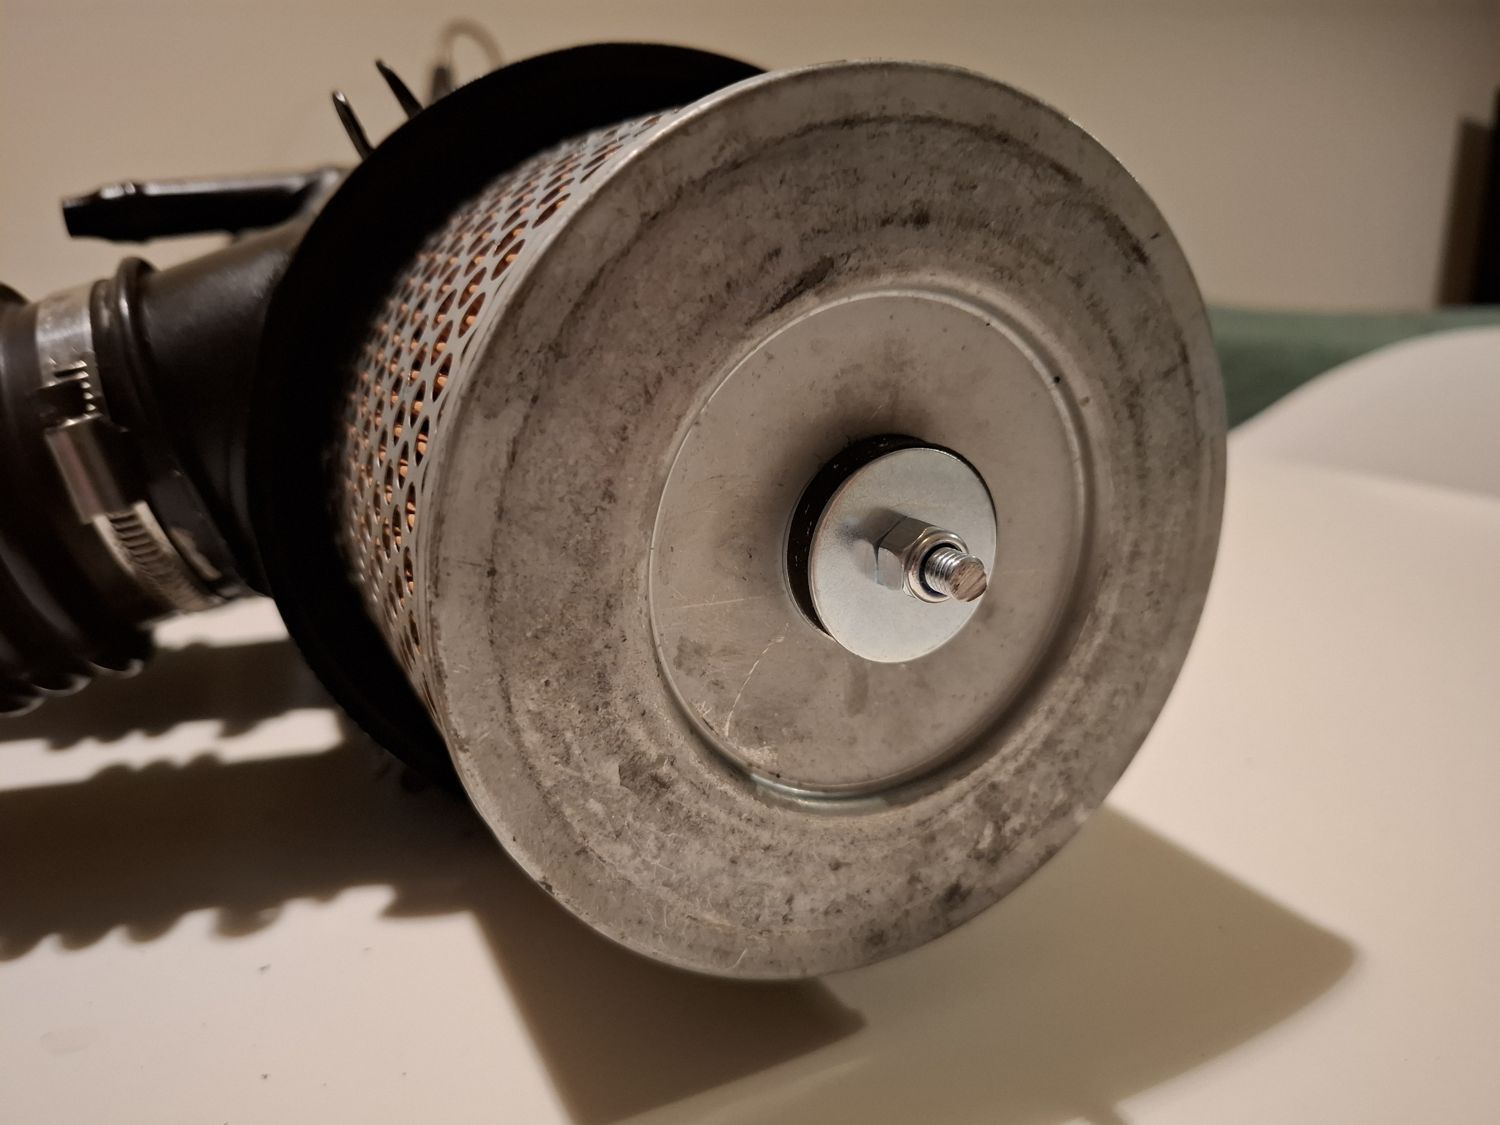
Instead of going back to the factory snorkels, I decided to try the "Alpina-style" open-ended filters. The snorkels just clip on, so it is fully reversible.
Hardware made to carry them
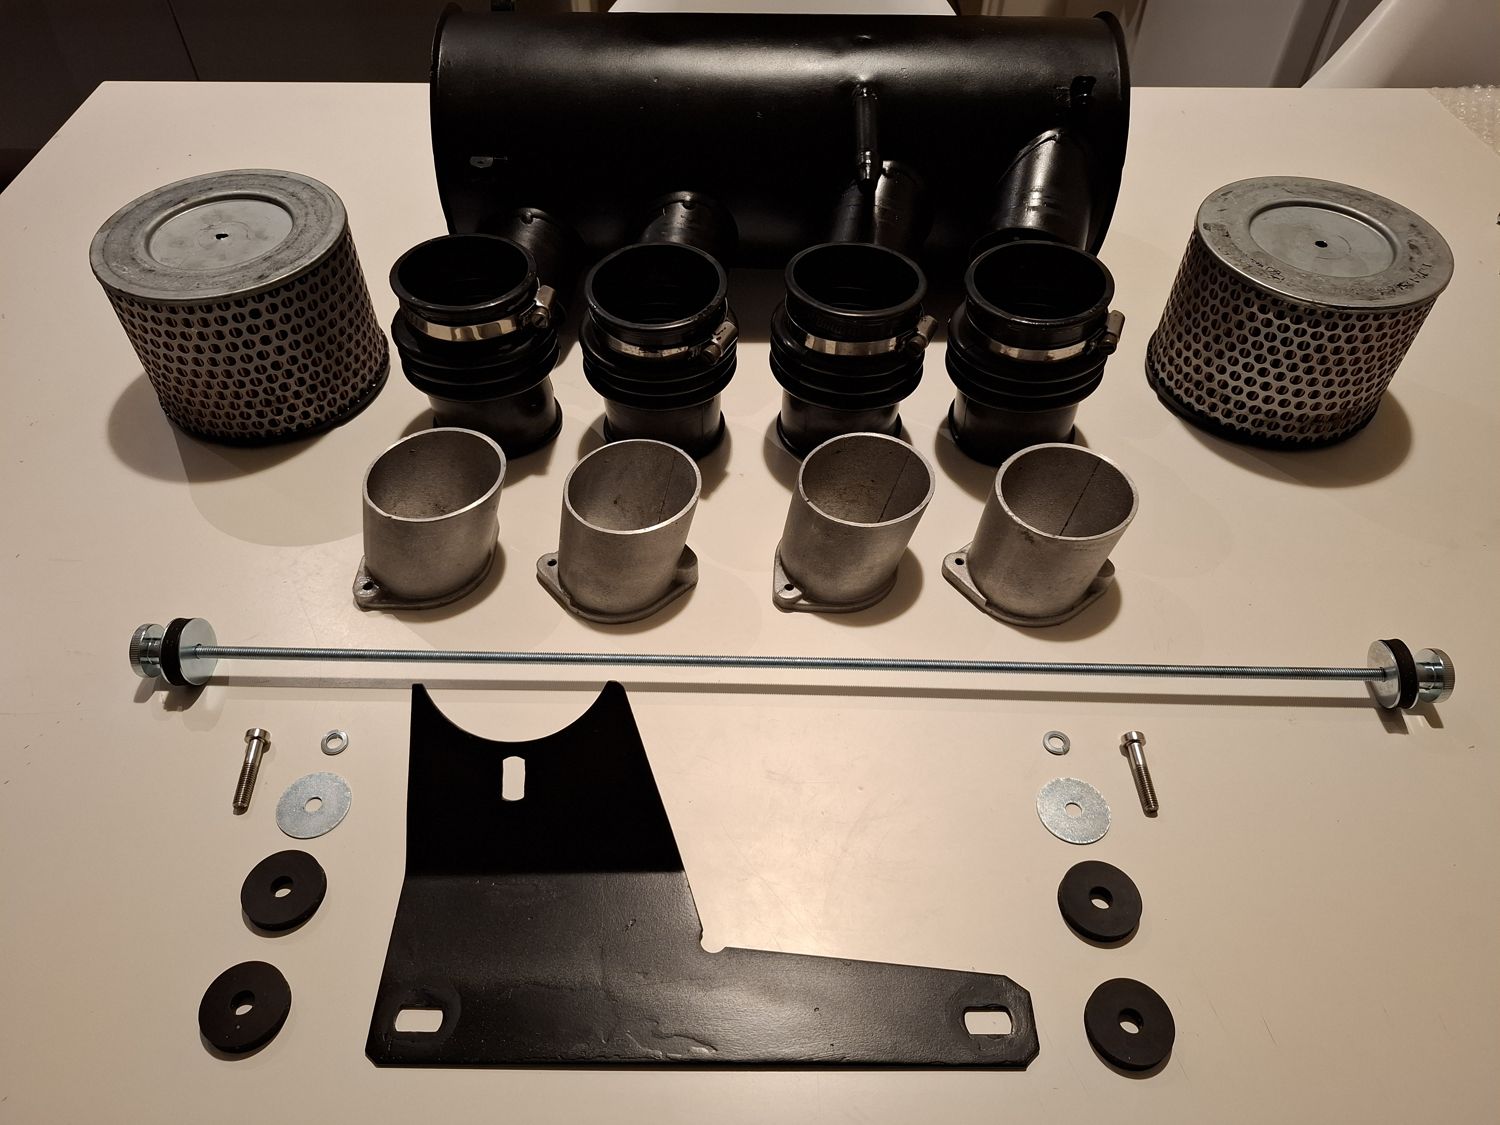
The larger filters need proper support, so I made a central threaded rod for them. Large penny washers and rubber isolators spread the load so the backing plates do not deform. The housing now sits on its bracket on the factory rubber mount (BMW 16114080148). The filters are held by knurled nuts with spring washers: secure, but removable without tools.
Hardware and filters ready for assemblyFirst reassemblyEnd plate and filterEvery part laid out, 1 MarchFinished housingBoots and carb adapters
Weber or Solex?
When the housing was finished I was still deciding between Weber 40 DCOE and Solex 40 DDH carbs. In the end the Webers won: in April it went onto the Touring, with Alpina lettering, on top of a pair of Weber 40 DCOE 76/77 (see the twin-Weber story).
The rubber boots between the housing and the carbs are the original ones, reused.
The winter bench
By the first of March the winter's projects were all done at the same time:
Steering wheels, cluster and air filter housing, 1 March 2026
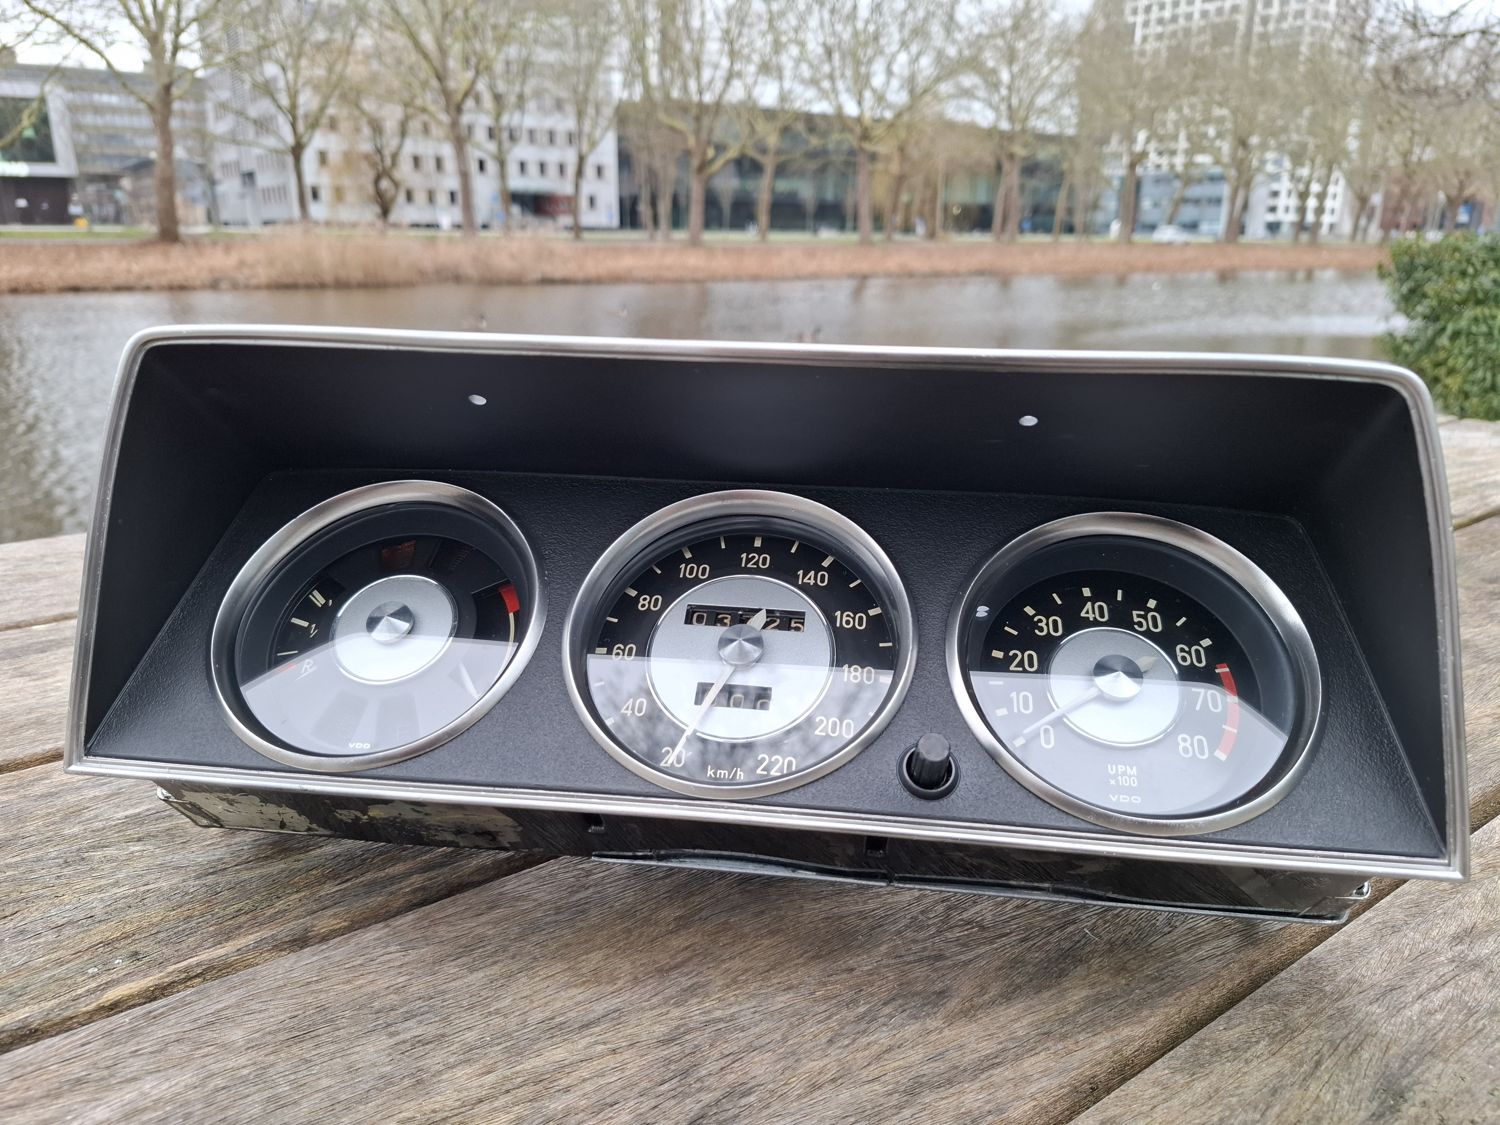
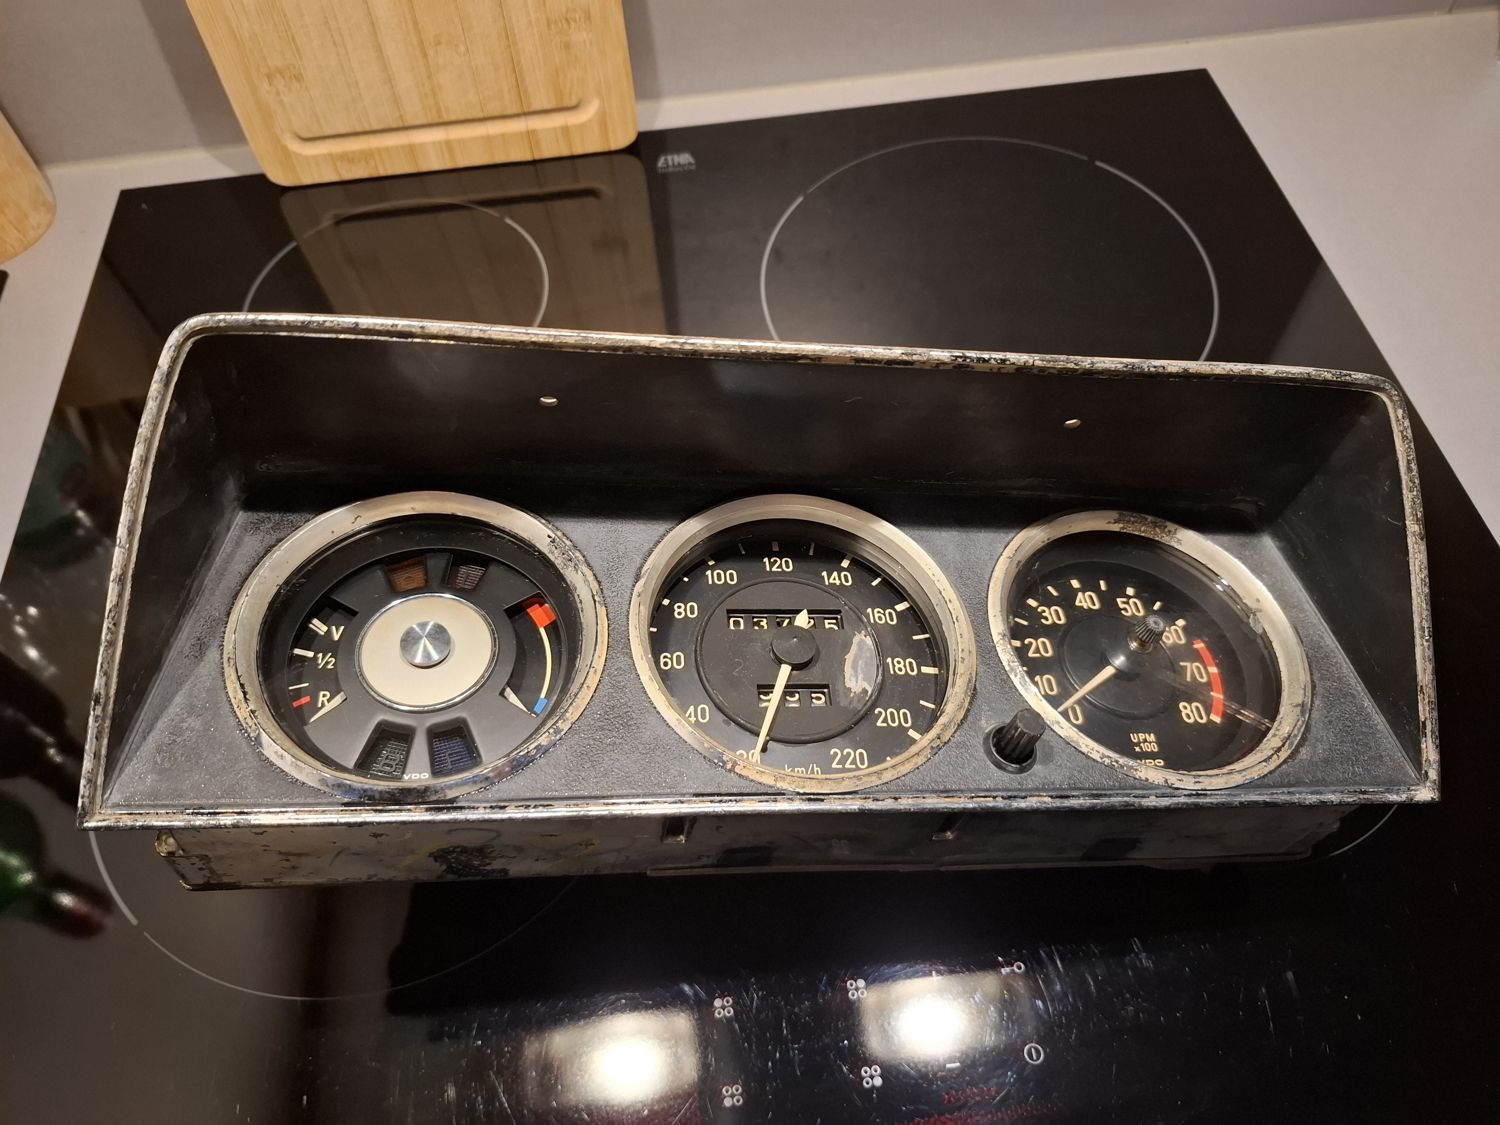
Restoring a 2002 ti "silver dollar" cluster, 220 km/h
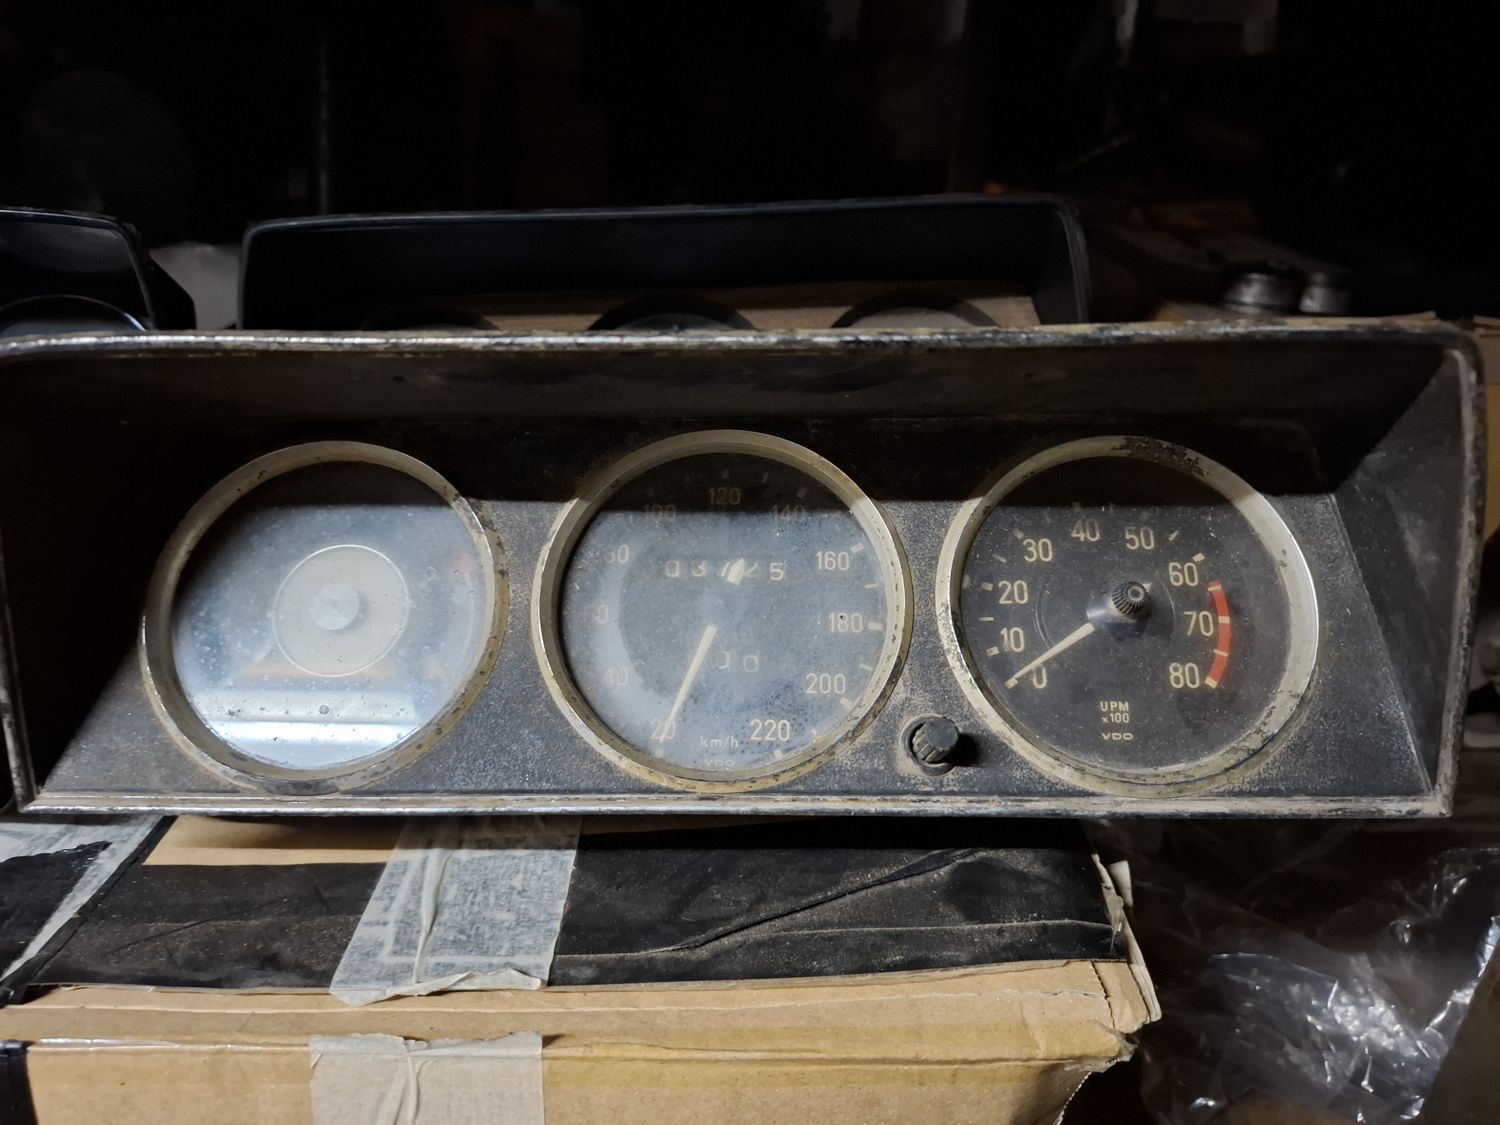
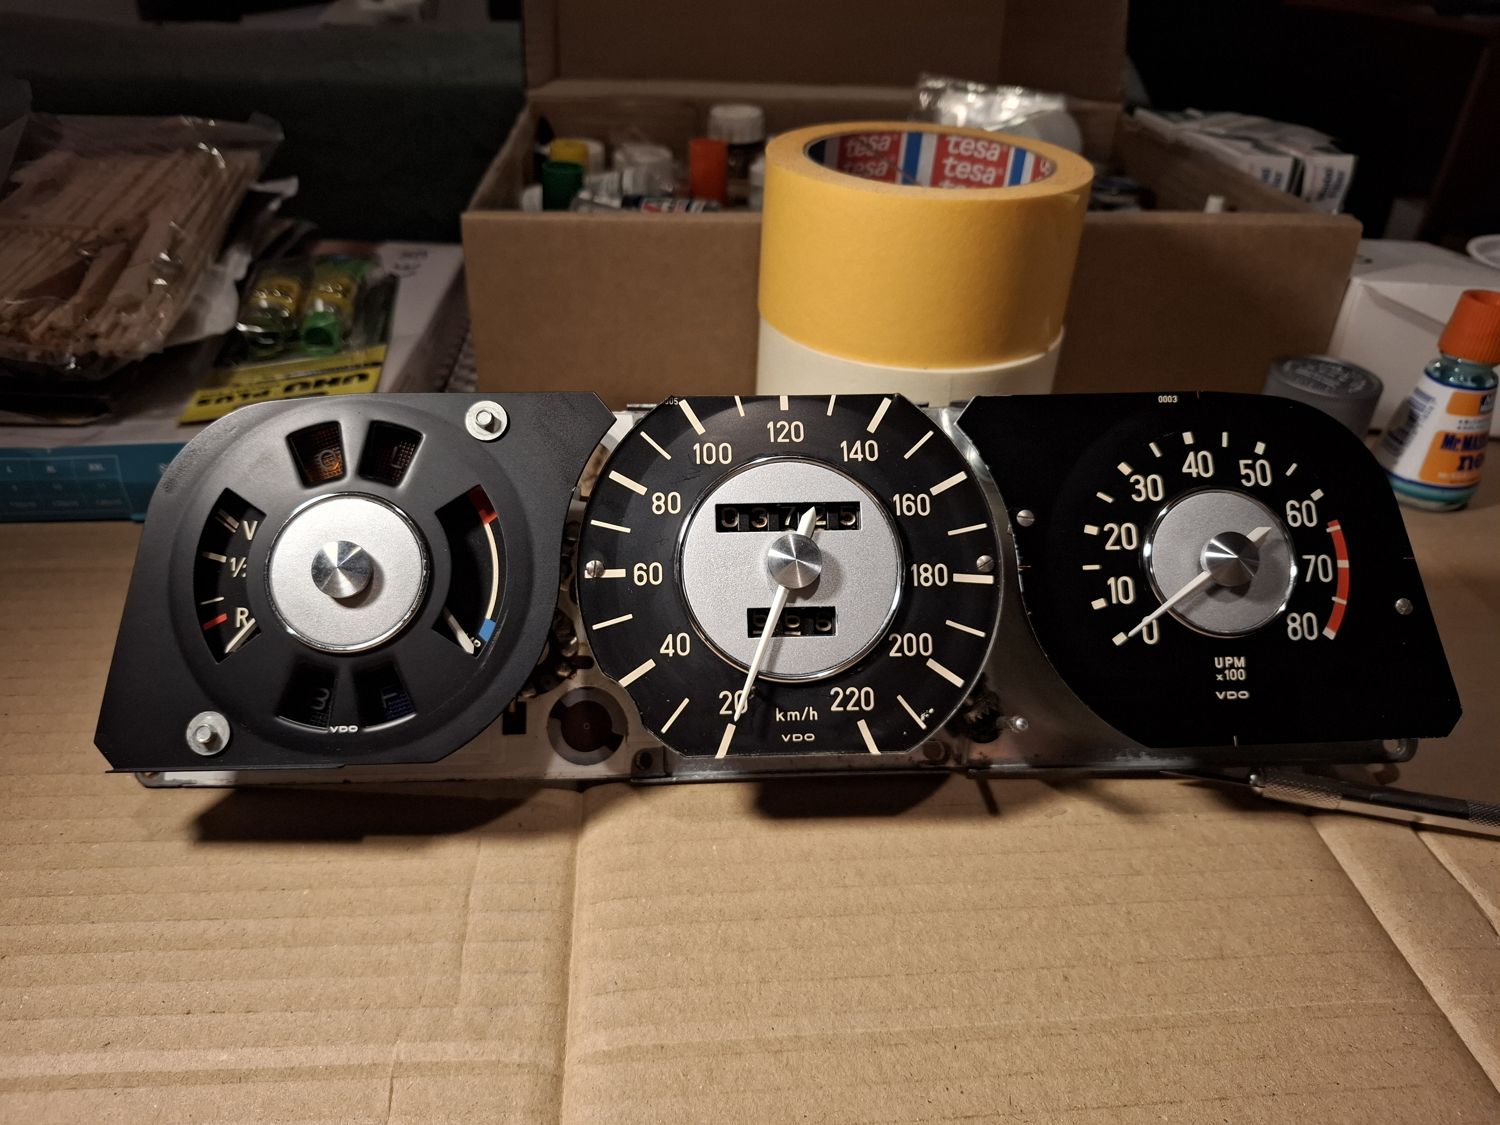
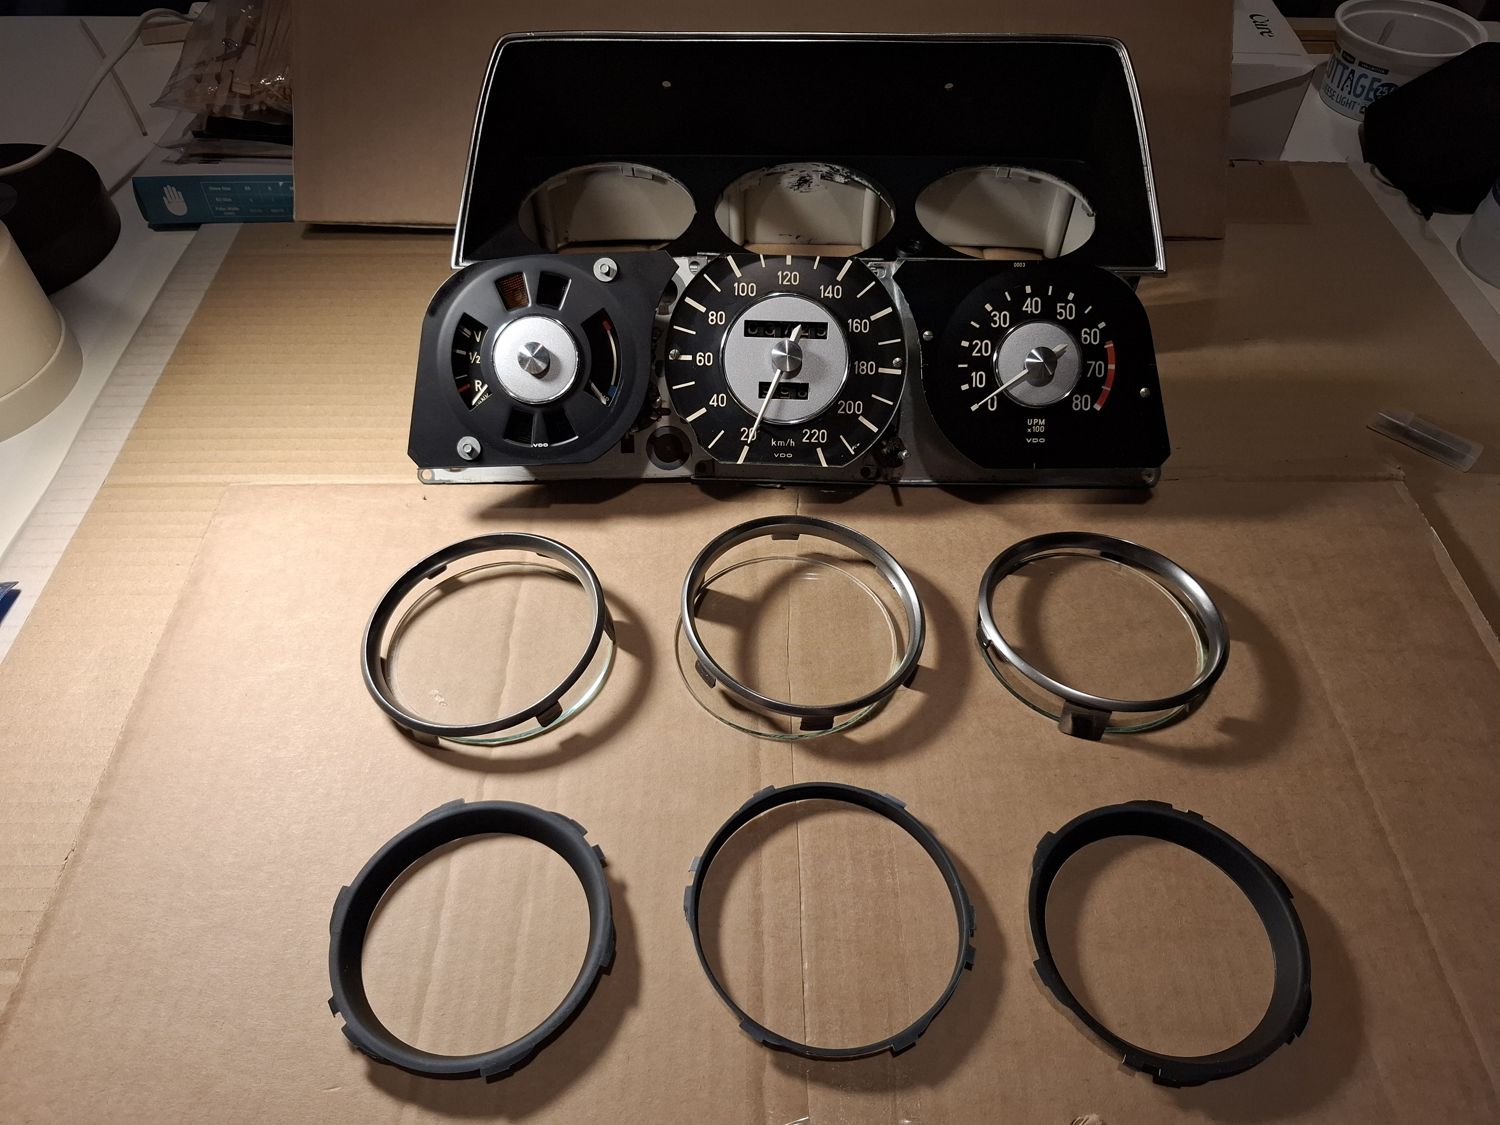
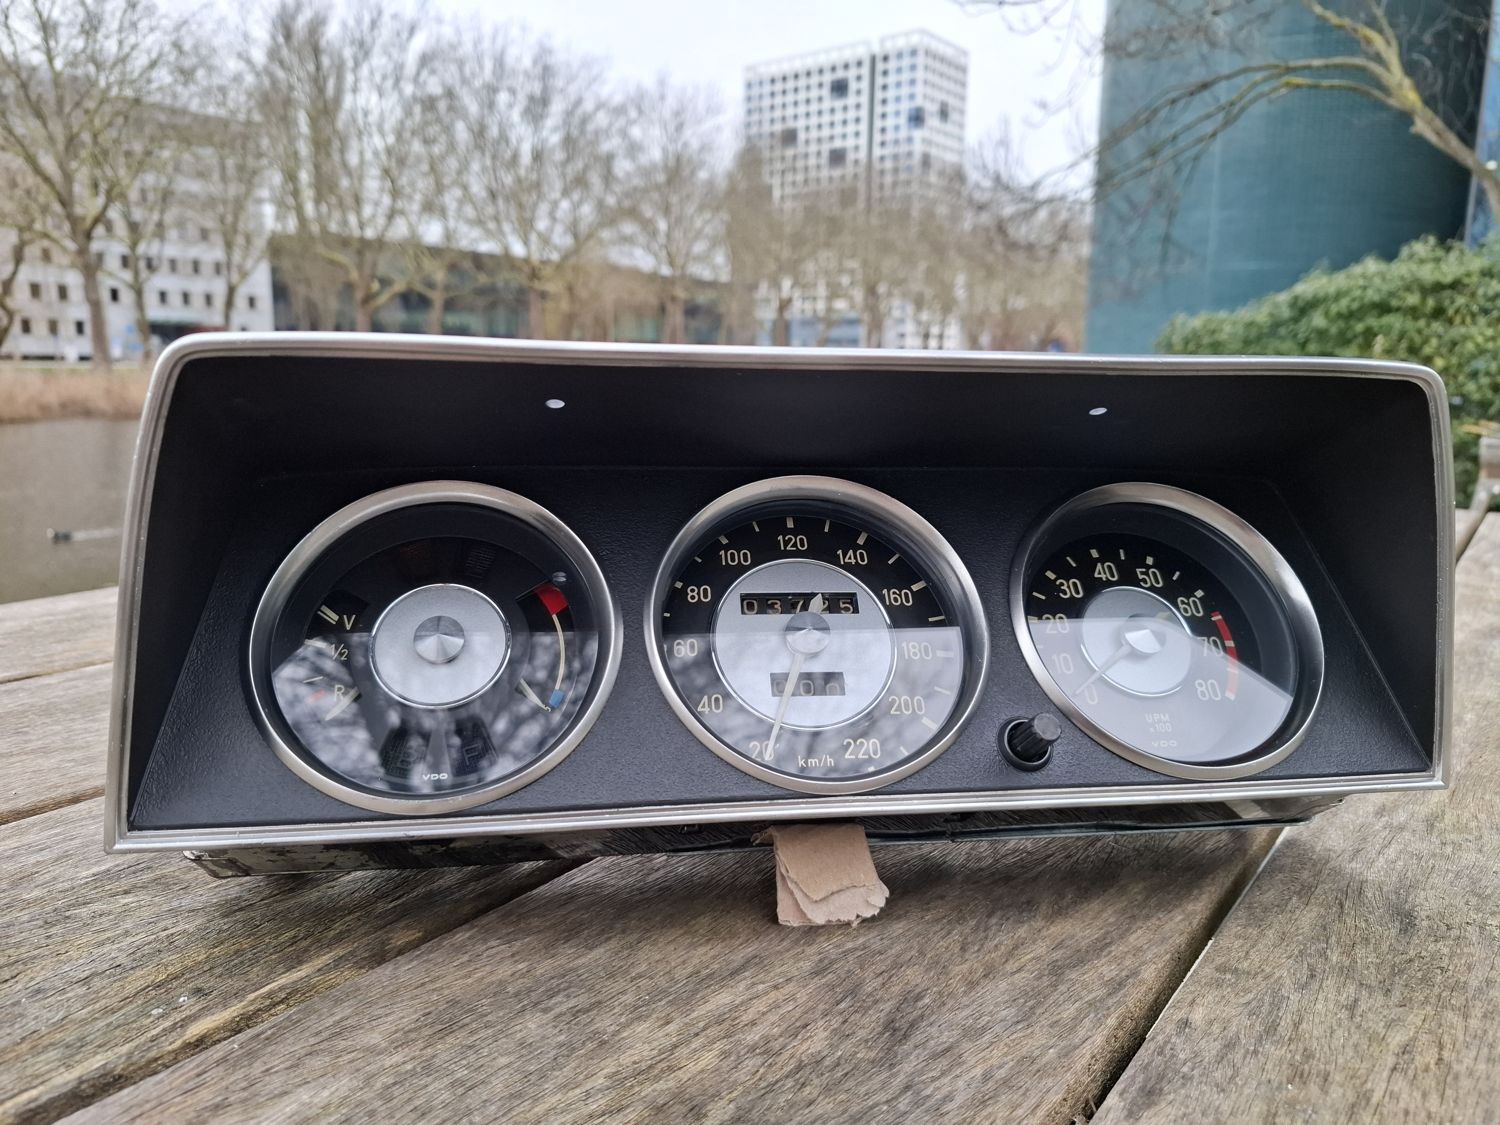
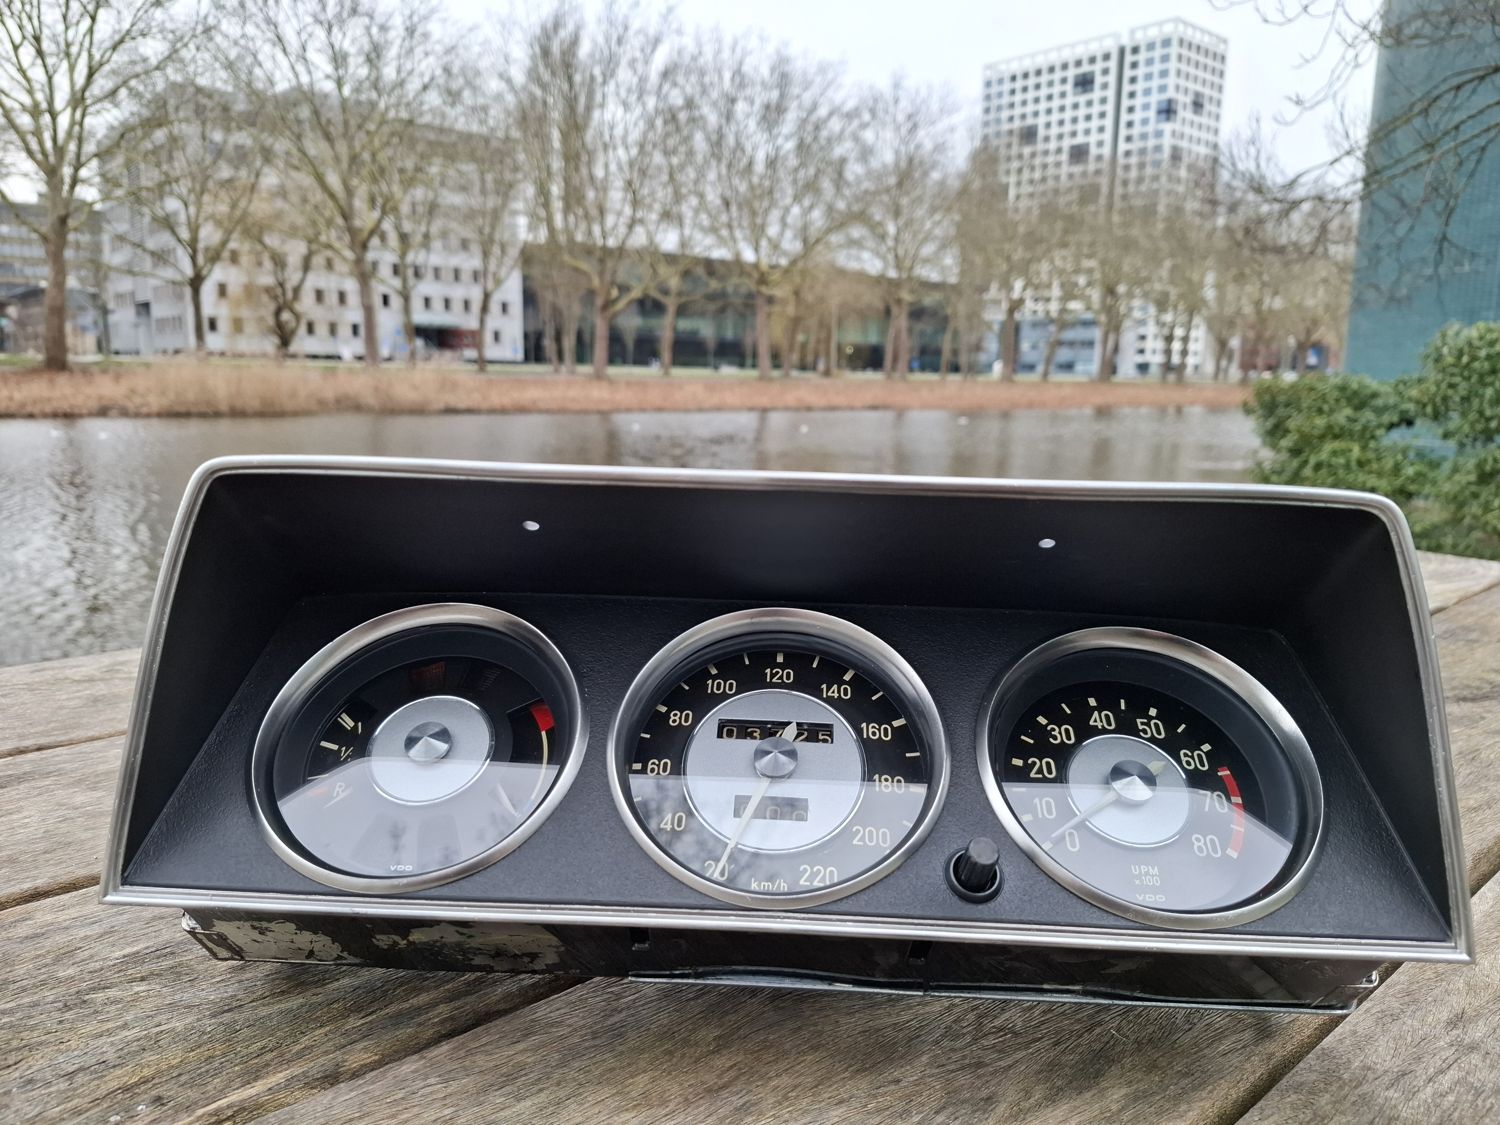
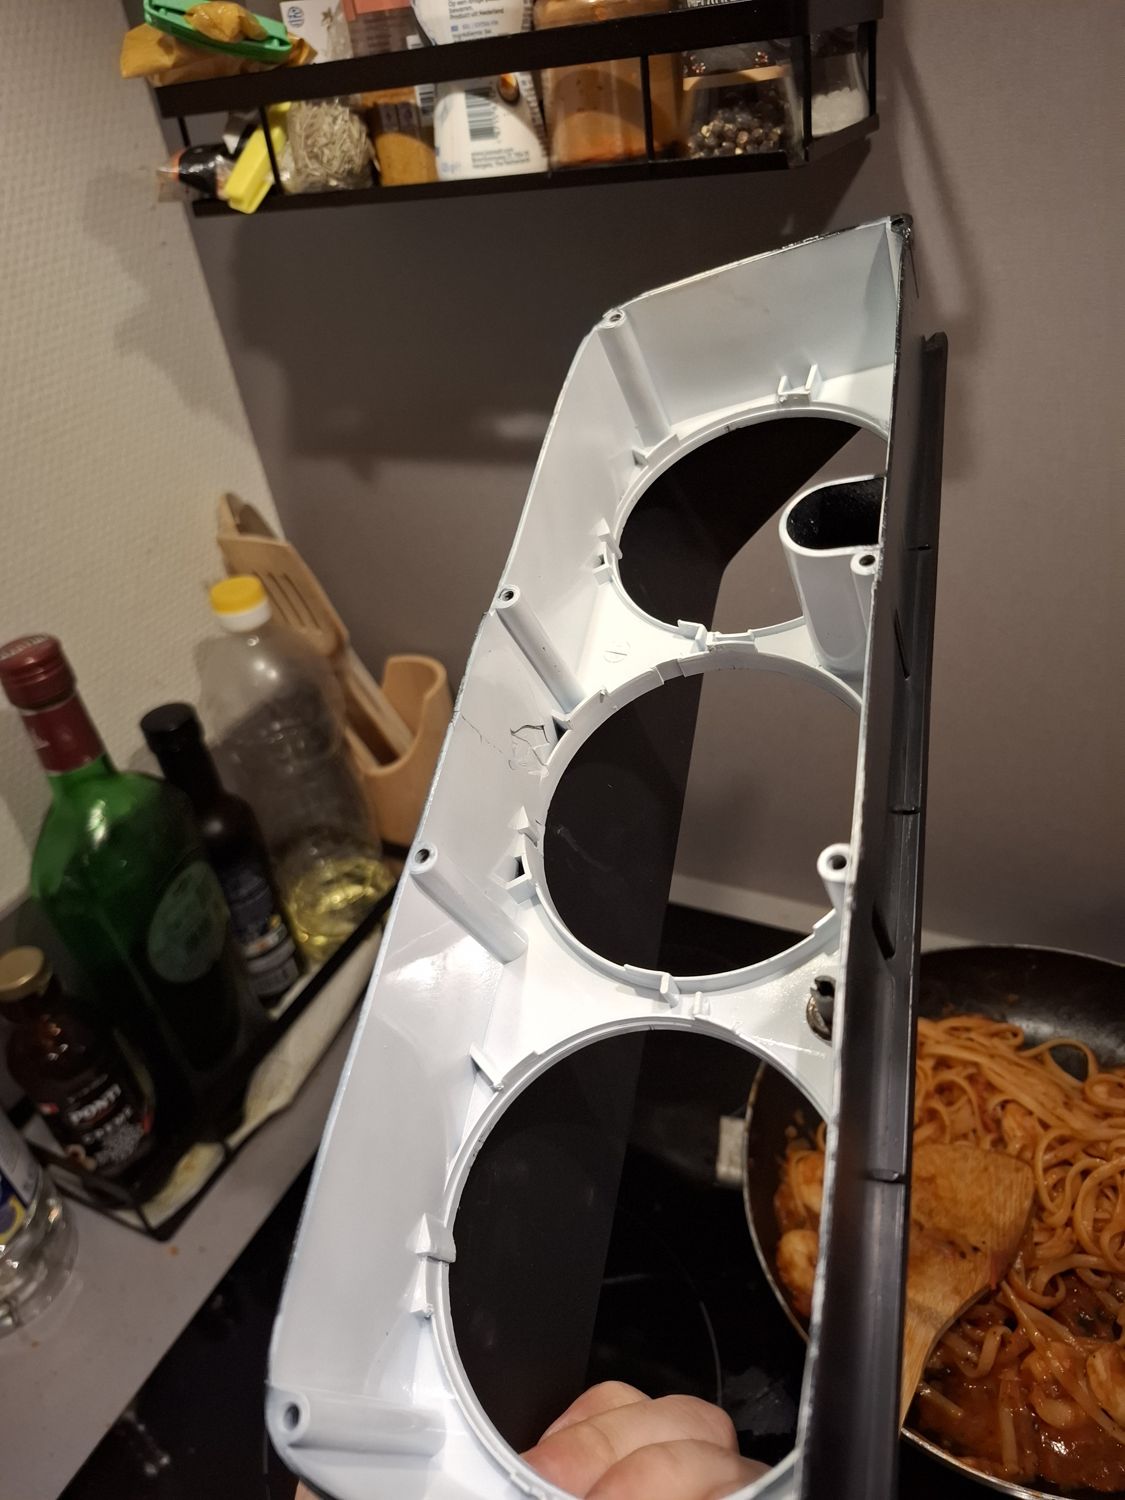
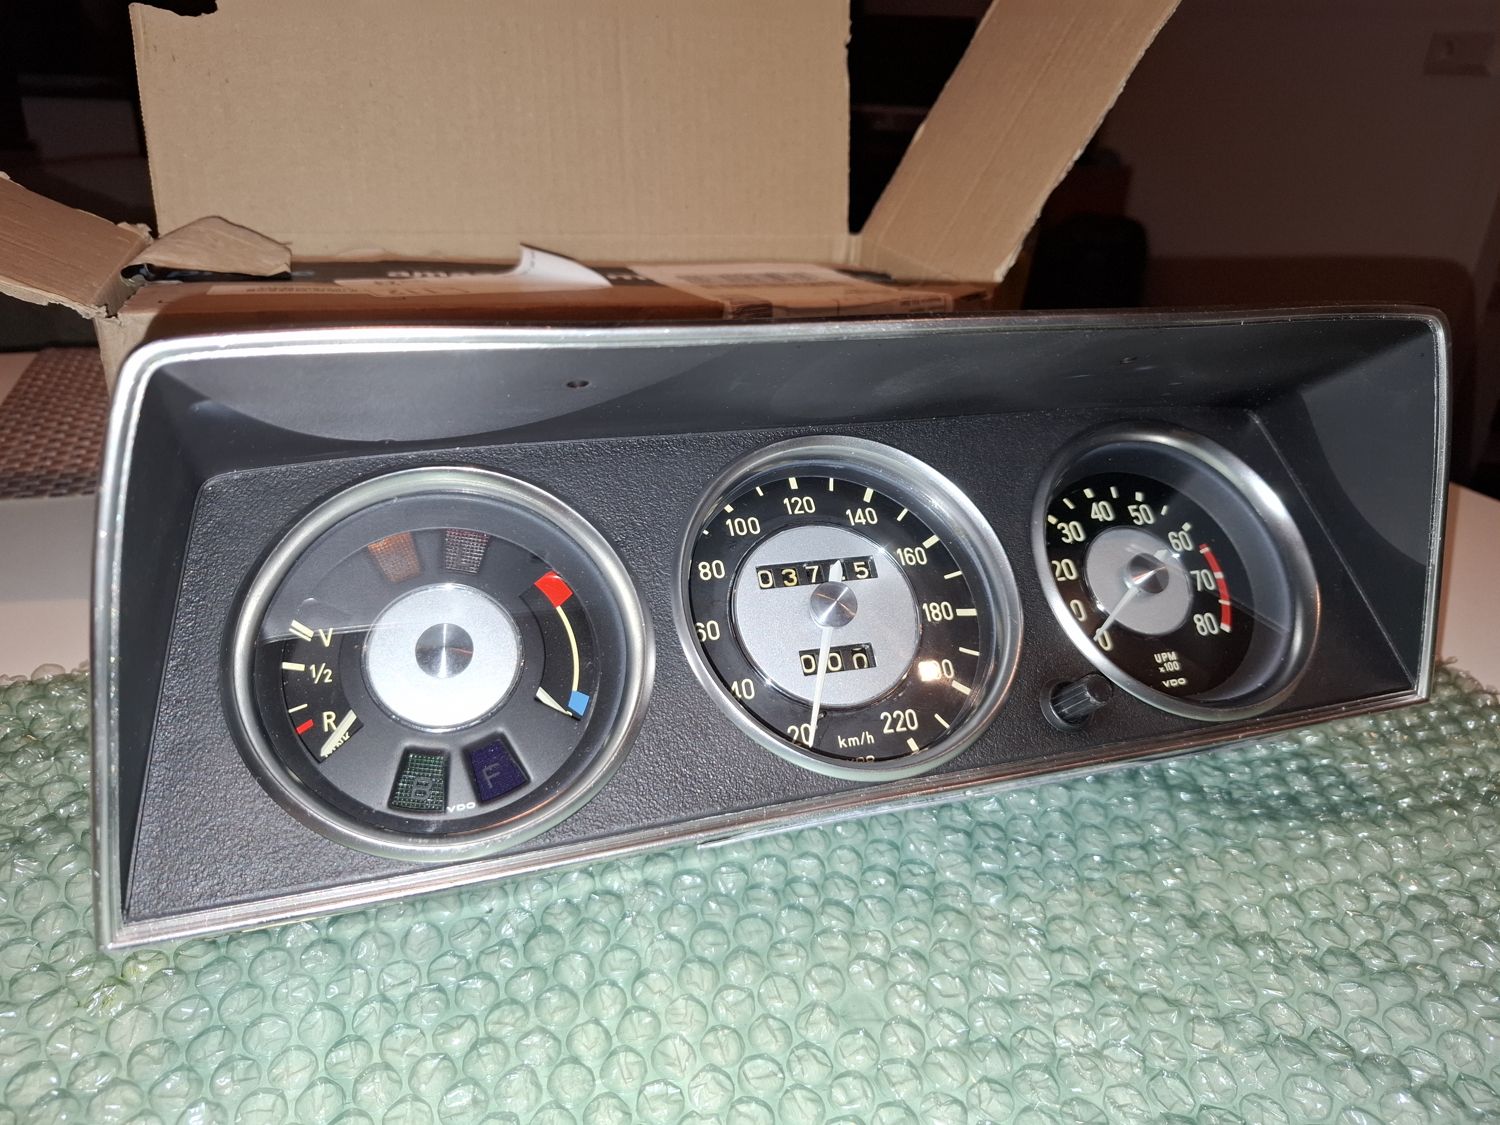
A complete, original but very tired early ti cluster brought back to the factory look: old black paint off the hubs, Alclad rings, satin housing, about 20 hours of work.
This is a 2002 ti "silver dollar" cluster, the 220 km/h version that goes with the 3.64 differential. It is a 1971 unit and the spare my father kept from back in the day, when he upgraded the Touring to ti specification and fitted a 3.64 differential. It was complete and original, but cosmetically very tired: oxidised rings, hubs painted black, dusty inside and a generally flat look. Mechanically it was fine, so the goal was not to over-restore it but to bring it back to a factory-correct look.
The cluster as it was, January 2026
Taking it apart
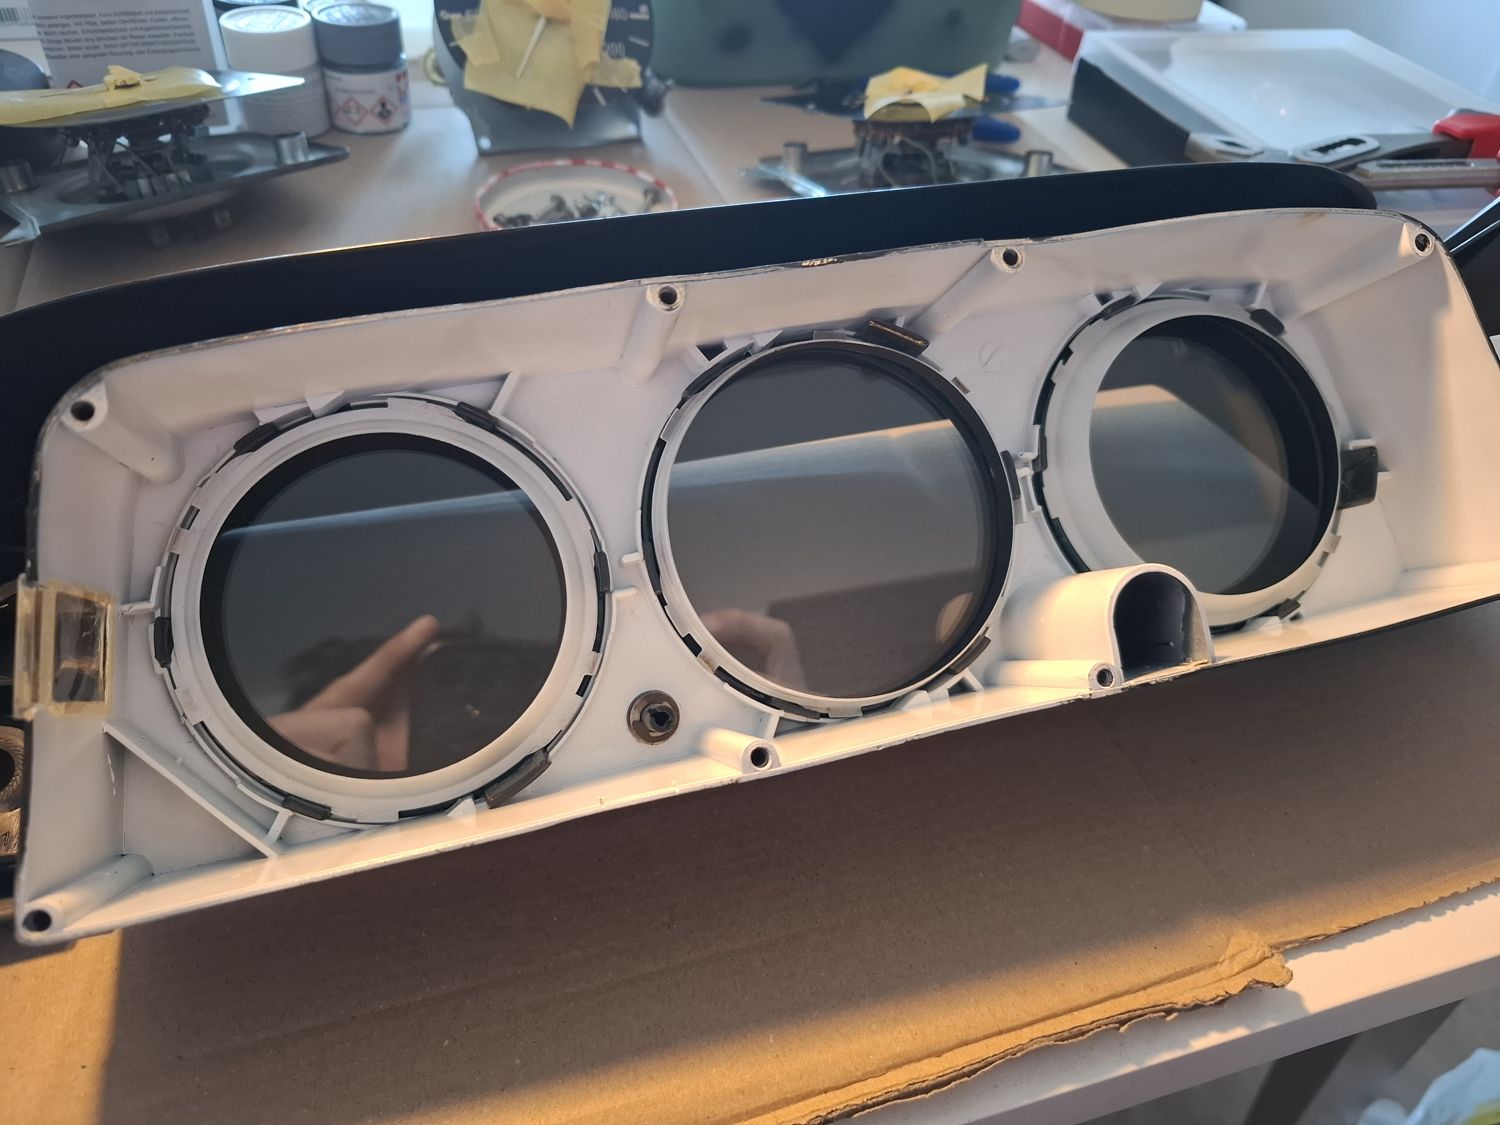
The cluster was completely disassembled. Rings, lenses, gauges and housing were separated and cleaned one by one.
Stripped down, 10 January
The hubs: old black paint off
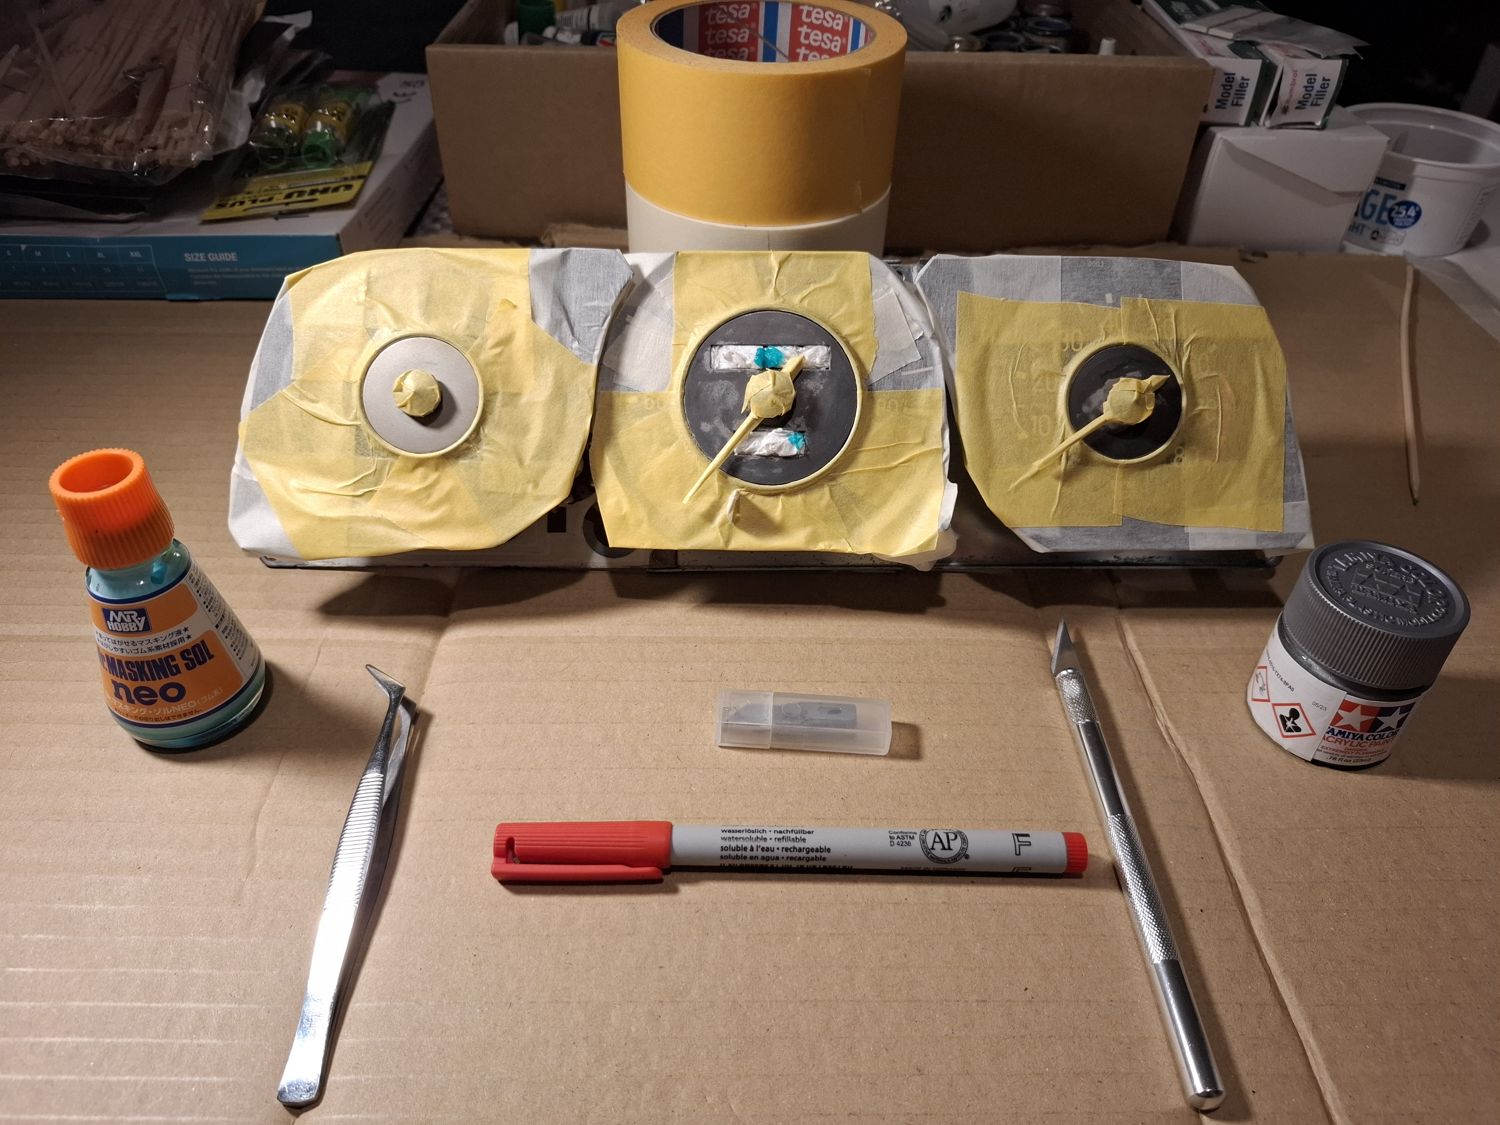
At some point the silver centres of the speedometer and tachometer had been painted black, unevenly. Painting the hubs of early clusters black was apparently common at the time, probably to make them look like the later clusters (or an Alpina). The fuel gauge and the rest were still stock, just dull with age.
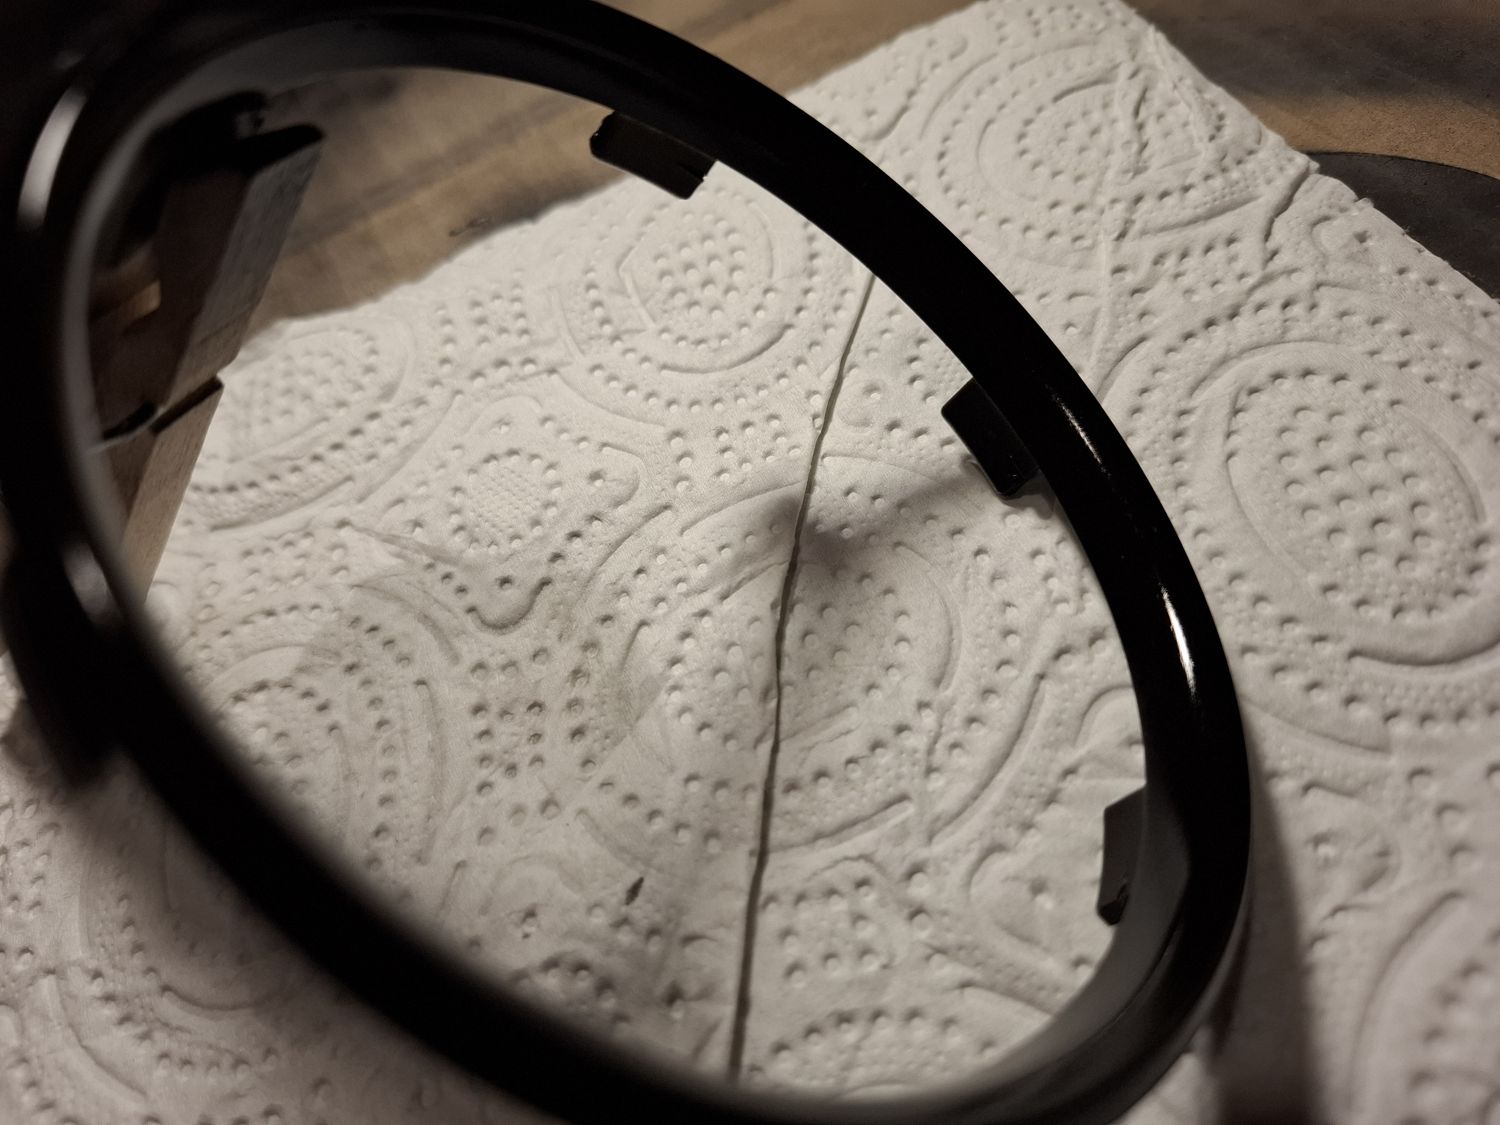
Getting that old paint off was the hardest and slowest part, and honestly a real pain: with white spirit, without touching the needles and without damaging the rest of each instrument, because the chrome rings had been painted black too. Then I masked each instrument carefully and refinished the hubs with Tamiya XF-16 (Flat Aluminum). The aim was the slightly soft, frosted factory tone: not bright chrome, and not a glittery metallic.
Masked for the hubs, 13 FebruaryHubs refinished
The rings: gloss black and Alclad
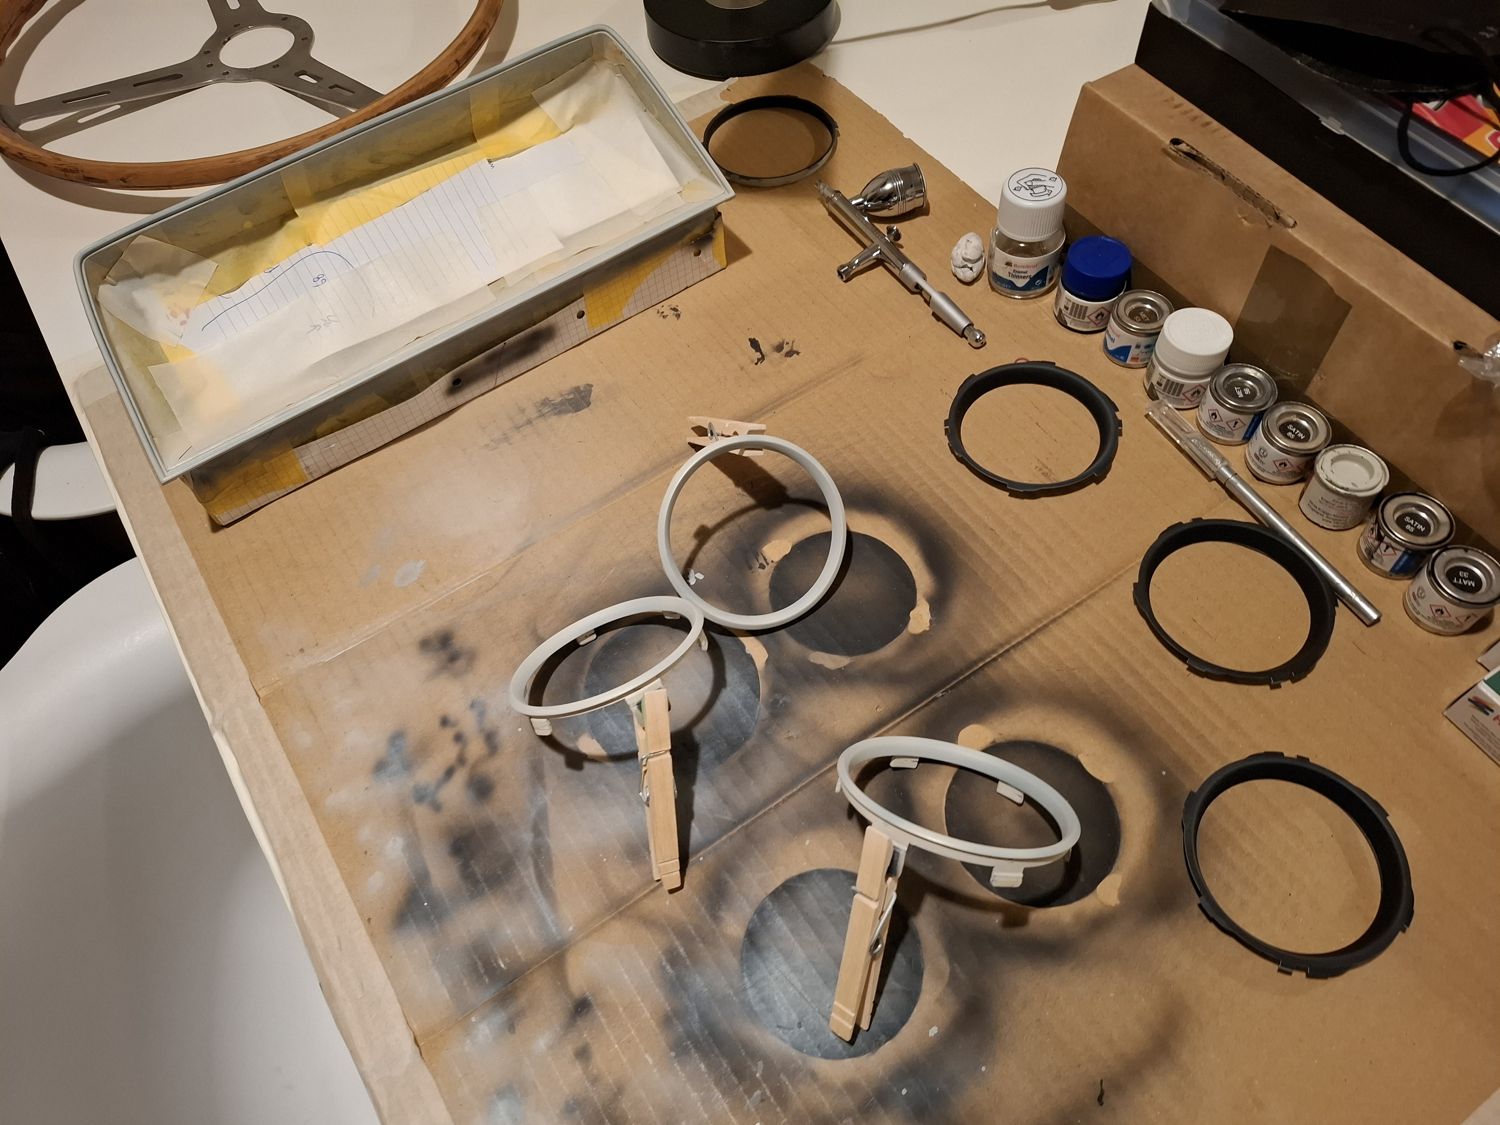
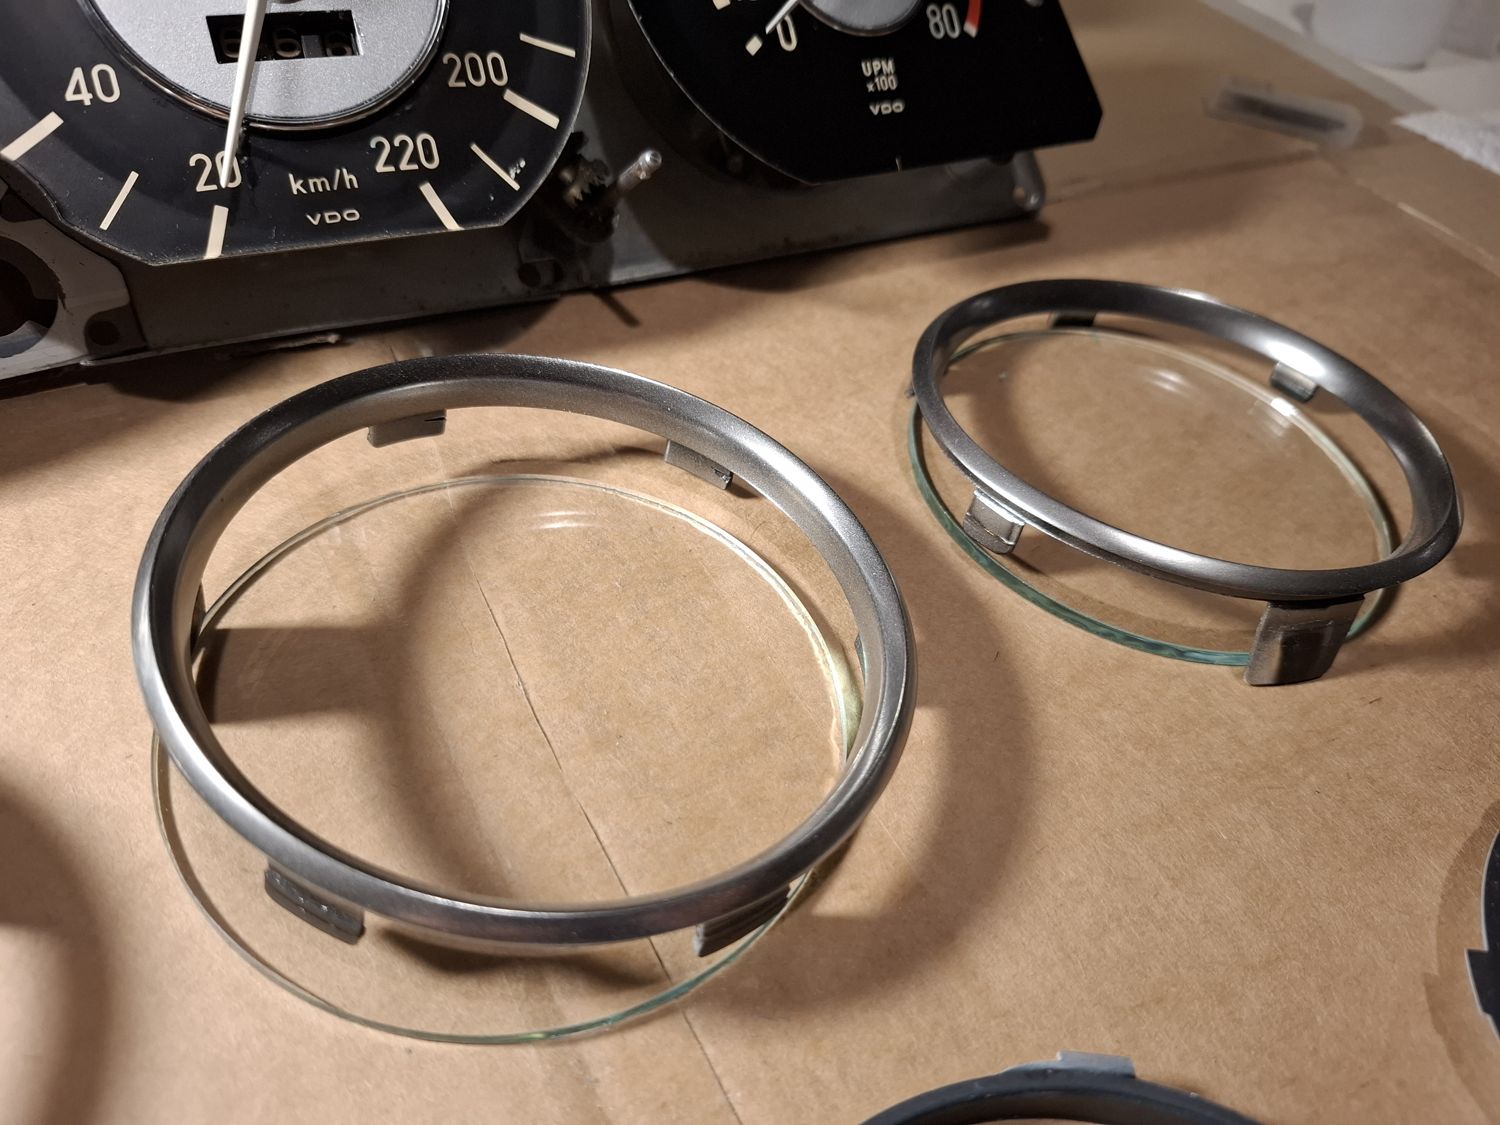
The outer rings were the biggest visual change. After some tests with ordinary metallics I used a gloss black base (Tamiya X-1) and then Alclad Polished Aluminum. The gloss base is essential for depth and for the Alclad to behave. At first I was not happy with how the gloss black laid down (some orange peel), but I carried on carefully and the end result turned out very nice: bright but restrained, much closer to the original than typical hobby metallics. Alclad gives a beautiful finish, but it needs a very smooth surface and is fragile while it cures (don't ask me how I know).
Rings in the paint shop, 10 FebruaryGloss black baseAlclad Polished Aluminum
The housing
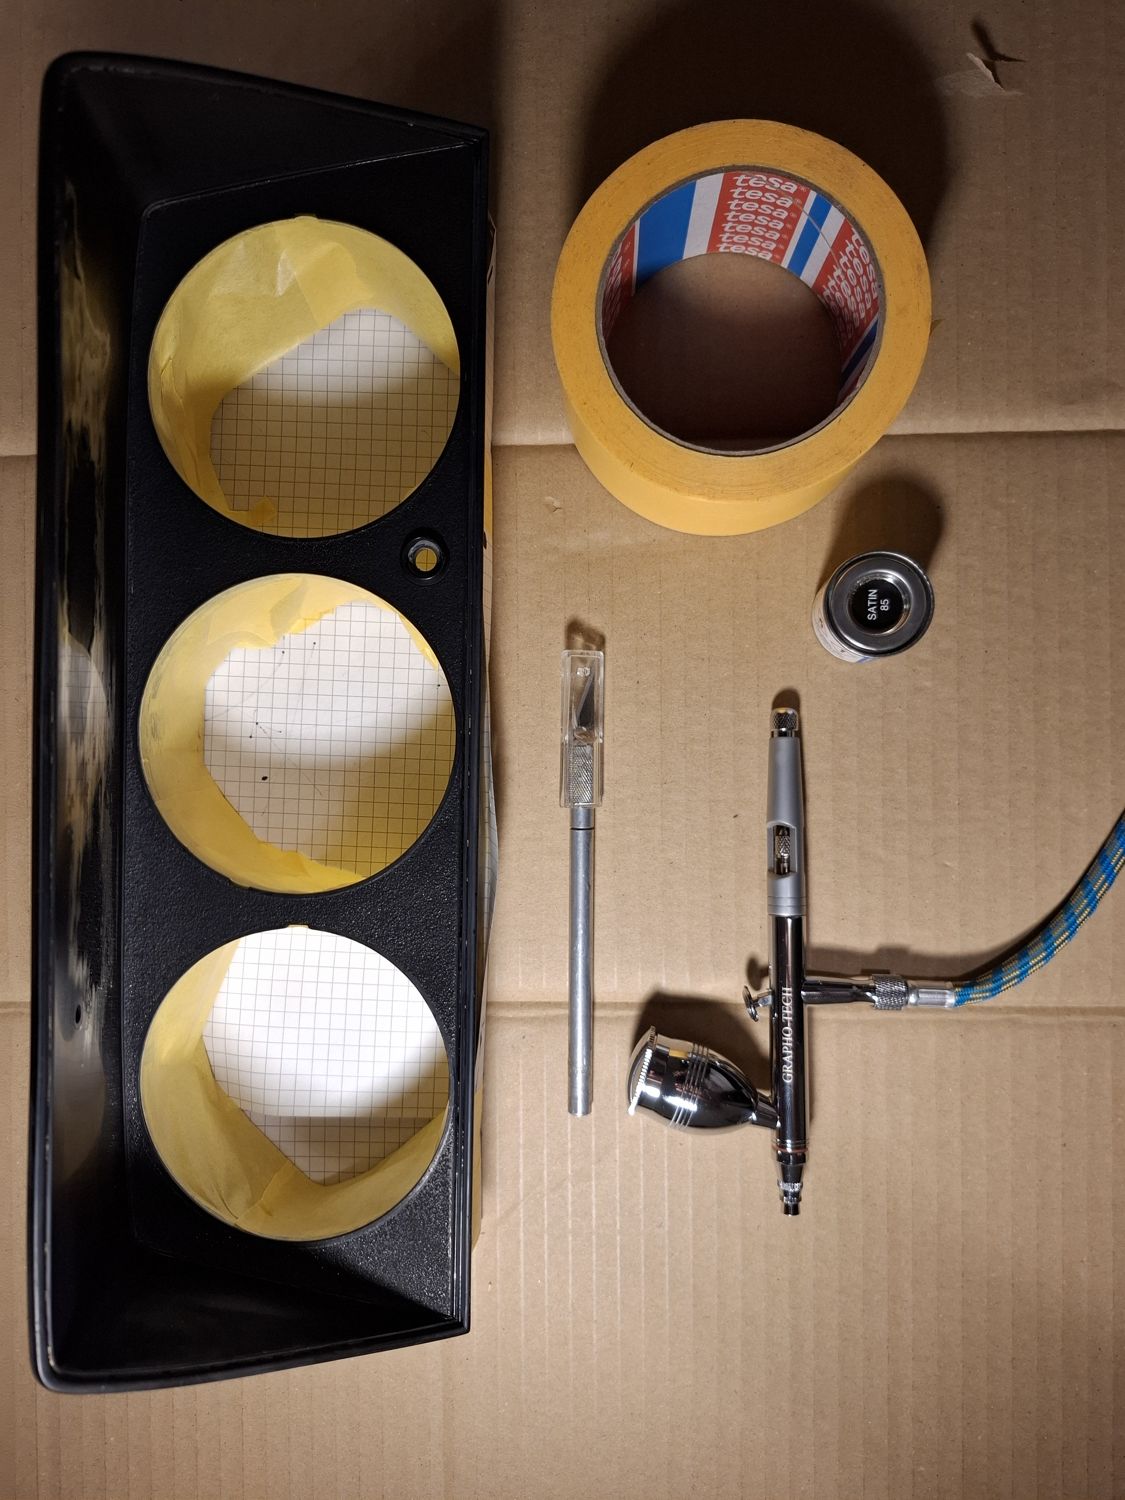
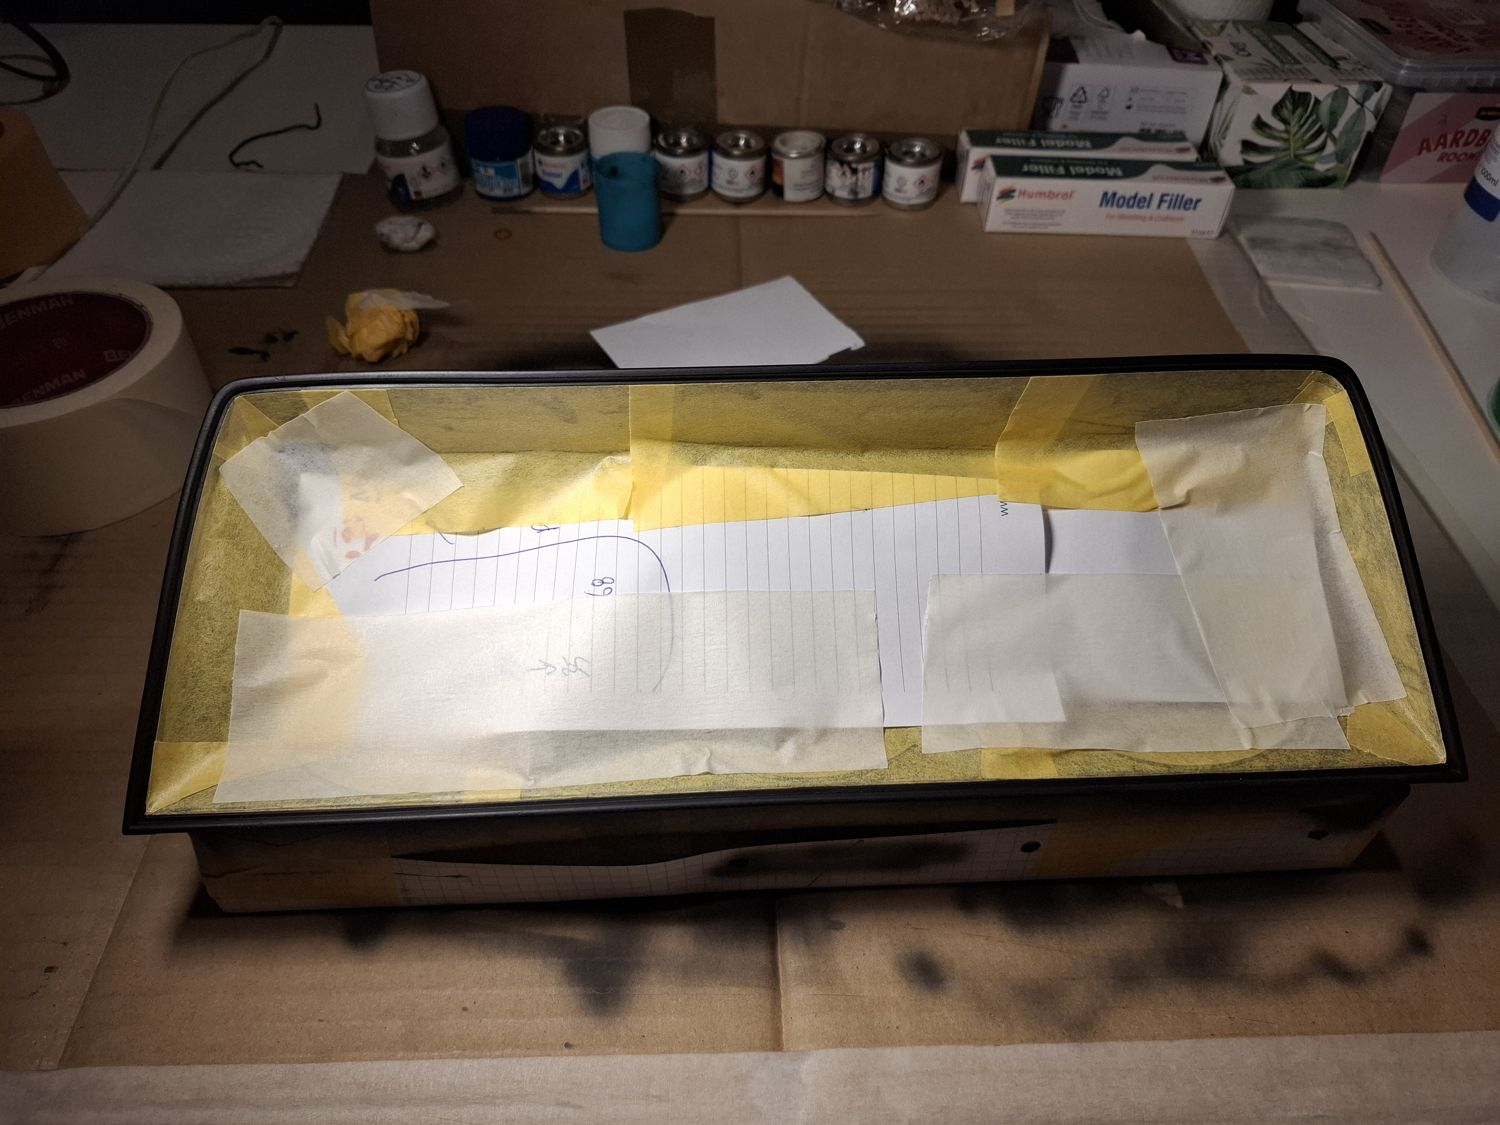
The same technique went on the outer edge of the housing. The housing itself was cleaned and refinished in satin black (Humbrol 85). I deliberately avoided a glossy finish and kept the original texture.
Housing masked, 9 FebruaryReady for the satin black
Lenses, glass and needles
The lenses were cleaned and polished to remove the haze, not replaced, except in the tachometer, where the old plexiglass of the clock was replaced with real glass from a spare. The needles were cleaned and refreshed with AE-9 light grey, keeping their original tone. The retaining rings for the glass were refinished too: satin black on the front, light grey on the back.
All the rings and gauges, ready to go back together
Back together
Everything was then reassembled carefully, step by step. In total it took about 20 hours, most of it removing the old paint, masking, and cleaning the airbrush after every colour.
Finished, 15 FebruaryIn daylight
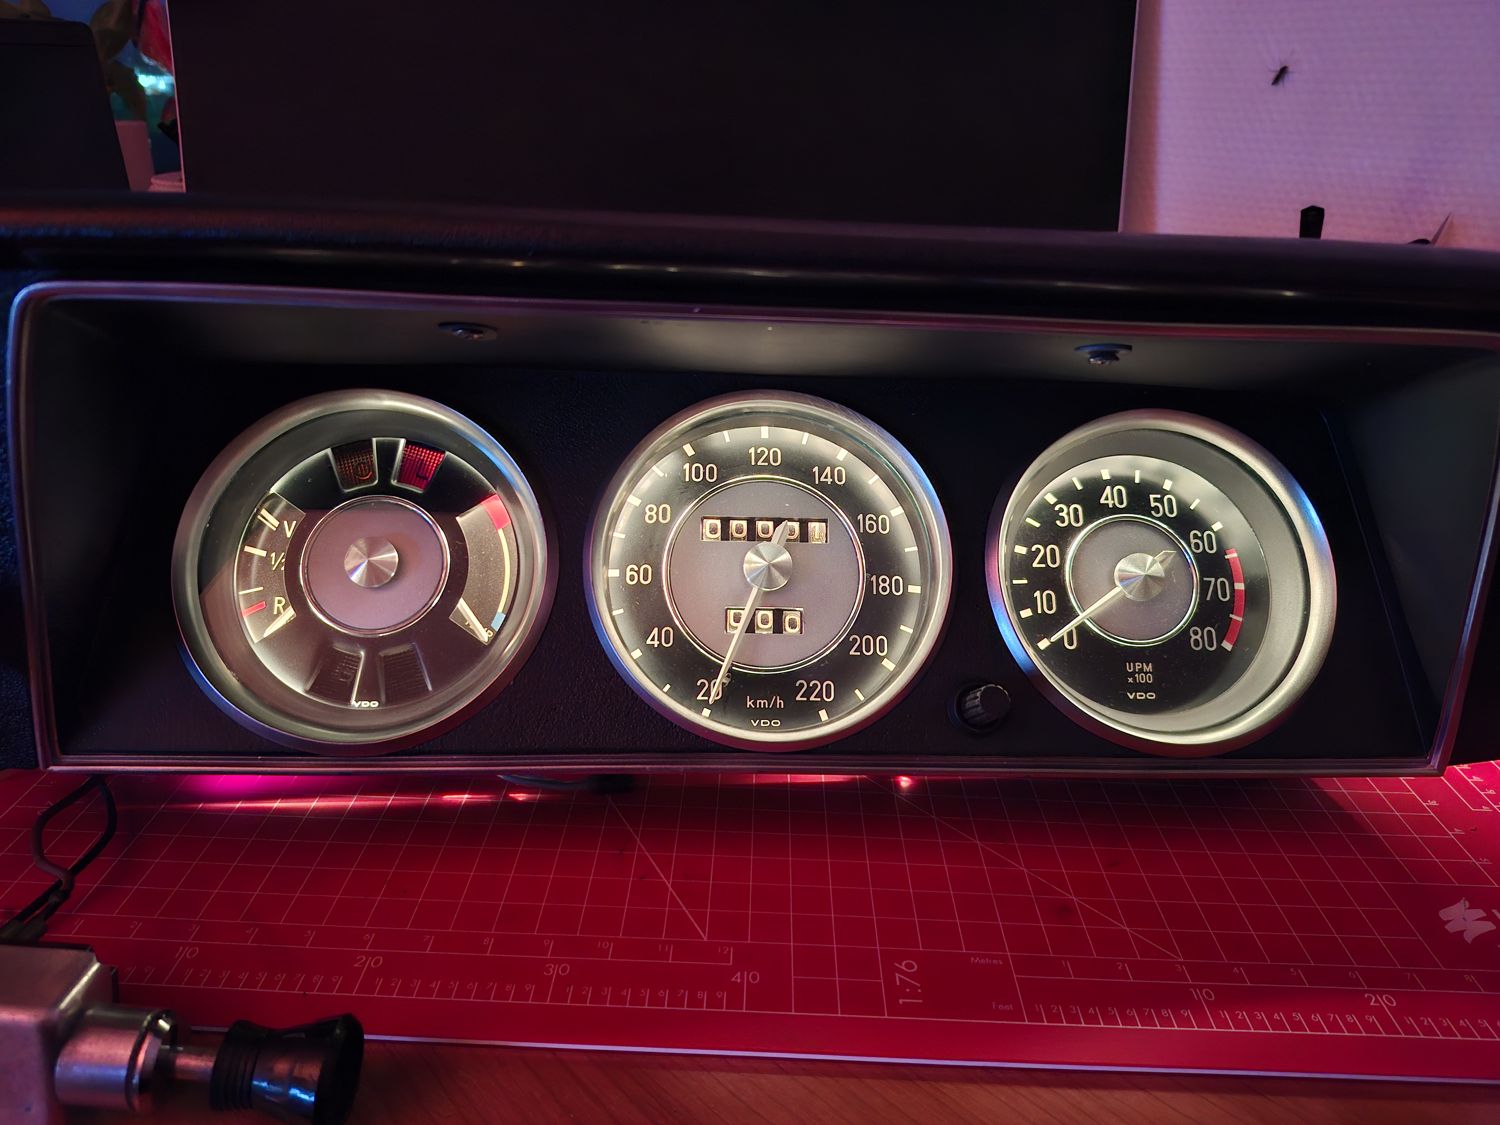
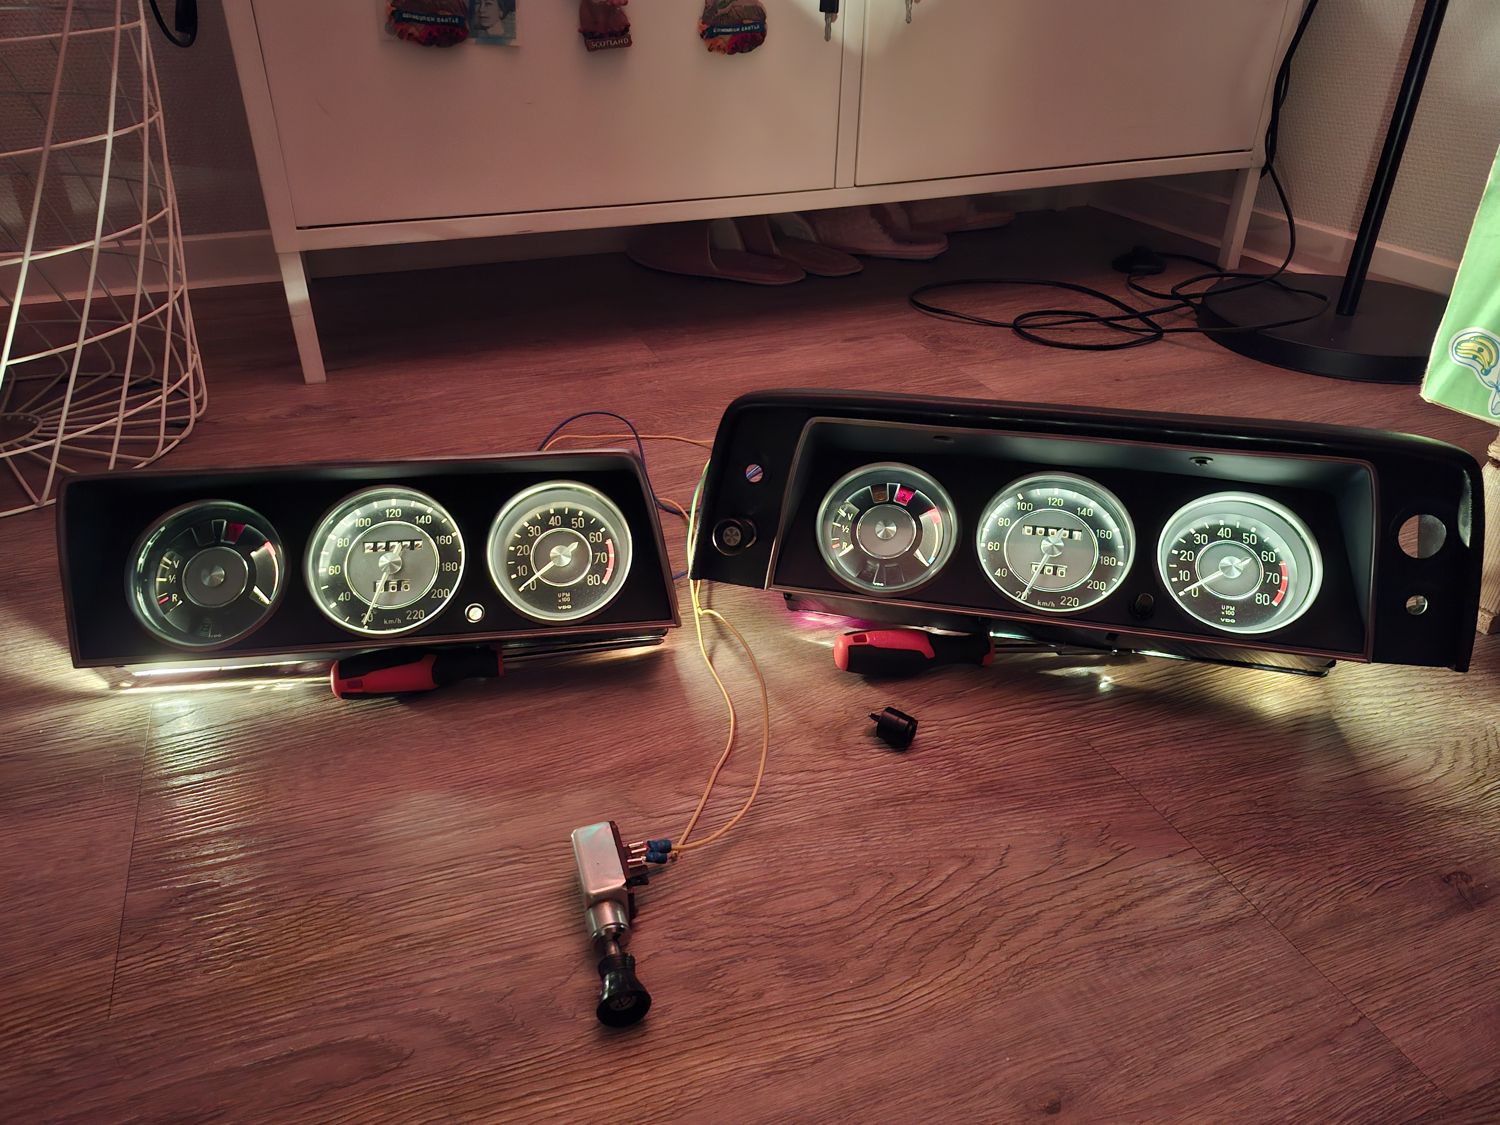
Lit up
Renewing the white paint inside the housing, which reflects the light behind the gauges, made a real difference. No LEDs: the original incandescent bulbs.
Lit up with the original bulbs, March 2026Inner housing in fresh white
I shared the restoration on the bmw2002faq forum, where it got a very kind reception. I am now considering fitting it in the Touring: I think these early clusters are the best-looking ones.
A second cluster
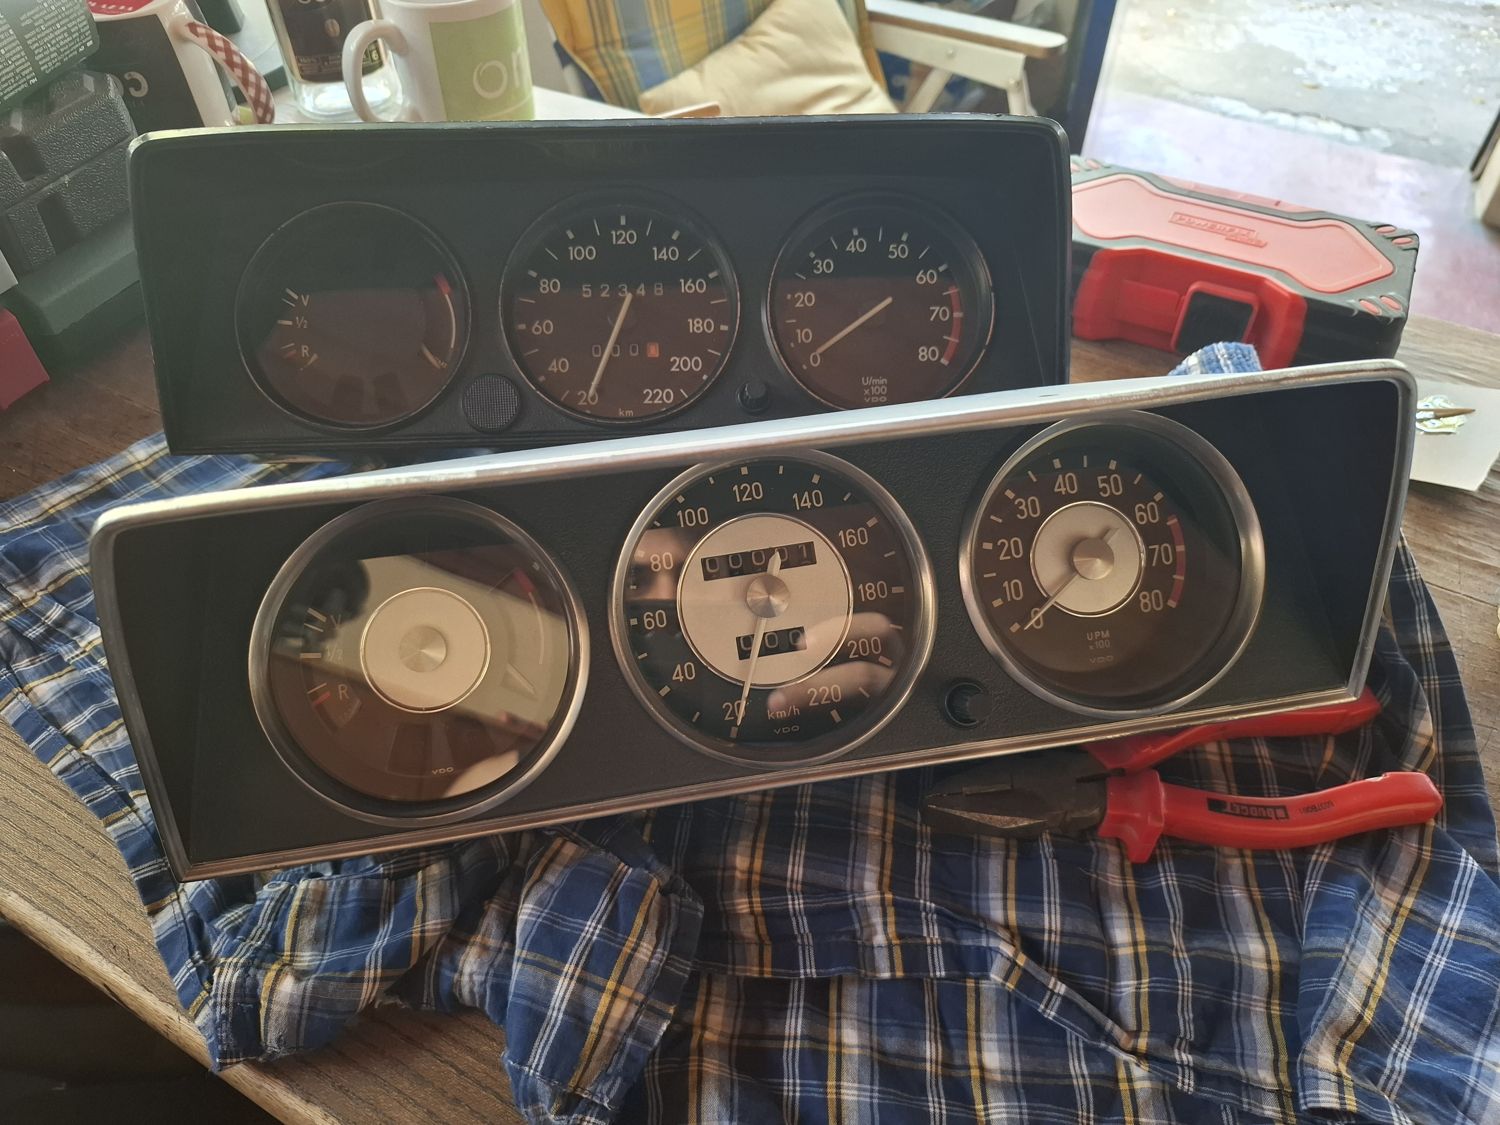
In February I bought a second 220 km/h cluster on eBay and later restored it the same way. In March the two were lit up side by side. This second one is the cluster that went into the Touring on 2 August 2026, with its odometer set to zero when I restored it.
That also solved an old puzzle. The cluster my father had fitted was an original early 2002 tii cluster, made for the 3.45 differential of the early tii, which is why the speedometer read a little high with the 3.64. That tii cluster now has the speedometer from another tii cluster I bought, so its gearing is correct, but its kilometres no longer match the car. (A third early ti cluster came in a lot with other clusters and Touring C-pillar grilles; that one is still untouched.)
The second cluster on arrival, 19 FebruaryBoth clusters lit, 18 MarchThe second housing stripped for the same treatment, 21 March
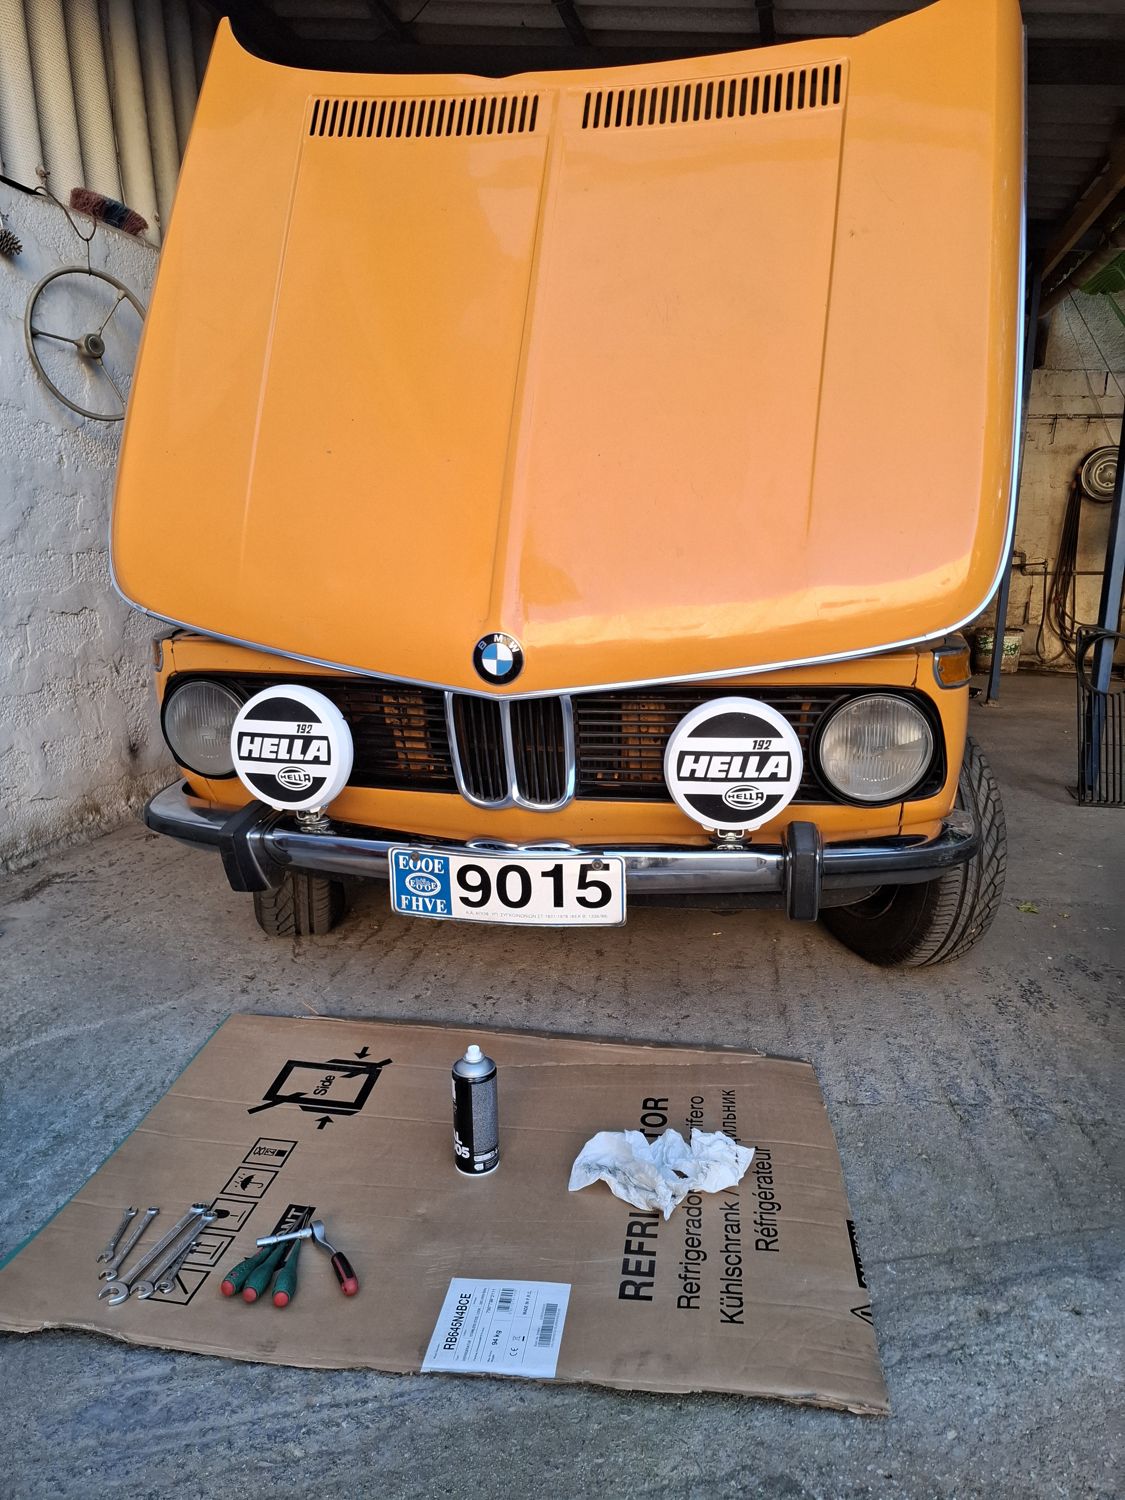
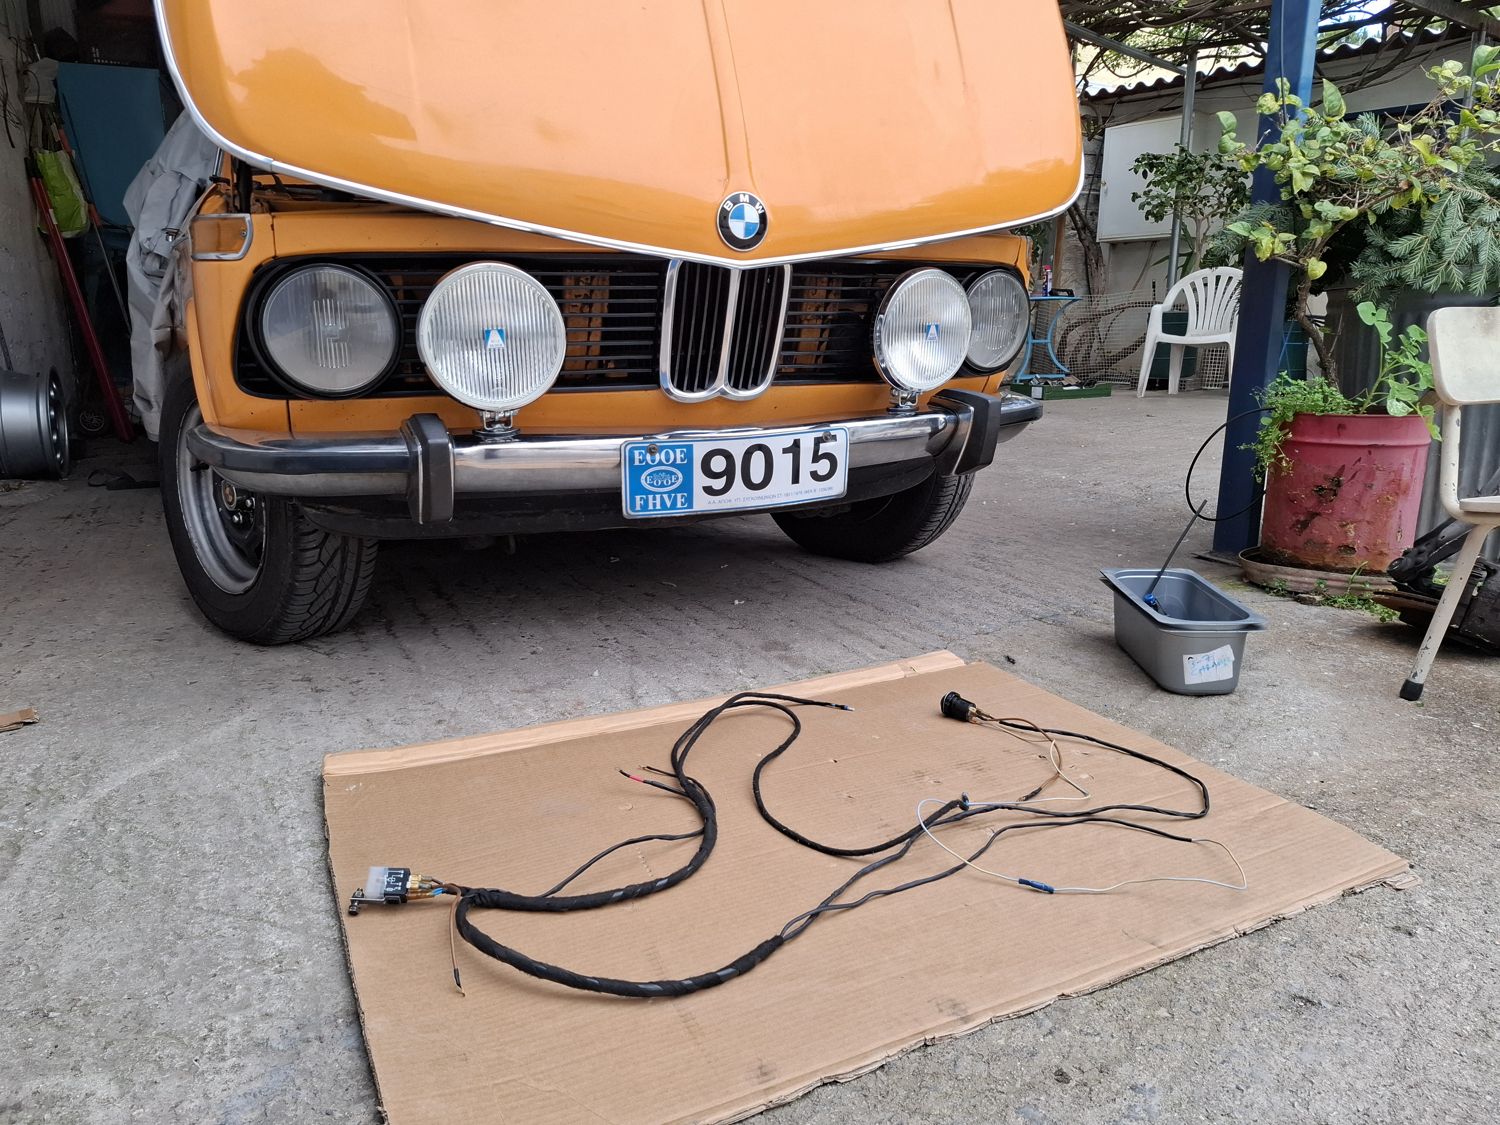
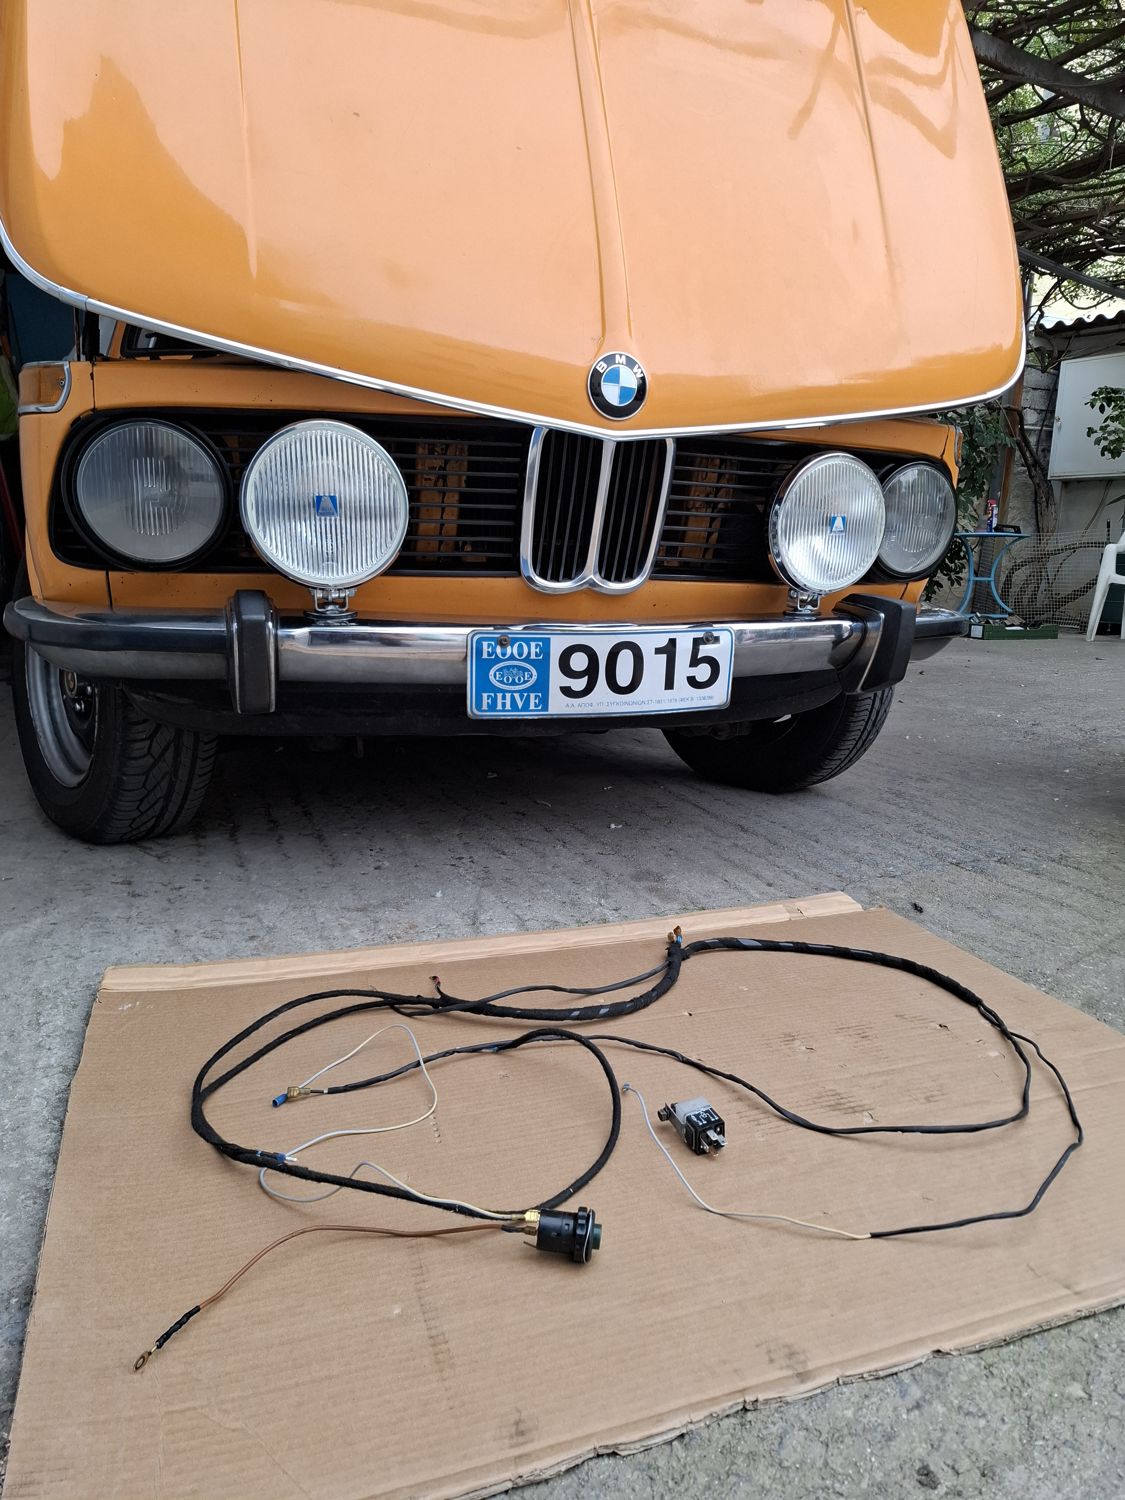
A pair of period Hella 192 fog lamps, a harness made from scratch with its own relay and fuse, and an original green fog-light switch in the dash to run them.
When22–30 Dec 2025
Photos15
Ledger SKUP-0062
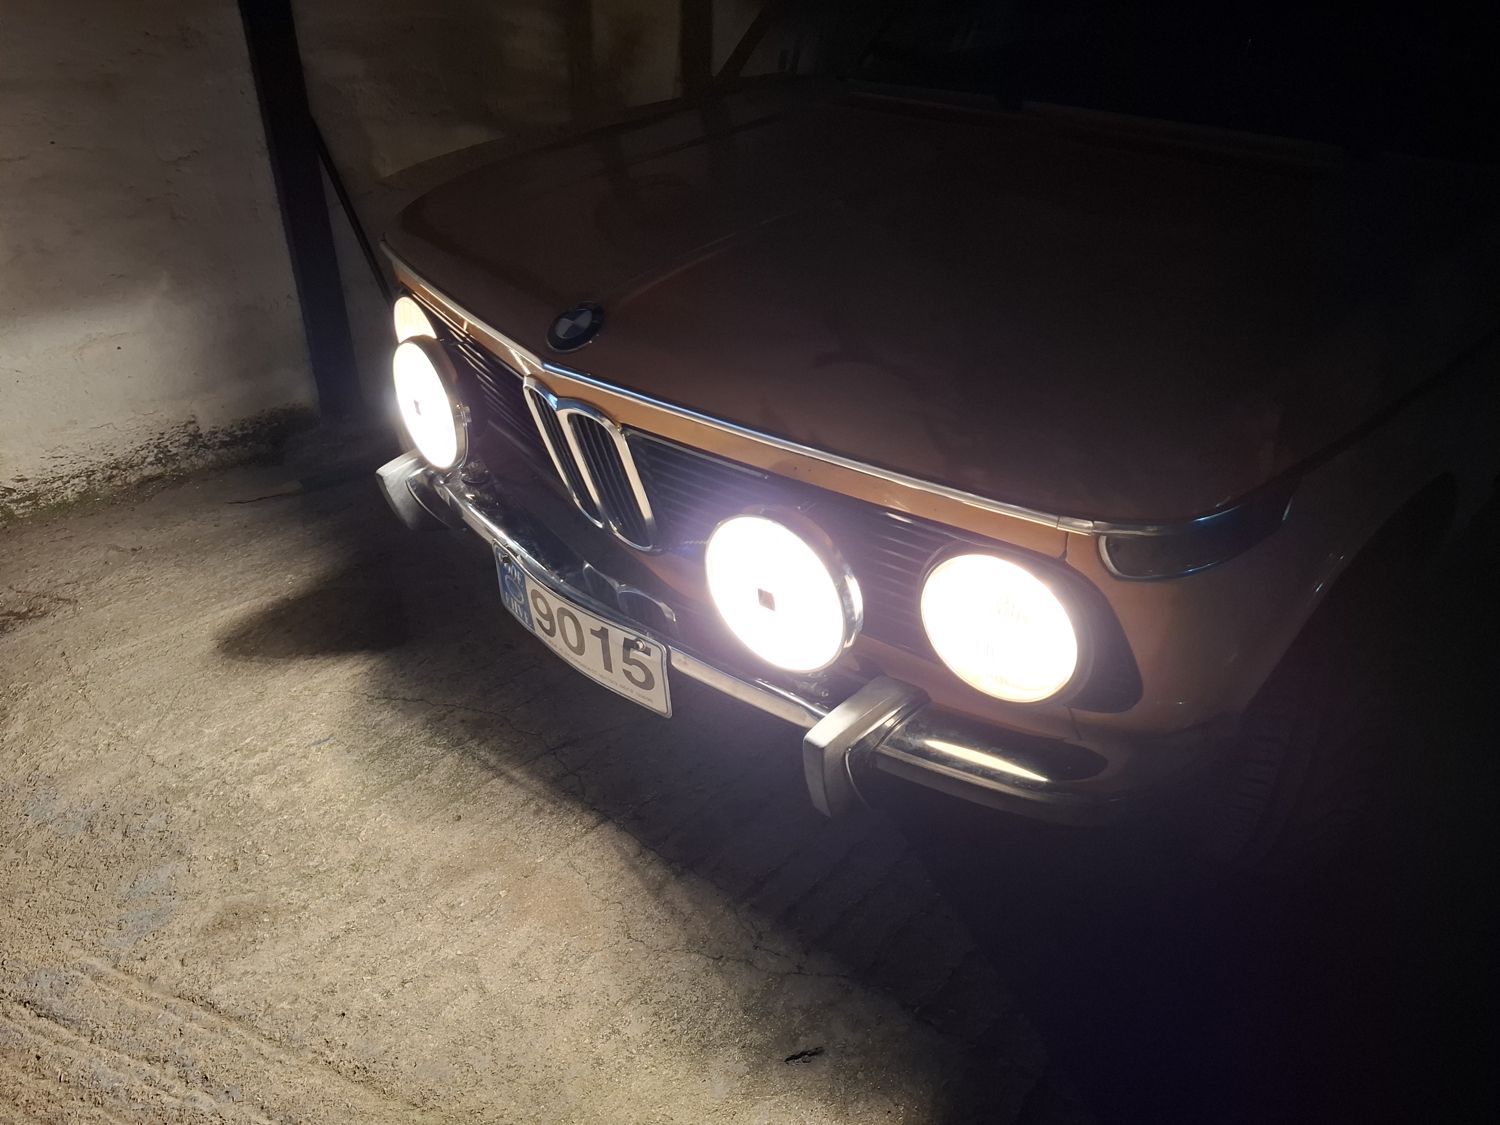
The lamps
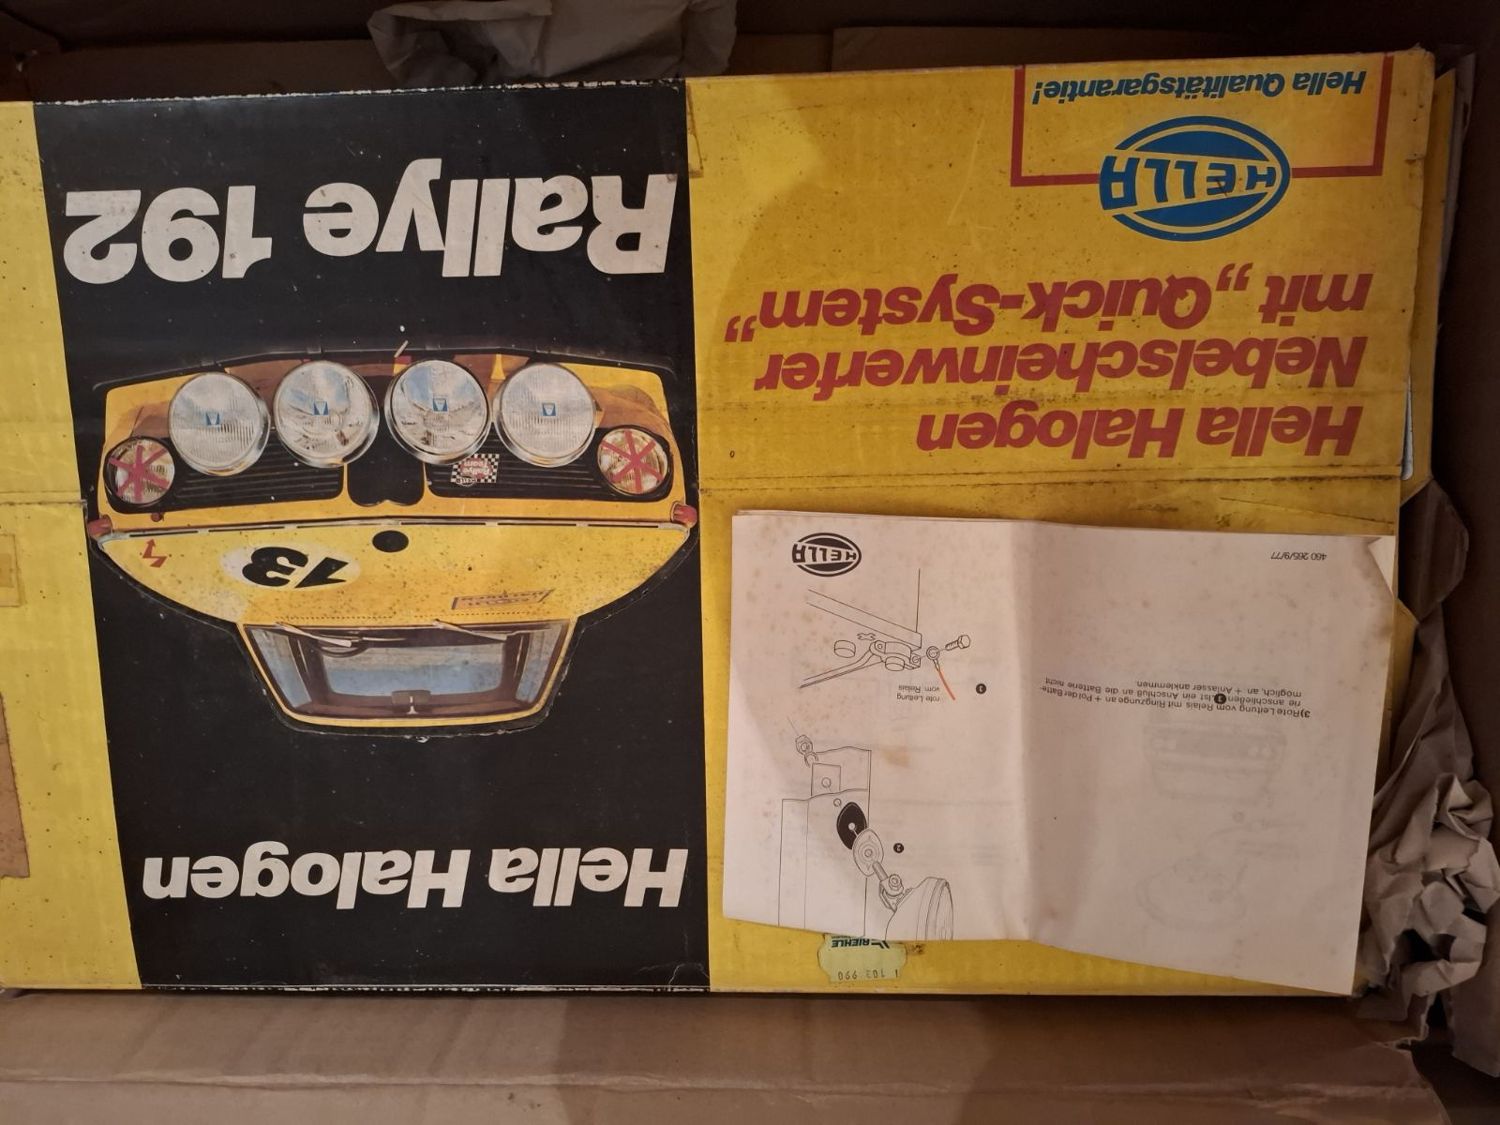
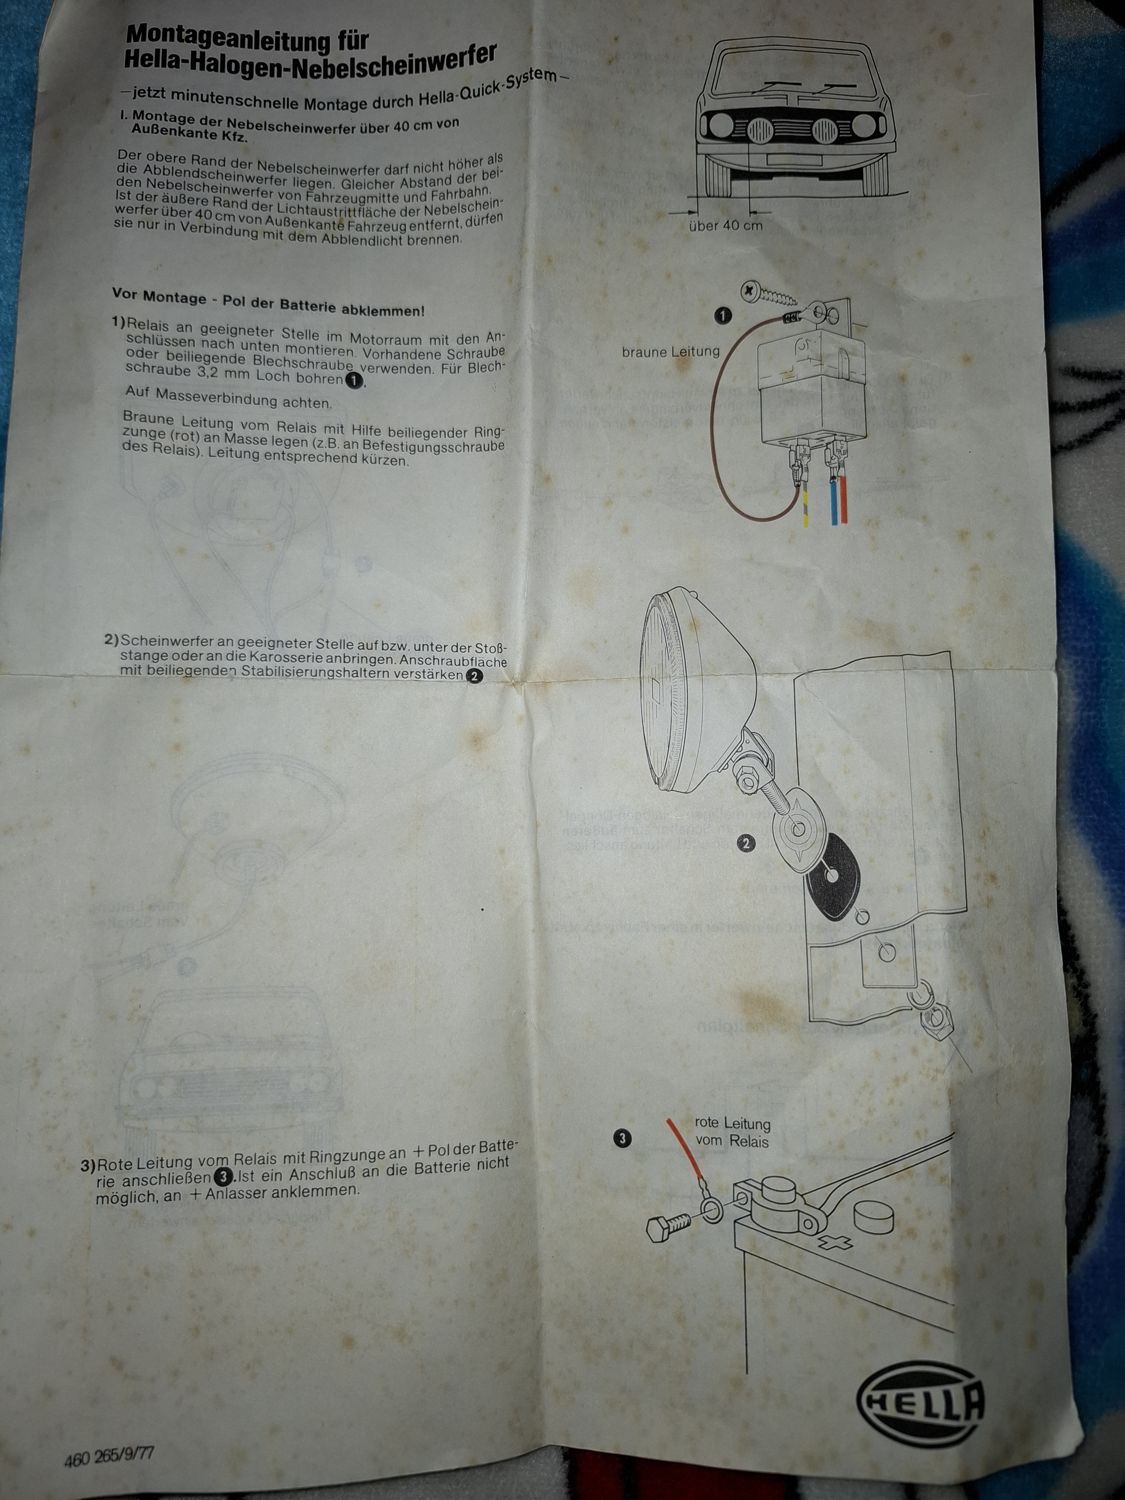
In February 2025 a pair of Hella 192 fog lamps arrived, still in the original "Rallye 192" box with the Hella Quick-System mounting and the instructions. They are the classic period choice for an 02.
The Hella 192 kit as it arrived, February 2025The Hella instructions
A harness from scratch
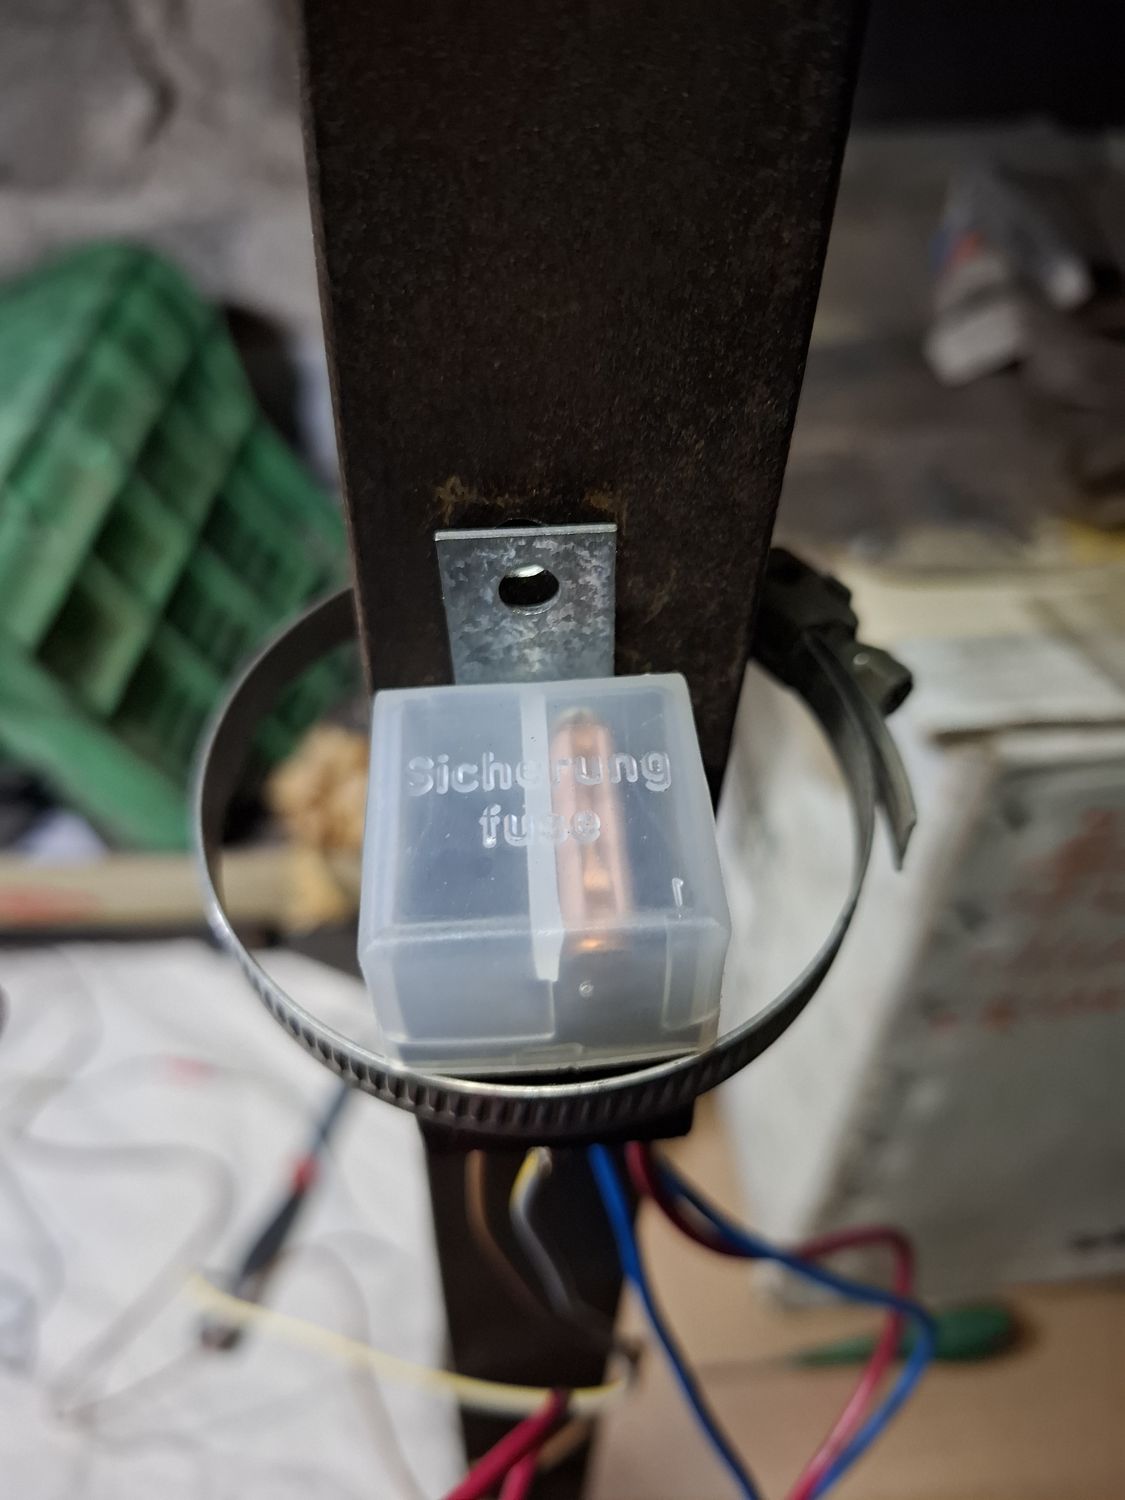
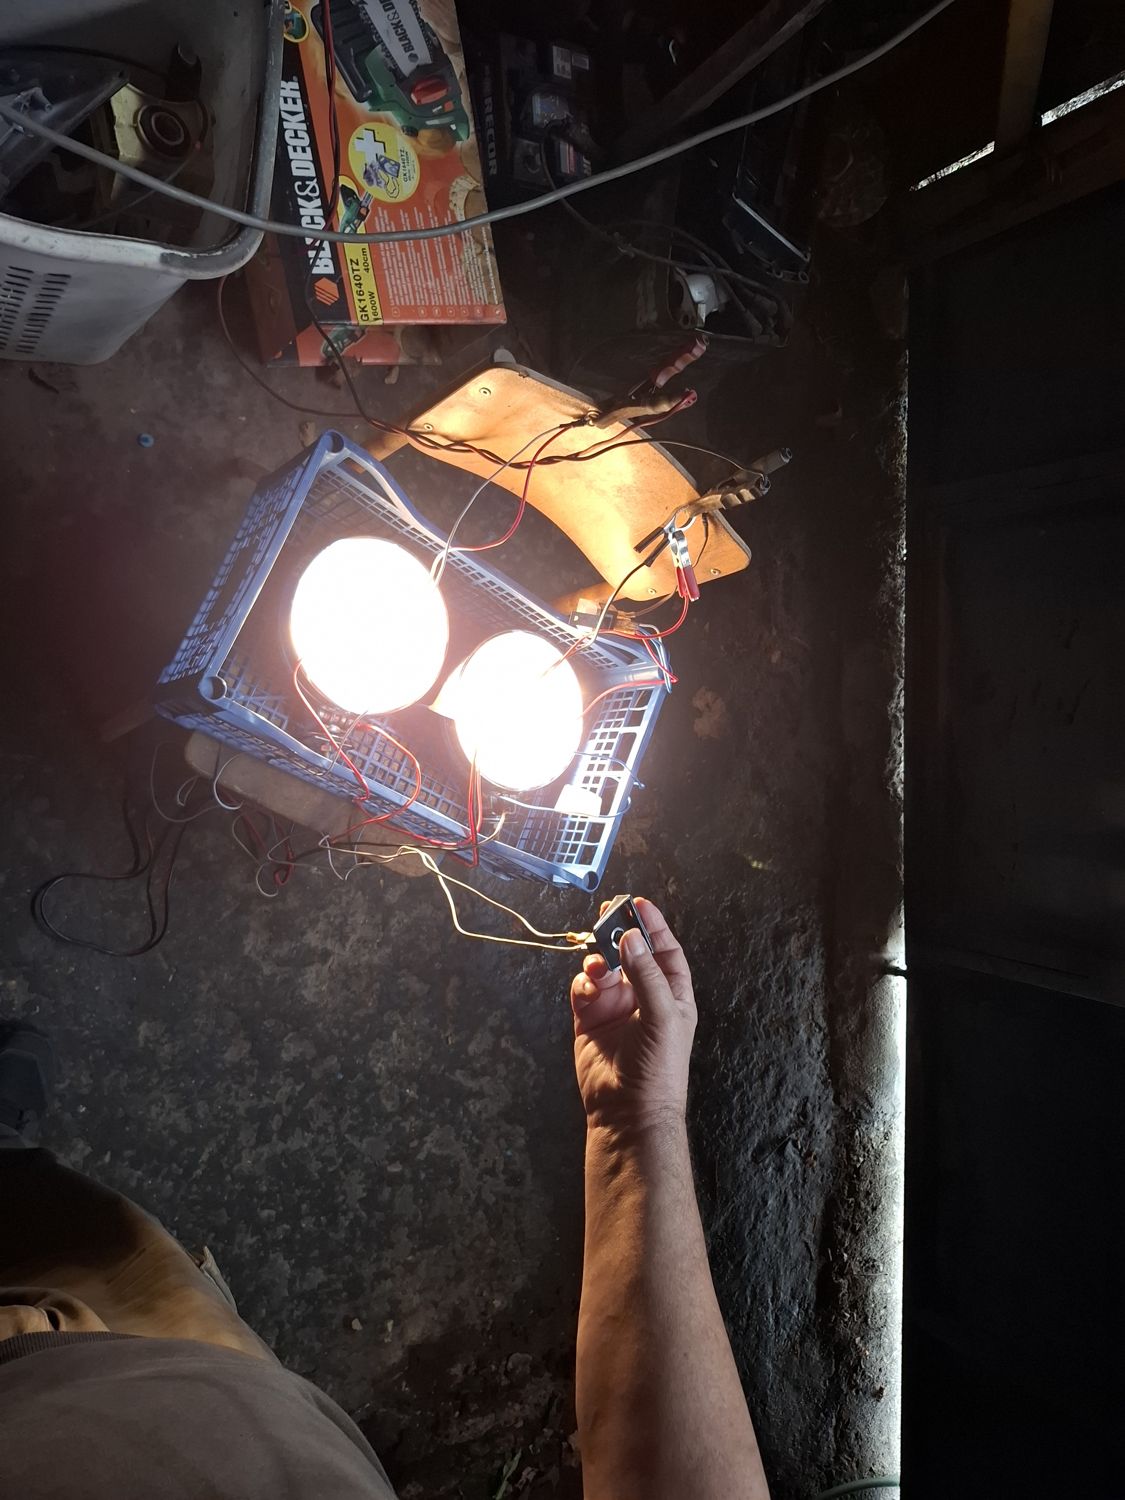
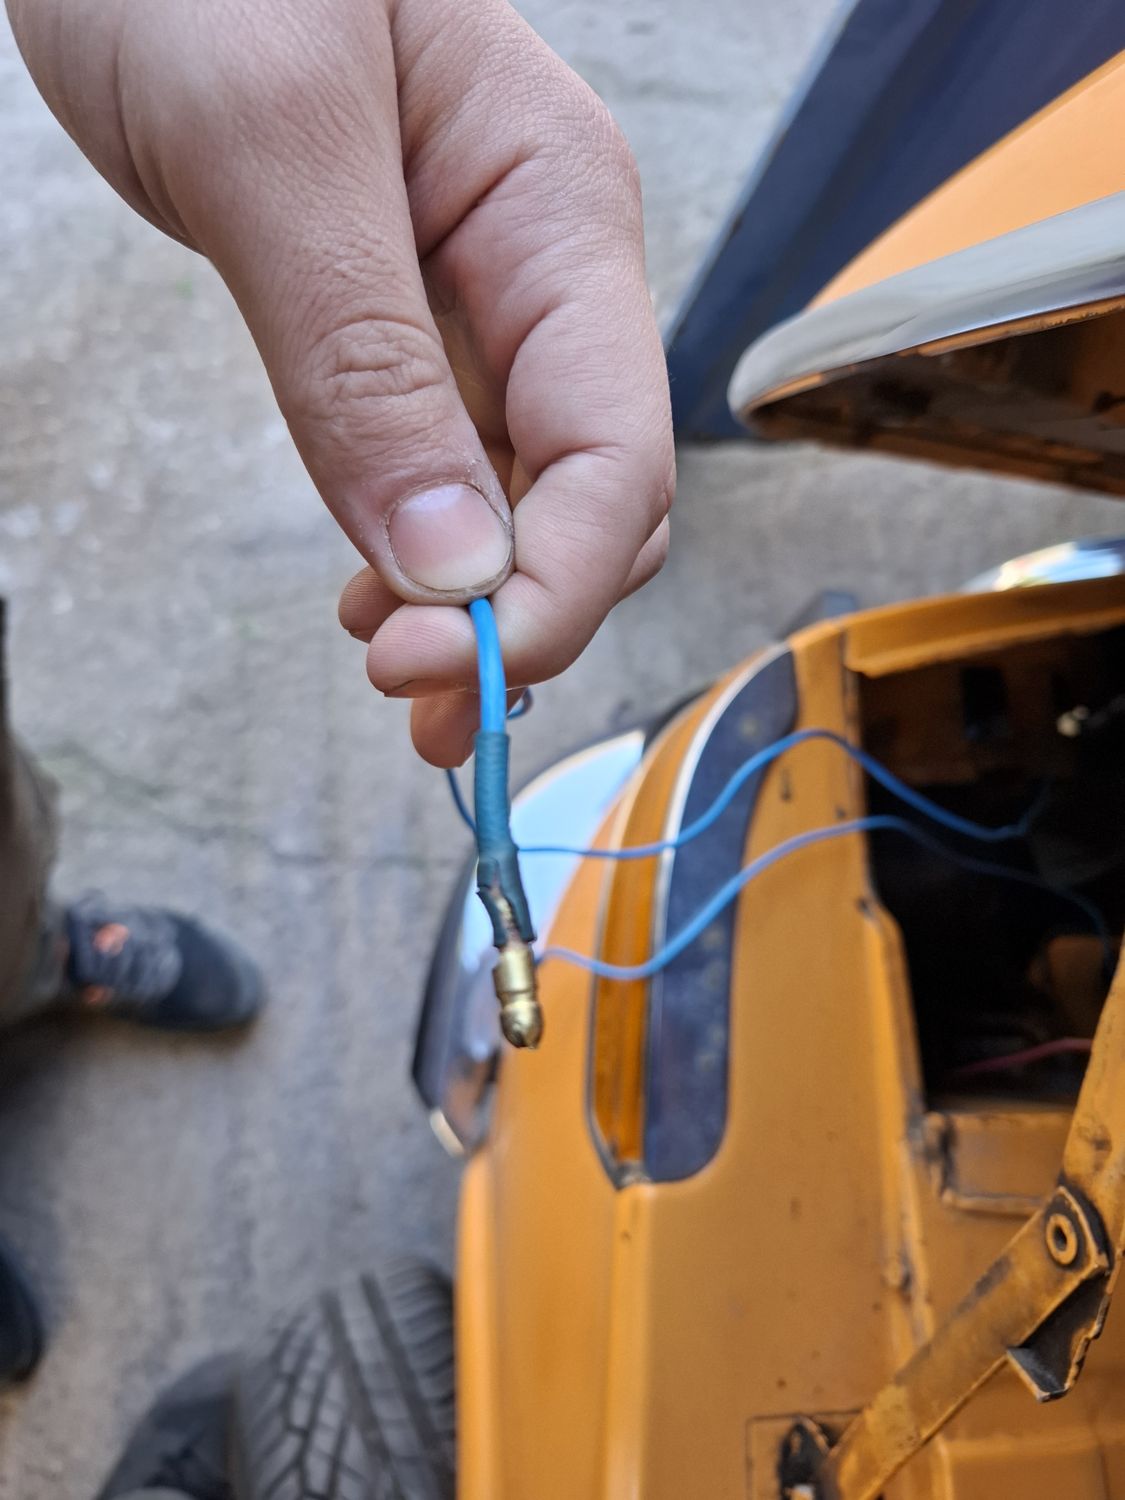
In December 2025 I made the wiring completely myself. The harness was built and tested on the bench first: a relay with an in-line fuse, new cables and connectors, and the lamps tested on the bench before anything went near the car.
Relay and fuse holder, 22 DecemberBuilding the harness on the benchThe relay socket wiredBench test: both lamps on, 24 December
On the car
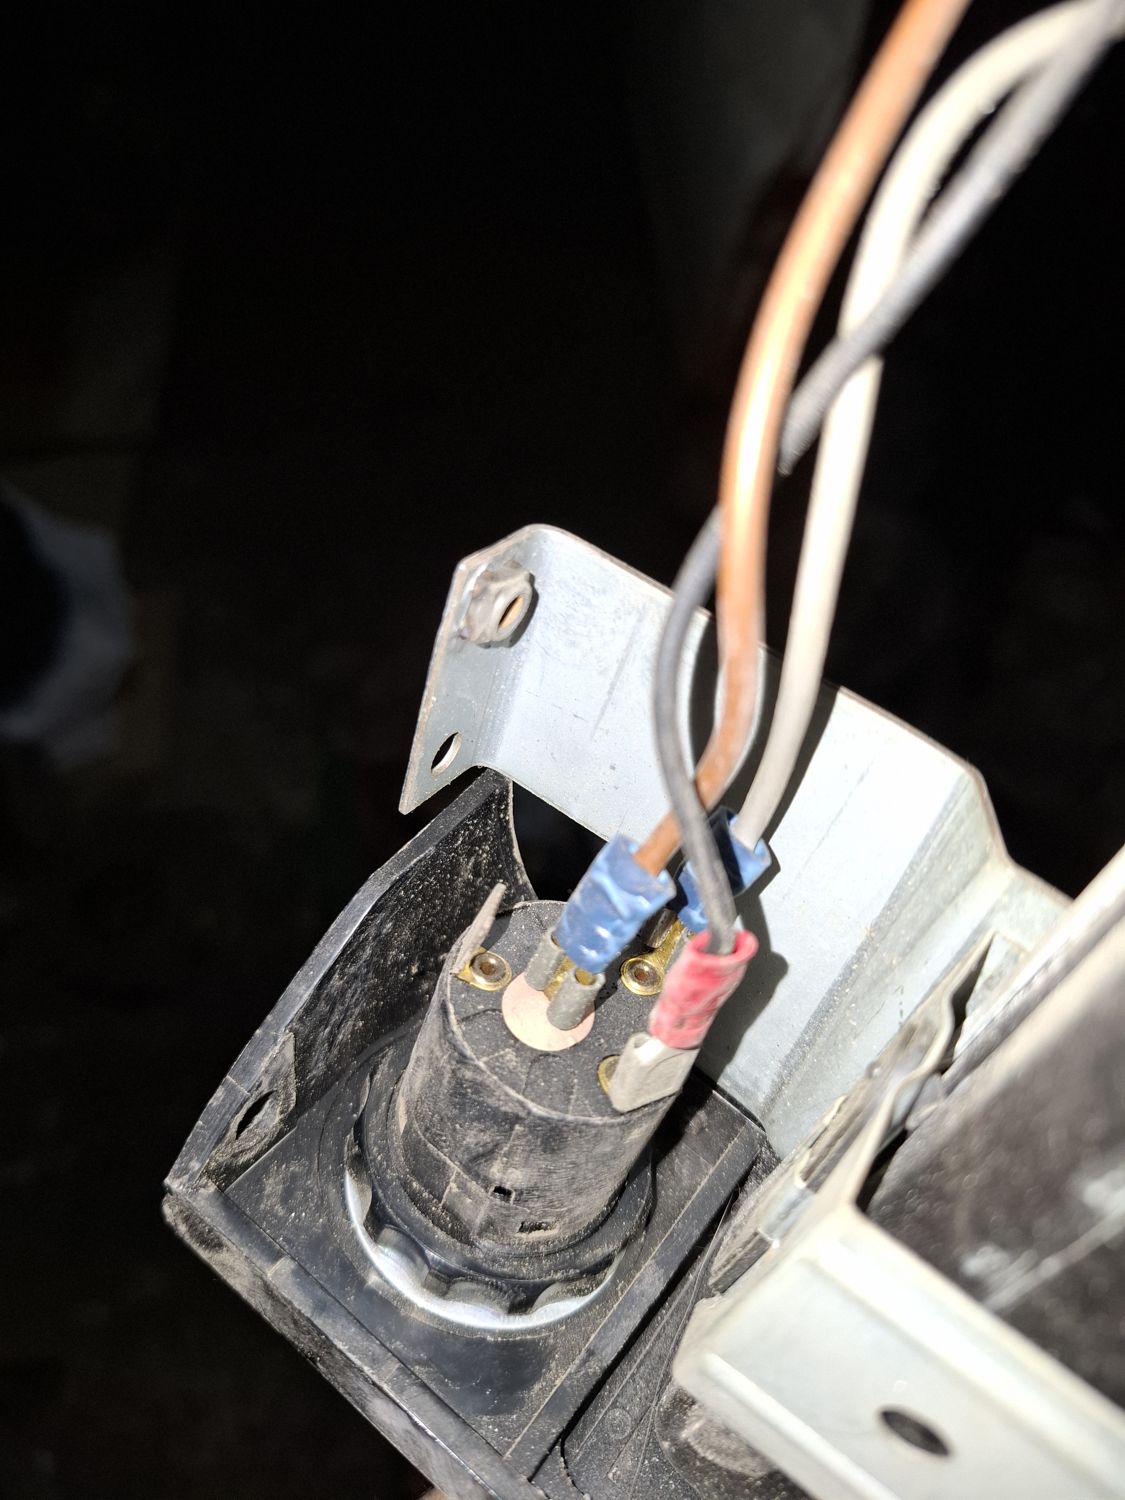
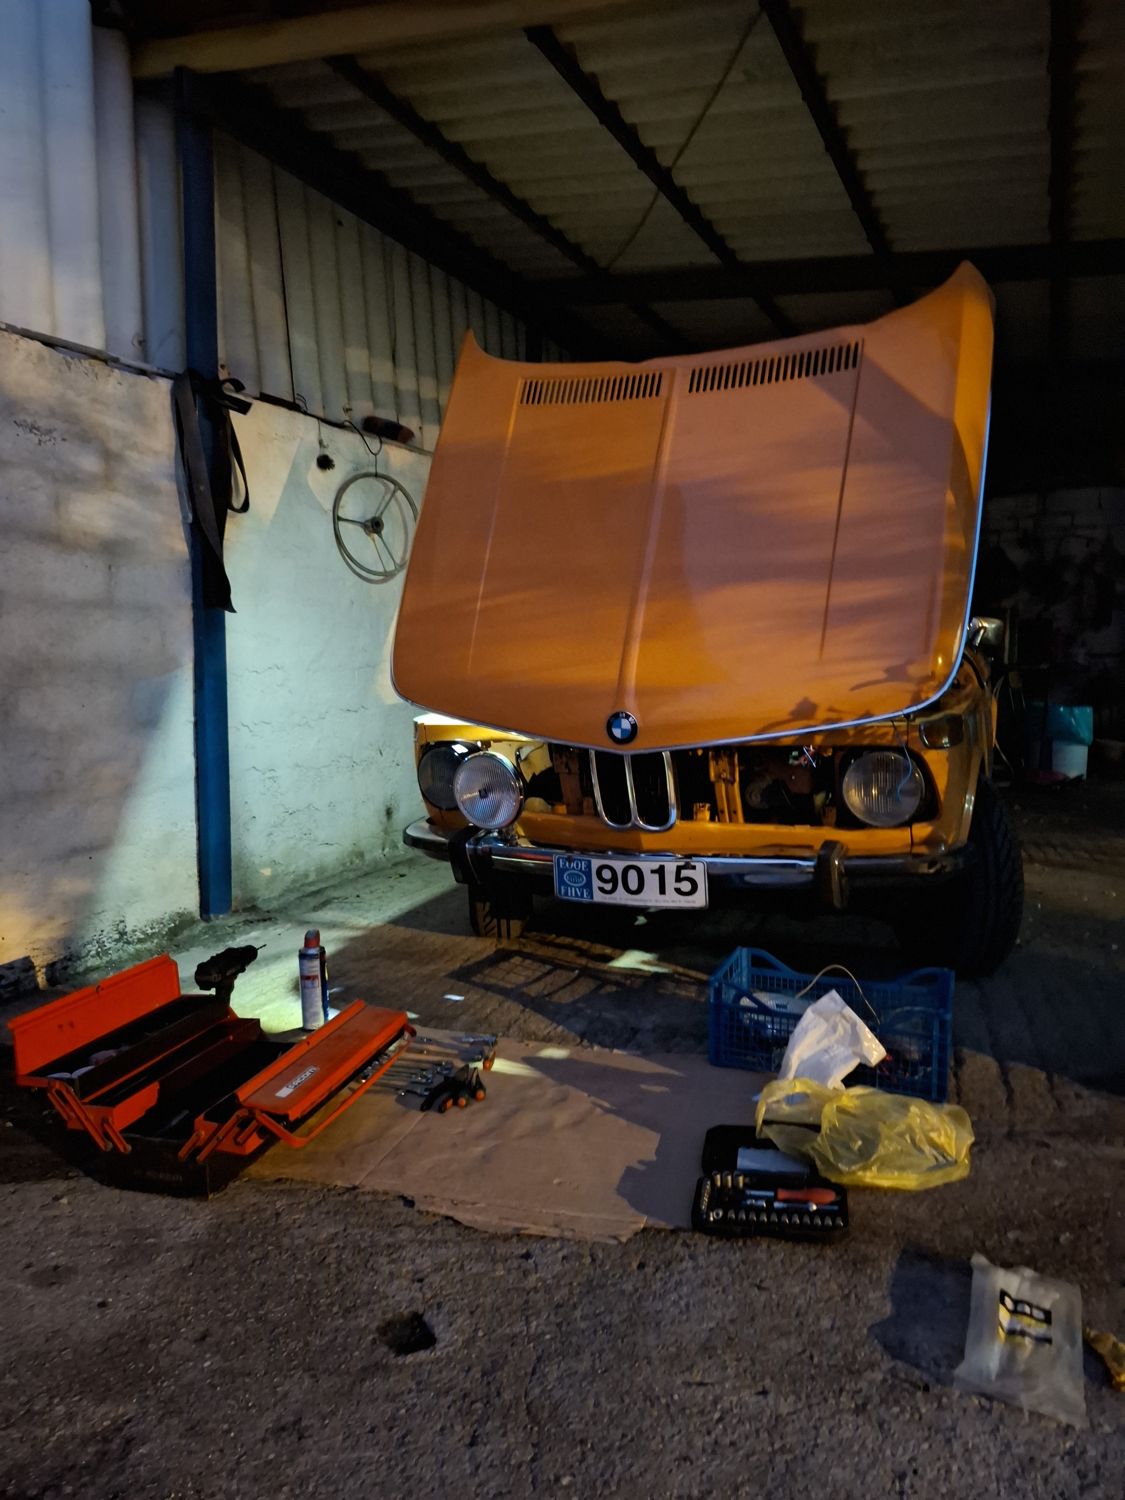
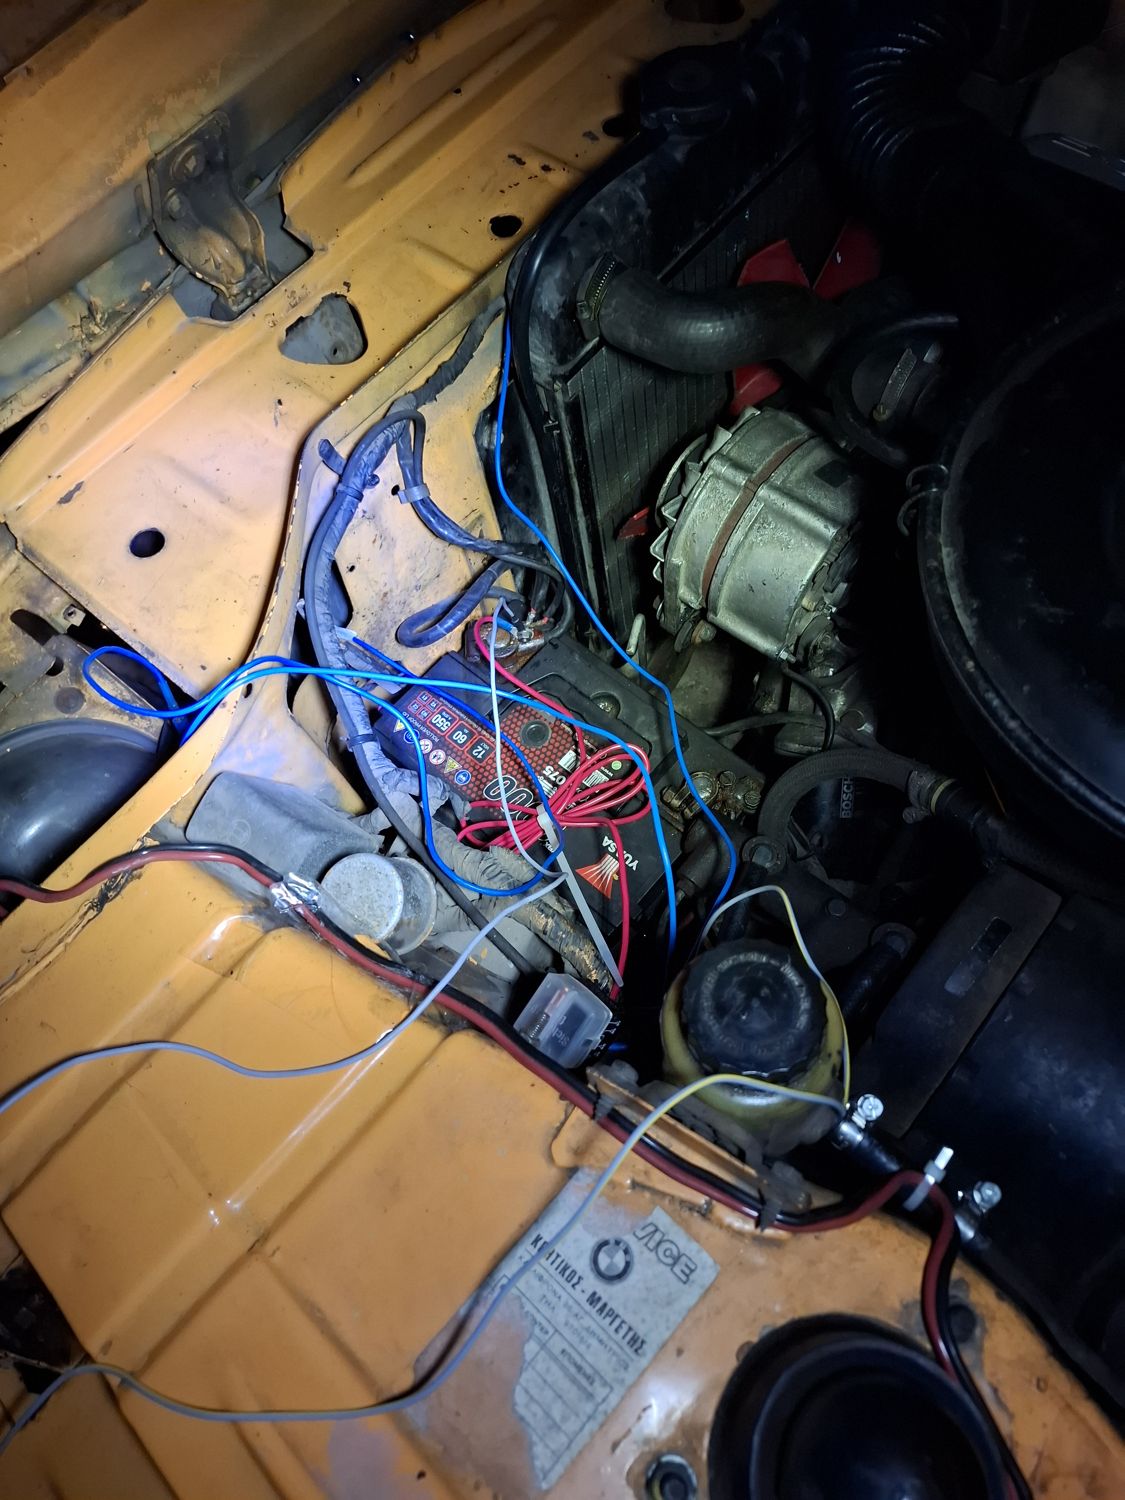
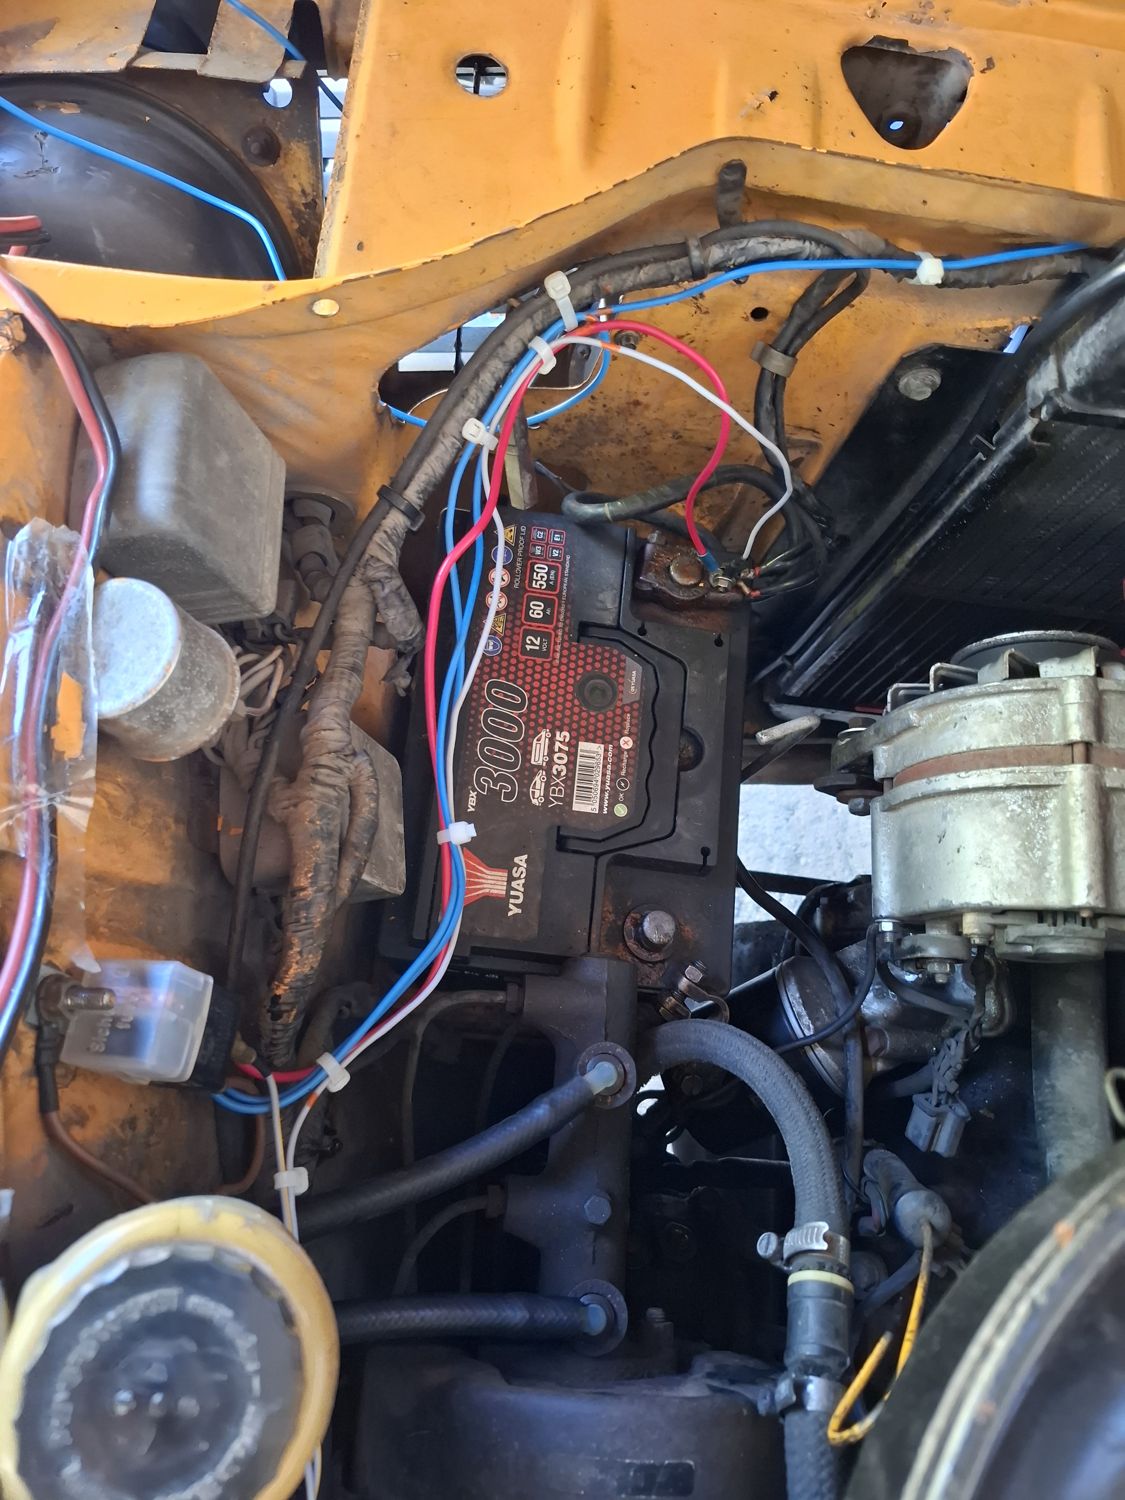
Then the lamps went onto the front of the Touring and the wiring found its way through the front panel and the engine bay to the relay.
Starting at the front, 26 DecemberWiring in the engine bayLamps mounted, 28 DecemberThrough the front panel, 29 DecemberRouting in the engine bay
The switch
The lamps are controlled with an original green fog-light switch in the dash. On 30 December the switch went in, with my father helping, and the finished harness was laid out once more before it was all buttoned up.
Fitting the switch, 30 DecemberThe finished harnessReadyLights on
Servicing and repairs that are not a project of their own, newest first.
2023202420252026
MaintenanceProject fitted to the car
8 Sep 2026
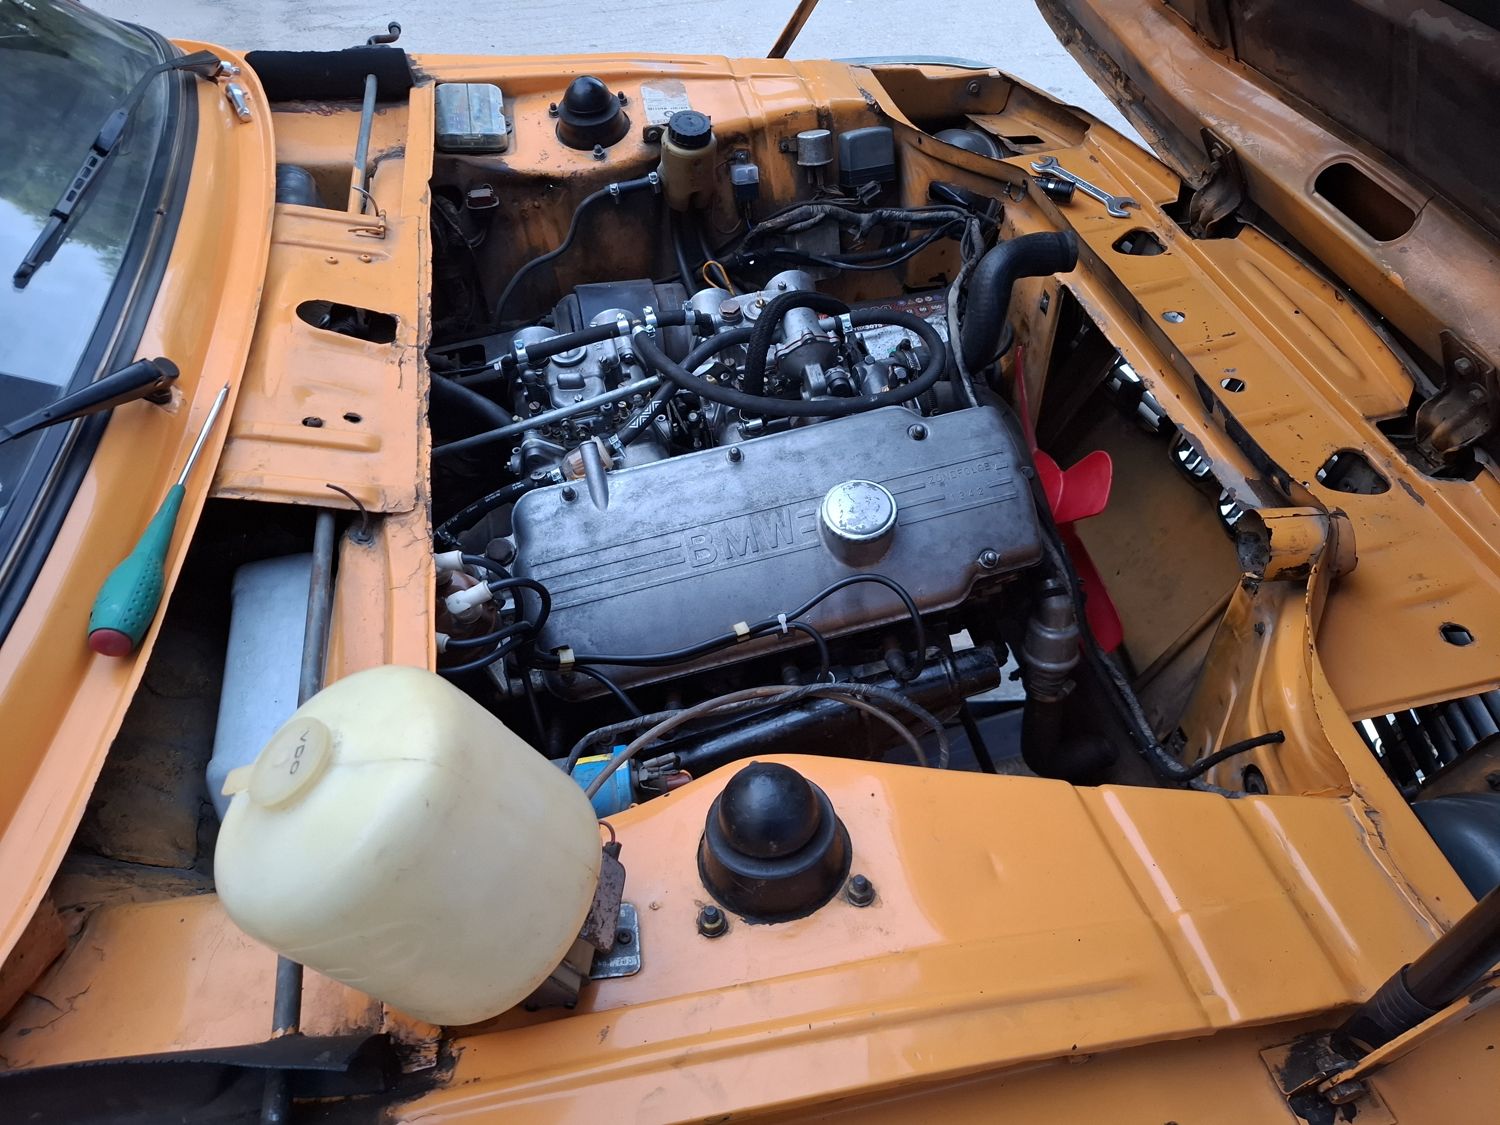
Engine mounts and engine-bay service
EngineIgnitionExhaustBodySKU P-0076, P-0077
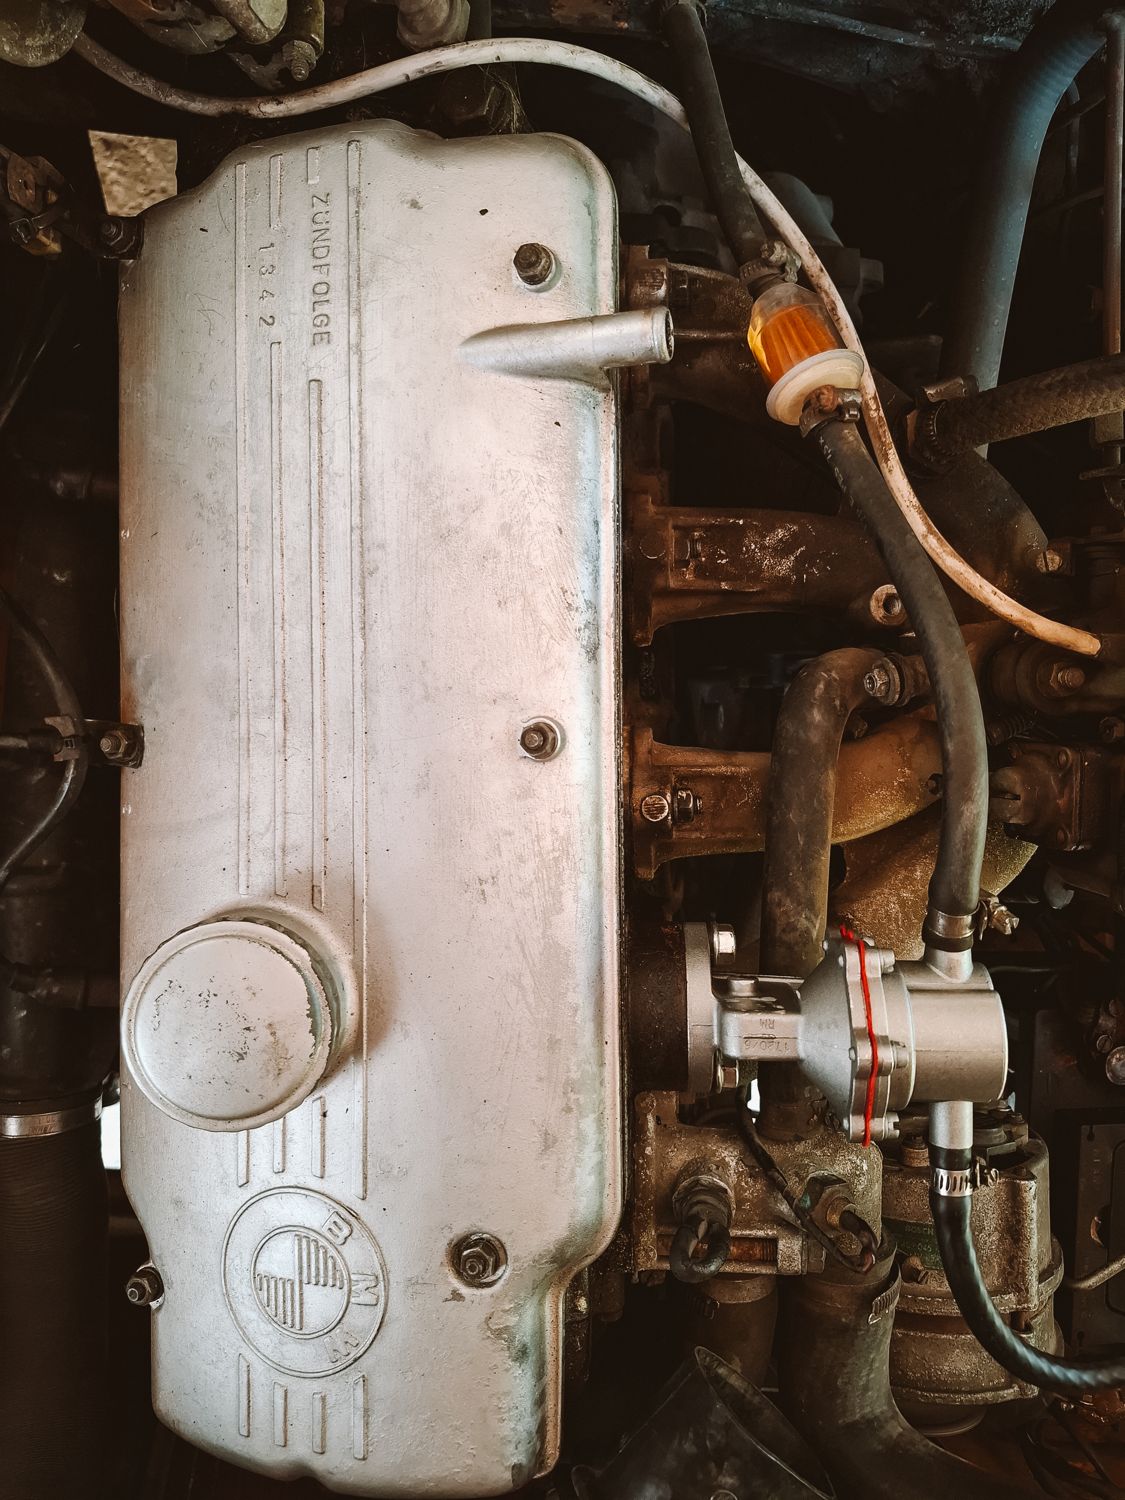
Engine mounts: both replaced with the new Walloth & Nesch mounts (right, and the square left version), instead of the good used ones fitted after the December 2025 failure. The Alpina air box came off for access.
Fan: replaced with a good used original.
Valve cover: replaced with the correct one for the 2002; its nuts replaced with capped nuts taken from another engine.
Ignition: spark-plug leads cleaned; the colour of the plugs checked.
Exhaust manifold: heat shield over the manifold replaced. While the old one came off, one bolt broke and is still in the manifold.
Washer system: the bottle replaced with the correct cylindrical one, the pump with a restored unit, and new tubing to the nozzles.
Before: the engine bay on 6 SeptemberAn engine mountAir box offWorking in the yard, 8 September
6 Sep 2026
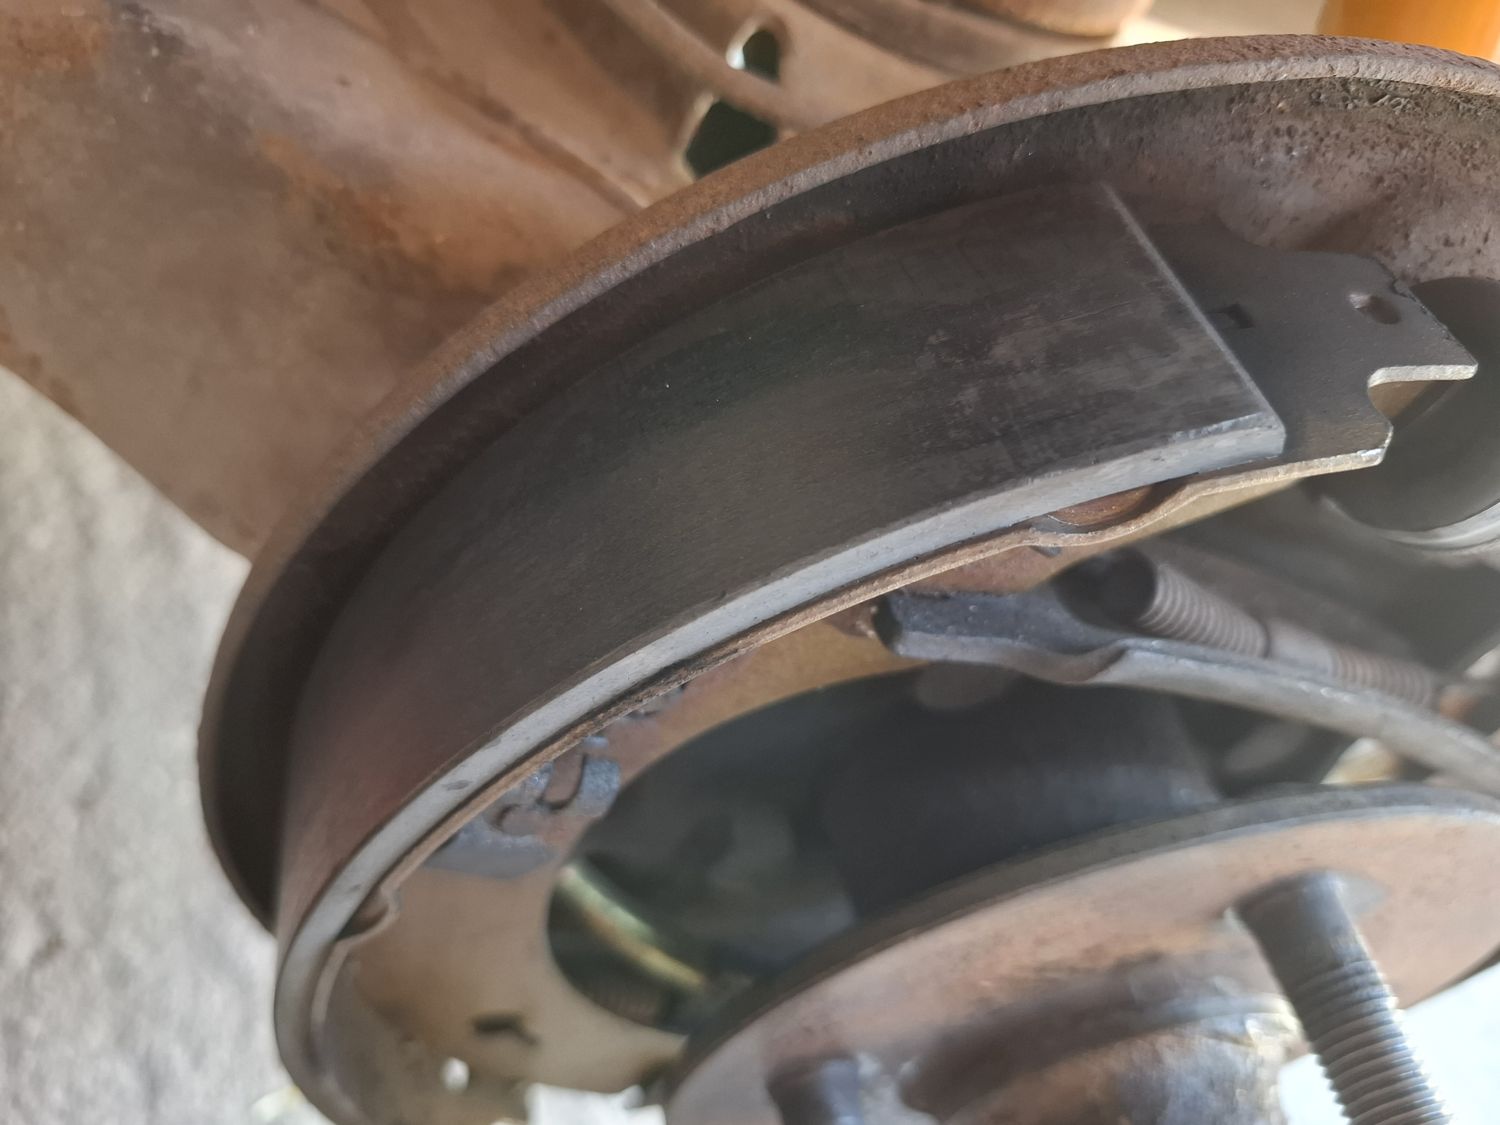
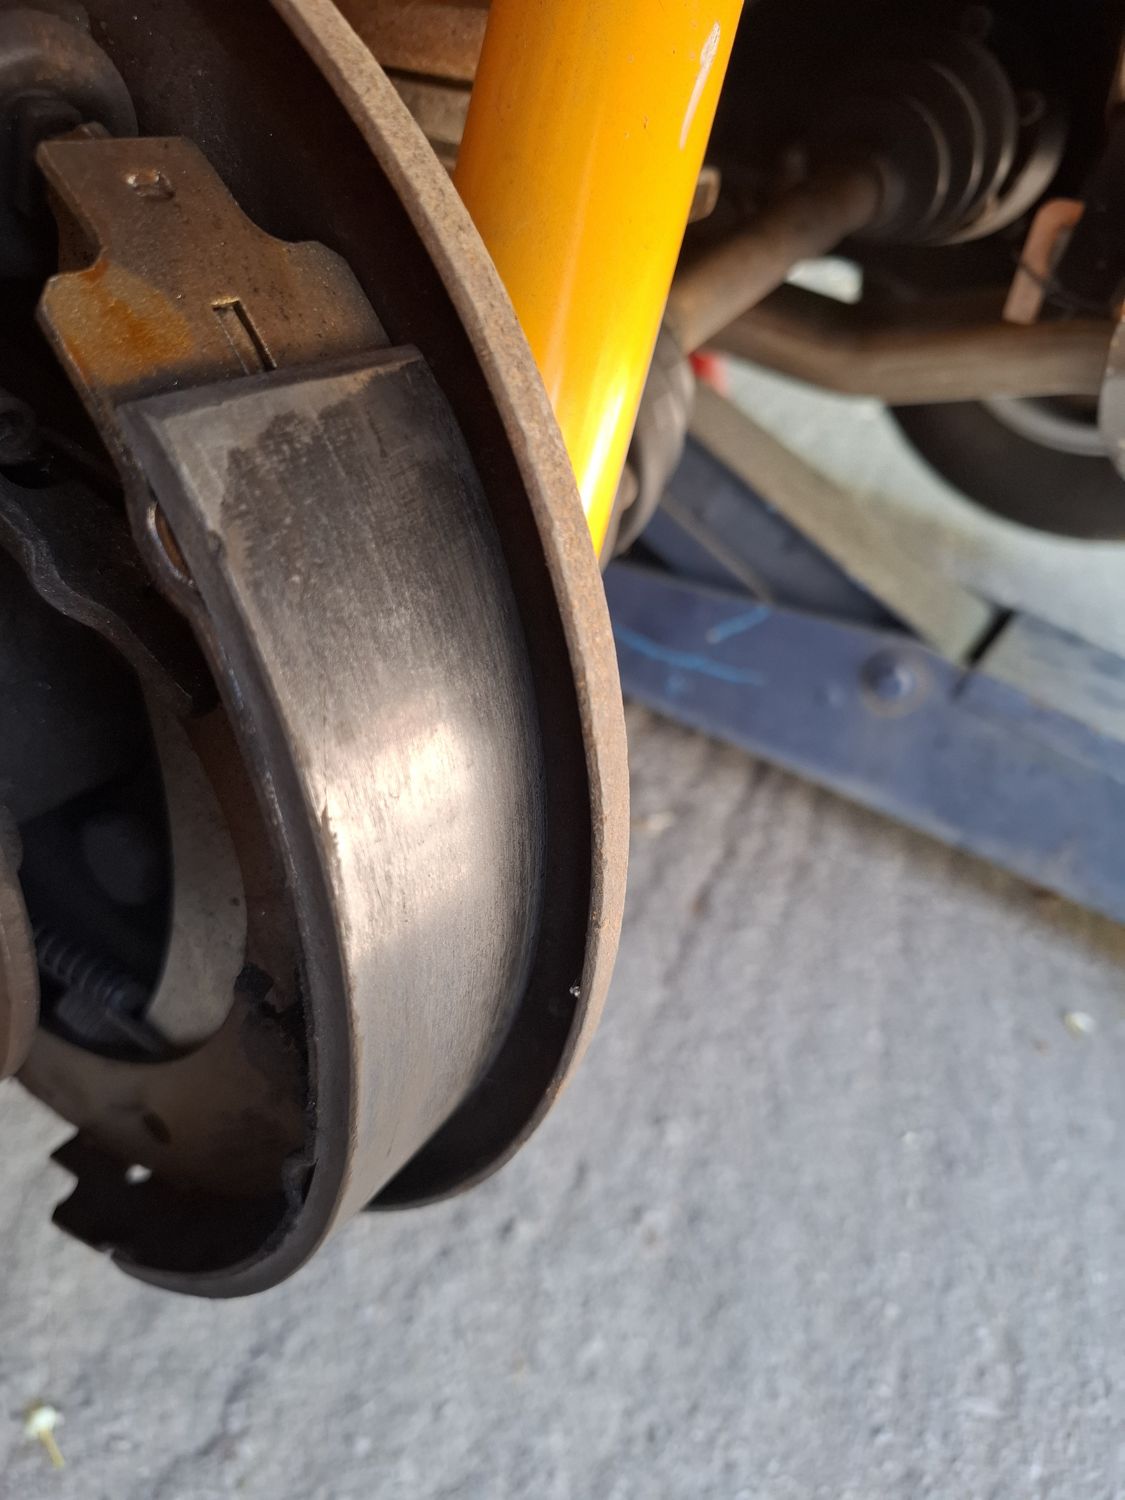
Rear brake drums cleaned
Brakes
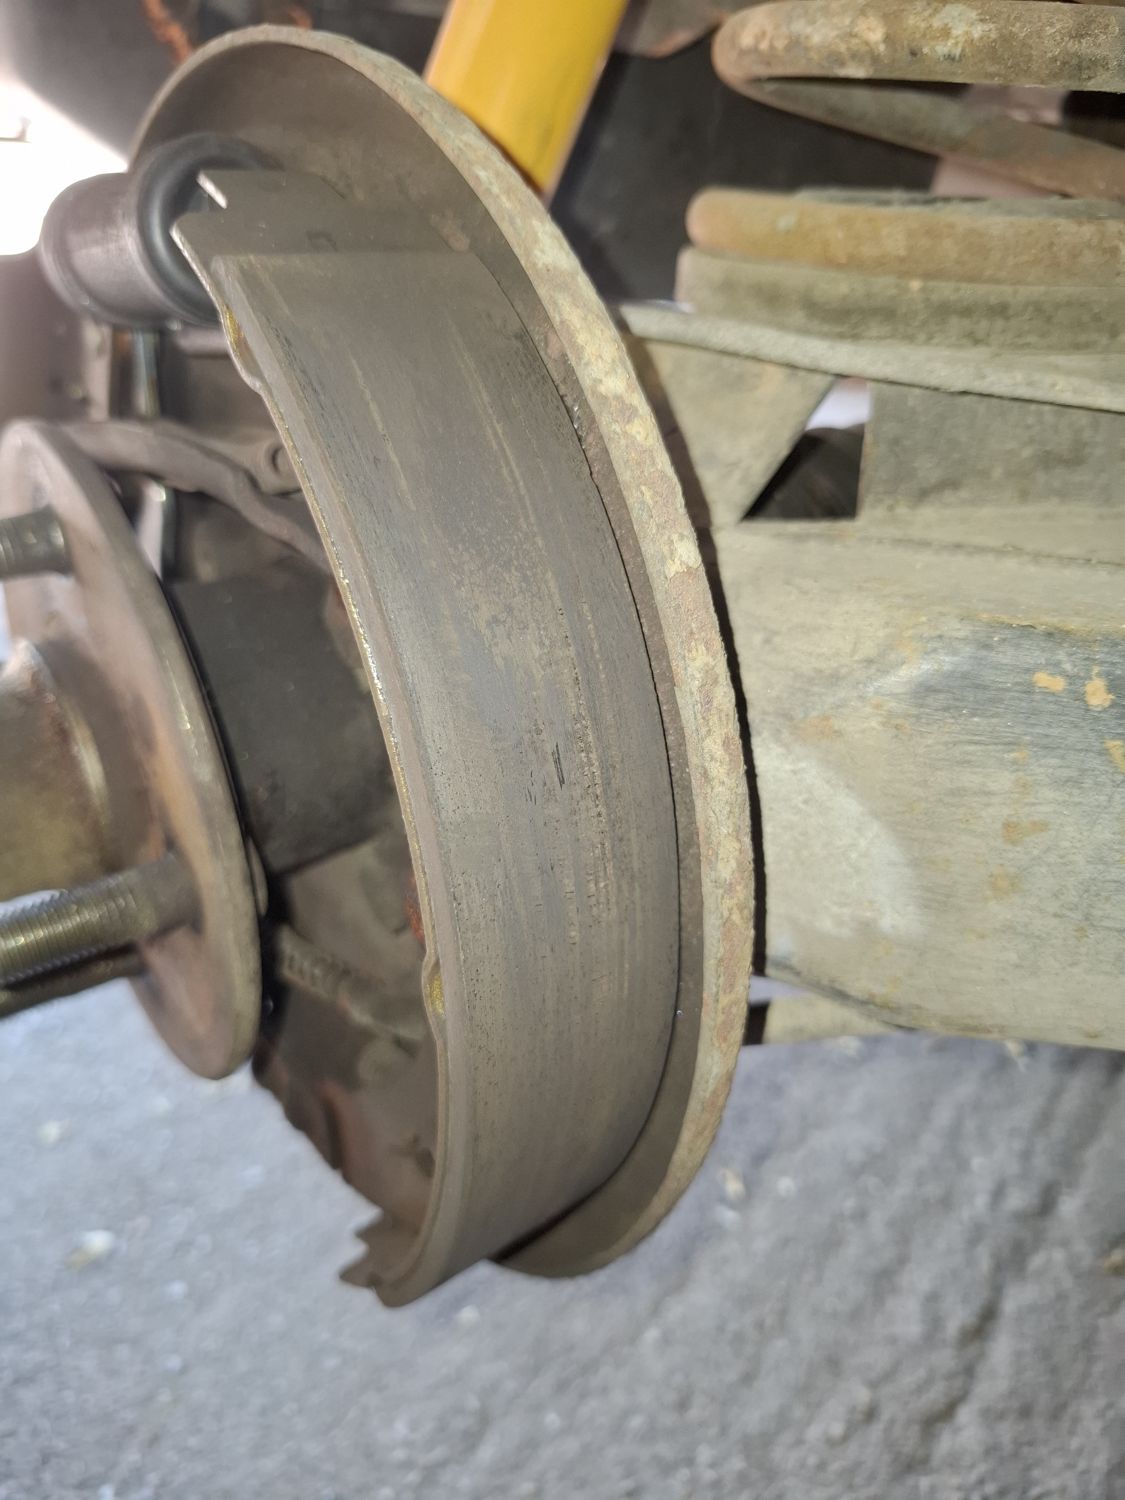
Why: a strange noise from the rear brakes, like a vibration from the shoes slipping against the drums.
Drums and shoes: the brake dust cleaned out, and the friction surfaces of the drums and shoes lightly sanded (about 200 grit).
Adjusters: greased. Nothing else was touched.
Drum off, left rearShoes and wheel cylinderThe other side
2 Aug 2026
56.177 km
The ti cluster goes in
InteriorSKU P-0171, P-0160
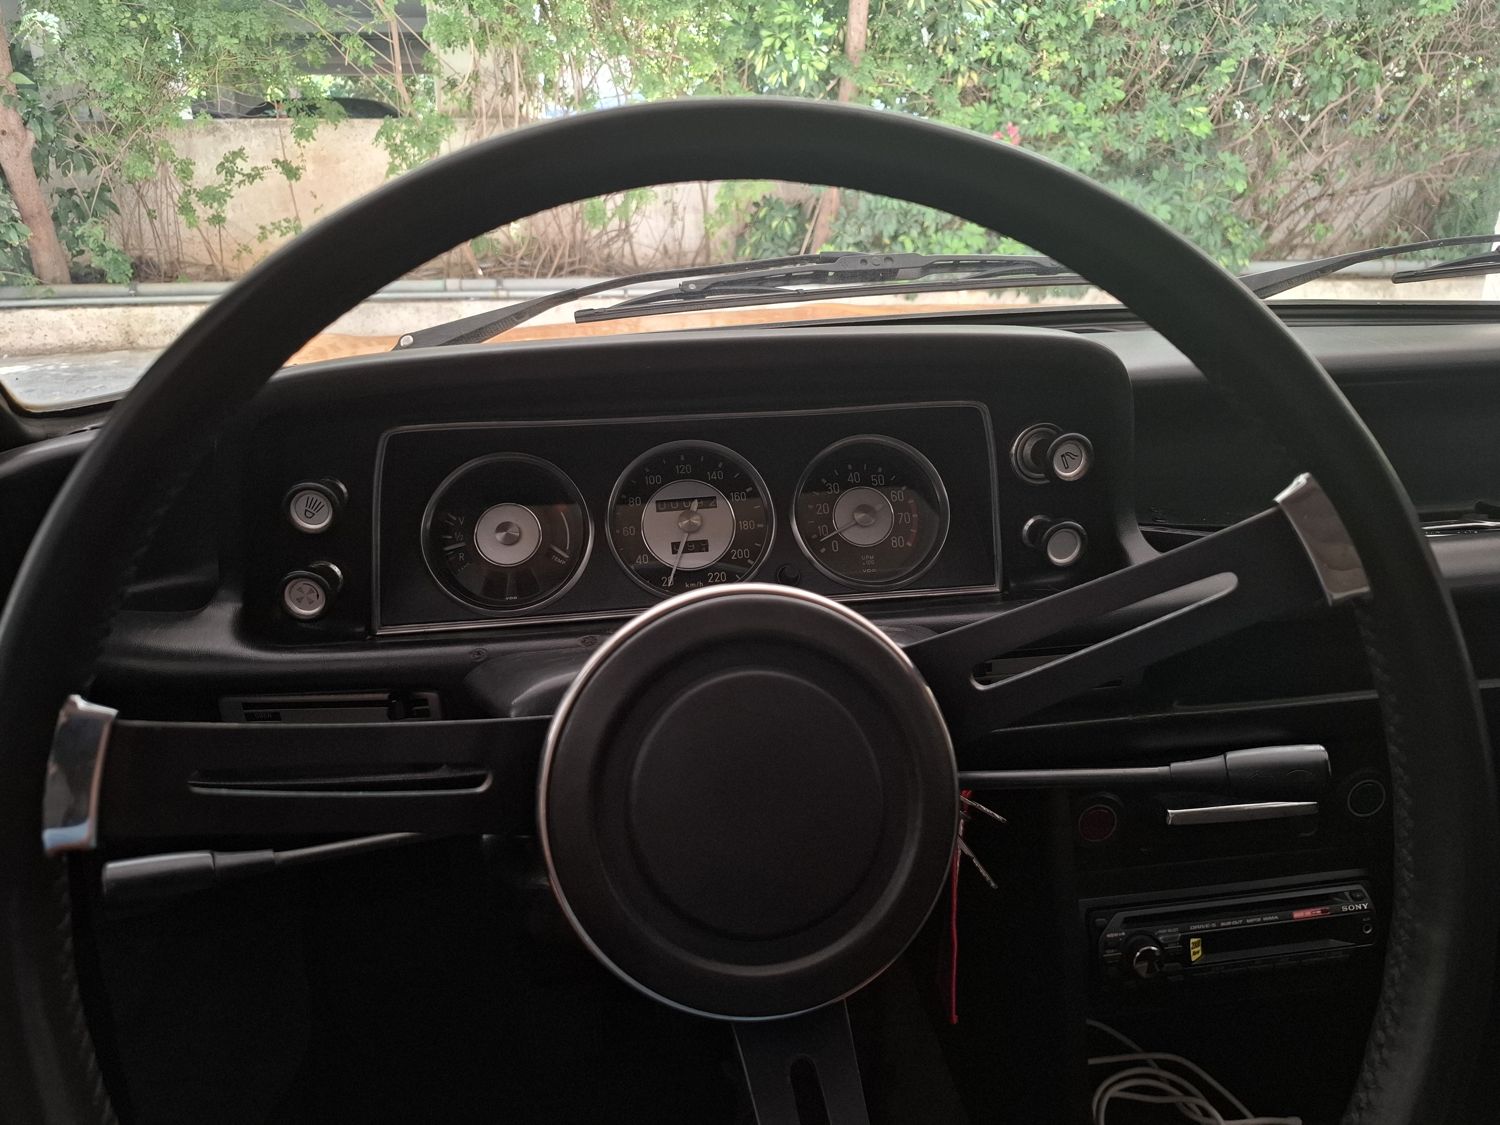
Cluster: the original tii cluster came out and the restored 2002 ti "silver dollar" cluster went in (see the cluster story). The ti cluster starts from zero.
Why the speedo read high: with the old cluster out, I found that its speedometer had a different W number (W = 0.765): it was the version for the early tii with the 3.45 differential, not for the 3.64.
The old cluster: it received the speedometer from the tii cluster I bought on Kleinanzeigen (52,348 km), so it now has the right gearing. At the swap the car's old speedometer read 56,177 km.
Both clusters on the bench, 2 AugustThe ti cluster in the dash, 3 August
24 Apr 2026
Petri steering wheel in, MOMO Niki Lauda out
InteriorSKU P-0164
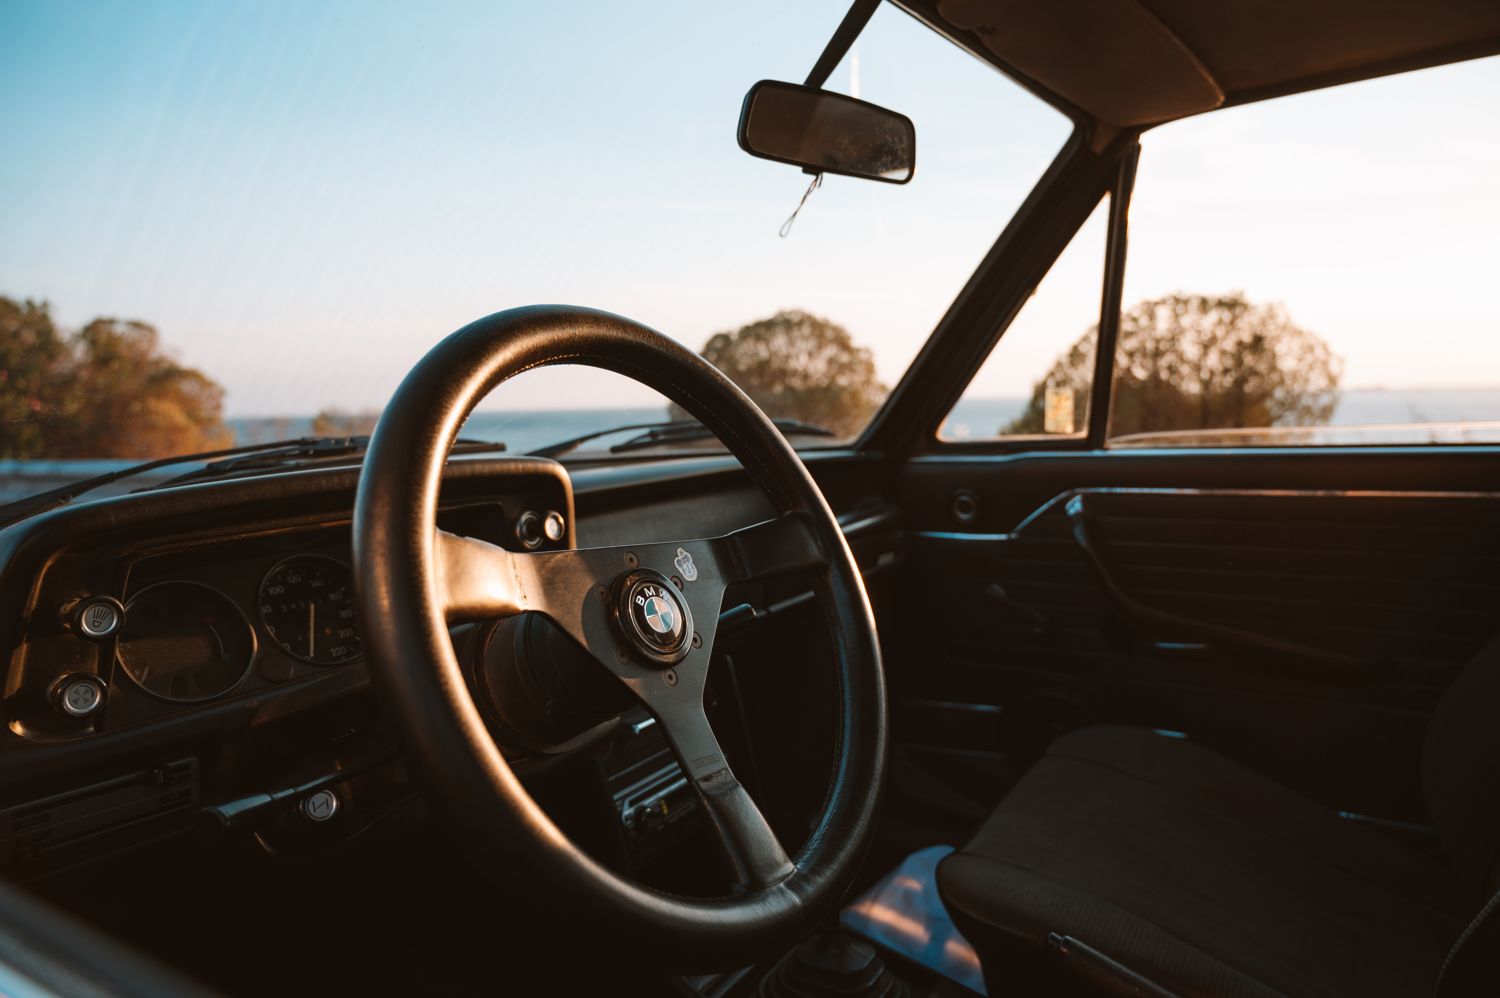
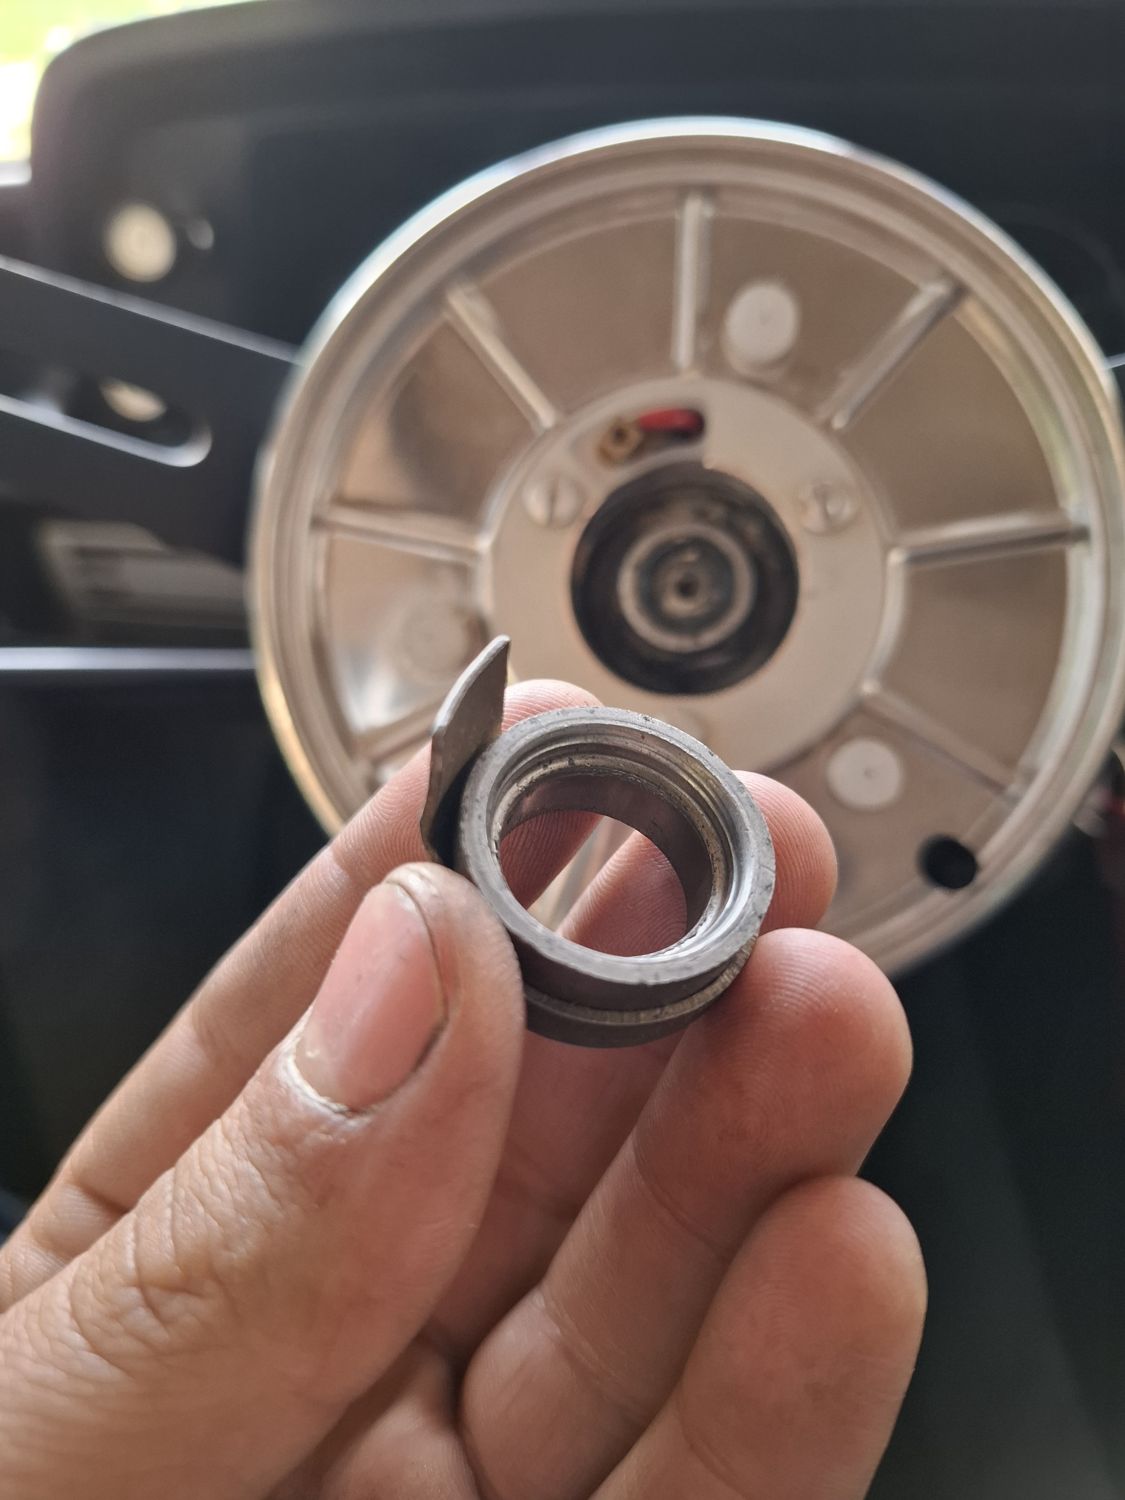
Steering wheel: a Petri ti/tii wheel went in, replacing my beautiful MOMO Niki Lauda wheel.
The MOMO: the Niki Lauda edition, with the signature worn off, which is common on these (a forum member confirmed the model; they came in 350 and 370 mm). The Minnie sticker was added by my sister when we were kids.
The MOMO Niki Lauda in the Touring, a sunset in Athens, July 2025The Petri wheelThe indicator cancelling ring (returns the indicator stalk), 23 April
24 Apr 2026
Twin Webers in two weeks, just in time for Voula
ProjectEngine
An untouched pair of Weber 40 DCOE 76/77 from my father's warehouse, rebuilt and fitted under an Alpina air box in two weeks, finished the day before the Voula hillclimb.
A pair of period Hella 192 fog lamps, a harness made from scratch with its own relay and fuse, and an original green fog-light switch in the dash to run them.
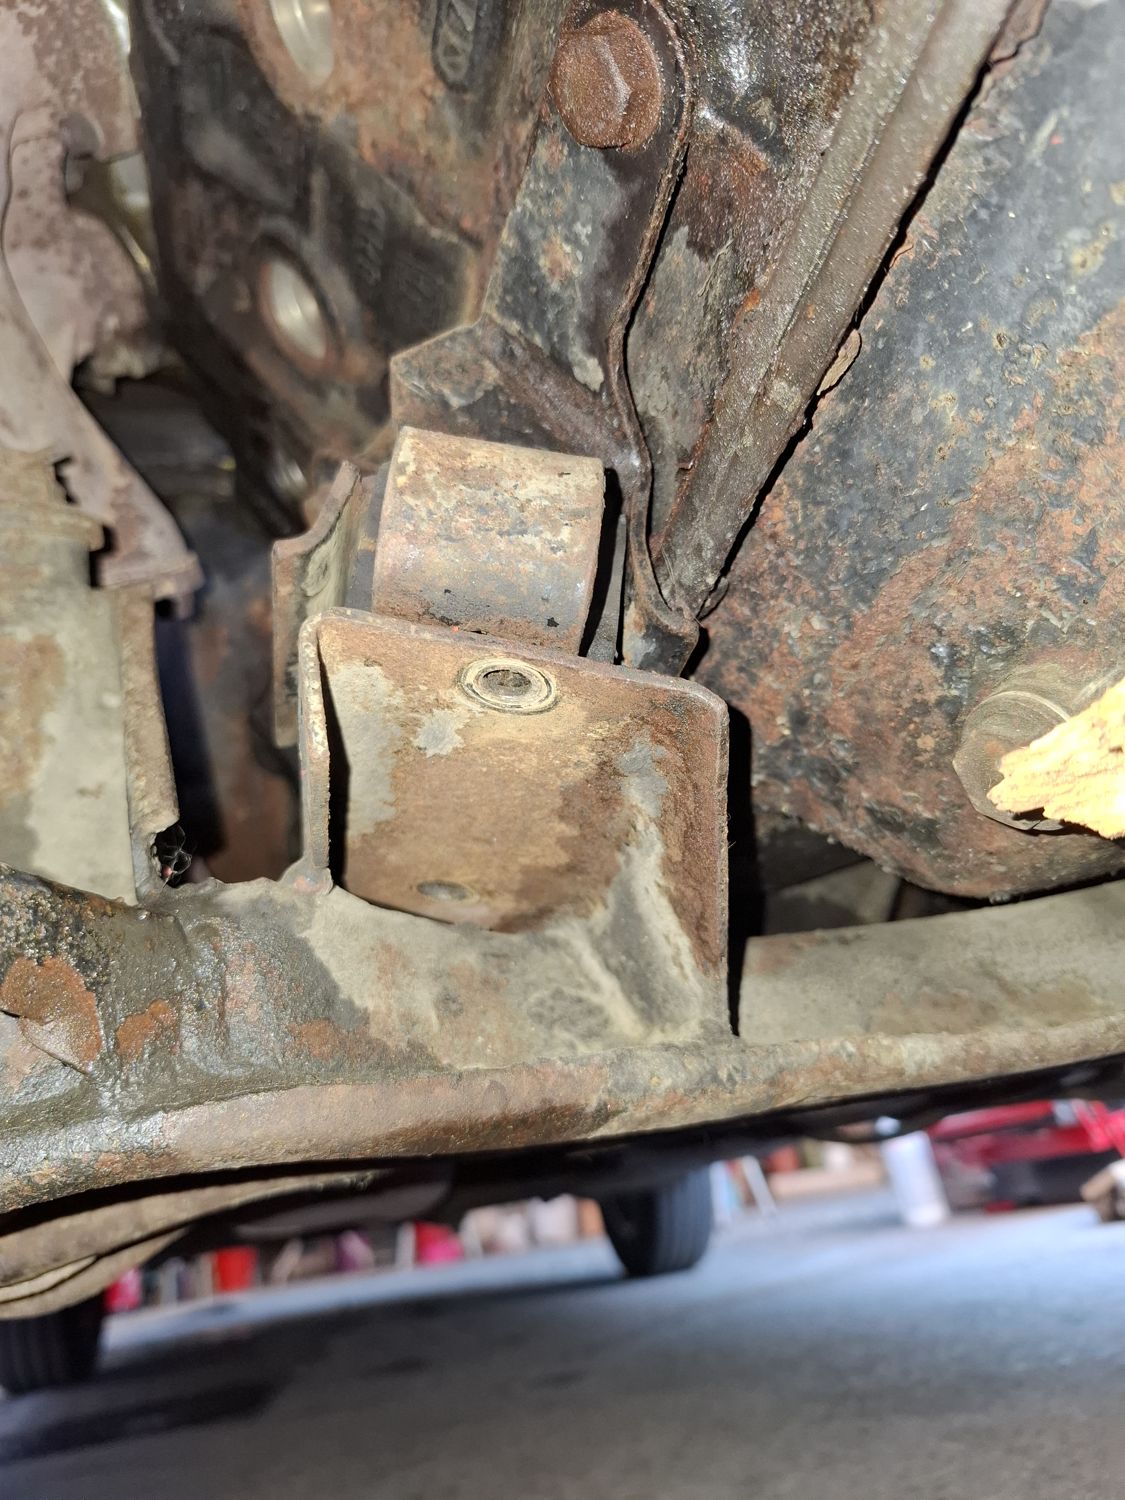
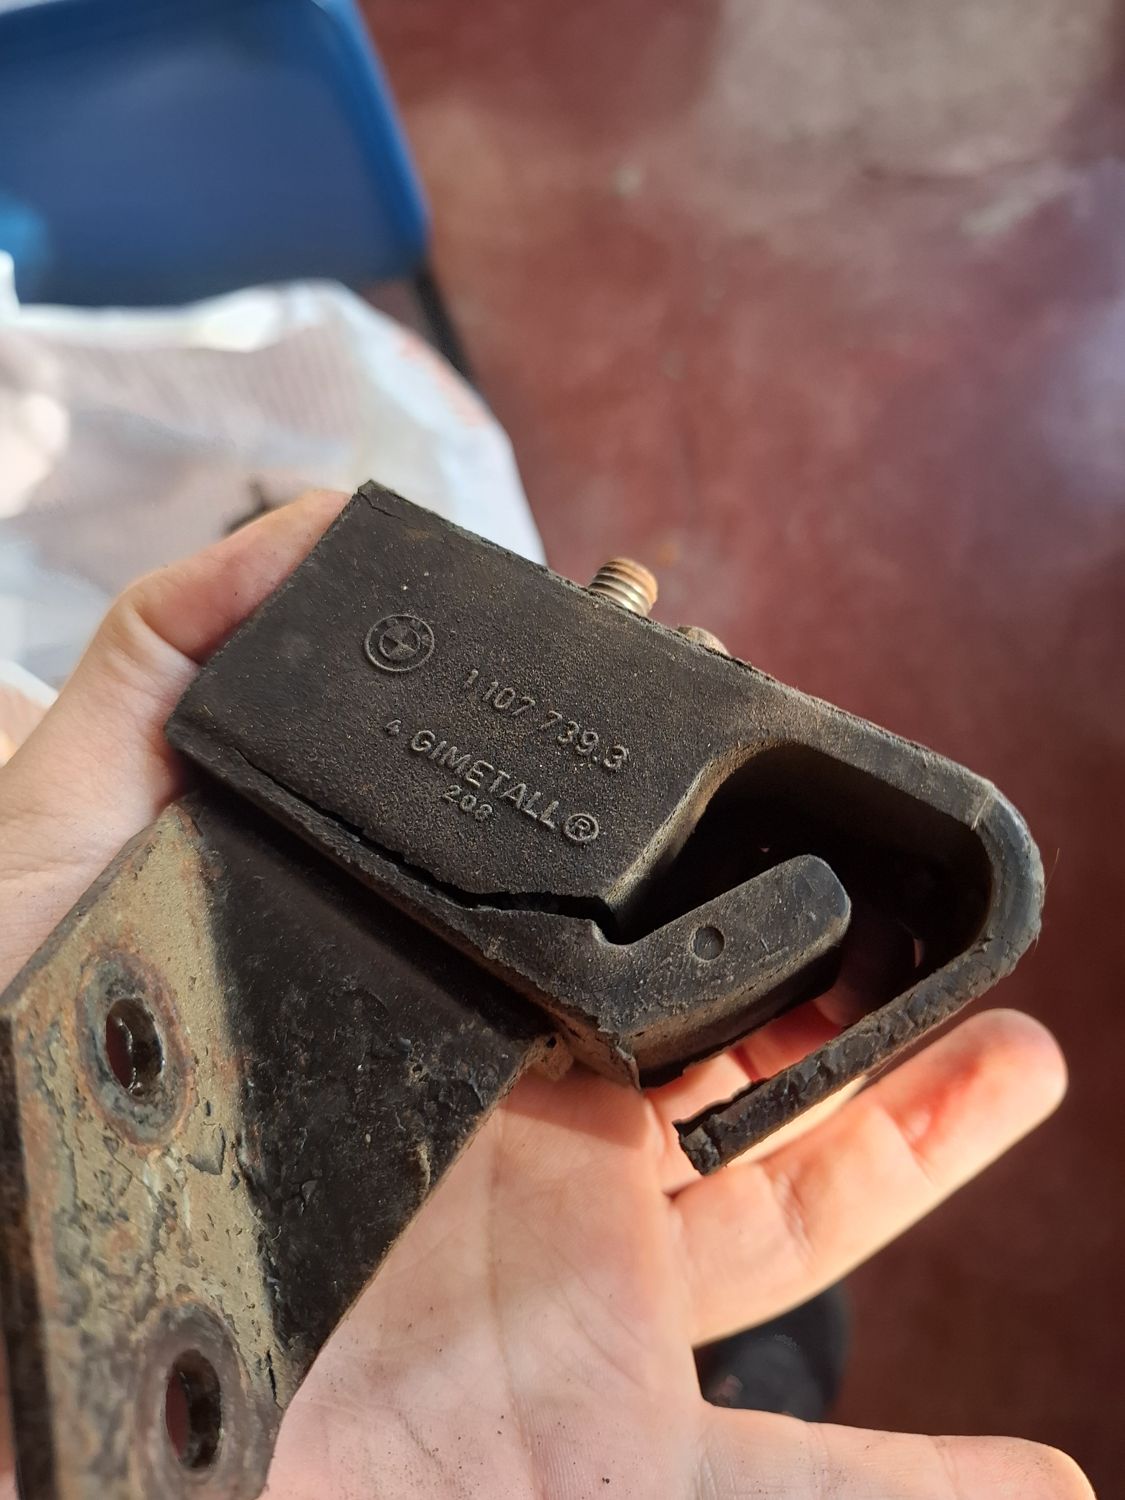
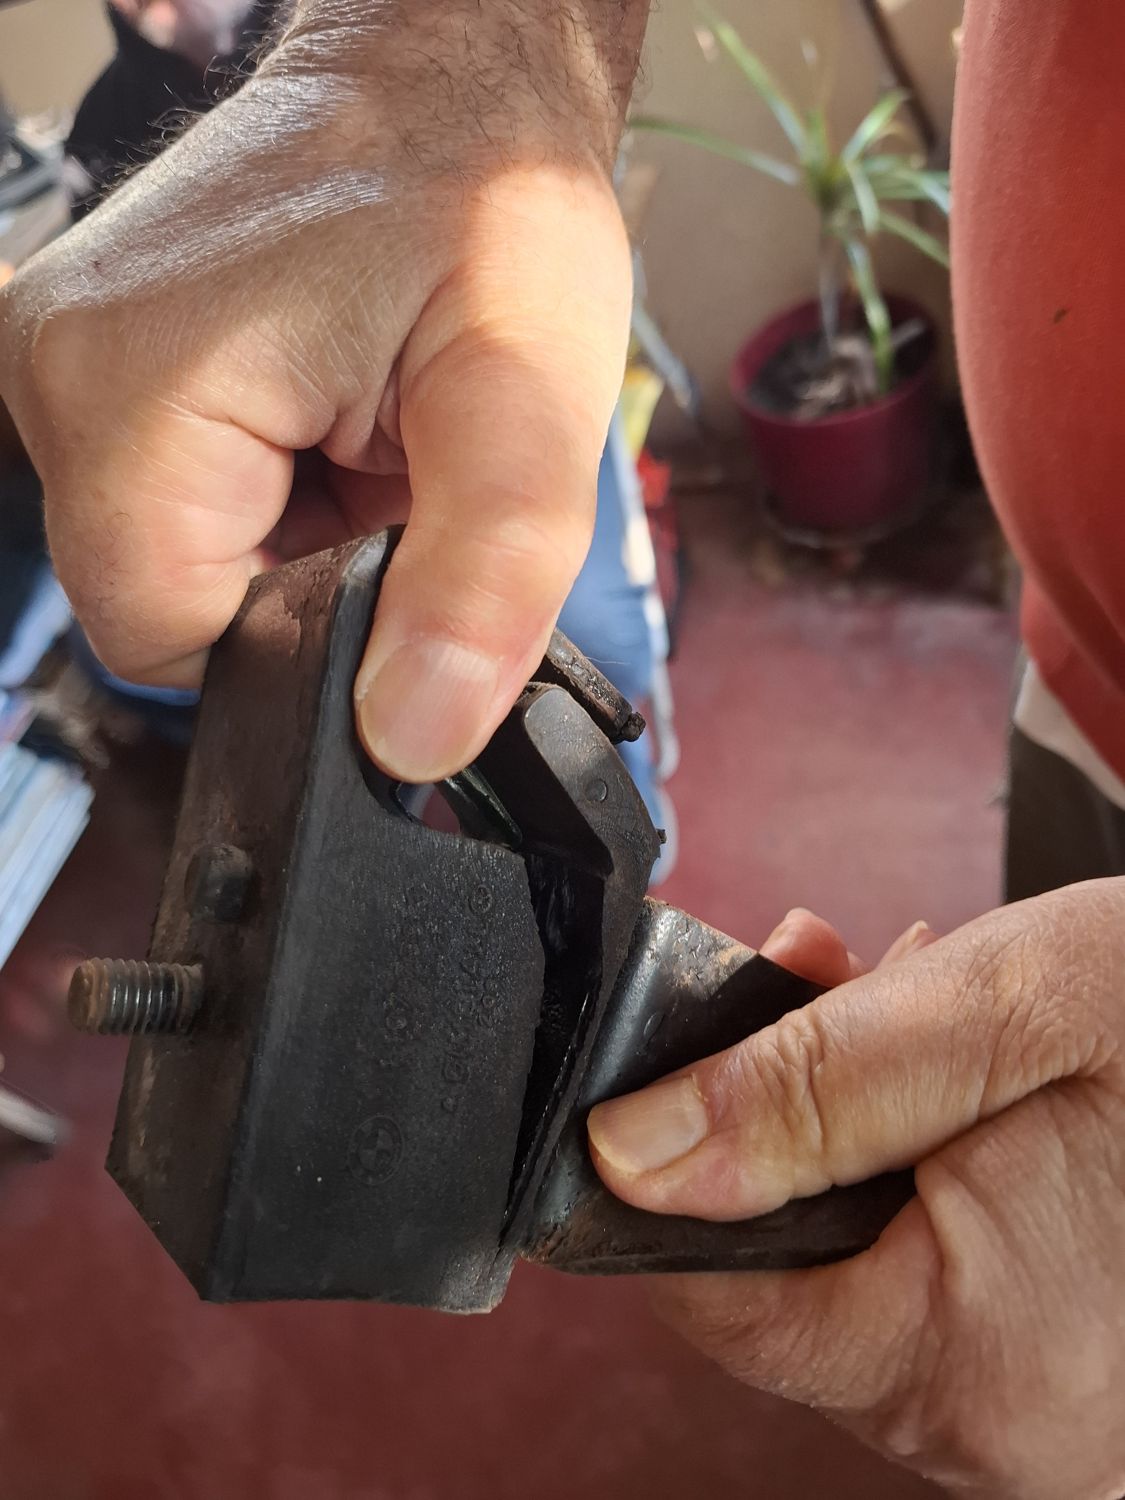
At a SISA sporting event in Varkiza in December 2025 an engine mount tore. It was replaced with good used mounts for the time being; new ones went in later (see September 2026).
The torn mountThe rubber split from the metal
2 Sep 2025
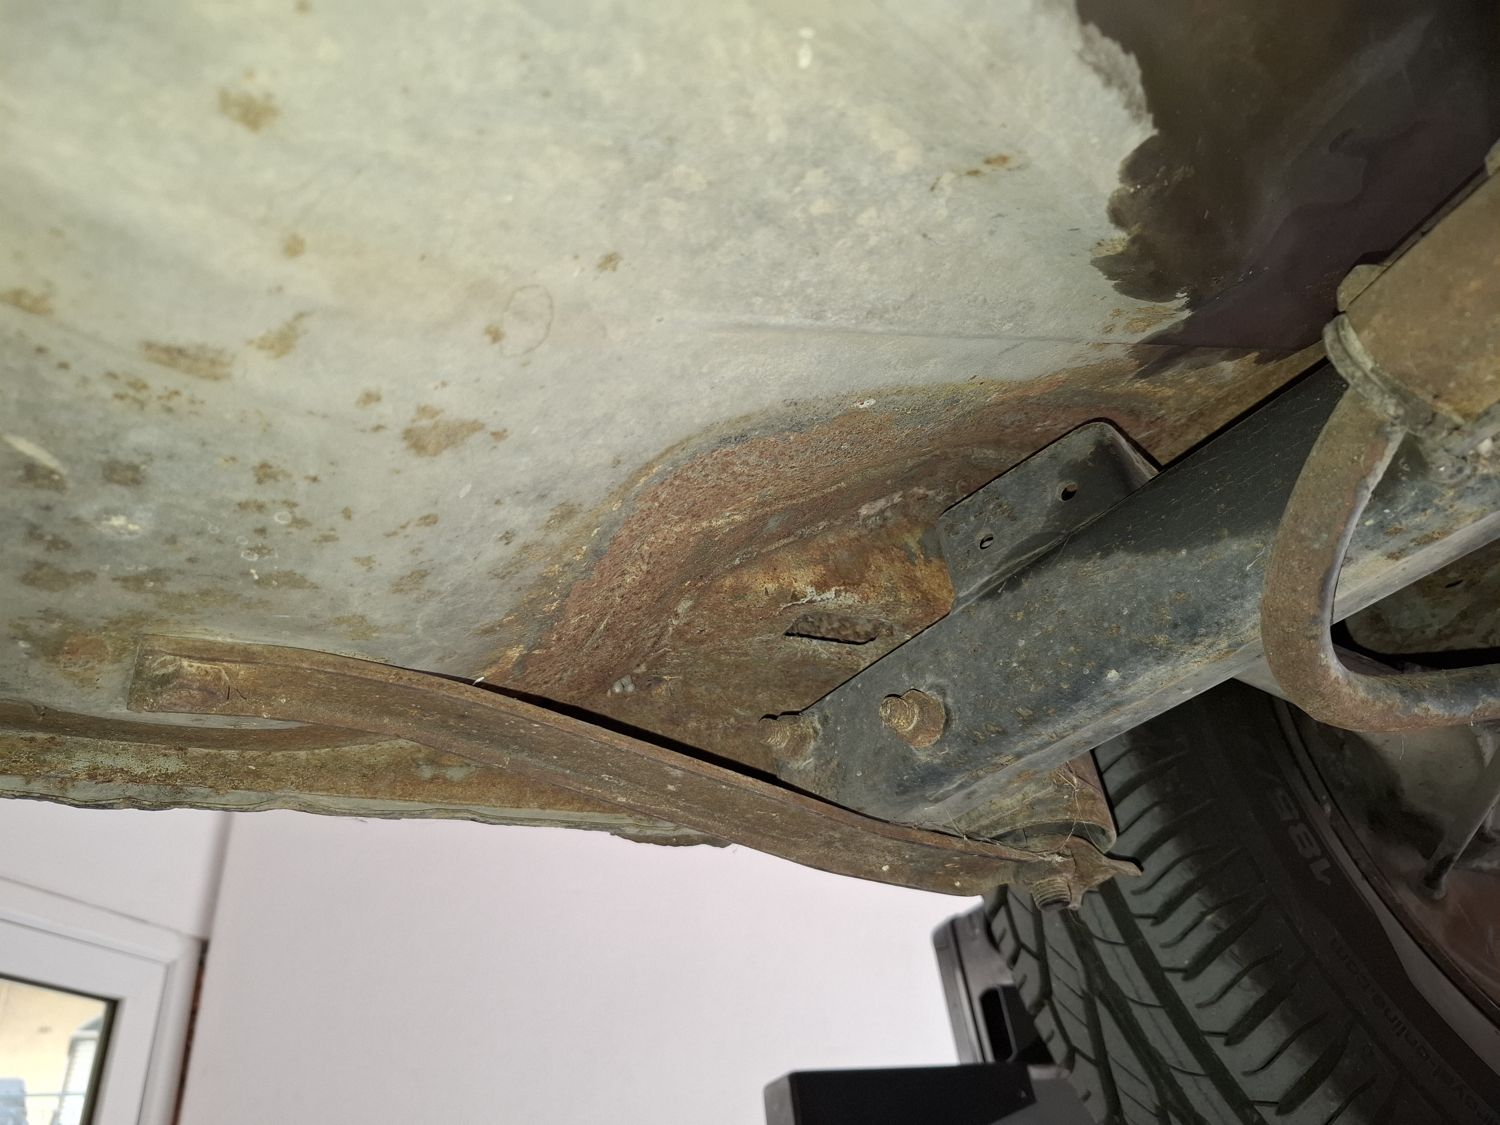
Pulling to the left: hub seal, rebuilt calipers, new pads
BrakesSKU P-0141, P-0150, P-0151, P-0153, P-0154
The problem: driving a bit spiritedly on mountain roads in Greece, the car suddenly pulled hard to the left. Before that it had sometimes pulled to either side when the brakes were hot, which I had put down to sticking pistons. With the car lifted there was grease sprayed over the steering knuckle: a worn inner hub seal had let grease onto the brake.
Hub seals: new inner seals.
Calipers: since we were in there anyway, my father and I sent a good old set of ATE four-piston calipers from a low-mileage BMW 2000 (Neue Klasse) to our mechanic, Mavroukakis, for an overhaul with new original ATE seal kits (bought from Autodoc), to get rid of the pulling for good.
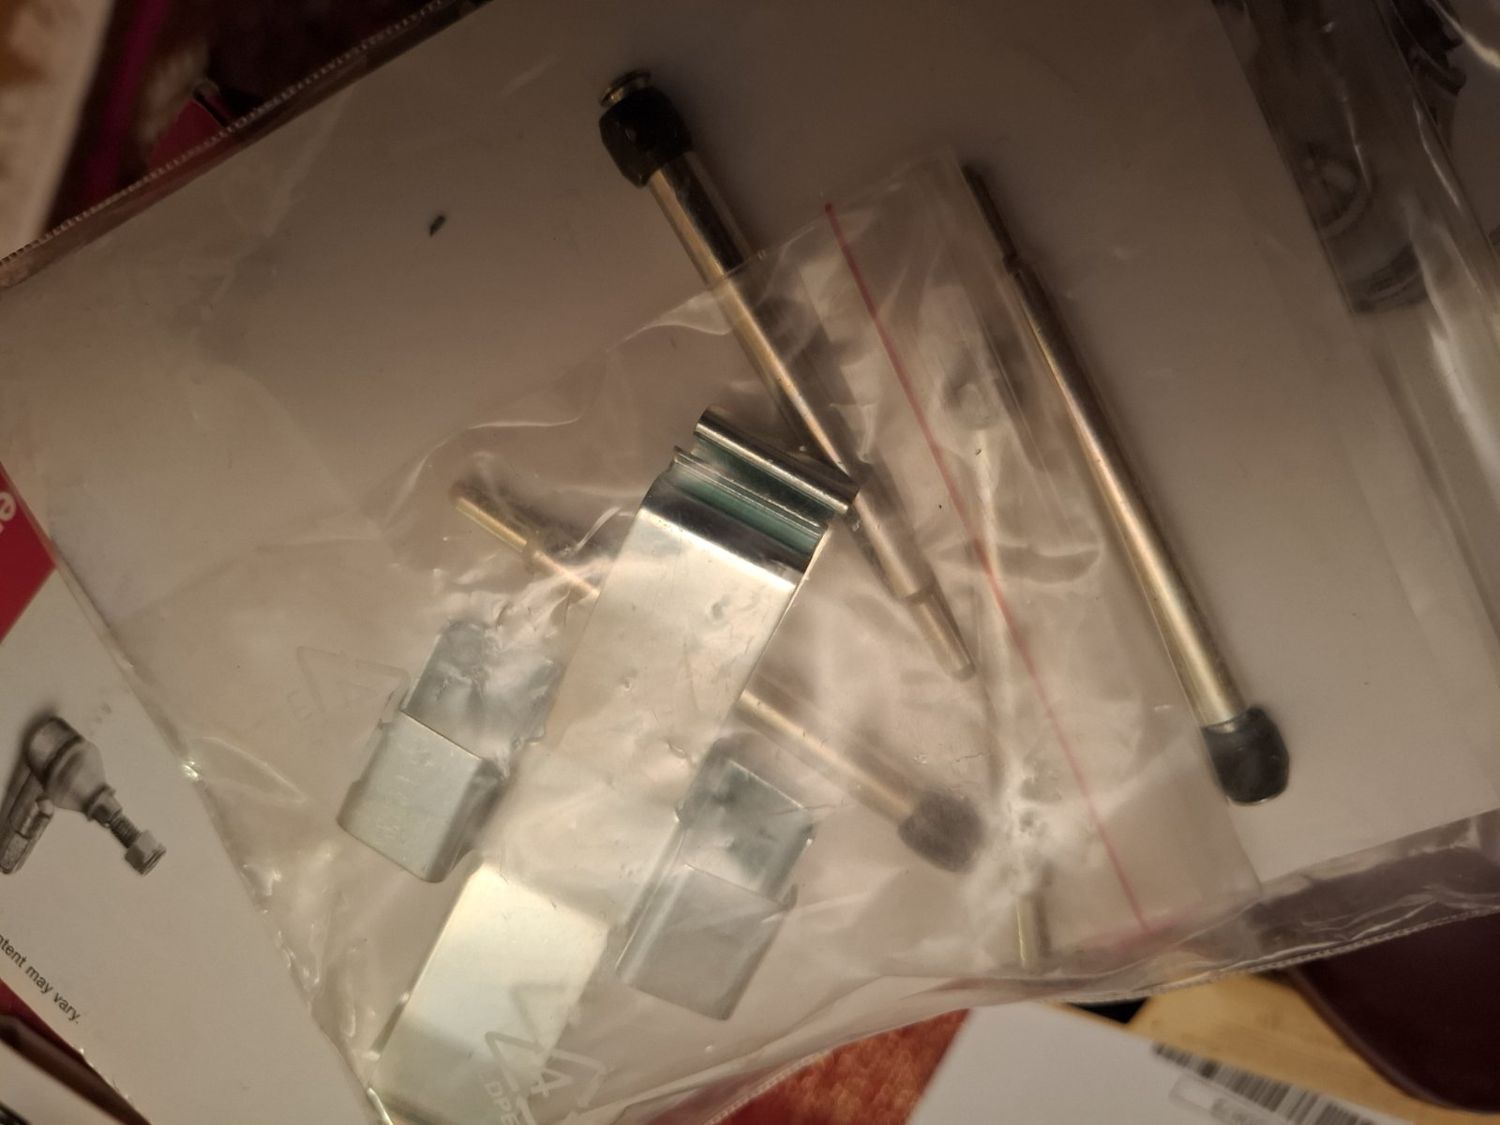
Pads: fresh ATE pads with a new fitting kit (pins, spring clips).
Fluid hoses: the hoses from the reservoir to the master cylinder and the master cylinder's rubber plugs were replaced too (parts from Baum and Autodoc).
Discs: the Zimmermann discs are still very good, with plenty of life left.
Result: the braking is now perfect.
The old calipers: I opened one up later. The rebuild was clearly necessary.
The calipers from the BMW 2000, April 2025The rebuilt pairNew seals in a rebuilt caliper, 2 SeptemberFitted, with the new ATE padsThe original ATE seal kitThe pad fitting kitOne of the old calipers opened up, 8 September
9 Aug 2025
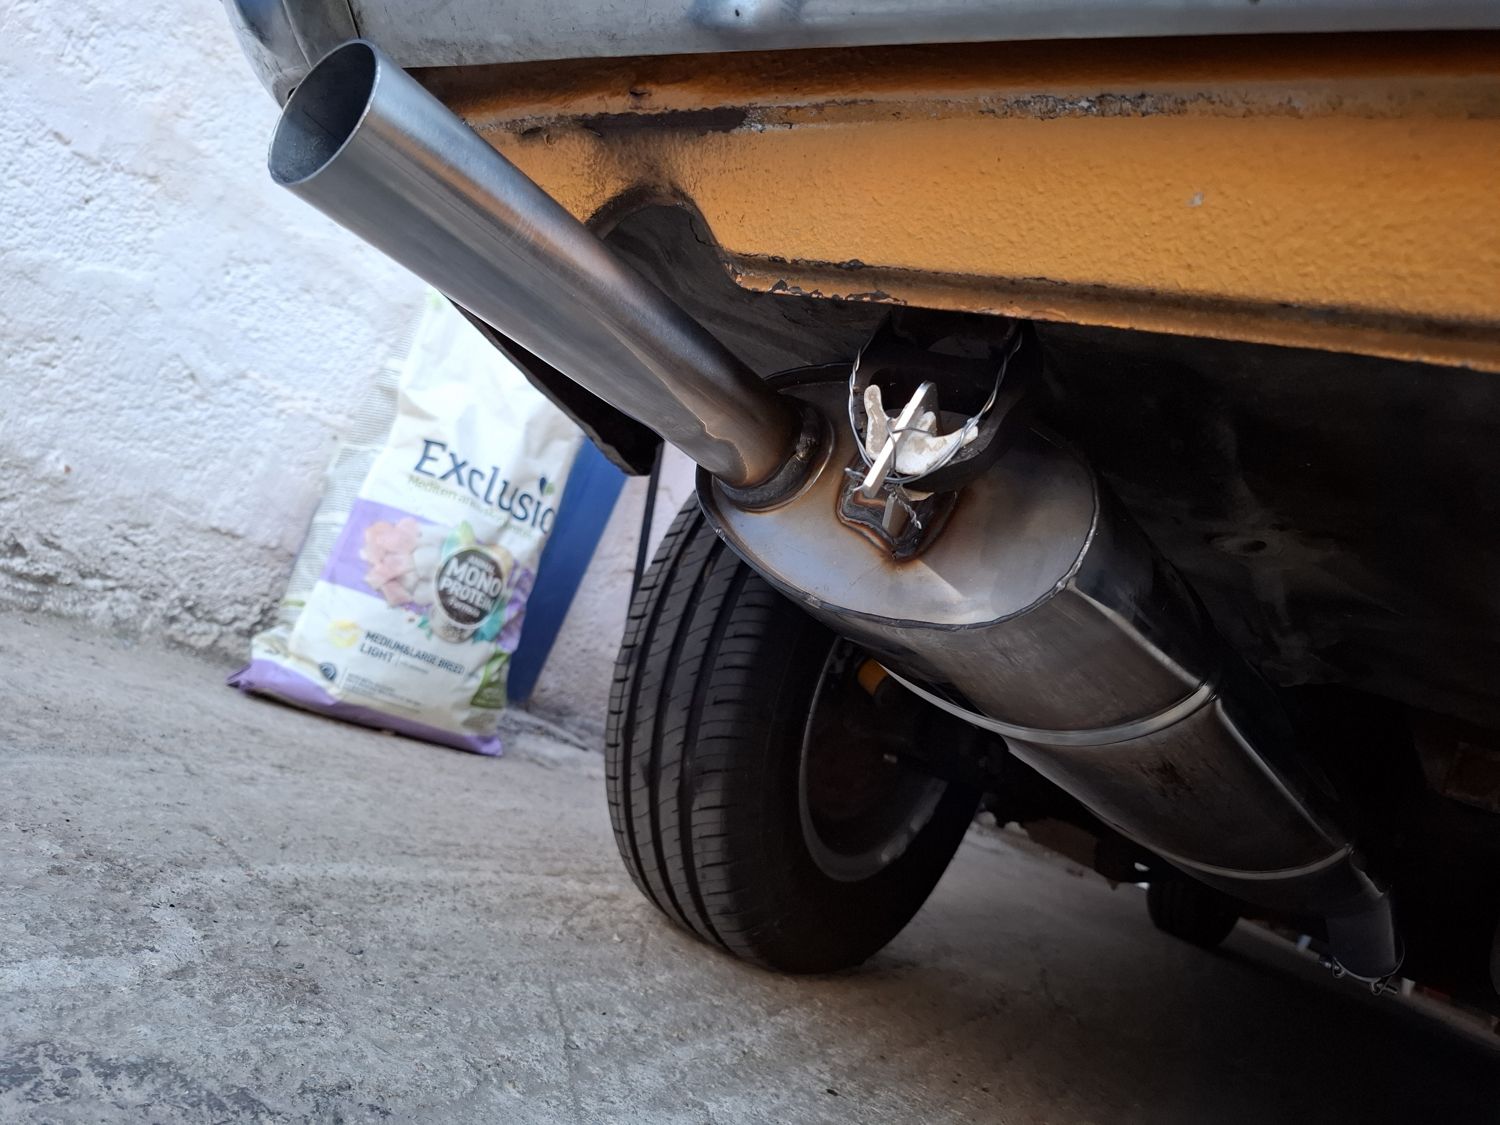
New rear silencer (Larini)
Exhaust
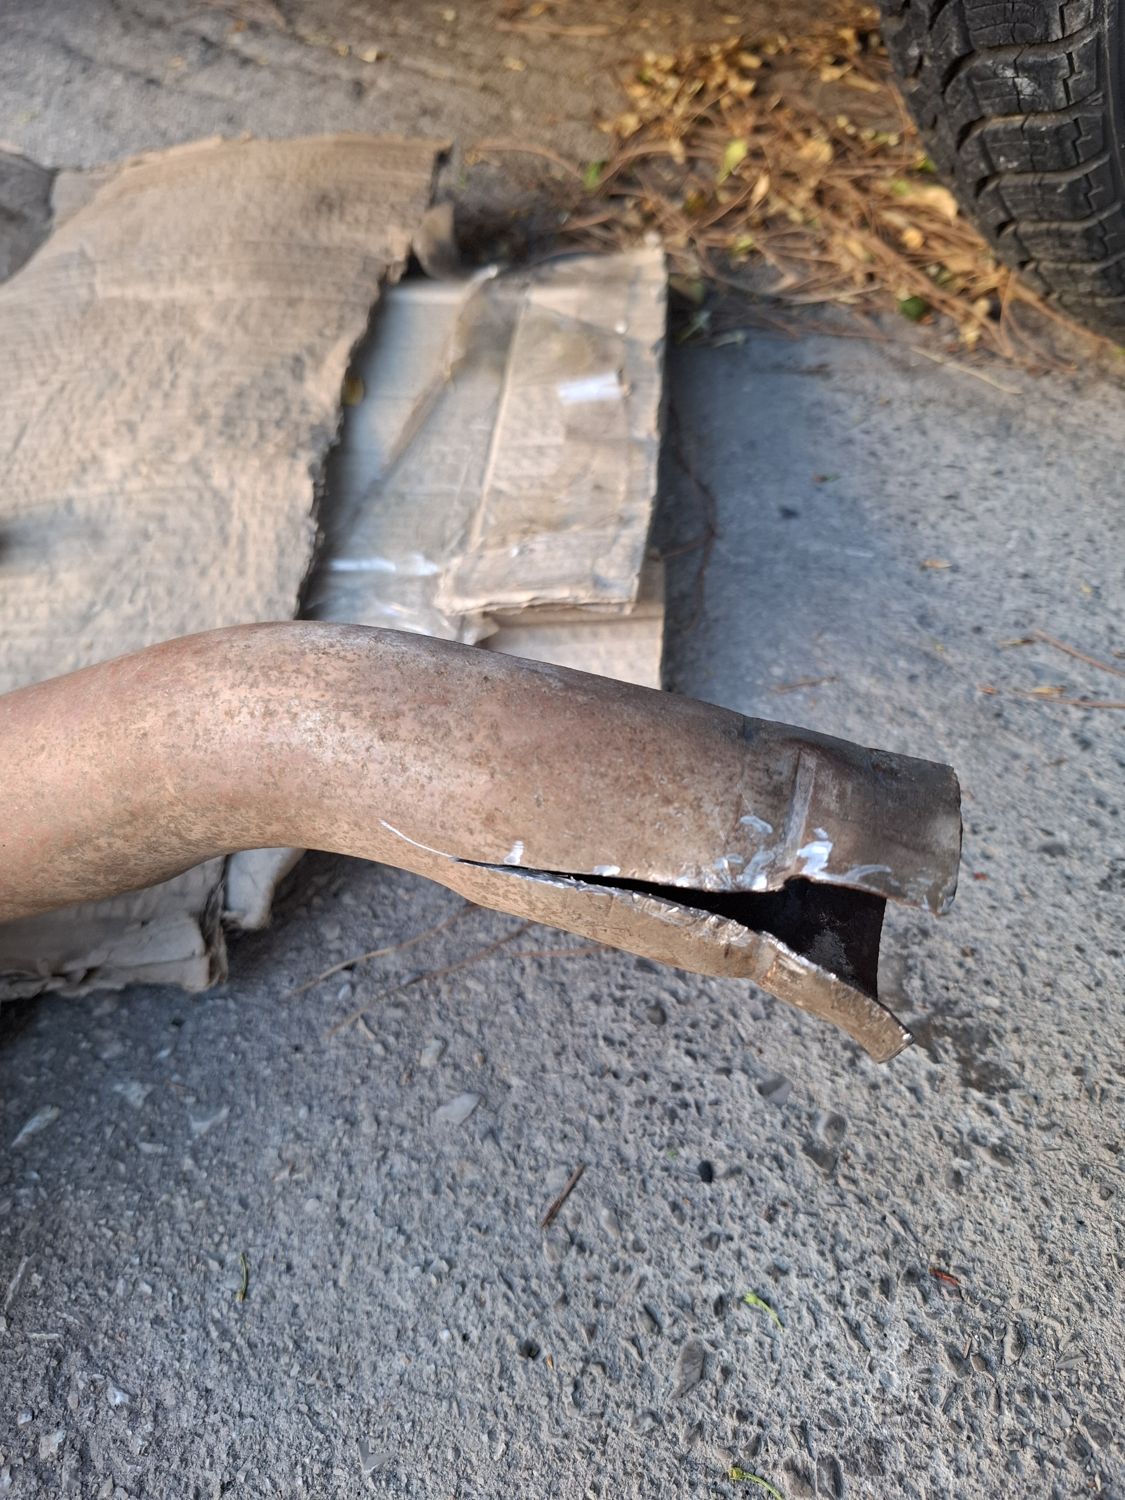
The old rear silencer was rusty, so it was replaced with a new Larini one. The rest of the exhaust stayed.
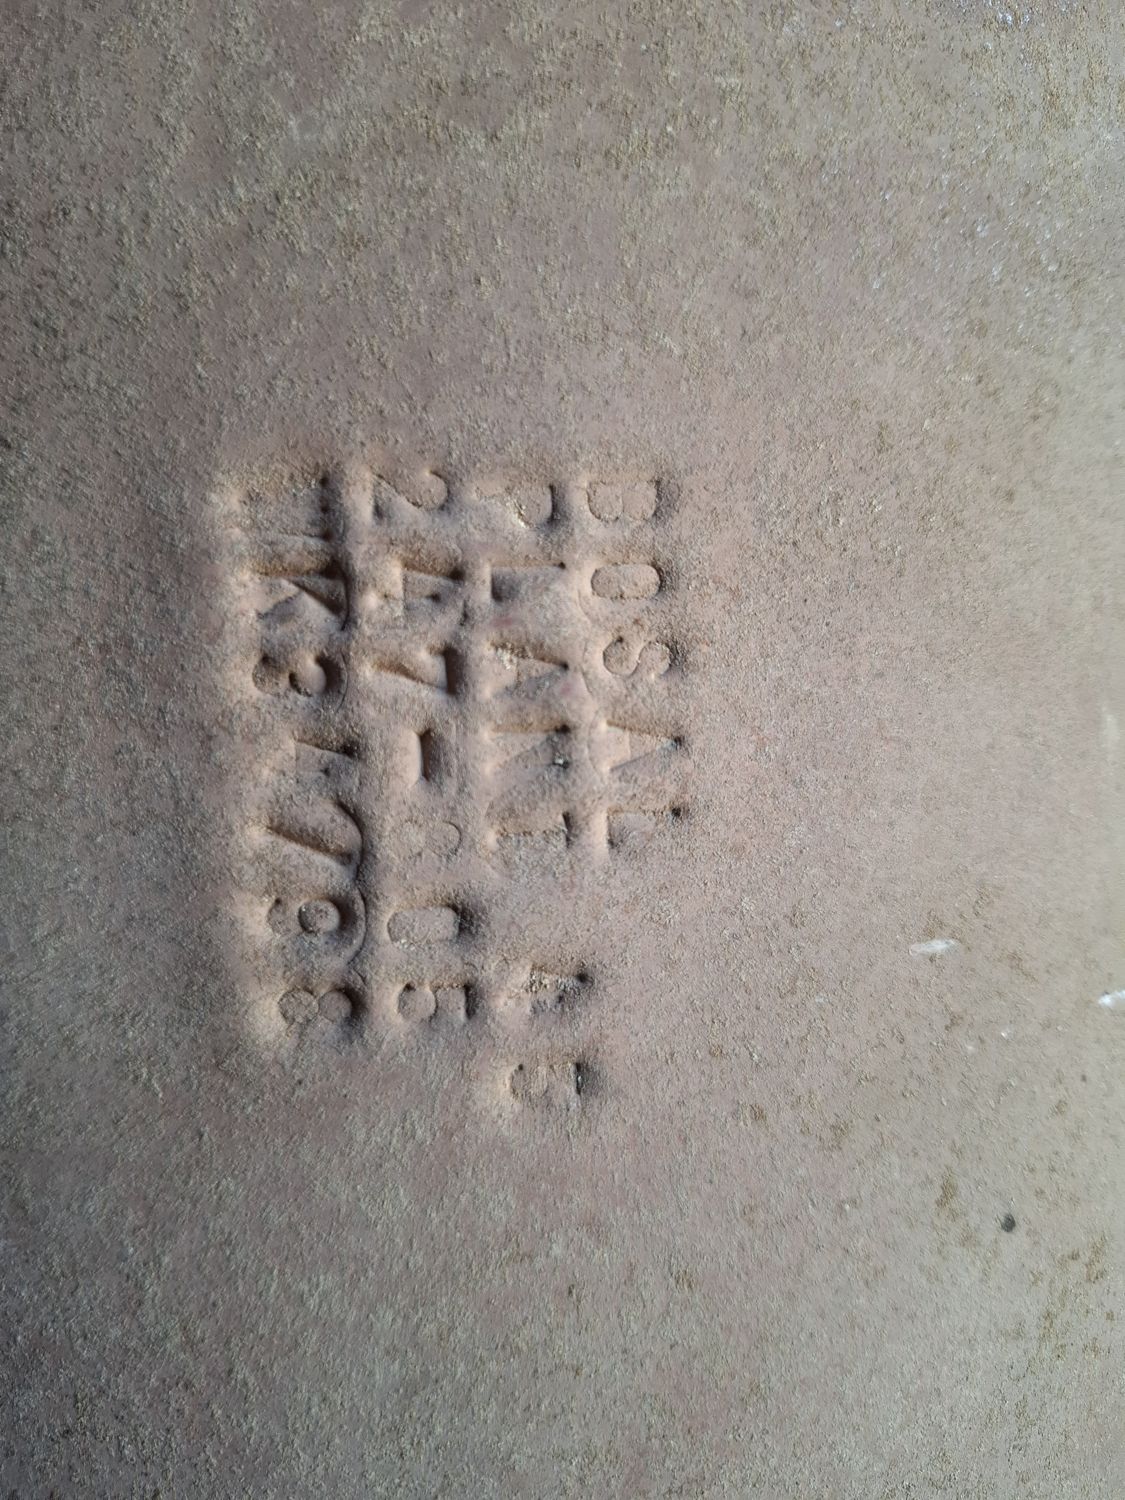
The old silencer coming offThe rusted pipeThe new Larini silencer onLarini stamp
8 Aug 2025
Pedal box refresh, indicator fault
BodyElectrical
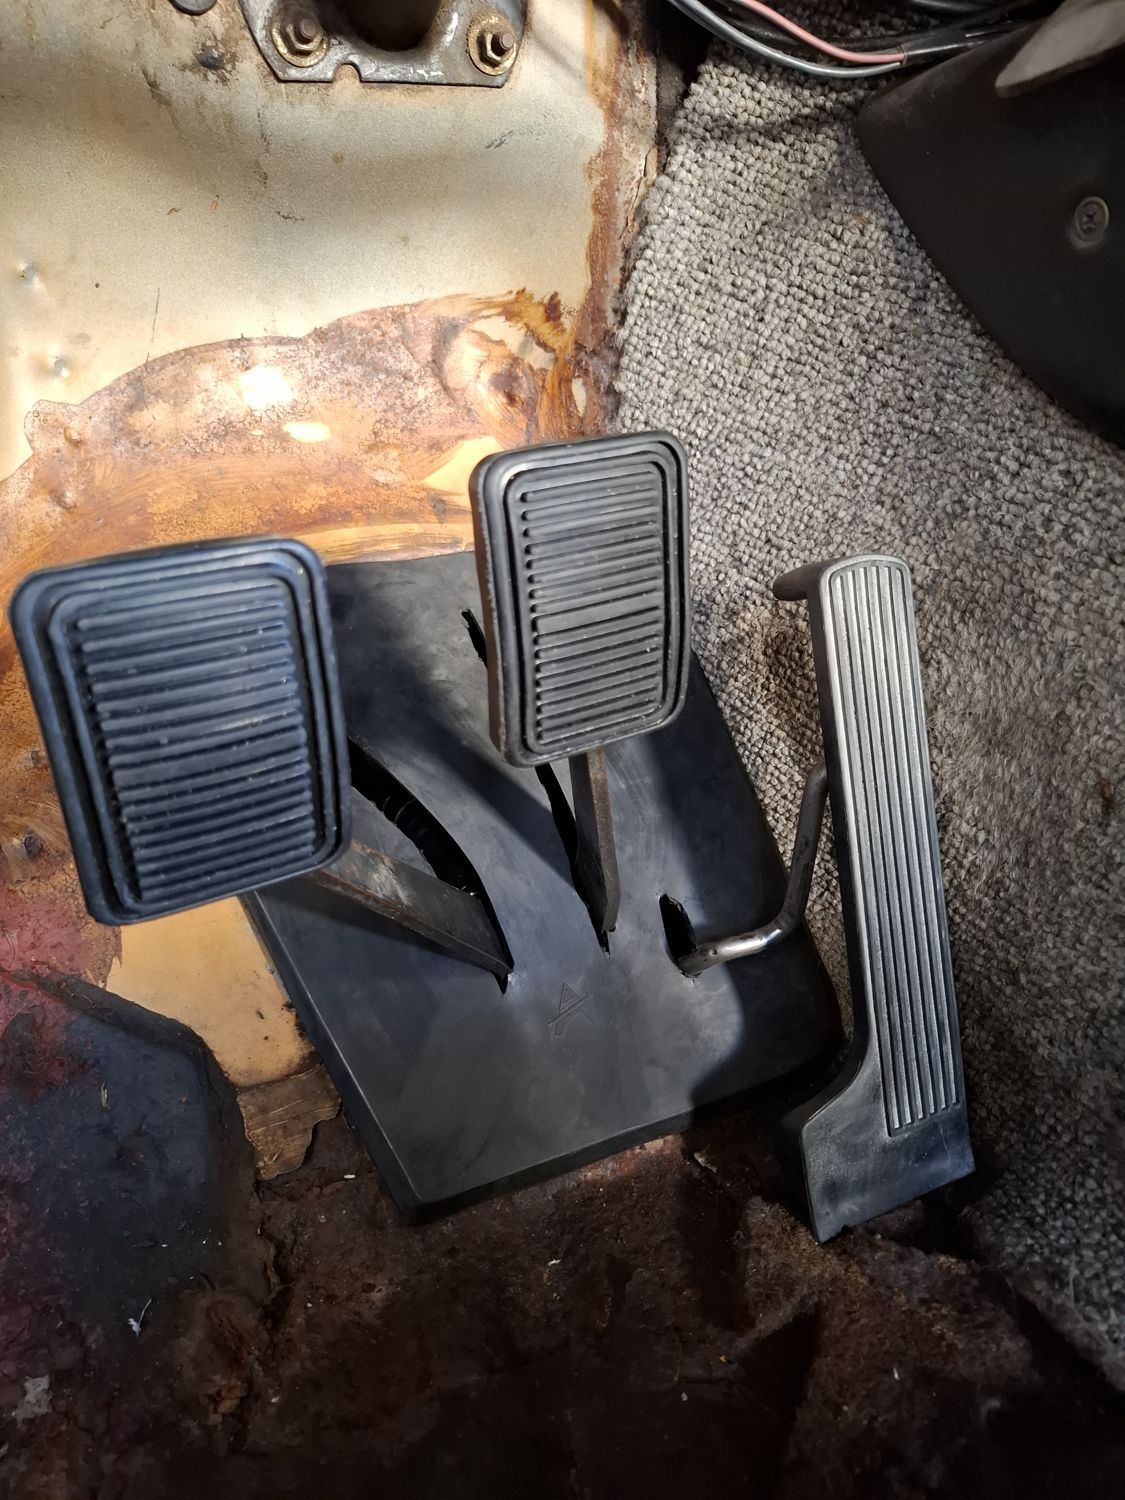
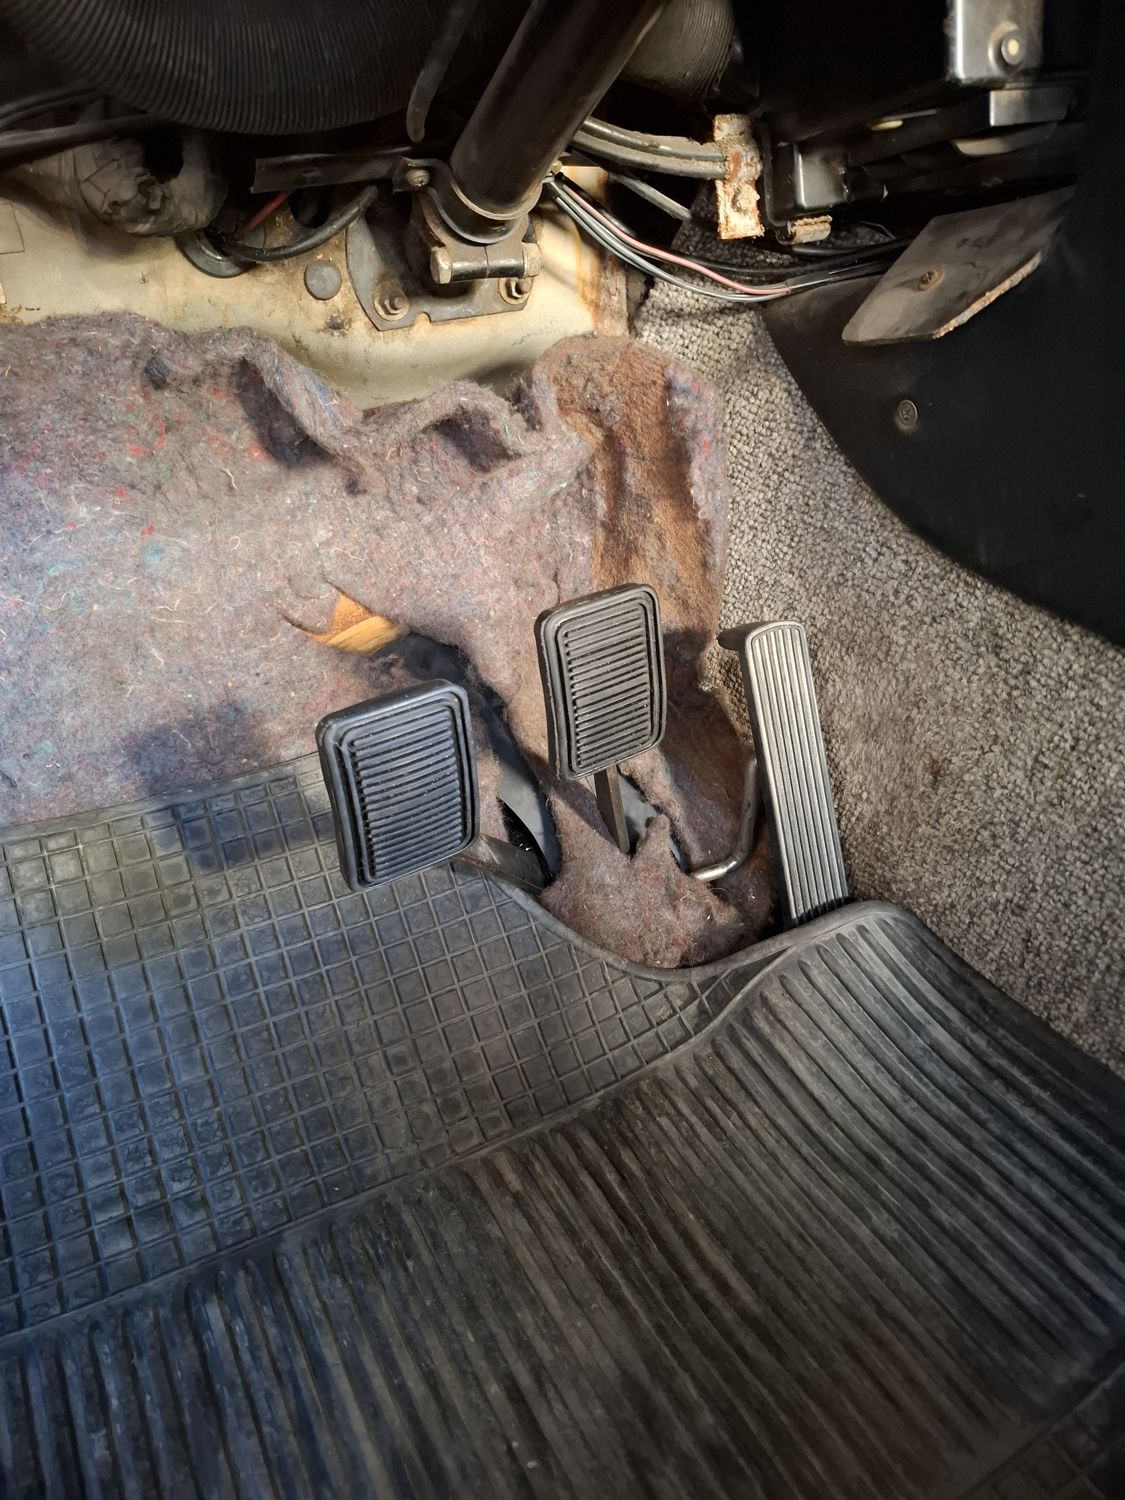
Pedal box: new pedal rubbers, a new accelerator pedal with new bushings, and a new inner cover for the pedal box.
Indicators: the indicator light in the cluster flashed once and then stopped, while the hazard lights worked fine. I cleaned the earth points of the indicators, and on 9 August fitted a new flasher relay, but the fault stayed. Afterwards I found that the front left indicator bulb was burnt out, but a new bulb did not fix it either. A year later the fault is still there.
New pedal rubbers and accelerator pedalFloor mat back in
7 Aug 2025
New fuel pump, LSD oil
EngineDrivetrainSKU P-0002, P-0001
Fuel pump: the mechanical fuel pump was slowly leaking fuel, so it was replaced with a new Pierburg one. I also ordered a membrane kit to restore the old pump: the old one seems better made than the new ones, which as far as I know are almost all no longer made by Pierburg itself (I think an Italian company makes them now).
Rear brakes: new HELLA/Pagid H1122 shoes (250 mm), Zimmermann 250 mm drums, and SWAG 19 mm wheel cylinders (E21 type).
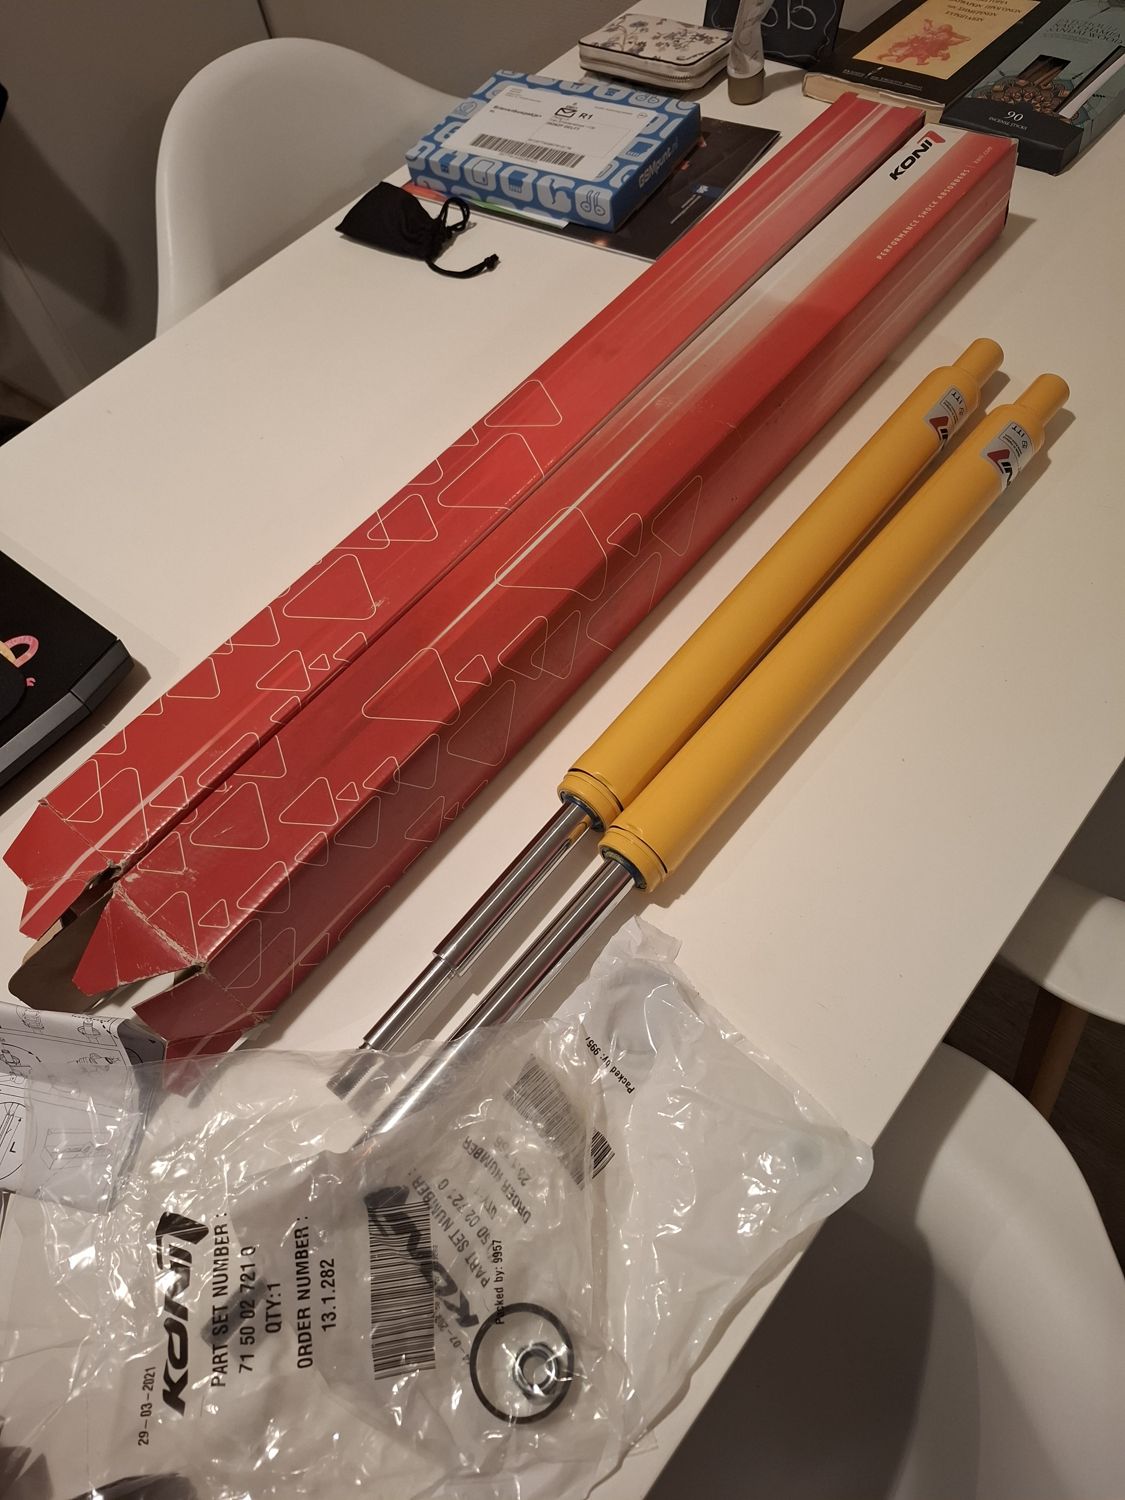
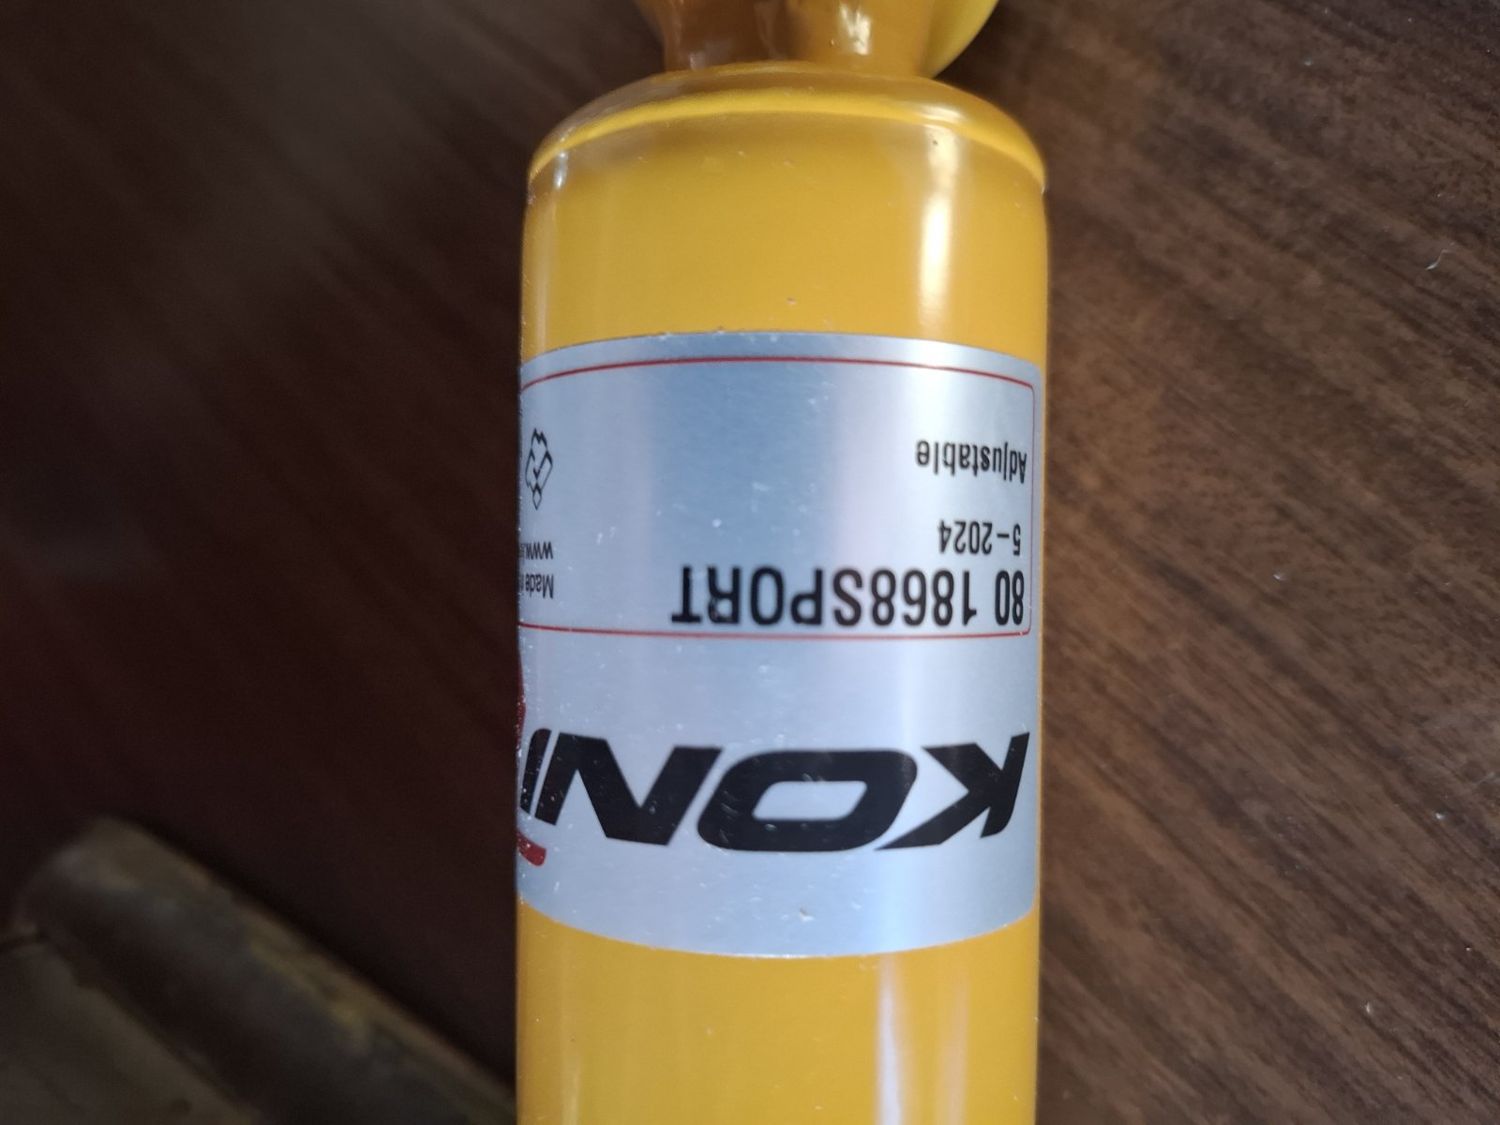
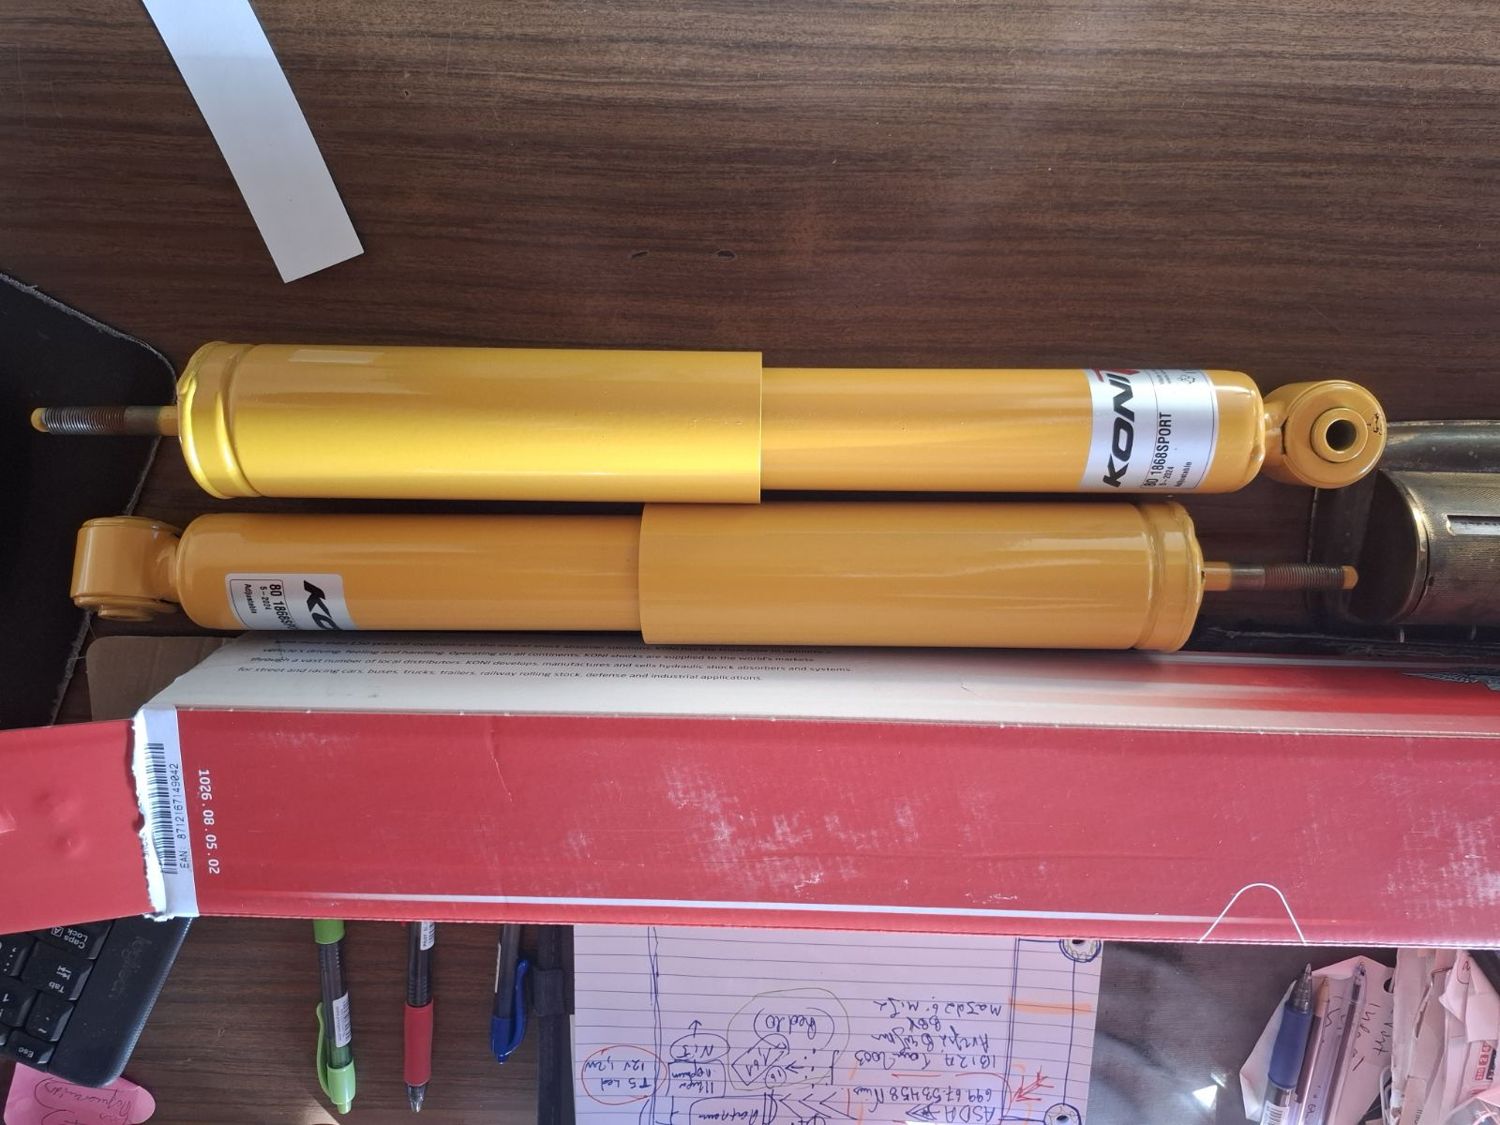
Rear dampers: KONI yellow 80-1868 Sport (P-0019), same type as before. The old ones are in fairly bad condition and need restoring.
Steering: steering box play adjusted.
Propshaft: replaced with a used one. The old one had about 1 mm of radial play in the universal joint, which caused vibration and noise, most noticeable at low speed. New centre bearing SWAG 20 87 0004. The guibo (flexible coupling) was in good condition and stayed.
Gearbox: seals at the shift lever and at the reverse gear renewed; gearbox mount changed to a used one (a new one is still needed).
The new rear KONIs, 80-1868 SportThe pair
23 Dec 2024
54.742 km
General service
ClutchCoolingBrakesEngine
Clutch: new line between master and slave cylinder, custom-made by a brake specialist from a BMW M5 hose with a metal coupling. Slave cylinder replaced with a new ATE one; the old one did not leak but was rebuilt decades ago, so it is kept as a spare.
Cooling: thermostat replaced with a CALORSTAT 80 °C unit (the old one, a WAHLER 75 °C from a Turbo, still works). Coolant replaced with SWAG 550 G11 blue; the old coolant was the wrong type.
Brakes: brake hoses replaced with Febi Bilstein. Handbrake and drum brakes adjusted; the shoes will need replacing.
Gearbox mount: replaced with a used one in better condition; a new one is still needed.
3 Sep 2024
New JBL speakers
Interior
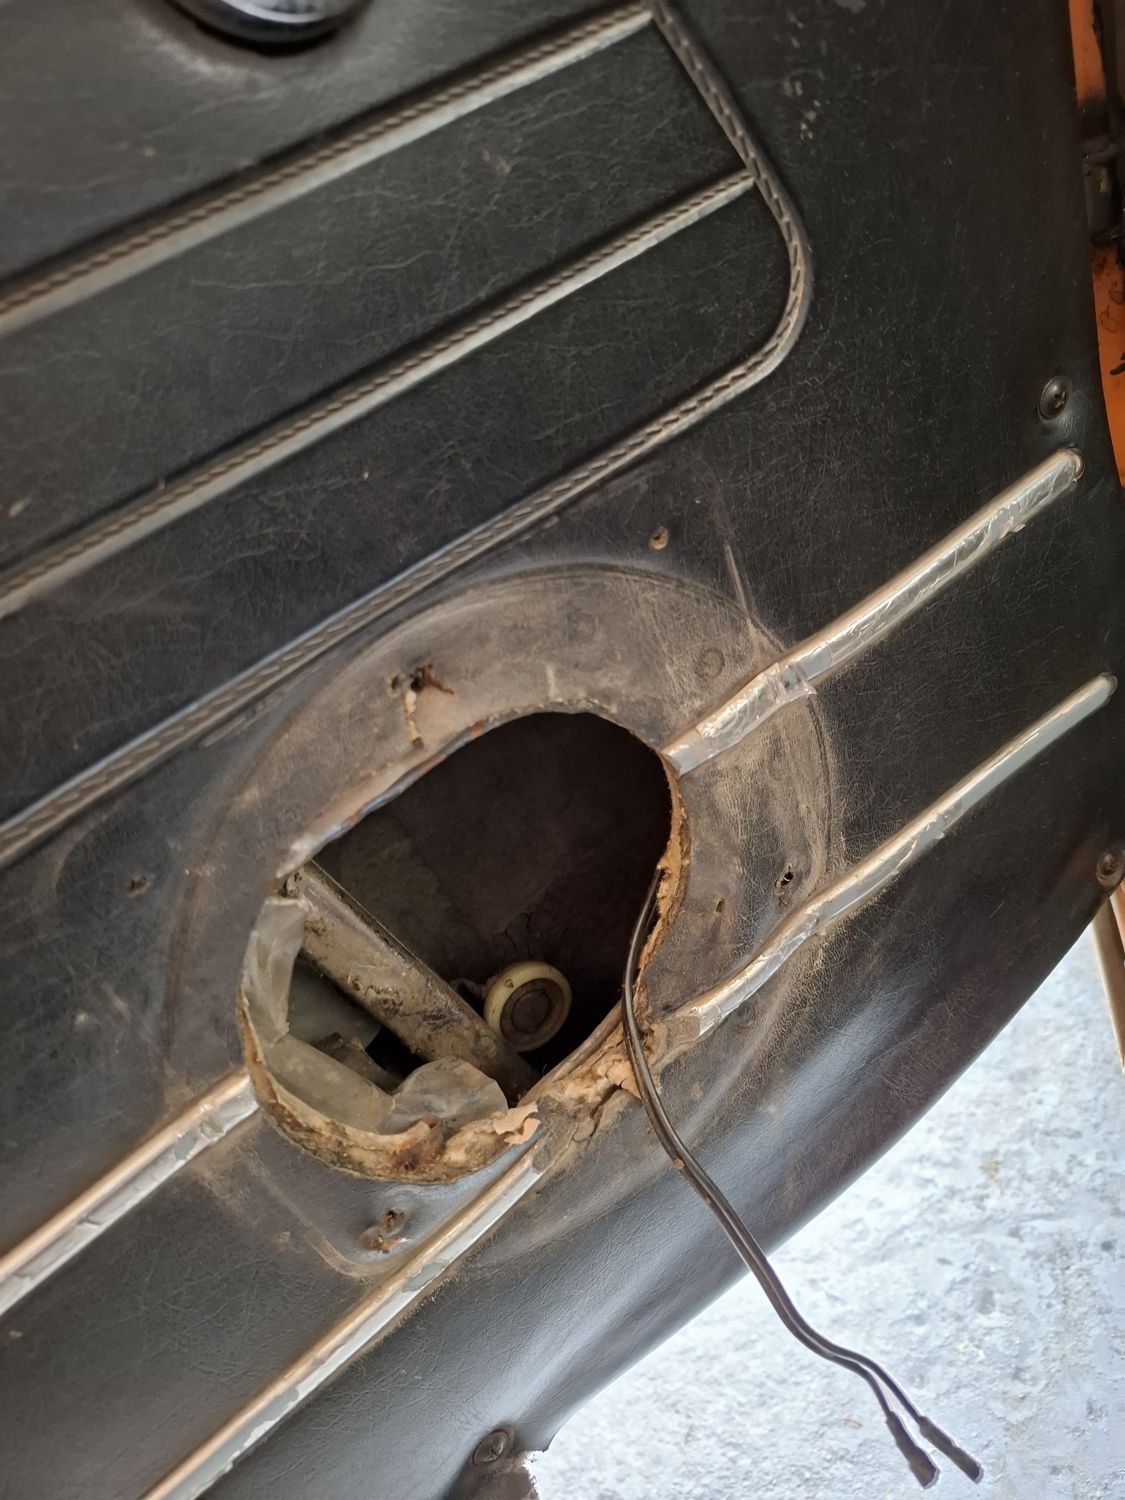
The old speakers came out and new JBL speakers went in.
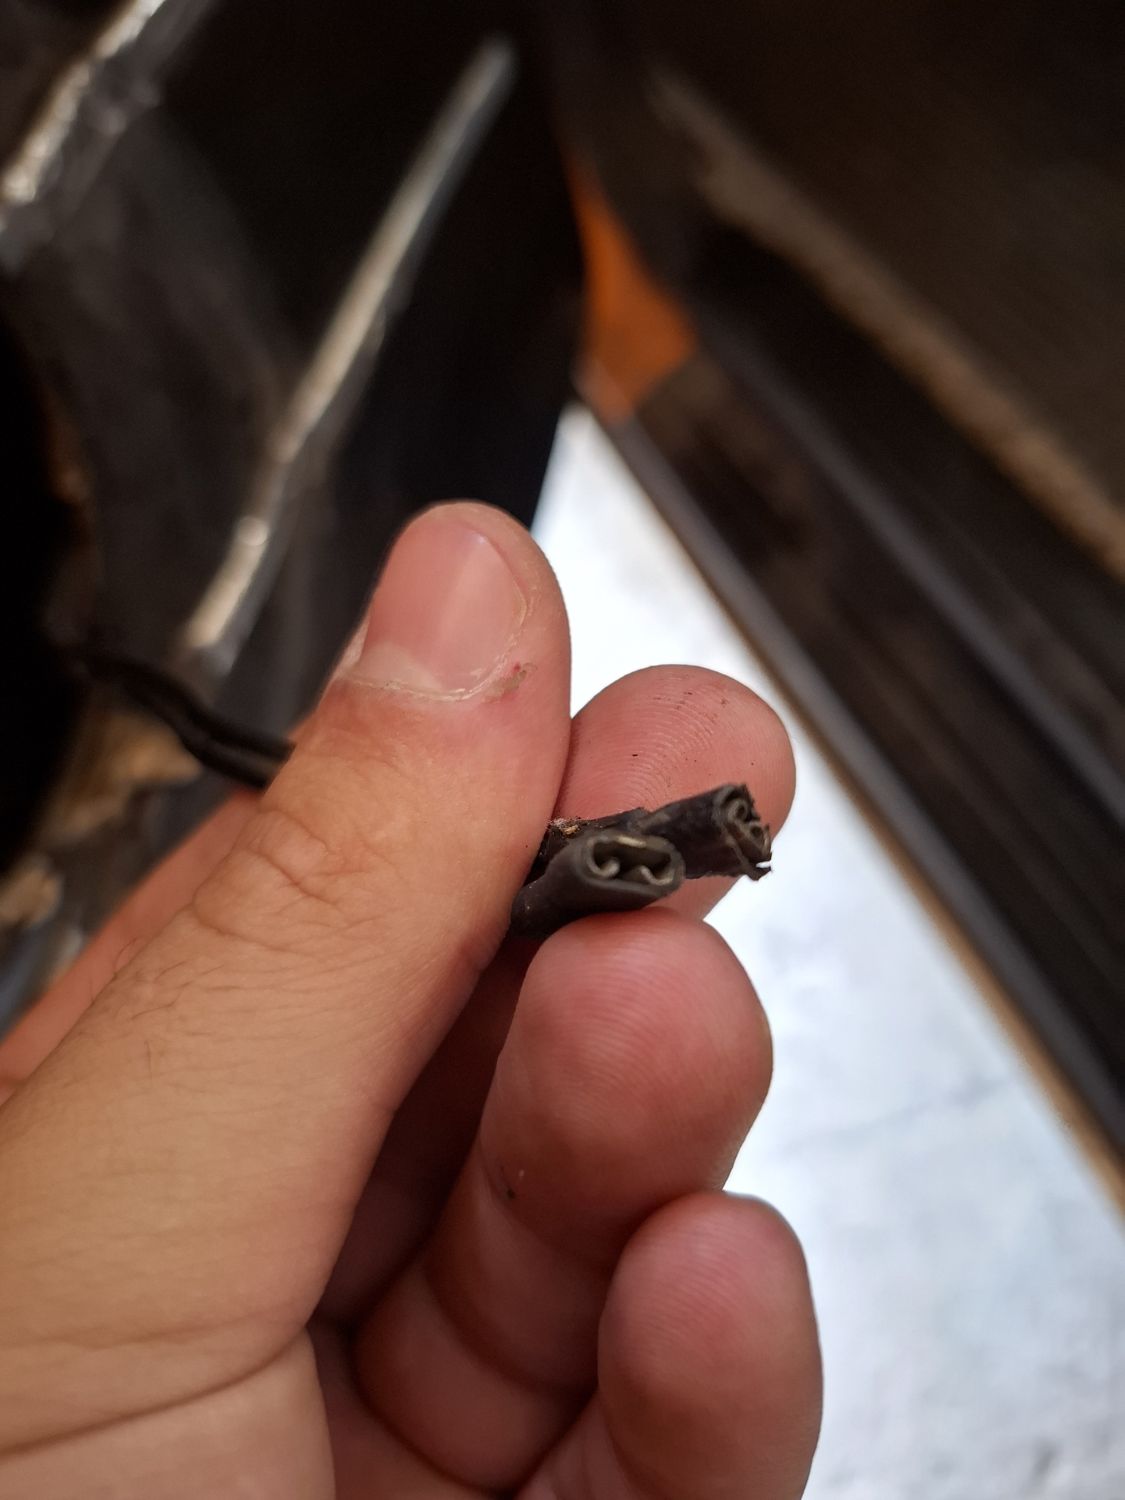
The old speaker openingOld cable and connectorOut with the old one
23 Jul 2024
Clutch master cylinder and brake hoses
ClutchBrakes
Clutch: the master cylinder was leaking again. It was a genuine FAG unit, and a genuine FAG repair kit (complete cylinder with seals) was on the shelf, so it was replaced.
Brakes: worn rubber brake hoses replaced. Take care when unscrewing the rubber hoses from the metal lines.
9 Feb 2024
Alternator bushings and wiring
Electrical
Alternator: worn bushings let it vibrate so much that it scraped the fan when the engine was cold. Replaced with MEYLE bushings.
Wiring: fixes in the wiring.
3 Jan 2024
Differential oil, clutch master cylinder and pedal box
DrivetrainClutch
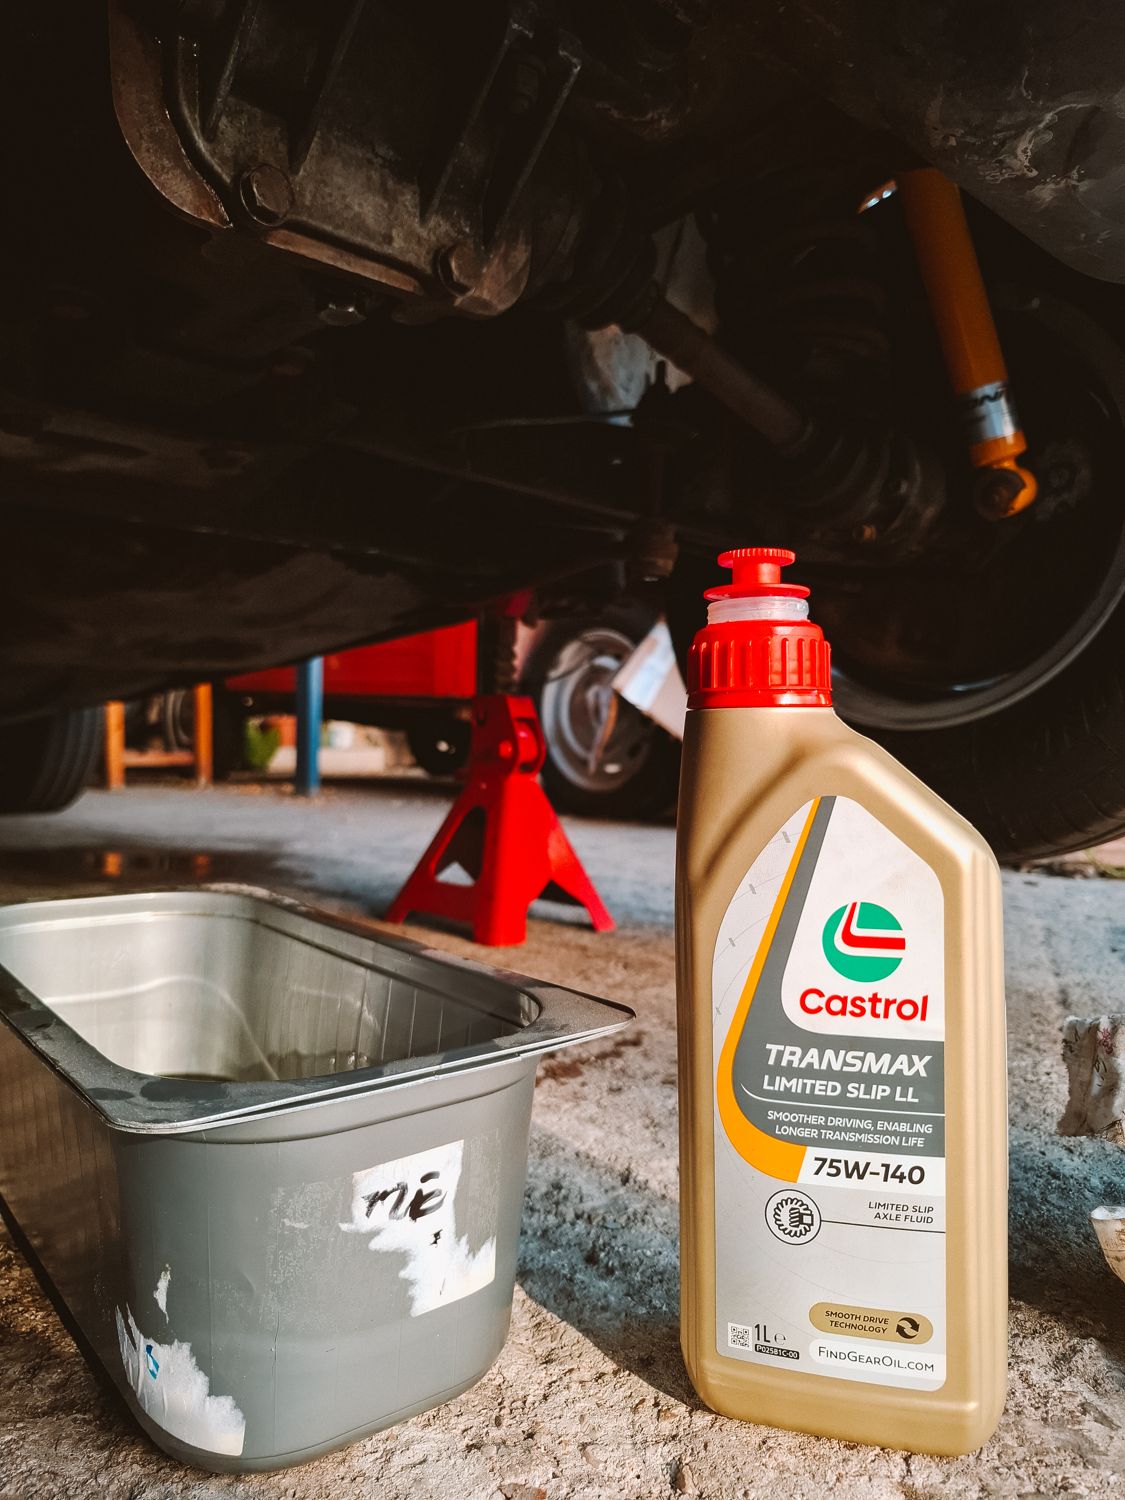
Differential: oil changed (Motul GL-5 75W-90).
Clutch: the master cylinder was leaking; new seals.
Pedal box: outer cover repaired, but it still needs replacing. Fluid from a leaking clutch master cylinder can collect there and speeds up corrosion.
10 Jan 2023
General service
EngineElectricalCoolingDrivetrainBrakes
Engine: oil and oil filter, air filter; engine bay cleaned, head cover painted.
Electrical: contact breakers and spark plugs replaced.
Notes I collected on the BMW 02 series: factory data, the club forums and my own experience. "(forum)" and "(claim)" mark opinions or seller statements, not factory data.
VGS Motorsport, Cologne (vgs-motorsport.com): Weber DCOE parts; can identify DCOE variants by their numbers. DCOE lever set for BMW 2002 V 4006.01 S, DCOE fuel T-piece/double banjo 8 mm 2110536.034.00, 90° fuel inlet 2110536.035.00. Publishes an exploded view + parts list for the 40 DCOE 151.
CarbParts.eu ("CarbDeal" on eBay): free DCOE service manual, exploded view and priced parts list for the early 40 DCOE; DCOE gasket kits as "basic" (reseal) or "full restoration".
Ruddies Berlin (ruddies-berlin.de): Solex 40 DDH exploded view.
TZR-Motorsport: camshafts, e.g. Schrick 304° (forum).
Walter Thomas (Facebook): air-filter bracket for keeping the original ti air-filter drum with twin carbs, 02 and NK. Version A: brake fluid reservoir on the strut tower; version B: reservoir on the master cylinder.
Cahsel (DE): copper replica of the 2002ti coolant return pipe.
Bremsen-Heinz (bremsen-heinz.de): performance pads, e.g. Pagid RS4-2H for 2002 tii (no road approval; transfer the anti-squeal shims).
Kugelfischer: Fuel Injection Center (fuelinjectioncenter.com, USA) repairs KF pumps. In Germany Koller & Schwemmer (Nuremberg) was the known KuFi specialist (forum: costly full overhauls).
The Alpina A1 engine was TÜV-approved as a retrofit for the Touring (Ausf. A–H, ABE 7749), besides 1600-2/1602 (ABE 5260, 5260/1), 1600 TI (5872), 1802 (7744), 2002 (6036), 2002 TI (6362) and 2002 tii (7641).
The Alpina A2 emissions approval (VdTÜV report 3 Aug 1973) was done on a 2002 Touring, chassis 3505544 (originally a 1802 body).
Rear spring upper rubber ring: always the 1-dot (28 mm) ring on Touring models with original springs (see Suspension).
KONI: the 1600/1800/2000 Touring (71–75) uses the same dampers as the saloon: front 86 1519 Sport, rear 80 1868 Sport.
Factory halogen fog-light kit 63 17 1 357 446 was offered for the 1602–2002 Touring/tii from 9/73 (see Lighting).
VIN locations: engine boss above the starter, plate on the steering column/dash, possibly a door-frame sticker, engraving on the inner wing top. Reproduction plates exist; some 1976 USA cars left the factory without a plate. (forum)
Colorado (orange): 11/1968–08/1973; until Q3/1969 only on the 2002ti. (forum)
1600 ti original engine bay: twin Solex PHH and a round air-filter canister with a corrugated hose. The 1600ti/1600GT twin-carb air box has the same carb spacing as the 2002ti box but no cut-out for the brake booster (booster-less cars). (claim)
Alpina A1 (Bovensiepen, Buchloe; based on engine type 121, after the 2002 ti): converted engines must be marked "A1" after the engine number. See M10 Engine.
Walter Struckmann won the 1970 German hillclimb championship in a BMW 1600 Alpina (9 of 9 events).
Double carburettors need ti/tii/turbo brake booster due to space demands (especially when original filter boxes are used)
Versions (bore × stroke): 1499 cc 82×71 · 1573 cc 84×71 (1600/1602/1502, E21 316) · 1773 cc 84×80 (early 1800/1800ti) · 1766 cc 89×71 M10B18 (1802, 518, 318) · 1990 cc 89×80 M10B20 (2002/ti/tii/Turbo, 320, 520). "M10" refers to the block only; heads and pistons differ between 2002, ti and tii.
Bosch test values (1975): valve clearance cold, intake/exhaust 0.15–0.20 mm on all listed 02s; crank-to-alternator ratio 1:1.76; carb-engine fuel pump delivery 0.21–0.30 bar at 2000 rpm; injection (tii, Turbo) 1.5–2.5 bar.
Alpina A1: 115 PS (85 kW) @ 5800, 1977 cc, 185 km/h, 165 HR 13. First with 2× Weber 40 DCOE 19 (TÜV 11.5.1971), then re-approved with 2× Solex 40 DDH + BMW dry air filter 13 71 1 252 602 (2002 TI series) or Purolator E 622 for the emissions rules (cars registered from 1.10.1971). Emission measure: balance pipe joining the 4 runners, bypass with restrictor jet to the crankcase breather. Conditions: series 4-speed, 3.64 diff, series exhaust, HR tyres, series ARBs, unladen weight ≥ 920 kg.
Alpina A2: 150 PS @ 6700, 1990 cc, 2× Solex 45 DDH (venturi 38, main 110, idle 45, air correction 120, idle air 80), camshaft 300° / 10 mm lift, distributor Bosch JFUR4 0 231 100 005, closed two-circuit crankcase ventilation (1.4 mm restrictor).
"BMW Alpina 1800 TIZ" valve-cover decal (the decal says "TIZ": an Alpina designation, not the factory 1800 TI/SA; meaning of "Z" unconfirmed): 4.25 l HD SAE30 oil, valve clearance 0.20 mm intake/exhaust, ignition 3° BTDC, plugs Bosch 235P21 or W240T2, firing order 1-3-4-2.
Cams (forum): a 285° cam gives little over stock; 300°/304° (e.g. Schrick) is a good street compromise with twin carbs.
Connecting rod length (2002 tii homologation 5445): 148 mm centre to centre.
Performance cam installation rules (Schrick, apply to any M10 cam):
Fit new rockers with a new cam; check that no lobe touches the head.
Valve-to-piston clearance at TDC ≥ overlap lift + 1.5 mm (pistons may need valve pockets).
Intake and exhaust valve heads ≥ 1.5 mm apart at maximum overlap; retainer ≥ 1.5 mm from the stem seal at full lift.
Valve springs ≥ 1.0 mm from coil bind at full lift; set installed height with shims and measure every valve.
Turning the engine by hand is not a clearance check; measure.
Timing check: set the specified overlap lift (intake opening, exhaust closing) at cylinder 1 TDC, fit and tension the chain, turn the crank 720° and re-measure.
BMW applications in Weber's tables: 40 DCOE 19 = BMW 1600/1800 (float level A 7 mm, B 15 mm); 45 DCOE 15-16 = BMW 1800 TI/SA (A 7.5, B 14, pump stroke 14 mm). For reference: 40 DCOE 76/77 (Alfa 2000) A 7.5 / B 14; 40 DCOE 28 (Alfa 1300 GT Junior) A 8.5 / B 15, pump stroke 14. Plastic (Spansil) floats (40 DCOE 151, 45 DCOE 152): always A 12.5 / B 25, even when replacing a brass float.
No BMW jetting table exists in the own documents. Closest reference: Alfa Romeo factory jetting (owner highlighted 40 DCOE 28 and 76/77). Column labels interpreted from the usual Weber table order; check against the original.
Car
cc
Carb
Choke
Aux
Main
Idle
Emulsion
Air corr.
Pump
Alfa 1300 GT Junior
1290
40 DCOE 28
28
4.5
112
50 F11
F16
210
35
Alfa Giulia 1600 Super
1570
40 DCOE 24
27
4.5
110
50 F11
F16
180
35
Alfa Giulia 1600 GTV/Spider
1570
40 DCOE 27
30
4.5
117
50 F14
F16
180
35
Alfa 1750 Veloce
1779
40 DCOE 32
32
4.5
130
50 F8
F9
200
35
Alfa 2000 GT/Spider
1962
40 DCOE 76/77
32
4.5
135
55 F17
F34
210
35
40 DCOE 151 (new production) standard: choke 30, aux 4.5, emulsion tube F11, main 115, air corrector 200, idle 45F9, needle valve 200, starter 85F9. Pump jet is given as 40 on one page and "50 = series" on another.
Service: initial idle-mixture screws ½–¾ turn out from lightly seated. Jet stack top→bottom: air corrector, emulsion tube, main jet. Float level: cover vertical with gasket, tab just touching the needle ball. On 45 DCOE and on 40 DCOE from type 136, chokes and aux venturis are retained by screws. Check pump stroke after every spindle refit (10 or 14 mm depending on type).
Running faults: hot start = no starter, half throttle while cranking; cold start = starter on, pedal untouched; poor idle = manifold gaskets, idle jets, starter valve, throttle return; flooding = needle valve and float level.
Cold weather: below ~3 °C the air jets can ice up; the 2002ti airbox takes warm air from the engine bay, so avoid cold-air intakes in winter. Cars kept outside need the starter; give one throttle pump before cranking. (claim)
Twin DCOE conversion needs: trumpets and air filter, larger intake manifolds, modified throttle levers and a full linkage, water flanges, and the throttle-linkage bracket extended downwards (e.g. two 8 mm washers welded on) so the shaft clears the carbs. 45 DCOE is too big for a stock head; 40 DCOE suits better. Buy parts separately rather than as a kit. (forum)
Alpina twin-carb air box: black tubular box with 4 rubber boots, on a bracket at the left strut tower next to the brake fluid reservoir.
Solex DDH
Settings for 2002/2000 (per Solex, 02-club.de):
Series cam ~125 hp
300° cam ~150 hp
324° cam >200 hp
Bore / venturi
40/34
45/38
45/41.5–44
Main jet
120
130
155–175
Air correction
90
95
90–100
Idle jet
40/60
55/70
55/70
Pump shot
0.8 cc
0.9 cc
1.2 cc
Maintenance: the starter diaphragm tears (disable the starter, or fit a diaphragm from a distributor vacuum unit). Set the throttle plates on the bench so the transition ports open evenly, then synchronise with the idle screw. Float level: measure midway between the floats. Pump shot: 10 strokes ÷ 10.
Mechanical fuel pump
Single-carb pump 1971–73: diaphragm 13 31 1 255 181, insulating bushings 13 31 0 075 752, spring 13 31 0 075 775, sealing ring 13 31 0 680 130 (some reportedly NLA). Fit with the pump lever mid-stroke, then tighten the diaphragm screws; rule of thumb preload = half the 4 mm stroke. BMW special tool 5125 (setting gauge) is rare. (forum)
Kugelfischer injection
About 20,000 E12 520i had Kugelfischer injection; many were scrapped for 2002tii engines. Only the alternator bracket and oil pan/pump differ from the tii engine. (forum)
Real pump defects are rare. Before touching the basic adjustment screw check fuel pressure (at the cold-start valve), warm-up regulator and lever, control lever on its shaft, linkage play and rod adjustment, and vacuum leaks (warm-up regulator hose). (forum)
2002 ti (factory manual): static TDC; dynamic 25° BTDC at 2200 rpm, vacuum hose off; advance at 3000 rpm 30–34° or 29–33°, at 3500 rpm 32–36° or 33–37° (end), depending on distributor; maximum adjustment at the crankshaft 34±2°, 37±2° or 35±2°; maximum centrifugal advance 16°. Distributors 0 231 129 026 / 0 231 129 033 / 0 231 151 008; current replacement Bosch 0 231 188 002 (BMW 12 11 1 271 726). The 1600 ti and 1600 GT use the same distributor family.
Setting up a ti/tii-type distributor (Wolfgang, 02-club.de; owner used it on the Touring with a 0 231 151 008, 2026): at idle the timing is at TDC. 25° BTDC is reached at 2200 rpm for the 0 231 151 008, -009, -003, 0 231 188 002, -001 and 0 231 129 037, but already at 1400 rpm for the 0 231 129 026 (vacuum hose off). Full advance 30–34° BTDC at 3500 rpm. On the pulley 25° is about 25 mm and 32° about 32 mm from the TDC mark (a paint dot helps without an adjustable timing light). Standard ti settings apply to engines up to a 304° camshaft; only forged high-compression engines with hemispherical chambers need less advance at high rpm (modified distributor, but never past TDC at idle). Other models: early 1502 25° at 1900 rpm; 1600–2002A 25° at 1400 rpm; tii 25° at 2400 rpm.
Factory manual, other models: static 3° BTDC (1502, 1602, 1802, 2002, 2002A), TDC (ti, tii). Dynamic 25° BTDC at 1400±50 rpm (1602/1802/2002/2002A), 1900 rpm (1502), 2400 rpm (2002 tii from 1.1.1976, earlier 2800). Max centrifugal advance: 1502 18.3°, 1602/1802 18°, 2002 16°, 2002A 21.6°. Vacuum advance 8–12° crank, from 120–150 to 195–210 mmHg; the 2002A from 1973 has vacuum retard.
rpm
1502
1602/1802
2002
2002A
1000
5–10°
23–27°
14–19°
11–15°
1500
16–20°
25–29°
25–29°
17–21°
2000
26–30°
30–34°
31–36°
23–27°
2500
32–37°
34–38°
35–40°
30–33°
3000
34–38°
38–42°
end 38–42° @ 2700
37–41°
3500
37–41°
40–44°
41–45°
Timing marks: "OT" = TDC; the steel ball pressed into the flywheel = 25° BTDC; viewed through the hole in the bellhousing. Dwell 59–65° (58–64° on US single-carb models). Condenser 0.17–0.23 µF.
Bosch test values: alternator K1 14V 45A 22 (35A on some US models); regulator AD 1/14 V, 0 190 601 006, 13.9–14.8 V at ~2000 rpm with load.
Original voltage regulator: external grey can on the inner fender above the battery. E21 320 alternators have an internal regulator, so with that swap the can is disconnected or removed. 45 A is enough unless you add big loads.
Indicator lamp flashes once, indicators flash fast or the fuel gauge is dead → usually a bad ground. The front indicators ground through the screws into the fender (paint after a respray breaks the contact): clean to bare metal or add a ground wire; check the cluster grounds. The flasher relay sits behind the cluster; bending its dash-lamp contact slightly helps. (forum)
Coolant return pipe along the block: the E21 320i pipe 11 53 1 266 817 fits the M10. Cut off and weld shut the short end; its tab lines up with an existing threaded hole. (forum)
Keep ALWAYS in mind the brake pistons/wheel brake cylinder to brake master cylinder diameter ratio
If you want to install turbo ventilated front discs, you need to buy the turbo wheel hubs (increasing the front wheel track and possibly causing interference with the fender) and install spacers between the two parts of the calliper, as well as the turbo retaining clip for the brake pads
The easiest way to install ventilated brakes is the ALPINA A4 discs, which can be mounted to ti/tii struts and hubs with a 7mm spacer between the two calliper parts. Parts are available from a user on the German forum, known as “André Meisel”.
The NK brake rotor shields can be modified to fit the 2002 and provide higher airflow due to a spoiler they have. This is a common ALPINA modification
Double circuit 4-piston 40mm brake callipers for ti/tii/turbo, double circuit 4-piston 40mm brake callipers for all the others except 1502 were single circuit, with a 2-piston 48mm calliper used
Handbrake cables between regular 02 and turbo are different due to the 250 mm drum
22mm wheel brake cylinder needs a brake pressure regulator to retain the correct brake bias
The E21 has the same drum as the 2002 turbo. However, the E21 has wheel bolts, not wheel nuts, so it has a hole for an M8 fixing screw. The E21 drum is designed to be balanced with the screw; therefore, if you don’t put the fixing screw in, you will notice a shake in high frequencies (kms/hr). Check this thread (https://forum.bmw-02-club.de/index.php?topic=168313.135)
The ti/tii/turbo brake booster uses a dual membrane and therefore is larger in length and smaller in diameter compared to the regular one; however, the force amplification is almost the same. The only real reason to use the “big” one is for dual carburettors with the ti filter-box or injection
Brake master cylinder of ti/tii/turbo/late NK is ALMOST identical to E12/E9/E3; however, the later ones do not have the pre-pressure valve for the rear drum brakes, and therefore the rear brake outlet is M10. A solution to that is a) to use an M10x1 outside to an M12x1 inside and use the old pre-pressure valve, or b) to buy an M10 pre-pressure valve from ATE
The idea of installing a smaller diameter (e.g., 20mm) BMC in a tii/turbo is wrong. By decreasing the diameter, you increase the pedal travel for the same hydraulic pressure. Therefore, in case of hot brakes or air in the system, you end up pressing the pedal to the floor. Safety first!
Don’t expect the brake pedal to have a similar, sensitive feel to a modern car. The pedal is heavier than those, and it should be, as there are no electronics involved (e.g., ABS). The traction limit should be less subtle for a daily driver.
Flush the brake fluid every two years to avoid corrosion of the brake components (callipers, MC, etc.)
Drum shoes can be adjusted by the eccentric bolts and the handbrake cables
Eccentric bolts should be regularly inspected and greased to avoid rust
For replacing the fixing bolt of the front dust shields (which is shitty/ultra-low profile), you can use Hülsenmutter (in German).
Great pads: ATE, Textar (T260, T476), Pagid rsh29e
Another good idea for increasing brake power is to use the E21 hubs (up to 1980, p/n 31211116681), machine the front face 1mm, and use the E21 ventilated rotor with the turbo or E12 brake callipers. The machining is to shift the brake disc so that it sits centered in the calliper. Lug bolts, rather than lug nuts, should be used.
Strut identification for brakes: caliper mount spacing 88.9 mm on ti/tii/Turbo (and late NK four-doors) vs 76.2 mm on the small 02s.
Rear wheel cylinders per homologation: 19 mm standard; 22.2 mm only with a brake-force regulator/ABS. Front piston bore 54 mm.
ATE cross-reference (2014 catalogue): 03.6127-0001.4 / 03.6127-0301.4 → 03.2123-6802.3 = tandem master cylinder 23.81 mm; 03.6122-2001… → 19.05 mm; 03.6122-2402… → 20.64 mm; 03.6127-0801.4 → 22.20 mm with reservoir. C&C Parts cross-references 03.6127-0301.4 to BMW 34 33 1 103 347.
(forum) At about 1.25 g deceleration the rear brakes stop contributing (rough calculation). For racing pedal boxes AP Racing worked better than Tilton (36 mm tunnel hole, longer union-nut threads).
Brake fluid: DOT 3, 4 and 5.1 are glycol-based and miscible; DOT 5 is silicone and not miscible. Glycol fluid is hygroscopic: change yearly, at the latest every 2 years. Never let mineral oil near the system.
Spec
Dry boiling point
Wet boiling point
DOT 3
≥ 205 °C
≥ 140 °C
DOT 4
≥ 230 °C
≥ 155 °C
DOT 4 (ISO 4925 Cl.6)
≥ 250 °C
≥ 165 °C
DOT 5 (silicone)
≥ 260 °C
≥ 180 °C
DOT 5.1
> 260 °C
≥ 180 °C
Pads (Textar): replace per axle; minimum lining 2 mm; ECE R90 mark on approved replacement pads. Use a non-metallic brake paste rather than copper paste. Overhaul fixed calipers every 3 years / 60,000 km; replace pressure-regulating valves after 3 years / 90,000 km at the latest.
Front struts are different between ti/tii/turbo and all the other 02s, as the spindle has a different diameter
The rear arm is different between ti/tii/turbo and the others. They have a closed cross-section
Front wheel hub is different between the ti/tii and the turbo (and of course all the other). Due to the ventilated disc, the hub is extended by the increase in disc thickness. The bearing assembly is the same, however.
Rear wheel hub is also different (thicker) between the ti/tii and the turbo. From 1502 to the present, the spindle remains the same. Wheel bearings are the same from 1502 to TI/TII, except for the turbo model. The turbo spindle is hardened and usually required to step up to 6-inch rims or more (according to the specs)
All the versions have the same front springs (including touring)
Rear springs of the turbo are slightly shorter
Front ARB is usually 16mm (15mm sometimes), except turbo, where 20mm was used for more neutral (towards understeer) behaviour
Rear ARB is 16mm
Touring has different, softer rear ARB mounts
The correct way to measure the stance of the car is by the trim line. It should be level. Avoid the common misconception that the rear is lower. The rear feather is lowered in comparison to the front.
Before changing springs, you should measure the distance of the front and rear feathers to the ground to see how the vehicle changes its stance.
The front tension rod bushing might introduce some compliance and change of kinematics when braking. Check periodically and replace it with a PU one.
Alpina – to a great extent – used Bilstein USD (upside down) dampers and strut housings. Sometimes, other manufacturers, such as Koni and FS, are also involved.
These struts are marked Red – Race, Yellow – Rally, Green – Street
Some of them have negative camber
The spindle is the same as ti/tii (there might have been production of regular ones, though)
The diameter of the housing is increased with respect to the regular ones
At the intersection with the spindle, there is a gradual reduction of diameter (conical section)
Usually, the strut perch is lowered by 20mm. There has been a version with an adjustable perch, though
Rear ones are not coil over
Alpina also offered progressive (nonlinear) springs
Best version for street setup is yellow or green.
Bilstein can rebuild and re-adjust them at reasonable cost
Very rare to find!
USD struts have three main advantages:
Reduced unsprung mass
Integrated negative camber (up to -1.5 degrees)
If an adjustable perch is integrated, ride height control
If the car is lowered, roll centre spacers should be installed between the strut and the steering arm (which also holds the ball joint for the control arm). These spacers help restore proper suspension geometry by raising the front roll centre and returning the control arms to a more favourable angle. This improves camber gain during suspension compression, allowing the wheels to maintain better negative camber and a larger contact patch during cornering, while also reducing bump steer and excessive body roll (due to the relocation of the roll centre).
For more than 1.5 degrees of negative camber, offset strut bearings should be installed, as interference between the strut and wheel assembly may occur (depending on wheel width and offset). On the BMW 2002, altering camber by changing the inclination of the strut assembly also affects the kingpin inclination (KPI) and scrub radius, since the strut, spindle, and upright form a rigid unit. This is unlike modern vehicles, where the knuckle is a separate component; in those cases, strut inclination changes do not affect KPI. A similar effect occurred when using offset roll centre spacers, which also influence the steering axis geometry, in 2002.
For the rear axle, if the vehicle is lowered significantly (typically more than 30–40 mm), camber and toe-in should be re-adjusted. The BMW 2002 uses a semi-trailing arm rear suspension, which naturally increases negative camber and toe-in as the suspension compresses. Excessive lowering amplifies these effects, potentially leading to poor tire wear and handling imbalances. Several solutions exist to mitigate this:
Flip the rear subframe mounts — This raises the subframe relative to the chassis (~12-13mm), effectively restoring rear camber and toe closer to factory values. Note that the differential mounts must also be adjusted to avoid introducing drivetrain stress due to altered alignment.
Eccentric trailing arm bushings — These allow fine-tuning of static toe and camber. However, they may alter the kinematic behaviour of the suspension during travel. While the effect is likely small, it’s worth considering that you're trading static alignment correction for a potentially altered dynamic response.
Adjustable trailing arm mounting kits — These provide the most precise control over alignment but require cutting and welding the rear subframe to install. This is a more complex solution, but it allows for proper geometry correction across a wide range of ride heights. Rear axle, due to semi-trailing arm geometry, has adequate camber gain; therefore, statically, it can be set up to lower values than the front.
If coil-overs are installed at the rear axle, reinforcement of the wheel housing should be made, as the factory didn’t account for such concentrated forces at this point
Anti-Roll Bars (ARB):
Anti-roll bars reduce body roll and improve handling balance by increasing roll stiffness.
The front ARB is most effective for RWD cars like the 2002, improving turn-in and reducing camber loss during cornering.
Avoid oversizing the rear ARB. It can lead to excessive weight transfer, inside wheel lift, and snap oversteer.
Polyurethane bushes are a low-cost upgrade to reduce compliance and sharpen ARB response (minimal though). Replacing ARB drop links and joints with rose joints (spherical bearings) eliminates play and enhances response, especially under high loads.
Adjustable ARBs allow fine-tuning of roll stiffness for track or road use.
Consider matching ARB upgrades with spring and damper rates; balance is key.
Lateral locks are essential to prevent ARB side movement, energy loss, and delay in action otherwise.
Basic tuning of the vehicle’s steady state behaviour is achieved by roll stiffness (springs and ARB) and the roll centre’s location:
Increasing roll stiffness in an axle will increase the load transferred through this axle (portion of the total weight transfer) and therefore will overload quicker than the other. Increasing the front or decreasing the rear roll stiffness will make the vehicle more prone to understeer, while decreasing the front or increasing the rear roll stiffness will make it more prone to oversteer.
Roll stiffness can be controlled by springs and ARBs, but since ARBS act only in roll or bump (decoupled from heave mode), it’s better to tune it by the ARBs
Increasing the roll centre height increases the lateral weight transfer on that axle
Increasing the roll centre to a point close to the centre of mass decreases the adjustability of the vehicle through the roll stiffness
How to identify front struts: spindle bearing seats 19 / 31.7 mm on ti/tii/Turbo (and late NK four-doors), 17 / 29 mm on the small 02s; no useful numbers are stamped on the struts. ti/tii/Turbo front struts are identical, only the damper tuning differs. Accessory struts with 1–2° negative camber exist and can only be spotted by comparing two struts.
Alpina / sport struts (forum): thicker tube, spring plate usually 20 mm lower, spindle welded at an angle (negative camber), inverted Bilstein damper; road valving typically 220/120. Early kits used standard springs shortened half a coil at each end. Rear: Bilstein 815 (road) and 817 (racing, uniball). Bilstein still supplies inserts but not the tubes. Original Sachs sport struts have "wet" internals (no cartridge) and are marked L/R. Period BMW/Alpina chassis kits: Type A (road), Type B (sport/competition).
Factory geometry (BMW data and 02-club.de), at "normal" load: 2 × 68 kg front seats, 68 kg rear seat, 21 kg in the boot, full tank. Ride height = lower edge of wheel arch to bottom of rim flange.
Front
Rear
Ride height (normal load)
509 ± 8 mm
463 ± 8 mm
Ride height (unladen)
545 ± 10 mm
500 ± 10 mm
Toe-in
1.5 +1/−0.5 mm (0°14′)
1.5 ± 1.5 mm
Camber
+0°30′ ± 30′ (unladen +1°30′)
−2° ± 30′ (unladen +0°15′)
Caster
4° ± 30′ (max L/R difference 30′)
–
Kingpin inclination
8°30′ ± 30′
–
Toe-out at 20° inner lock
1° ± 30′
–
Max lock
inner 41°, outer 34°
–
Rear spring upper rubber ring: 28 mm = 1 dot/green, 33 mm = 2 dots/white, 37 mm = 3 dots/red; Touring with original springs: always 1 dot. Lower ring 24 mm only. Factory spring free lengths: front std 13.28″ (337 mm), front HD 13.58″ (345 mm), rear std 13.17″ (335 mm), rear Baur cabrio 14.25″.
KONI for all E10 incl. ti/tii/Turbo and Touring: front 86 1519 Sport, rear 80 1868 Sport; 2002 kit with lowering springs 1145 1141 (−25/−25 mm). Adjustment (series 80/86): compress fully while turning anticlockwise until it engages, keep compressed and turn clockwise for more damping (range ~5 half turns), pull out ≥ 1 cm without turning. Always set left and right the same. KONI Sport has a lifetime warranty (forum).
ZF-Gemmer worm-and-roller box: ratio 15.5:1 (overall 17.57:1), 3.5 turns lock to lock, max play at the rim 20 mm, oil 300 cm³ SAE 90 hypoid. Friction torque at straight-ahead 80–120 Ncm; worm bearing 10–25 Ncm; roller-shaft adjusting-screw play 0.05 mm. Turning circle 10.40 m.
Steering spindle: early version (M12×1.5 wheel nut) 895 mm, later (M14×1.5) 903 mm; spindle bearing preload 6.0–6.5 mm.
Fastener
Torque (Nm)
Steering-wheel nut M12×1.5 / M14×1.5
55 +5 / 85 +10
Flexible joint disc bolts
20 +3
Joint flange clamp
25 +3
Pitman arm nut
120 +20
Idler arm castle nut
80 +20
Steering box end-cover bolts
18 +2
Tie-rod castle nuts
35 +5
Steering box to front axle carrier
43 +5
Tie-rod clamp bolts
12 +3
Steering arm to stub axle
25 +8
Removing the box (BMW op. 32 11 000): scribe the upper joint flange on the spindle; loosen/remove the flange bolts; press the left tie rod and the centre track rod off with pullers 32 2 050 and 32 2 090; unbolt the box from the axle carrier. On refit: wheels and steering straight ahead (marks on housing and shaft aligned), seat the box in its dowel sleeves, 43 Nm, new self-locking nuts.
Overhaul (op. 32 11 503) needs the friction-torque meter and adapter BMW 7015: set the worm bearing to 10–25 Ncm with shims while turning the worm; after filling with oil set 80–120 Ncm through straight-ahead with the adjusting screw; renew the pitman-arm lock plate every time.
85-70-R13 size changes the diameter to 589 from 561. Therefore, it introduces a slight error to the speedometer (decreased km/h) due to the reduced final gear ratio, which also has minor consequences for responsiveness.
02 turbo and E21 have the same steel rim 5.5J13, though 02 turbo has anthracite centre, with ET18 (offset)
There exists an FPS alloy 6J13 rim for the turbo. The same was used as an option in the late 2002s (post 1974) and early European E21, but at the widths of 5 inches and 5.5 inches, respectively
FPS alloy rims for 02 are 5J13 with ET26
Regular 5J13 steel rims for 02 have ET29
The switch from 5.5J13ET18 to 5J13ET26 will bring the wheel 1.7mm closer to the strut, potentially solving the problem of tire rubbing in the feather
NK struts can be used with the E9 (or E3/E12, probably should be the same) 5 bolt hubs and 272mm discs. The shock absorber, coil spring, and length change, though
Torques: rear hub castle nut 300 Nm (with cotter pin; the applied handbrake holds the hub); wheel nuts 110 Nm.
A 185 tyre on a 5.5J rim does not fit the spare-wheel well; use a 165/80 R13 on a 5J steel rim as the spare.
Early 1600/2002 had 4.5″ rims; wheels over 6.5×13 were mostly for racing and need modifications.
Genuine FPS alloy for the 02 Sportpaket: 5J×13 ET26, BMW 36 11 1 107 915; originals have the FPS/BMW markings on the inner side, reproductions on the outside. (claim)
Tyre age: production date = last 4 digits of the DOT code (week + year). Inspect from ~6 years; replace at 10 (max 12) years regardless of tread.
Classic tyre test 185/70 R15 (Auto Bild Klassik 7/2016): Pirelli CN36 best (wet braking 49 m), Vredestein Sprint Classic good value (52 m), Michelin XWX weak in the wet (54 m), Blockley not recommended (65 m).
Early models use a Getrag 232/6 gearbox with Porsche synchronizers (steel), while late models use a Getrag 242/6 with Borg-Warner synchronizers (brass).
Sport 5-speed transmission, Getrag 235/5, was available at the time, which utilised Porsche (steel) synchronizers.
Borg-Warner type synchronizers were introduced in the E21 for both sports (Getrag 245/2) and overdrive (Getrag 245/4) transmissions. However, it requires some modifications to use it in a 02, take a look here (https://strichzwo.de/umbau-anleitung_5gg__schongetriebe_e21.php)
Getrag 229 (TISA) was used in the early racing days of 02
Ratios:
Gearbox
1st
2nd
3rd
4th
5th
Rev
Getrag 232 4-speed (02, Porsche synchro)
3.835
2.053
1.345
1.000
–
4.180
Getrag 242 4-speed (Borg-Warner)
3.764
2.02–2.04
1.320
1.000
–
4.096
Getrag 235/5 sport (02 option, Porsche synchro)
3.368
2.160
1.579
1.241
1.000
4.000
Getrag 245/2 sport (E21)
3.764
2.325
1.612
1.229
1.000
4.096
Getrag 245/4 overdrive (E21)
3.682
2.002
1.330
1.000
0.805
3.682
ZF 3HP12 automatic
2.58
1.52
1.00
–
–
2.0
The only factory 5-speed for the 02 was the Getrag 235/5 (sport, dogleg). Its first gear is tall enough to use in tight corners, the others are closely spaced; poor for city traffic or towing. The 245 sport box has larger steps and no reverse lockout before 1st. The 245 overdrive box with a shorter final drive is a cheaper alternative to the rare sport box.
Getrag 245 (E12/E21): 3-piece housing, Borg-Warner synchros, 89 mm longer than the 242. Casing codes: T / BO = M10 sport · BJ / GJ = M20 sport · BN, GH, GL = M10 overdrive · GC, GG, GM = M20 overdrive · ME, MF = M10 Getrag 240 overdrive · MG = M20 240 overdrive. Bellhousing check: upper holes 8 mm → fits M10/S14/M88/M30; 10 mm → only M20/M40/M42–44. Buy complete with propshaft and shifter (3- vs 4-lug flanges, different shifter lengths).
E21 factory boxes: 4-speed Getrag 242 (/9, /18, /18.30; /7-50 on 6-cyl); 5-speed sport 245/2 (to 1981), 245/10 BO (M10 from 1981), 245/11 BJ (6-cyl); overdrive 245/4 BN (M10), 245/288 GC (6-cyl); automatic ZF 3HP-22.
(forum, Metric Mechanic) For M20 5-speed internals in a front case that bolts to the M10, only the 1978–79 320i 4-speed case works; other 232/242 cases are too short.
Clutch (2002 ti homologation): 228 mm single dry plate, hydraulic.
The standard gear ratio is 3.64 (used in the 2002, 2002ti, later 2002tii, and BMW 320 E21).
Early tii and 323i E21 have 3.45.
1502/1600-2/1602/1802 have 4.11, while the 1600ti has 3.91 (same as some smaller E21 3-series).
You can also install E21 differentials in the 02 series by using the rear cover from the 02 differential.
Then you need to create two "hybrid" drive shafts from one 02 and one E21 drive shaft each. To do this: Remove the rubber boot and the circlip, then take off one joint head from each and install it on the other shaft — the splines are the same. Done.
Determining the Gear Ratio:
The number of teeth is stamped on the left side of the differential neck, but it is usually no longer legible after all these years.
Therefore, counting rotations is the fastest and easiest method:
Mark the input and both output flanges with chalk lines.
Then rotate the input flange (make sure both output flanges turn evenly) and count how many turns are needed until the output flanges make exactly one complete revolution.
If the input turns a bit more than 4 times → it's a 4.11 axle.
A bit more than 3.5 times → 3.64.
A bit less than 3.5 times → it's a 3.45 (early 2002tii).
This method is very reliable.
Limited-Slip Differential (LSD):
People often wonder if a differential has a limited-slip unit. These were available from the factory as optional extras with 25% or 40% lock, and for motorsport use, even with 75% lock. For street use, 25% is usually more than enough.
If you remove the rear cover, you can see the differential carrier. The lock percentage is usually stamped or engraved on it — something like S40 for 40% lock, for example. If it's not marked, you’ll have to scrutinize it — it’s not something you can always tell at a glance.
By the way, there's no simple way to test if a limited-slip unit is still working correctly.
Quick Functional Test (If Diff is Out of the Car):
If you're skilled, you might be able to do a quick test from the outside with the diff removed:
Stand the diff on the neck.
Grab the two output flanges with both hands.
Try twisting them against each other.
If this is very tight, good – it's probably still working. If it turns easily, it may or may not be a limited-slip.
Now turn both output flanges in the same direction.
The input flange will want to rotate, but it can’t because the diff is sitting on it and you're holding it still.
Now, under this preload, try turning the output flanges against each other again.
If it's harder now than before, it's a limited-slip. If it feels the same, it’s an open diff.
As mentioned, this requires some feel and experience. It can be totally fine if the output flanges can either be turned easily against each other (when unloaded) or not at all by hand. Compared to the 100+ horsepower applied during real driving, even a firm hand is incredibly weak.
More notes
Homologation 5331 lists the standard 3.64 and an optional 4.37 final drive. The Alpina A1 conversion required the 3.64.
(forum) Several original 02 LSDs had no Belleville (preload) washers, while E21/E36 small-case LSDs do. Without them both wheels turn freely on a lift like an open diff, so a free-spinning wheel does not prove worn clutches.
Dinitrol 77B Wax for underbody protection after paint
Crash structure: crumple zones in the inner fender tops and the bonnet frame; in a frontal hit the engine is pushed down and back. (forum)
Rust protection for bare-metal parts: rust converter → primer → satin black; heavy duty POR-15 / Würth Rustguard (harsh on skin). (forum)
Concours checklist (bmw2002faq, user "uai"):
Bonnet stay zinc-plated, not painted; brake-line clips phosphated, not zinc-plated; calipers zinc-plated, not painted.
Steering-arm and caliper bolts must not be zinc-plated (hydrogen embrittlement).
Diff output flanges and halfshafts unpainted; drain plugs under the rear seat aluminium.
Sheet-metal nuts and the insulation under the rear seat not painted over; bonnet latch rod white zinc inside, yellow zinc outside.
Fan black; door checks painted; booster and starter stickers present; pedal box cover fitted.
Fenders folded around the flange and leaded at the joint; no speaker holes in the parcel shelf; correct coil, fuses, paint-code sticker and washer hose.
1975 BMW accessories: safety sport steering wheel Ø 350/380/400 mm, Turbo sport wheel Ø 380 mm, VDO tachometer 0–8000, clock (electric or quartz), wood or leather gear knobs.
In 1968 Alpina offered Recaro Rallye 1, Recaro Ideal, Scheel 400 and Scheel 300 seats.
Retro-look radio with DAB+/Bluetooth: Blaupunkt Frankfurt RCM 82 DAB.
Factory halogen fog-light kit 63 17 1 357 446 (1602–2002 Touring/tii from 9/73): kit harness onto the fog relay; wire (1) to the plug board, wire (2) to battery +; yellow lamp wires along the loom through the bulkhead; drill a 10.5 mm hole up through the bumper at A = 16 mm, B = 88 mm; switch replaces the dummy switch behind the instrument carrier. Fogs must work with low beam only and go out on high beam.
Fog relay wiring (forum): Bosch relay 0 332 209 150; 30 = fused +12 V from battery (10 AWG), 87 = lamps (12 AWG), 85 = ground, 86 = from the switch "S"; switch "+" from a low-beam-only source (yellow wire from the stalk; yellow/white is live on low and high).
Headlamps: stock 7″ round sealed beams, 55/65 W. A 7″ H4 housing is a direct swap; E-code housings with a city light may need the bucket trimmed. Avoid high-wattage bulbs (old harness, weak charging); LED H4 is fine, HID is not (wrong beam pattern). The retaining ring's 3 screws are unevenly spaced, so it fits one way only. (claim)
Replacing the headlamp units: battery off; remove the 4 screws of each side grille and the grille-to-wing hook (often broken); unplug main and side light; mark the old unit's position; four 8 mm nuts; centre the new unit on the marks; have the beams aimed.
Rough engine running and constant hissing from the brake booster -> Membrane leaking: Replace.
Vacuum leaks and poor braking performance -> Replace brake booster
Hard pedal pressure - no vacuum or key valve defective ->
Check. Pump the brake booster dry and start the engine with the brake pedal depressed. The pressure should now ease and the pedal should sink slightly. If it remains hard, check the vacuum hose and check valve for blockages. If they are okay, the master cylinder valve is stuck – take it to a specialist for repair!
A stuck key valve can also occur intermittently. You never know whether the power booster will engage or not when you press the pedal. The fun factor (especially on descents) is considerable, as one unlucky rider experienced on the descent from Mt. St. Agatha (Tuscany, 1,700 m). Intermittent hard brake pressure – it was truly exhilarating.
If the master brake cylinder is leaking in the primary section (towards the brake booster), replace it quickly, as the brake fluid will dissolve the diaphragm. This can be seen by moisture at the bottom of the master brake cylinder, where it connects to the brake booster. On these booster models, a rubber sealing ring must also be installed on the master brake cylinder flange, otherwise unmetered air can be drawn in.
Check the function of the brake booster
Turn off the engine,
Press the brake pedal several times until strong resistance is felt.
Keep the brake pedal depressed and start the engine.
If the brake pedal now gives way, the brake booster is generally functioning. If it doesn't give way, check the vacuum hose and check valve for continuity. If they are okay, the key valve is stuck. Take it to a specialist for repair!
The vacuum check valve can be installed backwards if you overlook the printed arrow, which must point towards the source of the vacuum, i.e., towards the intake manifold.
Rapid test for CO content: With the engine idling, quickly pump the brake pedal a few times. This introduces additional air via the brake booster. If the engine speed remains constant within approximately 50 rpm, the mixture is around 3% CO, which is within the acceptable range. If the engine speed increases, the mixture is too rich; if the engine speed drops noticeably, the mixture is too lean.
More notes
Brake booster, extra vacuum check: run the engine at idle (highest vacuum), switch off, then pull the hose at the booster. A hiss means the booster holds vacuum. The NK booster vacuum system is identical to the 02's. (forum)
Bosch idle and CO values (1975 sheet): idle 850–950 rpm on carb models (800–950 Turbo, 850–1000 US tii); CO 3.0–4.0 % on the 1502, ≤ 4.5 % on the Turbo. US models: set CO with the air-injection hose and the charcoal-canister vacuum hose disconnected and plugged.
Voula hillclimb, 25 April 2026 (event photographer)
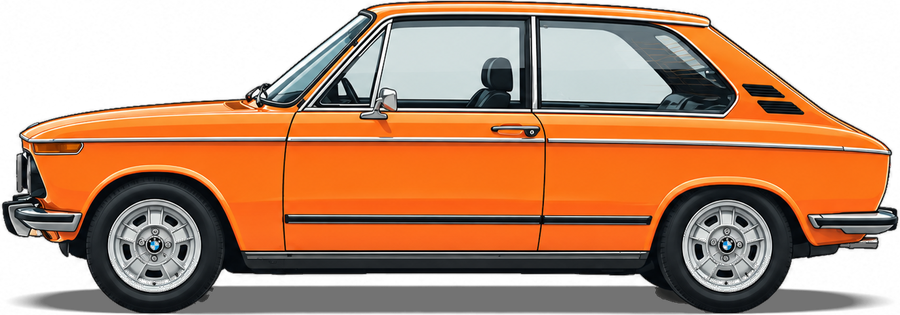
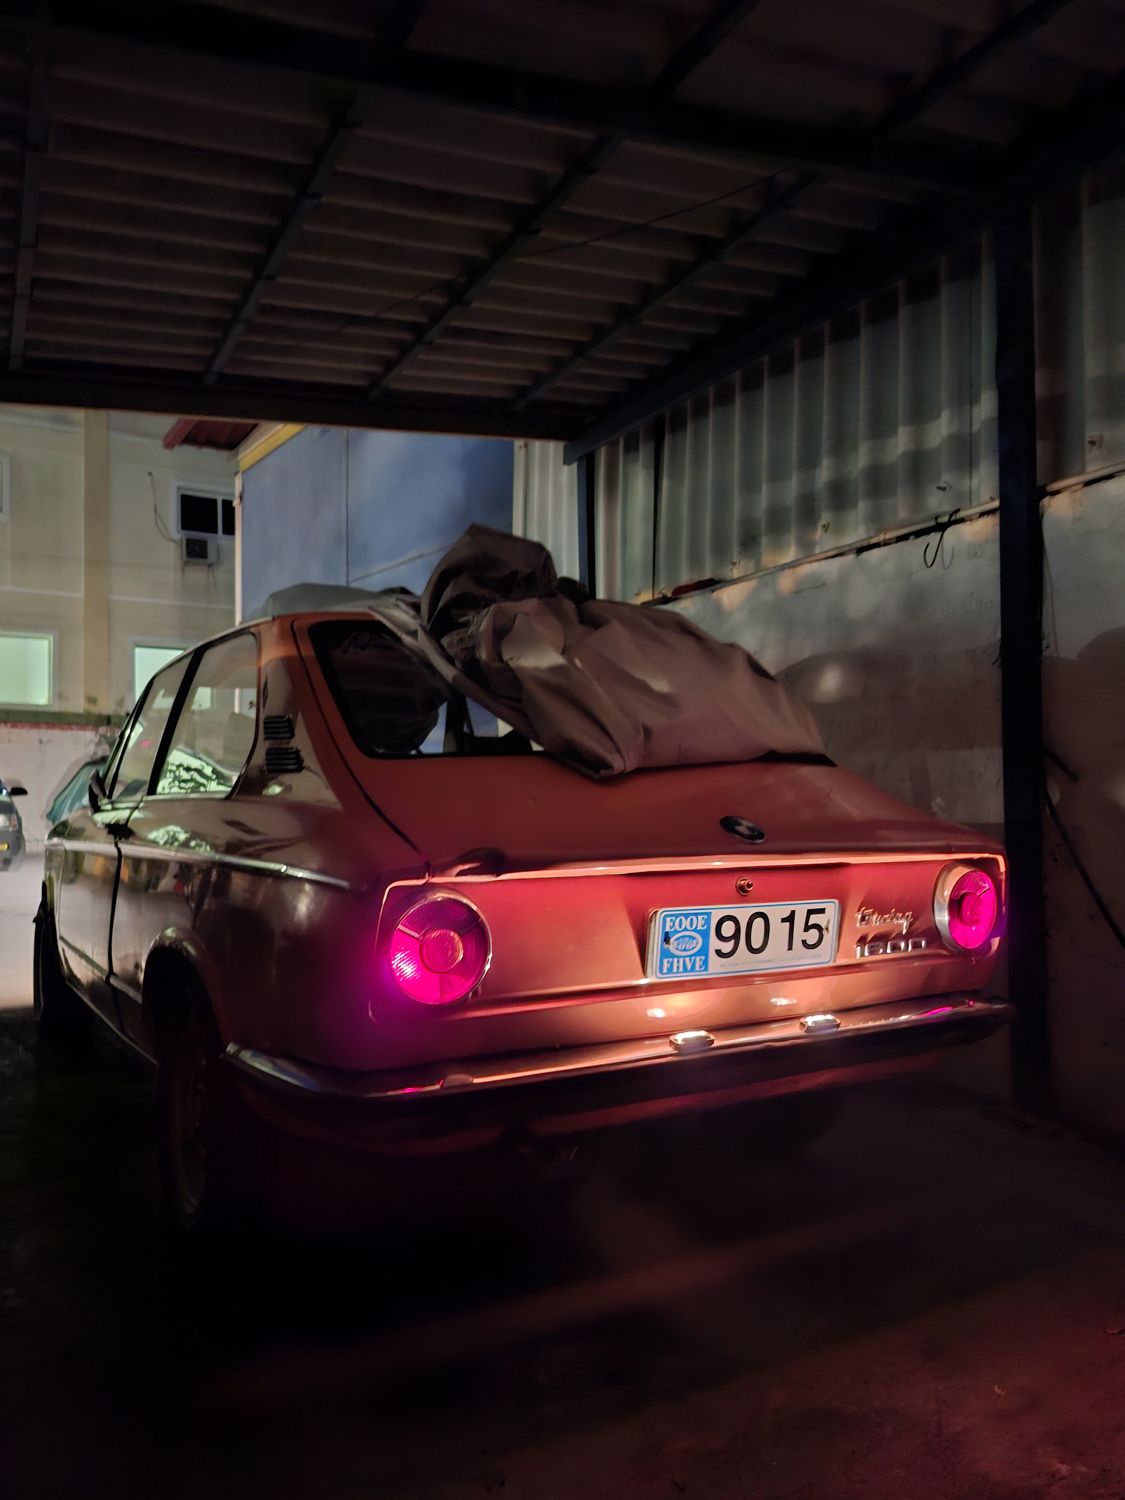
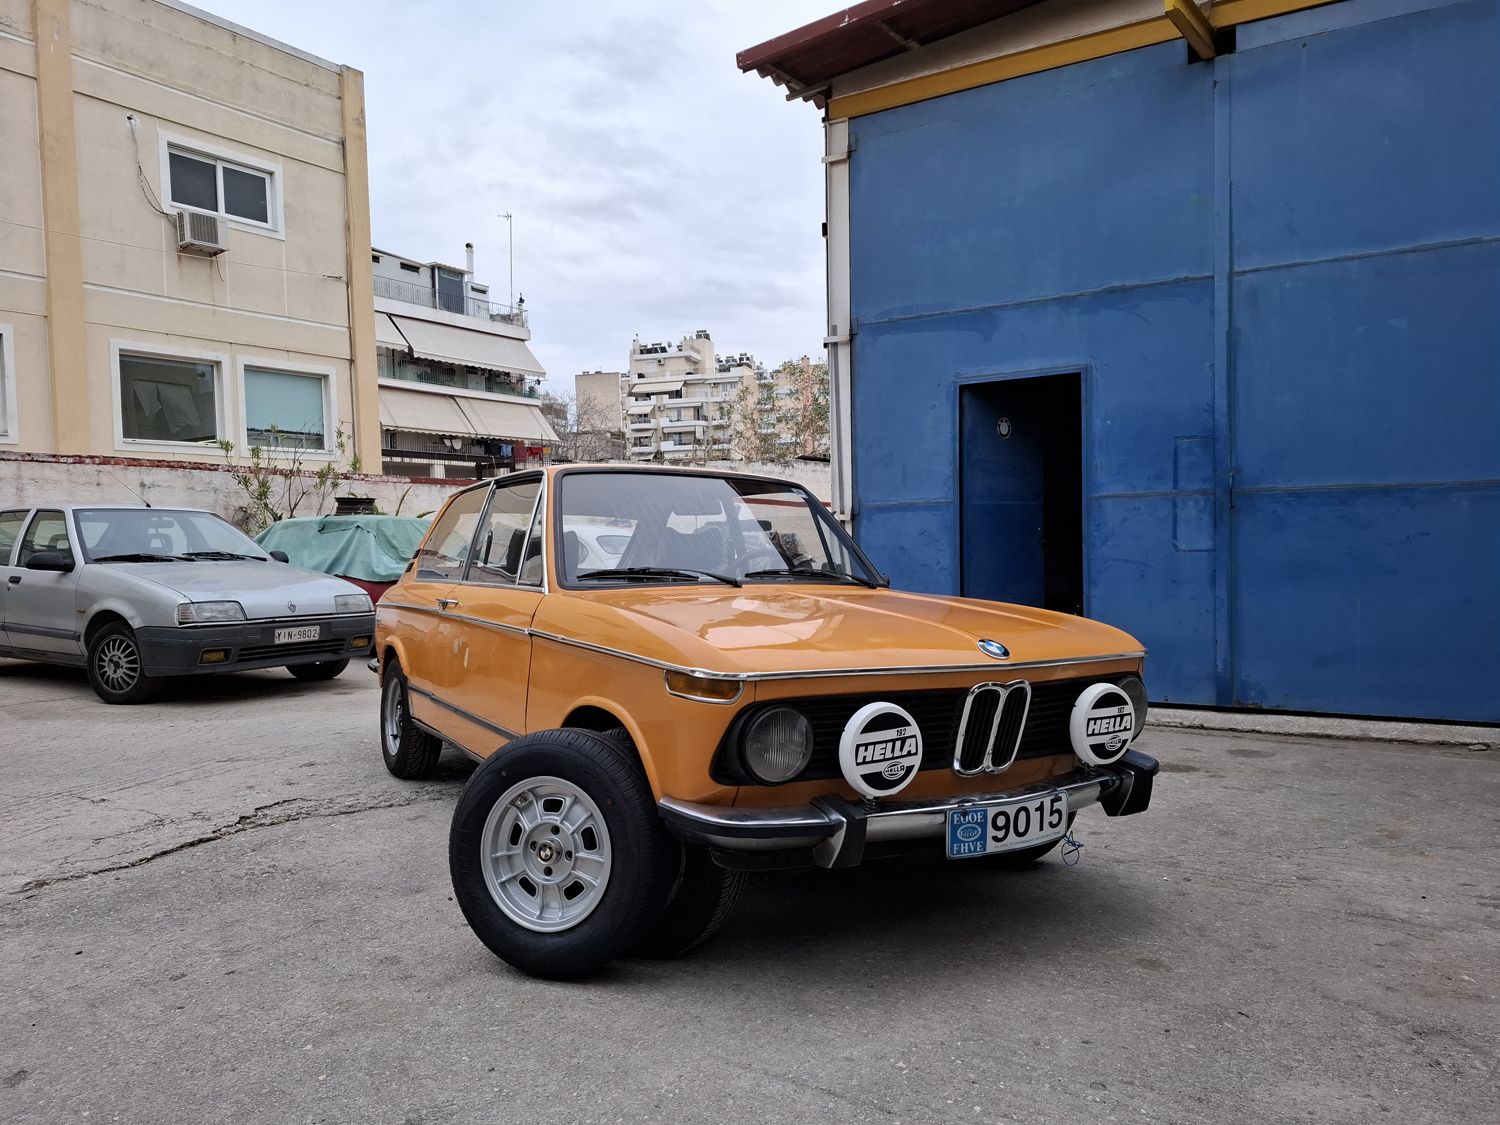
A 1971 BMW 1600 Touring in Colorado orange, delivered new in Athens in September 1971.
History
Built in Munich on 3 September 1971, delivered in Athens on 22 September 1971.
Original colour: Colorado (orange, code 002).
Chassis number 3300994.
My grandfather was the first owner, and the car has stayed in the family: essentially a one-owner car.
Years ago my father upgraded it to 2002 ti specification, including a 3.64 differential.
The engine was rebuilt at about 120,000 km.
How it is set up now
Engine: BMW M10, 2.0 litres (M10B20 block, not the original engine), 89 mm Mahle pistons (+0.1 mm), E21 2.0 cylinder head, compression 8.3:1.
Induction: two Weber 40 DCOE 76/77 under an Alpina air box, since April 2026 (see the project story). Before that, the single Solex carb of a 2002 2.0.
Ignition: Bosch 0 231 151 008, the centrifugal-only distributor of the 2002 ti and tii.
Gearbox: Getrag 242, 4-speed, Borg-Warner synchros, on an E21 gearbox mount.
Differential: ZF 40 % limited slip, 3.64 final drive.
Clutch: Sachs 215 mm (late 2002 / E21 size), FAG master cylinder, ATE slave cylinder.
Brakes: ti/tii/Turbo brake booster (ATE T51) and 23.81 mm master cylinder. Front: ti/tii struts with 256 mm Zimmermann tii discs, ATE four-piston calipers from a low-mileage BMW 2000 (rebuilt in 2025) and ATE pads. Rear: 250 mm Turbo/E21 drums with 19 mm wheel cylinders. Vented front brakes are being built (see the project story).
Suspension: KONI yellow Sport dampers front and rear, 16 mm front and 15 mm rear anti-roll bars.
Wheels: 2002 Turbo steel wheels 5.5J×13 with 185/70 R13 tyres. A set of Touring Sportpaket FPS alloys is ready as the second set.
Steering wheel: a Petri ti/tii wheel since 24 April 2026; before that a MOMO Niki Lauda.
Instruments: a restored 2002 ti "silver dollar" cluster, 220 km/h, since 2 August 2026, with the odometer set to zero at the restoration. Before that the car had an original early 2002 tii cluster, made for the 3.45 differential of the early tii, so with the 3.64 the speedometer read a little high.
Body and lights: post-1973 front panel; Hella headlamps and Hella 192 fog lamps.
Out with it
SISA event at Varkiza, December 2025 (an engine mount tore; see Maintenance).
Voula hillclimb, 25 April 2026: third place in the category, with one run driven by my father and one by me.